-
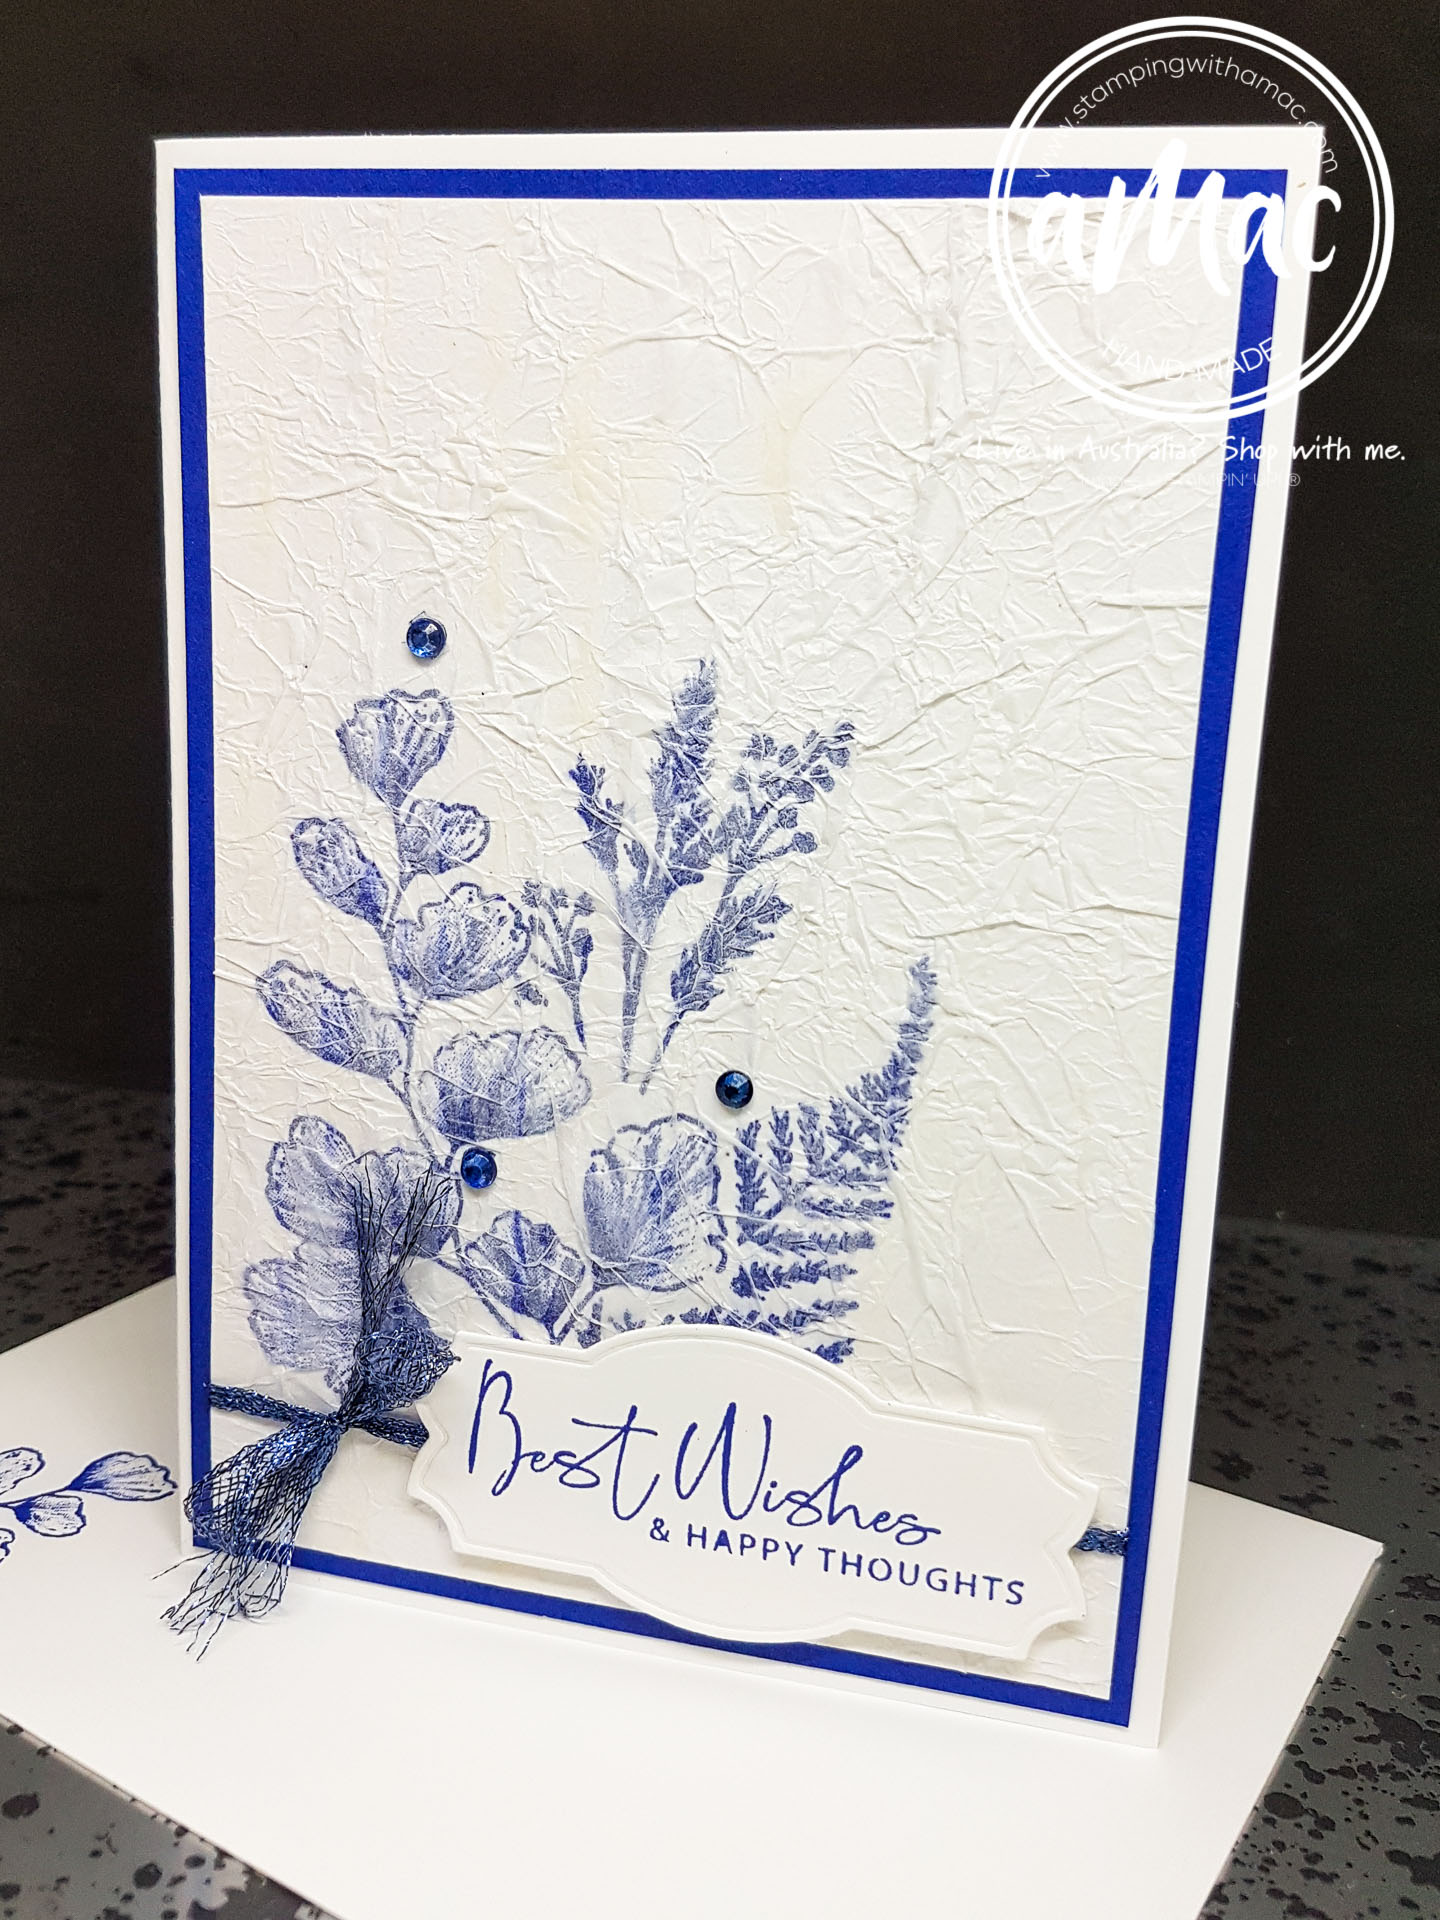
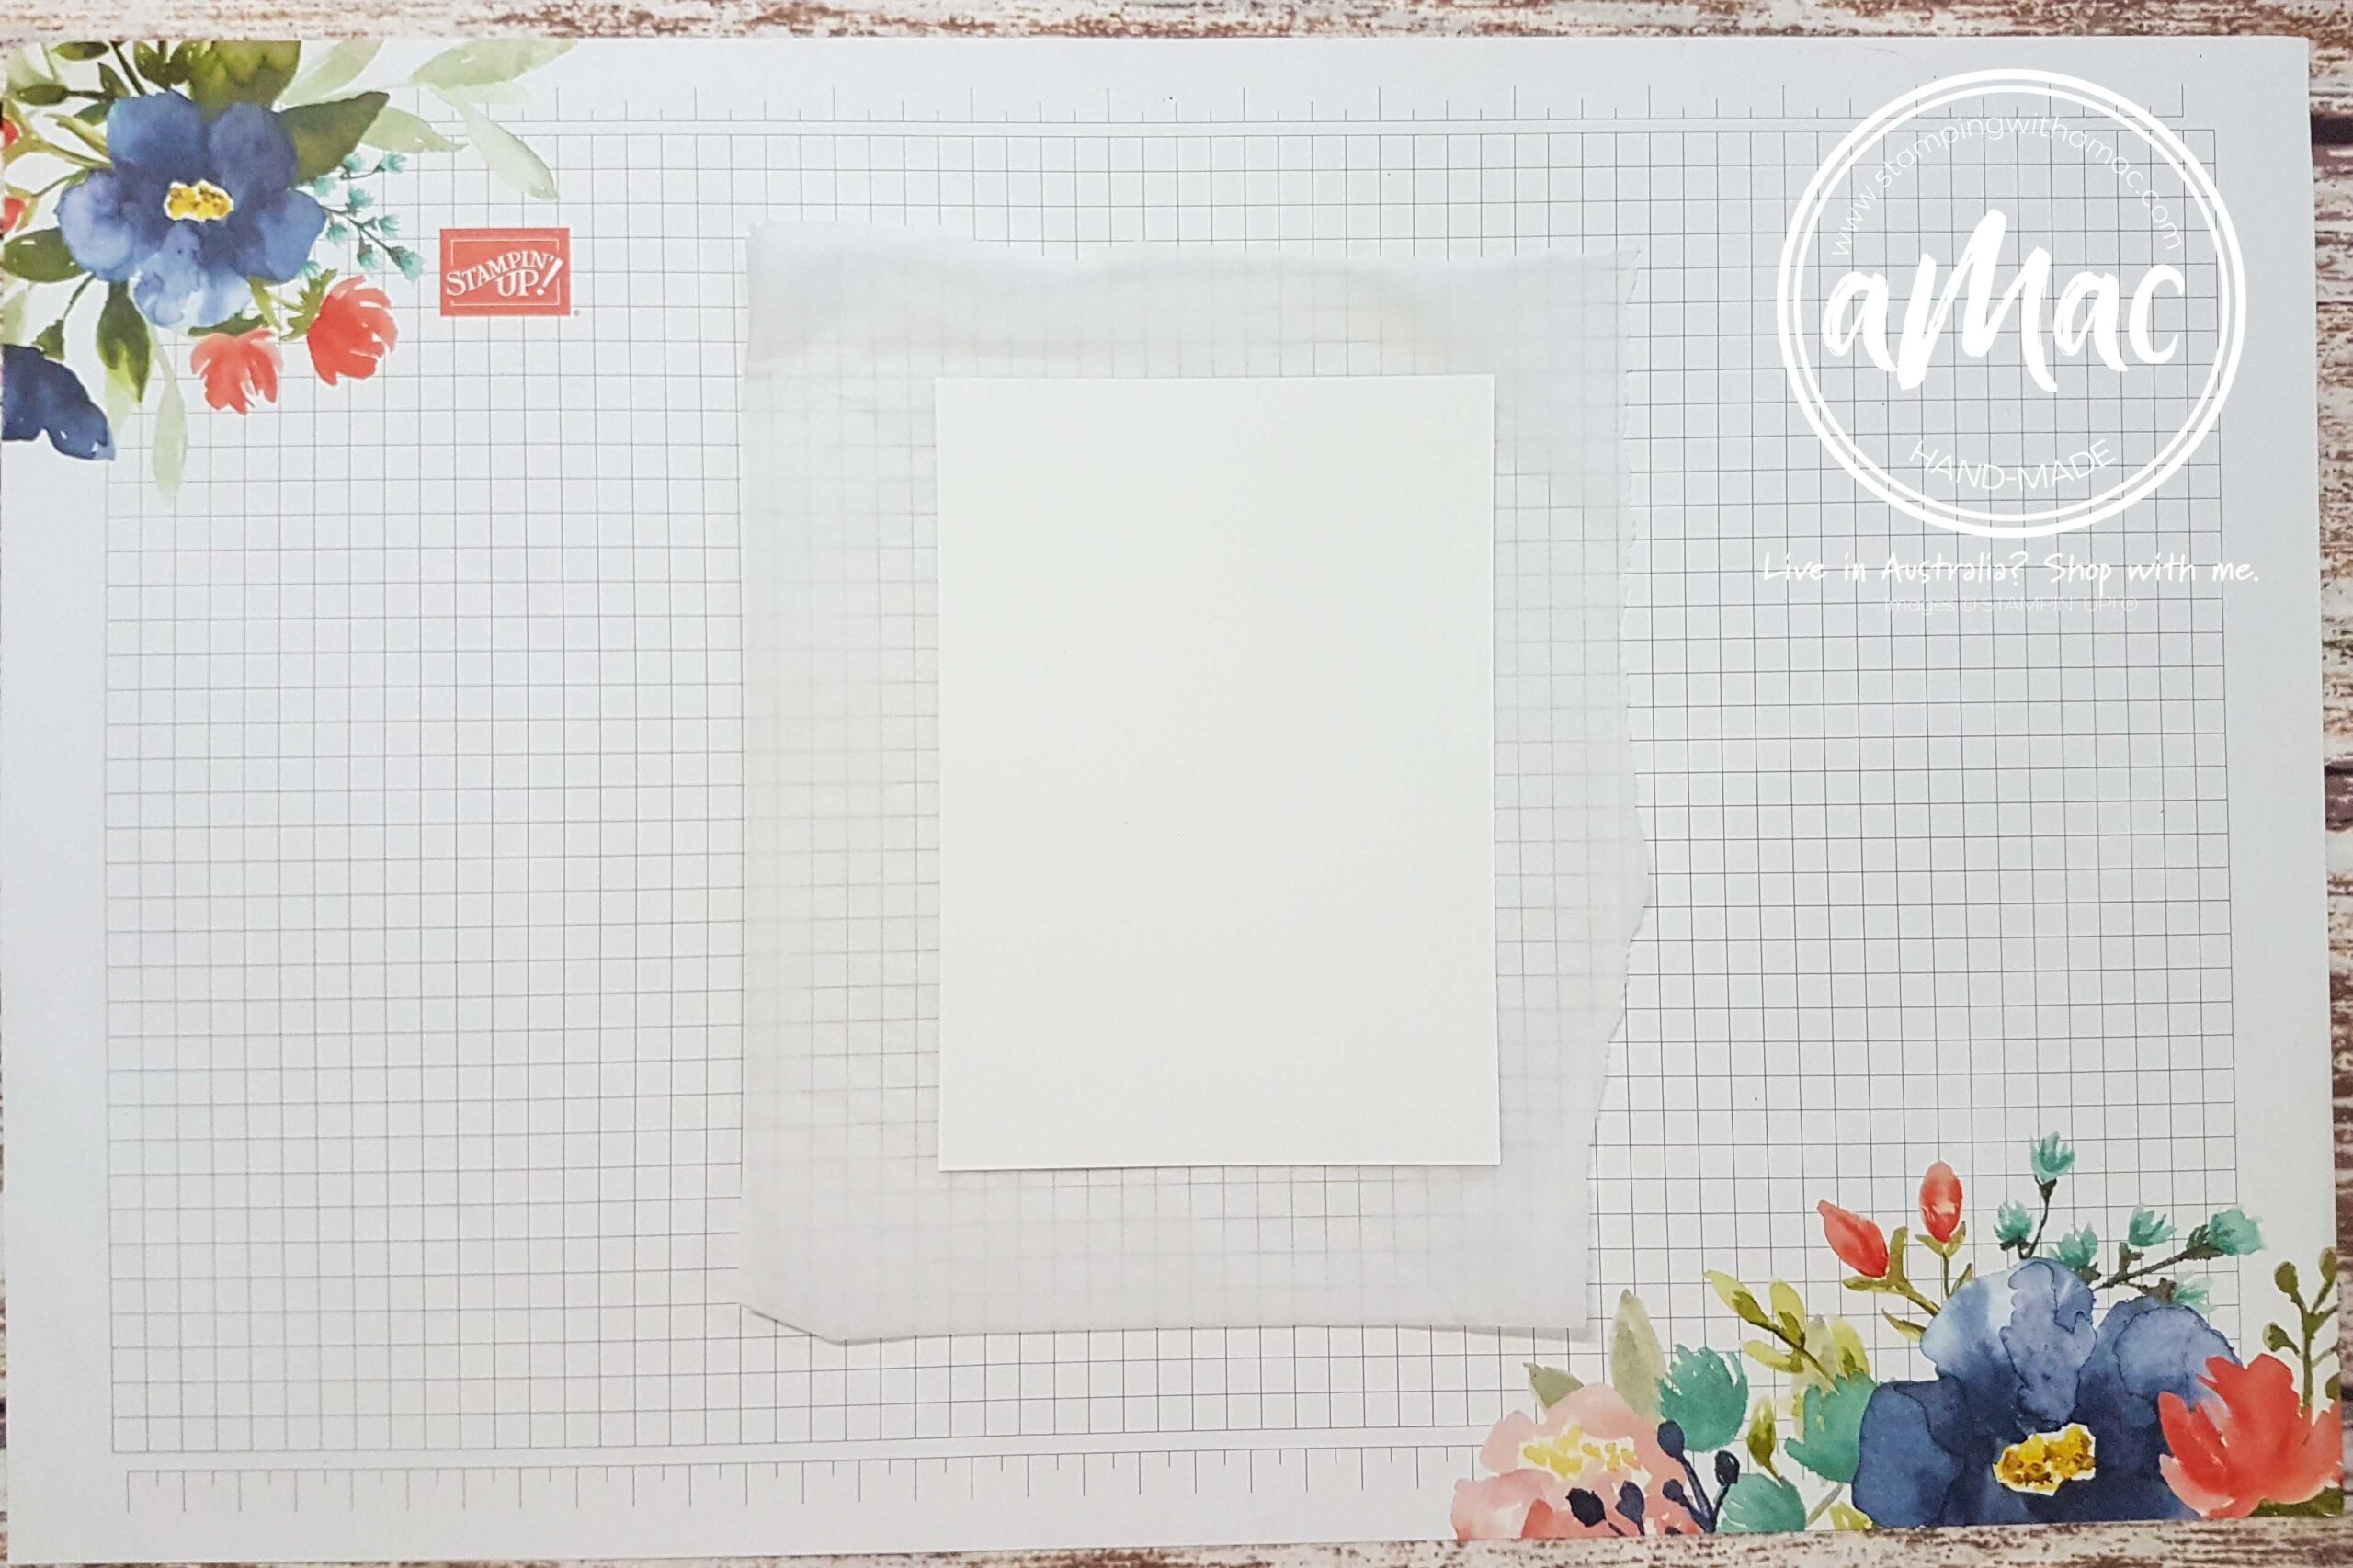
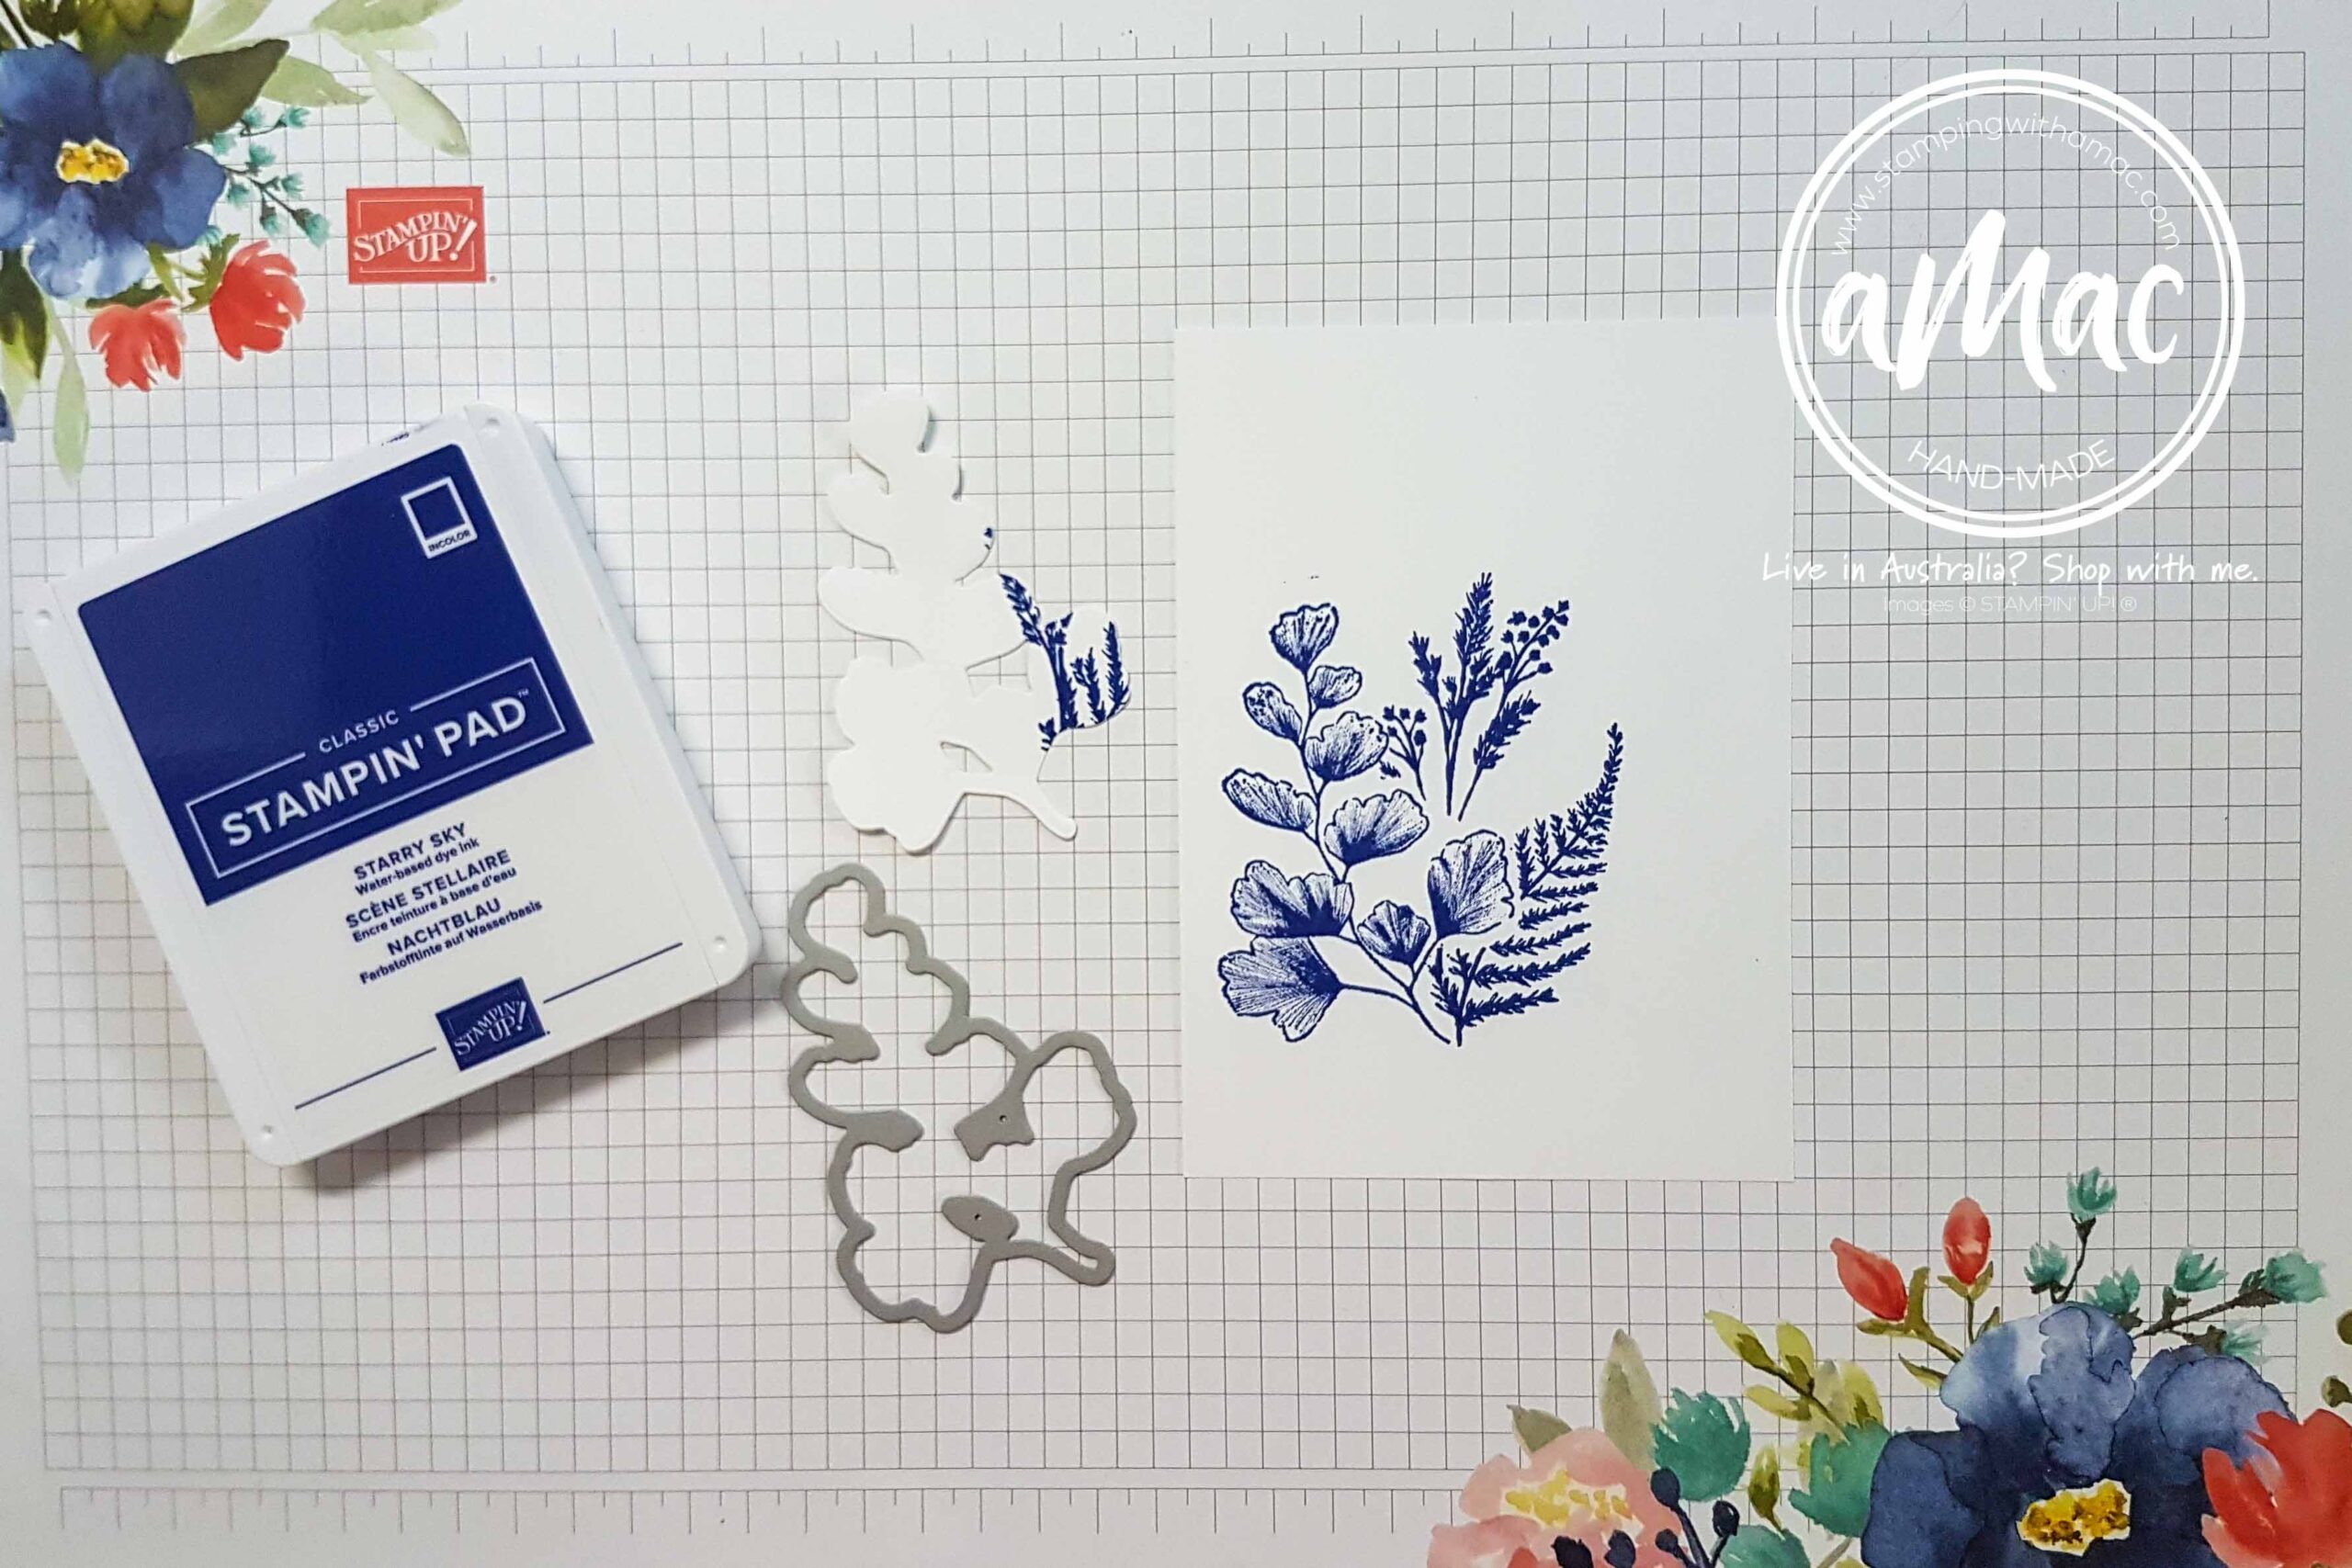
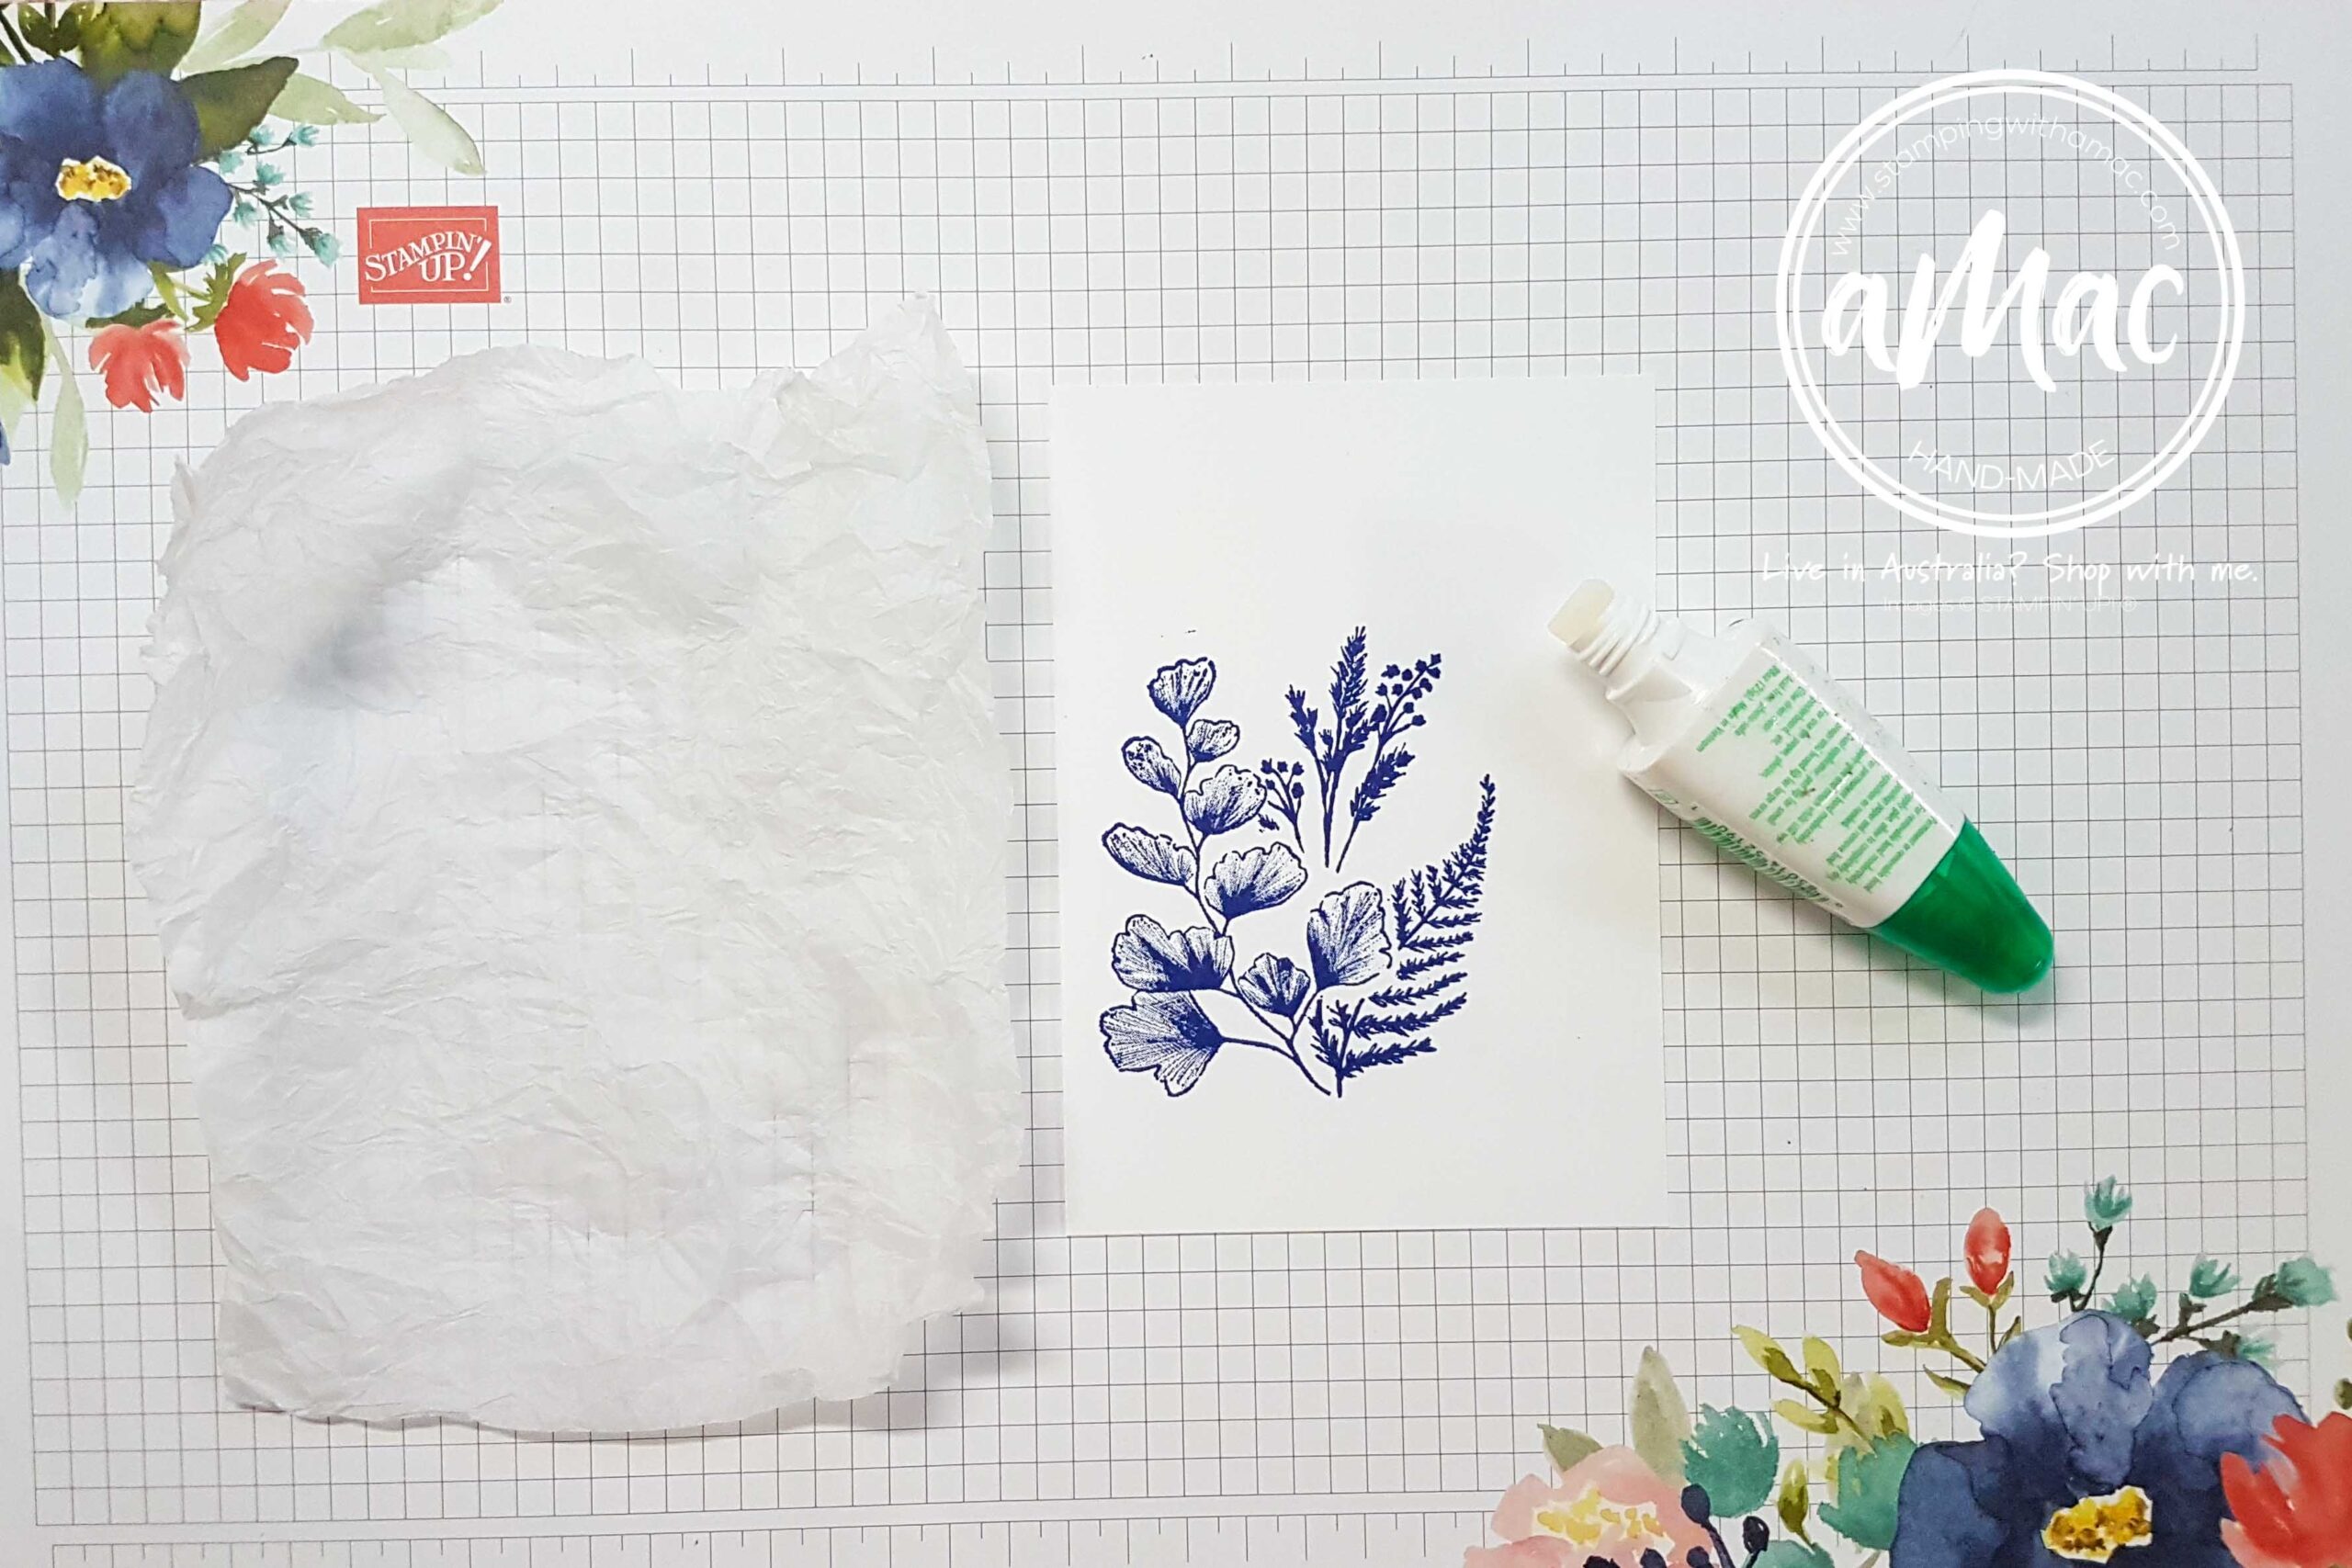
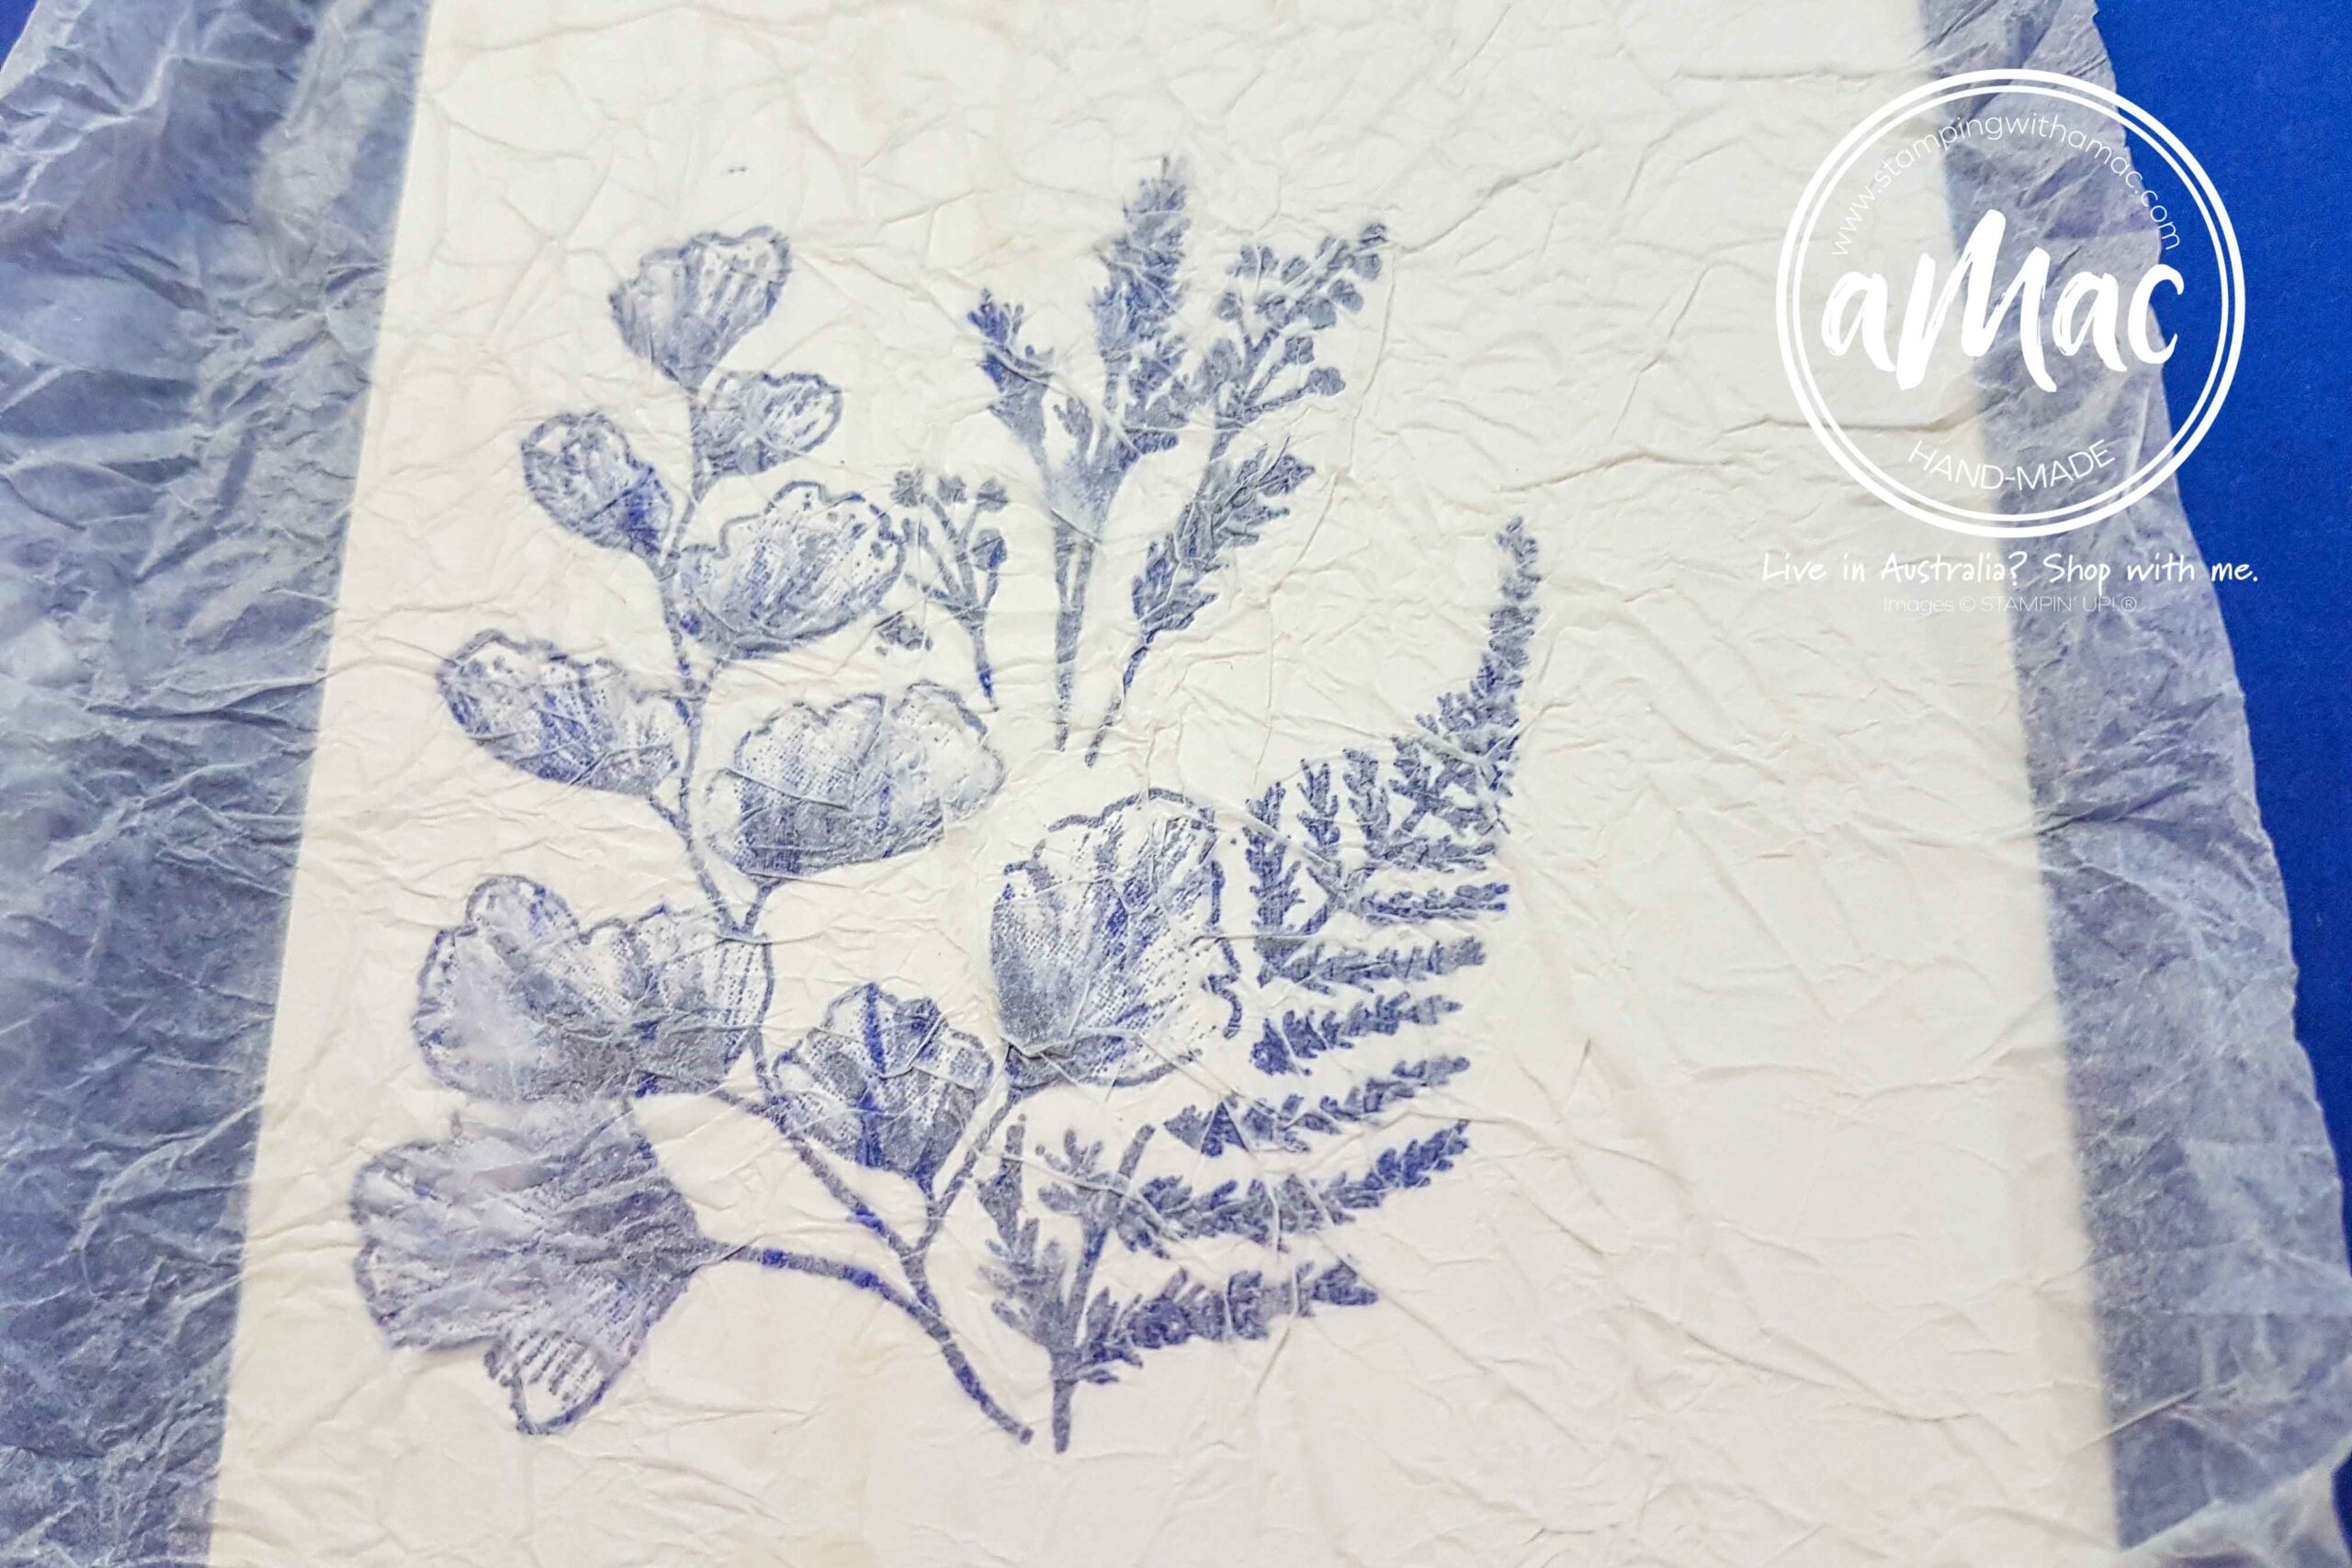
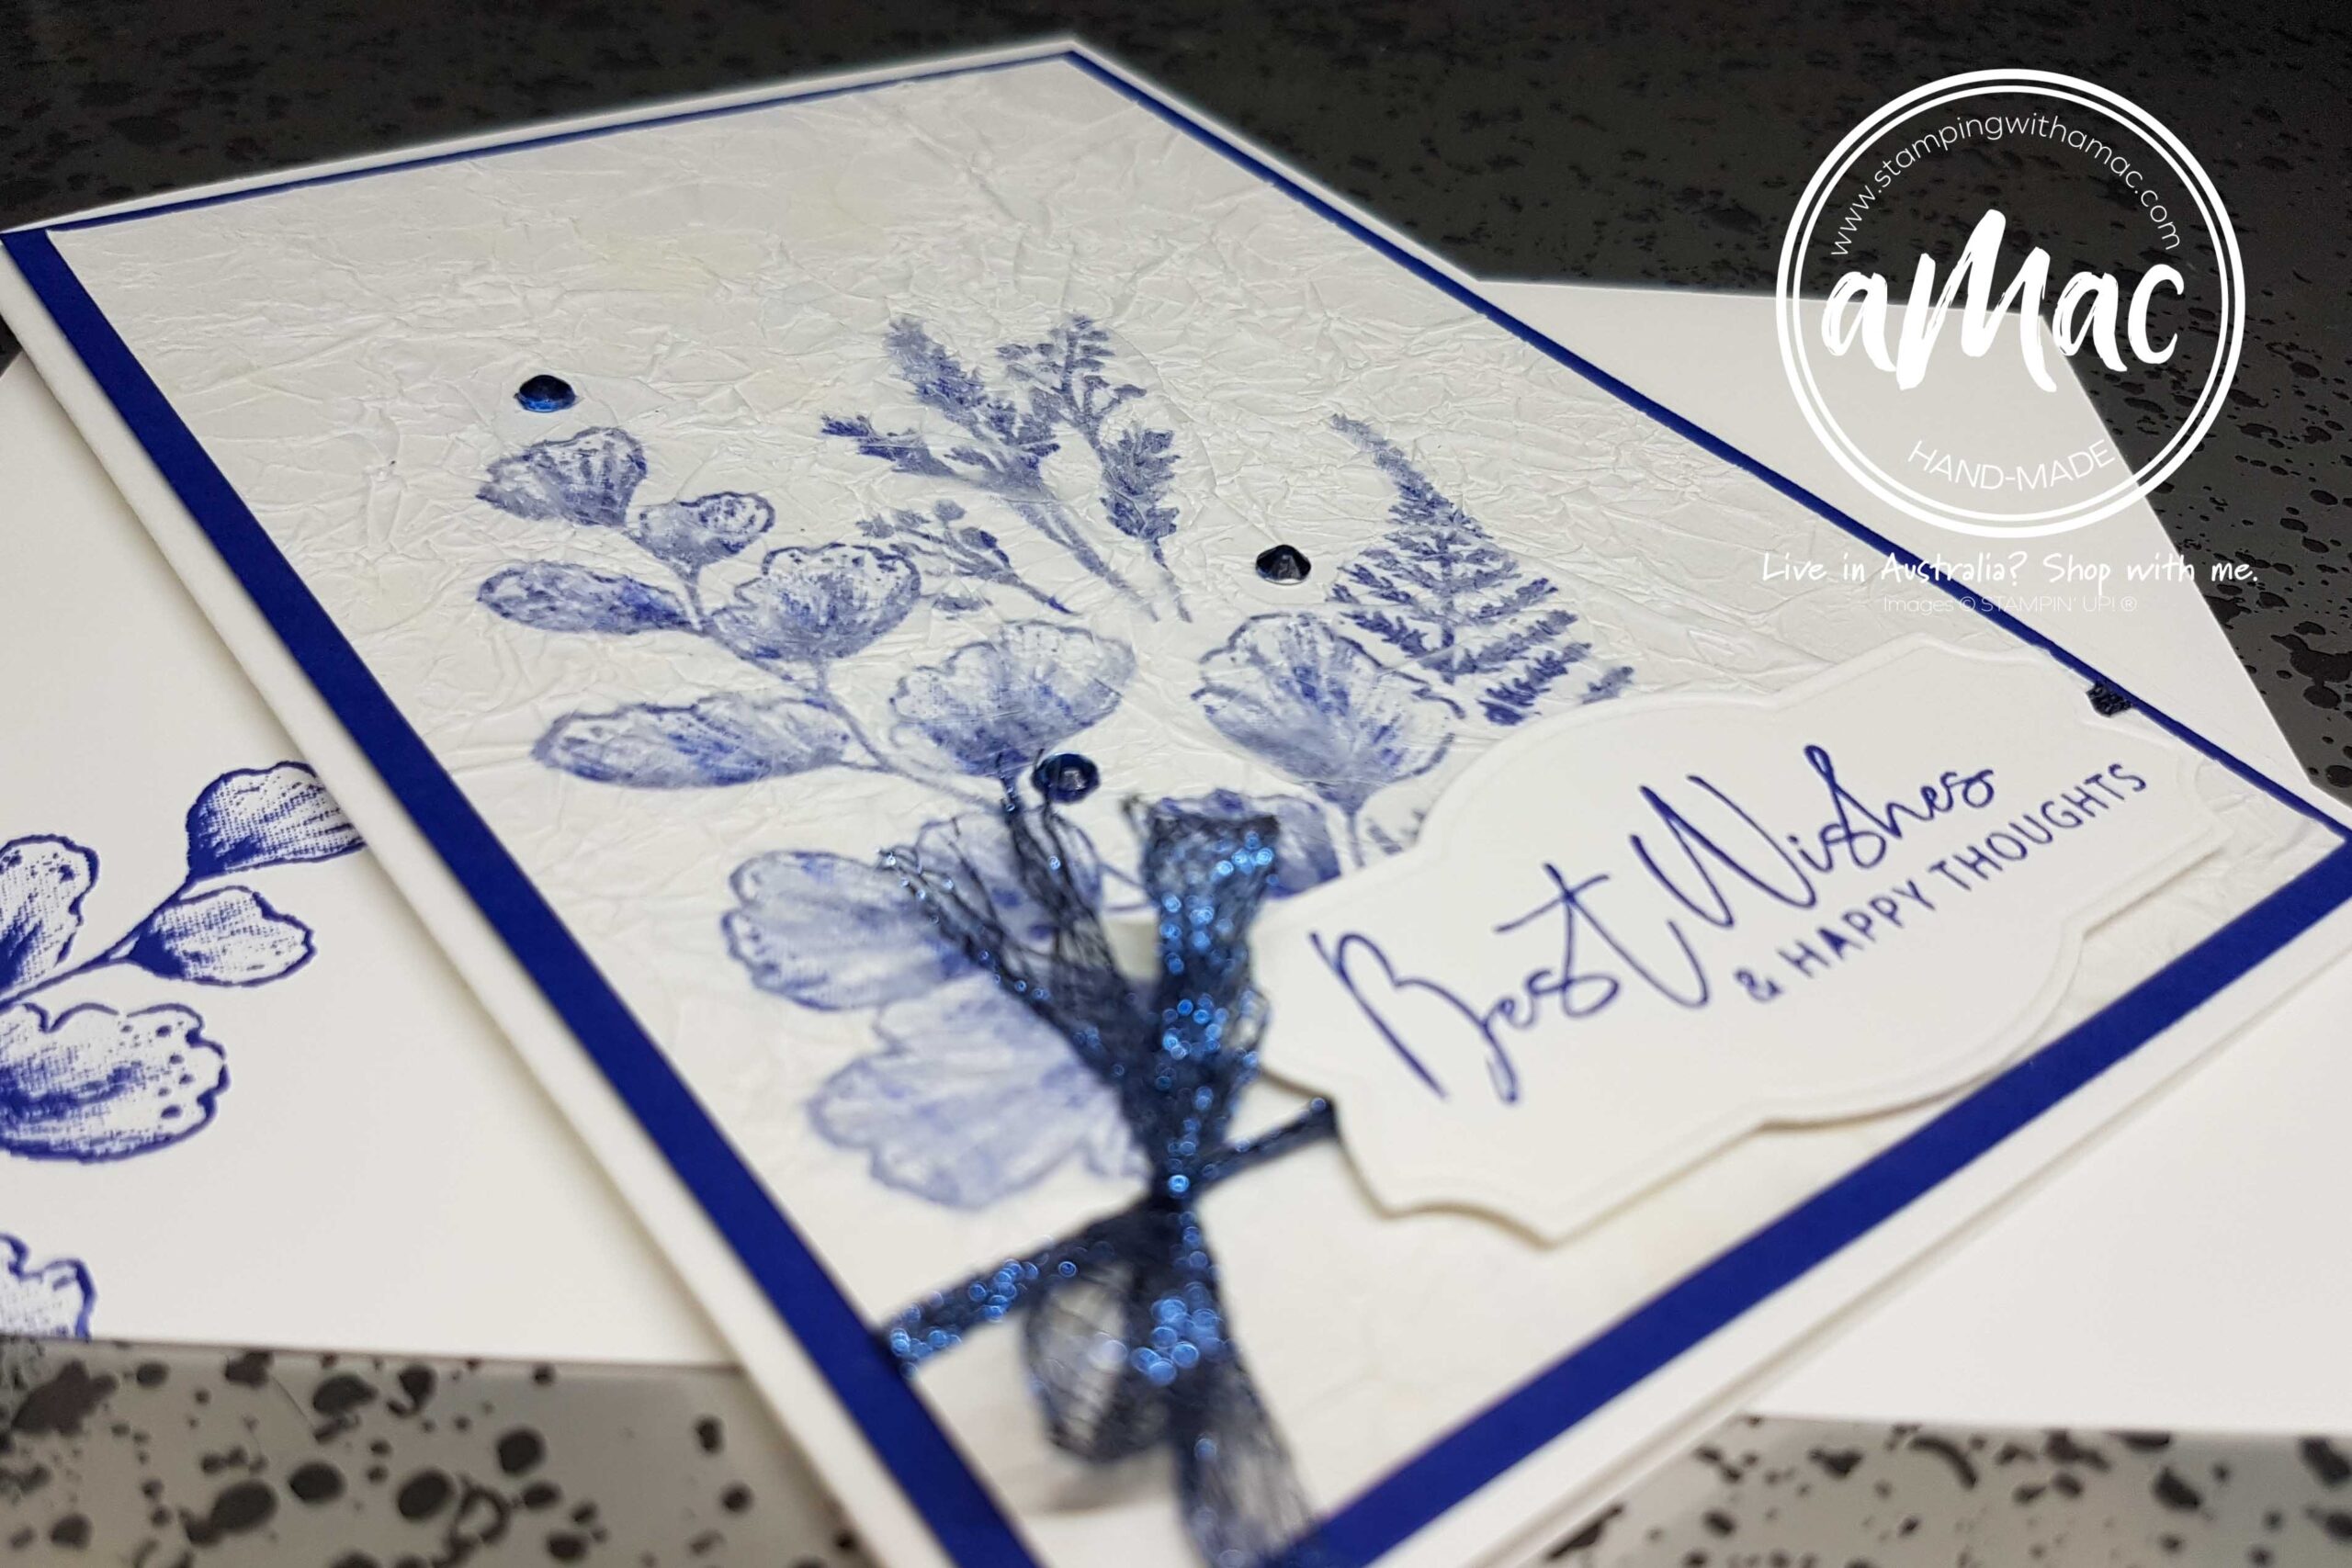
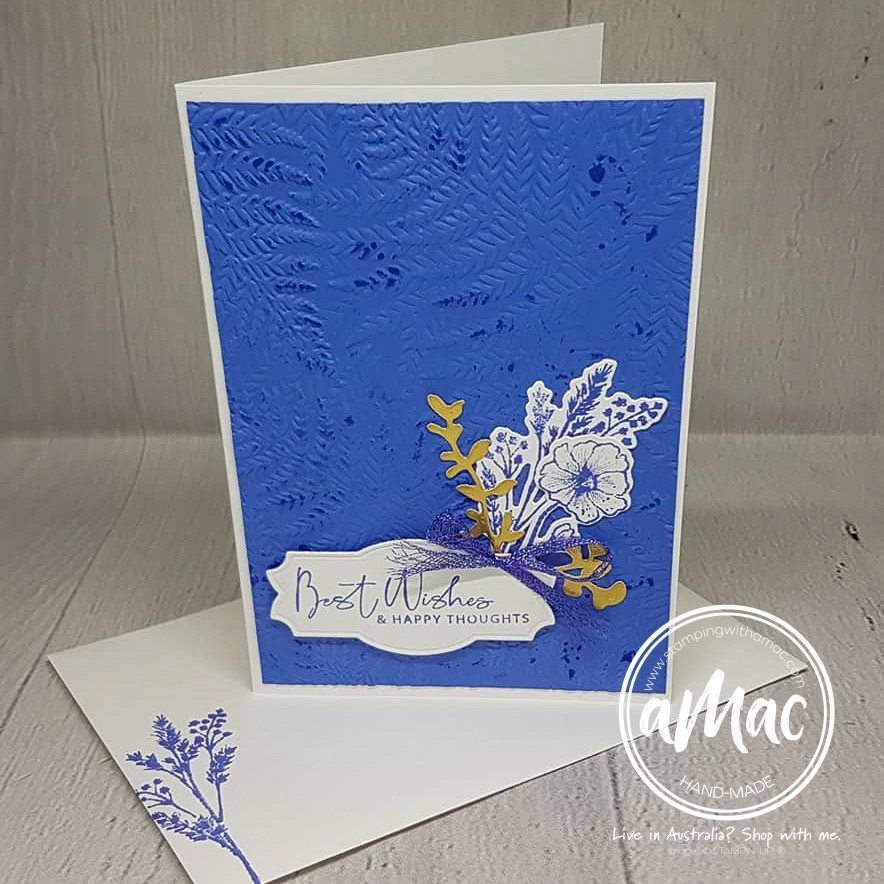
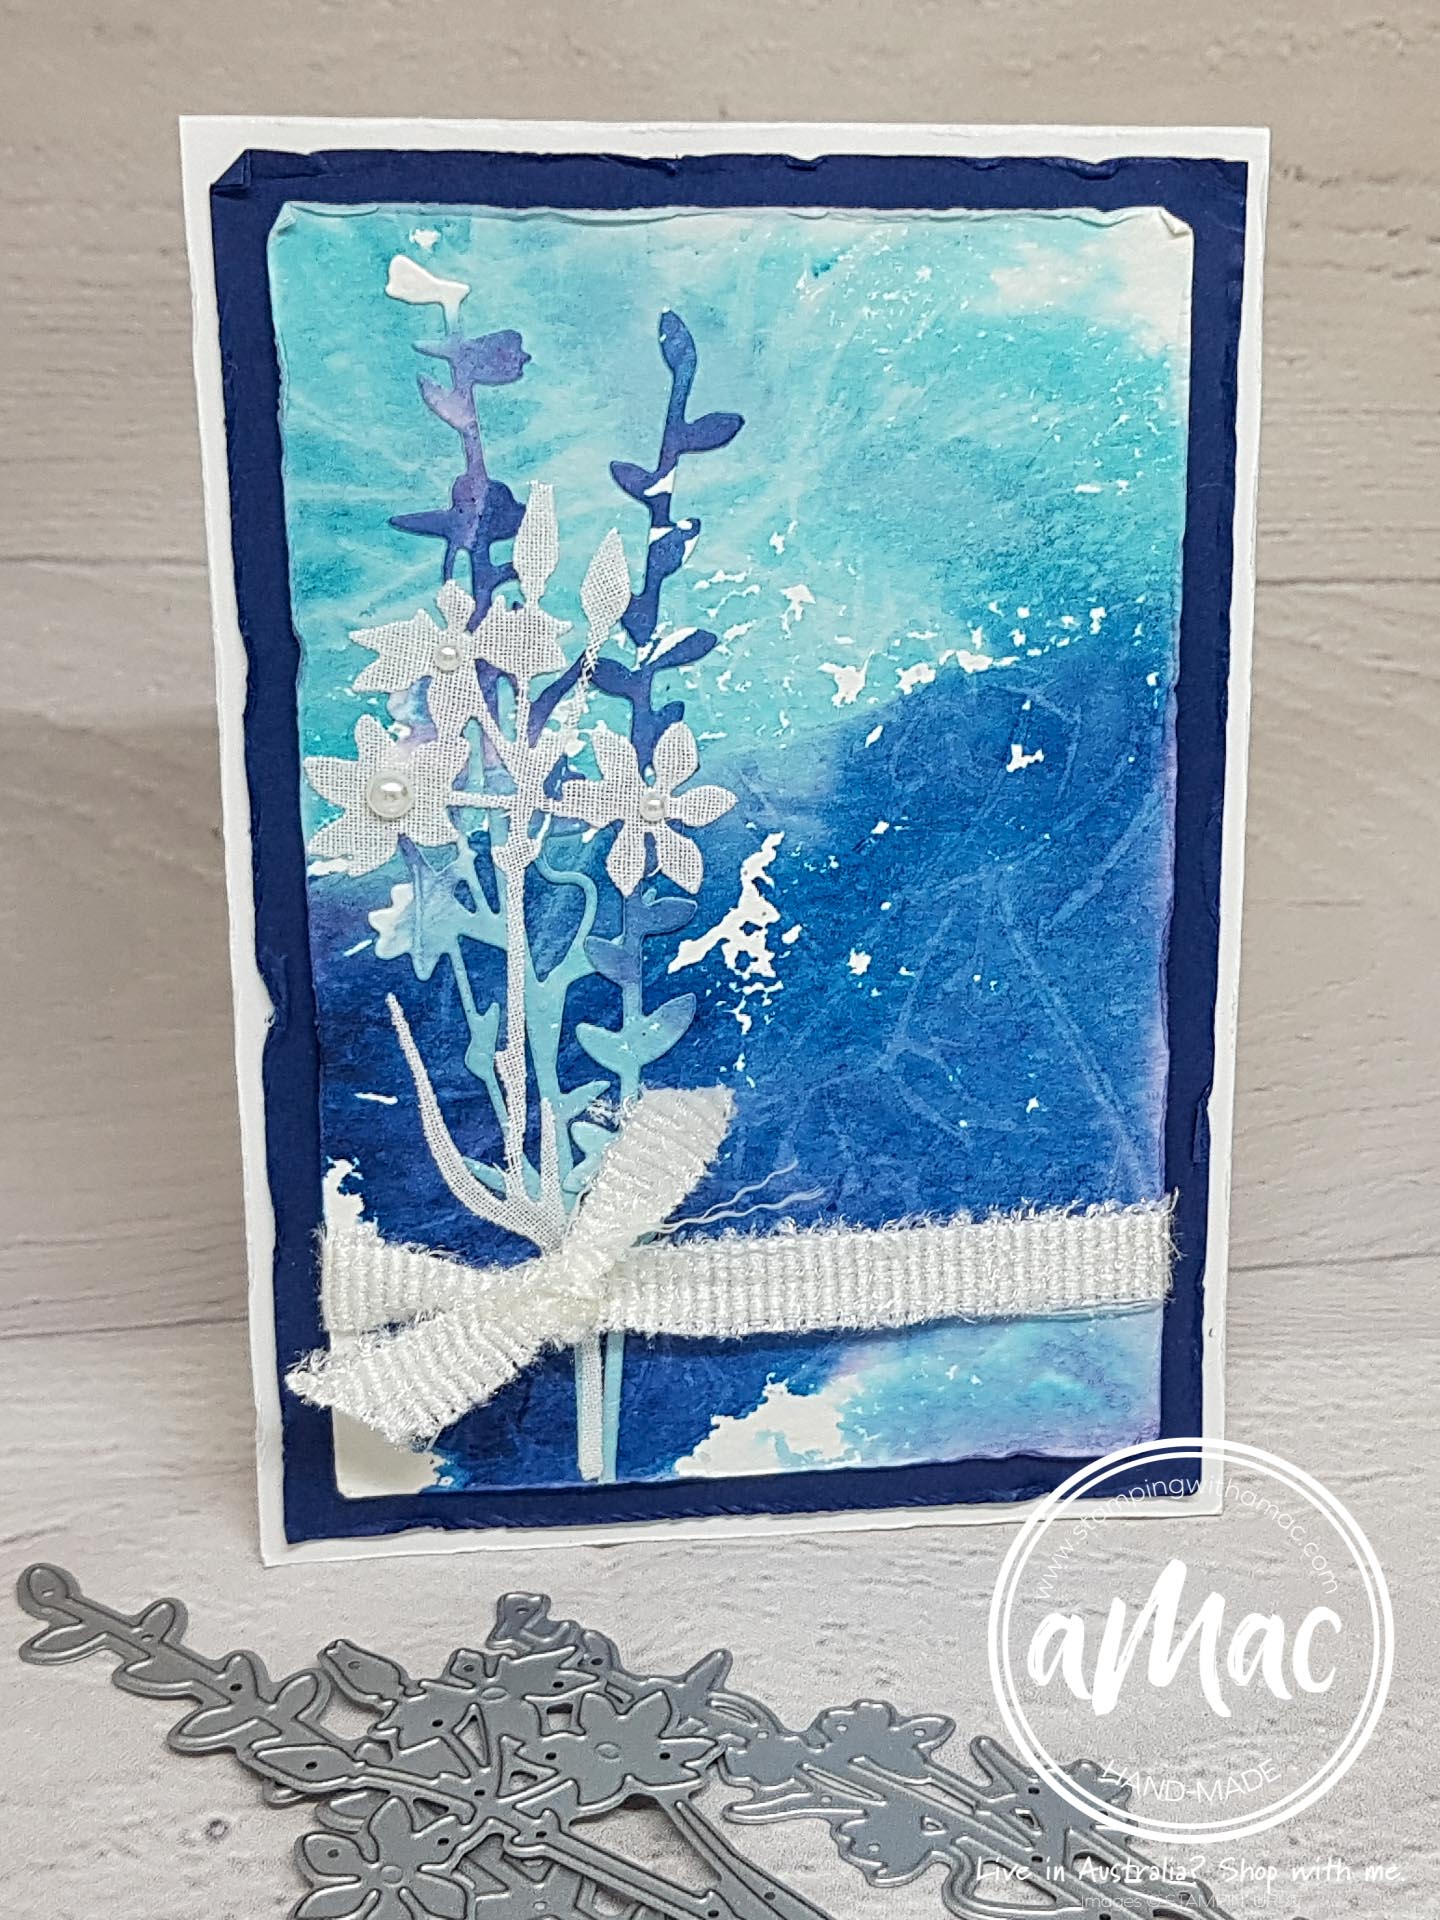
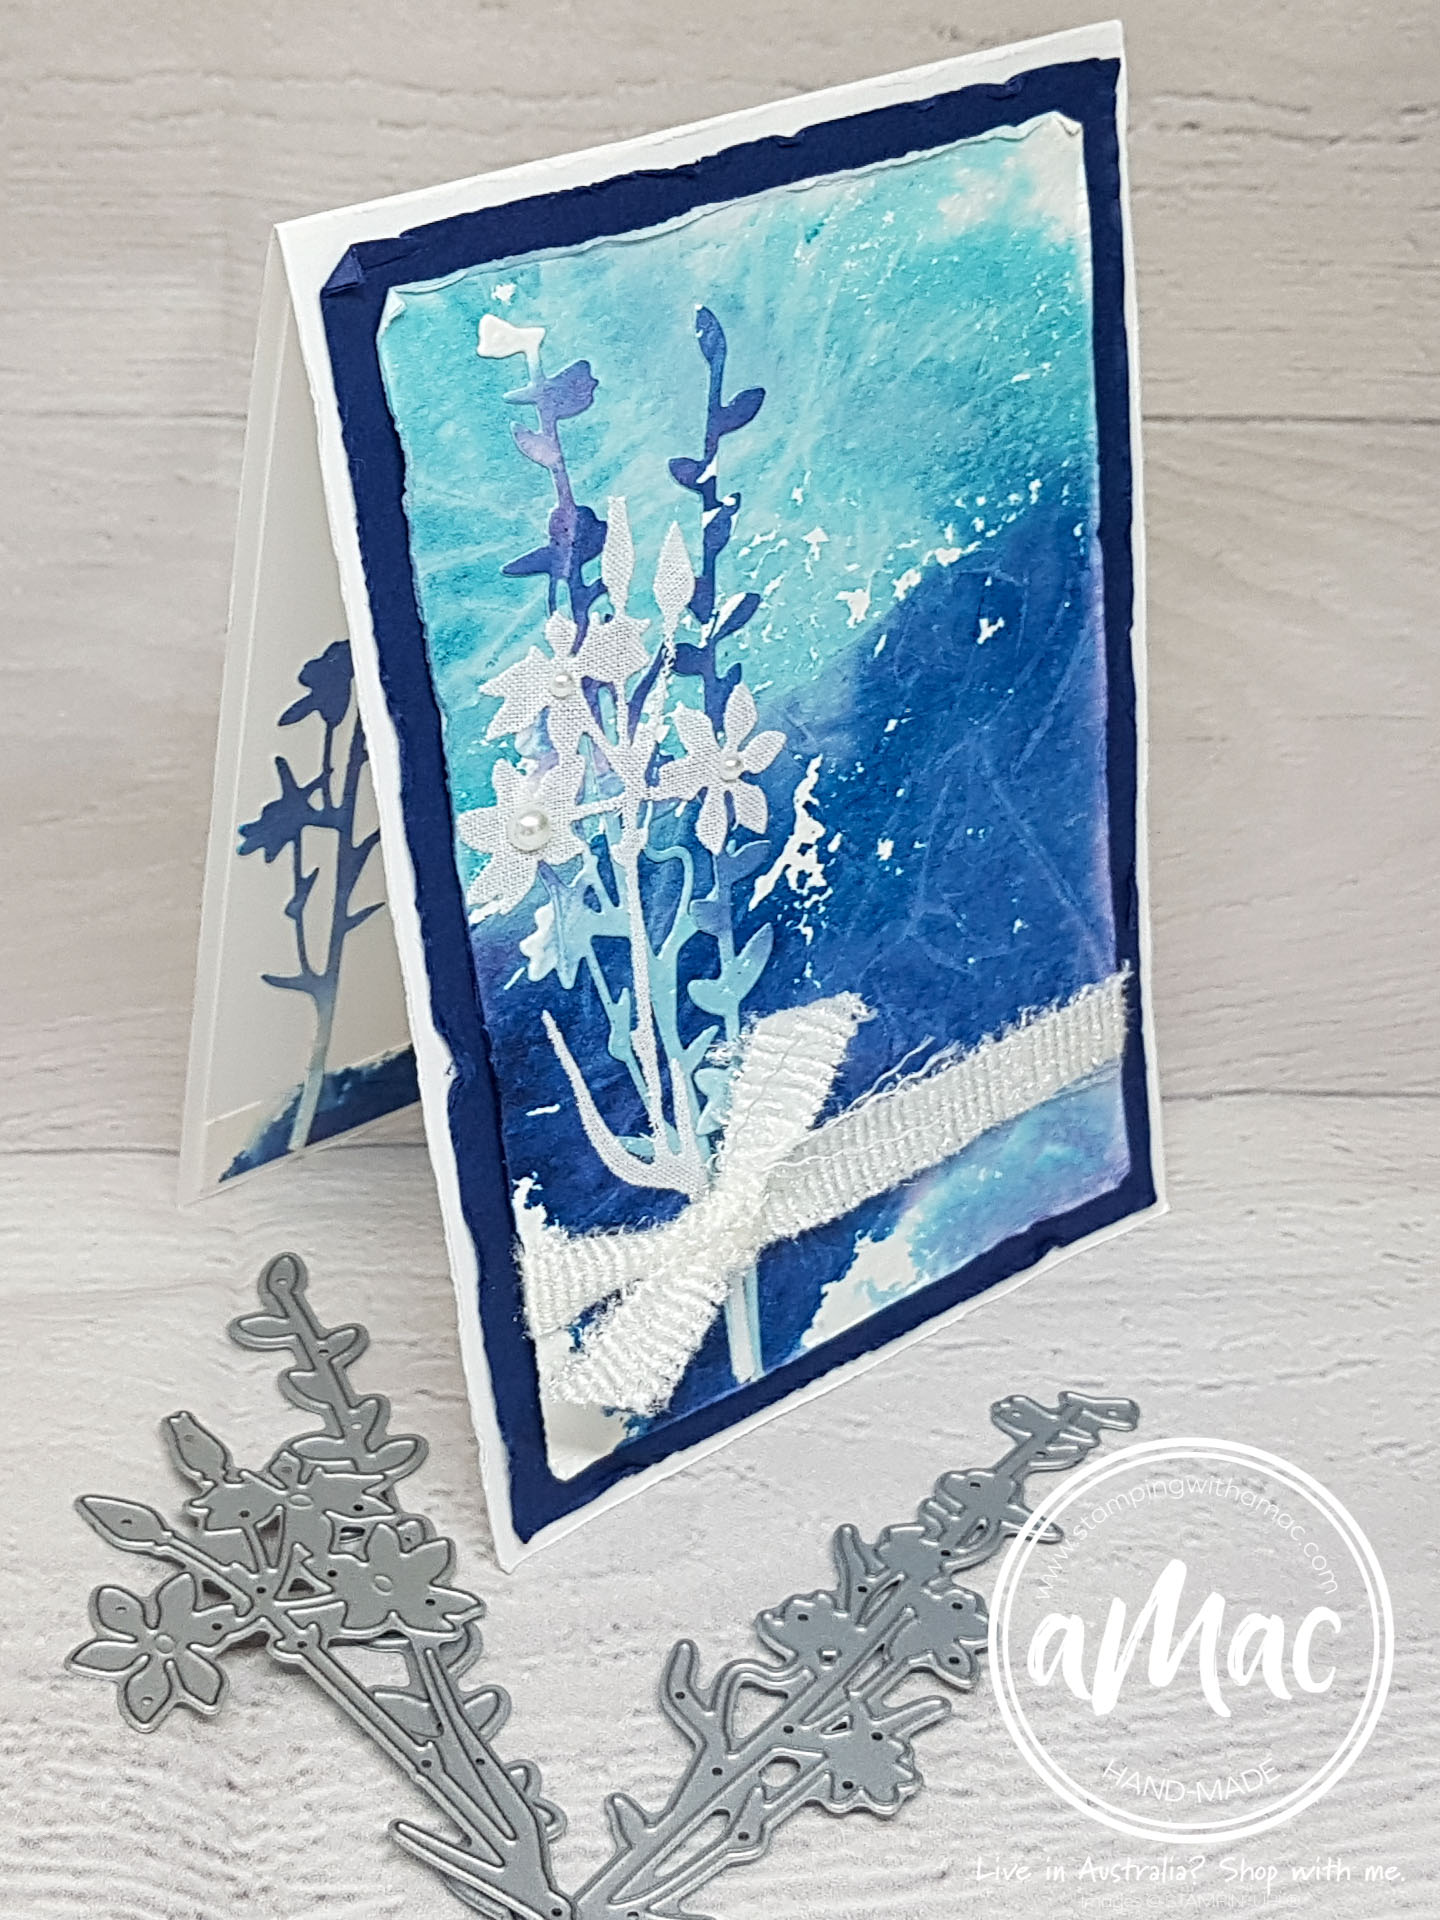
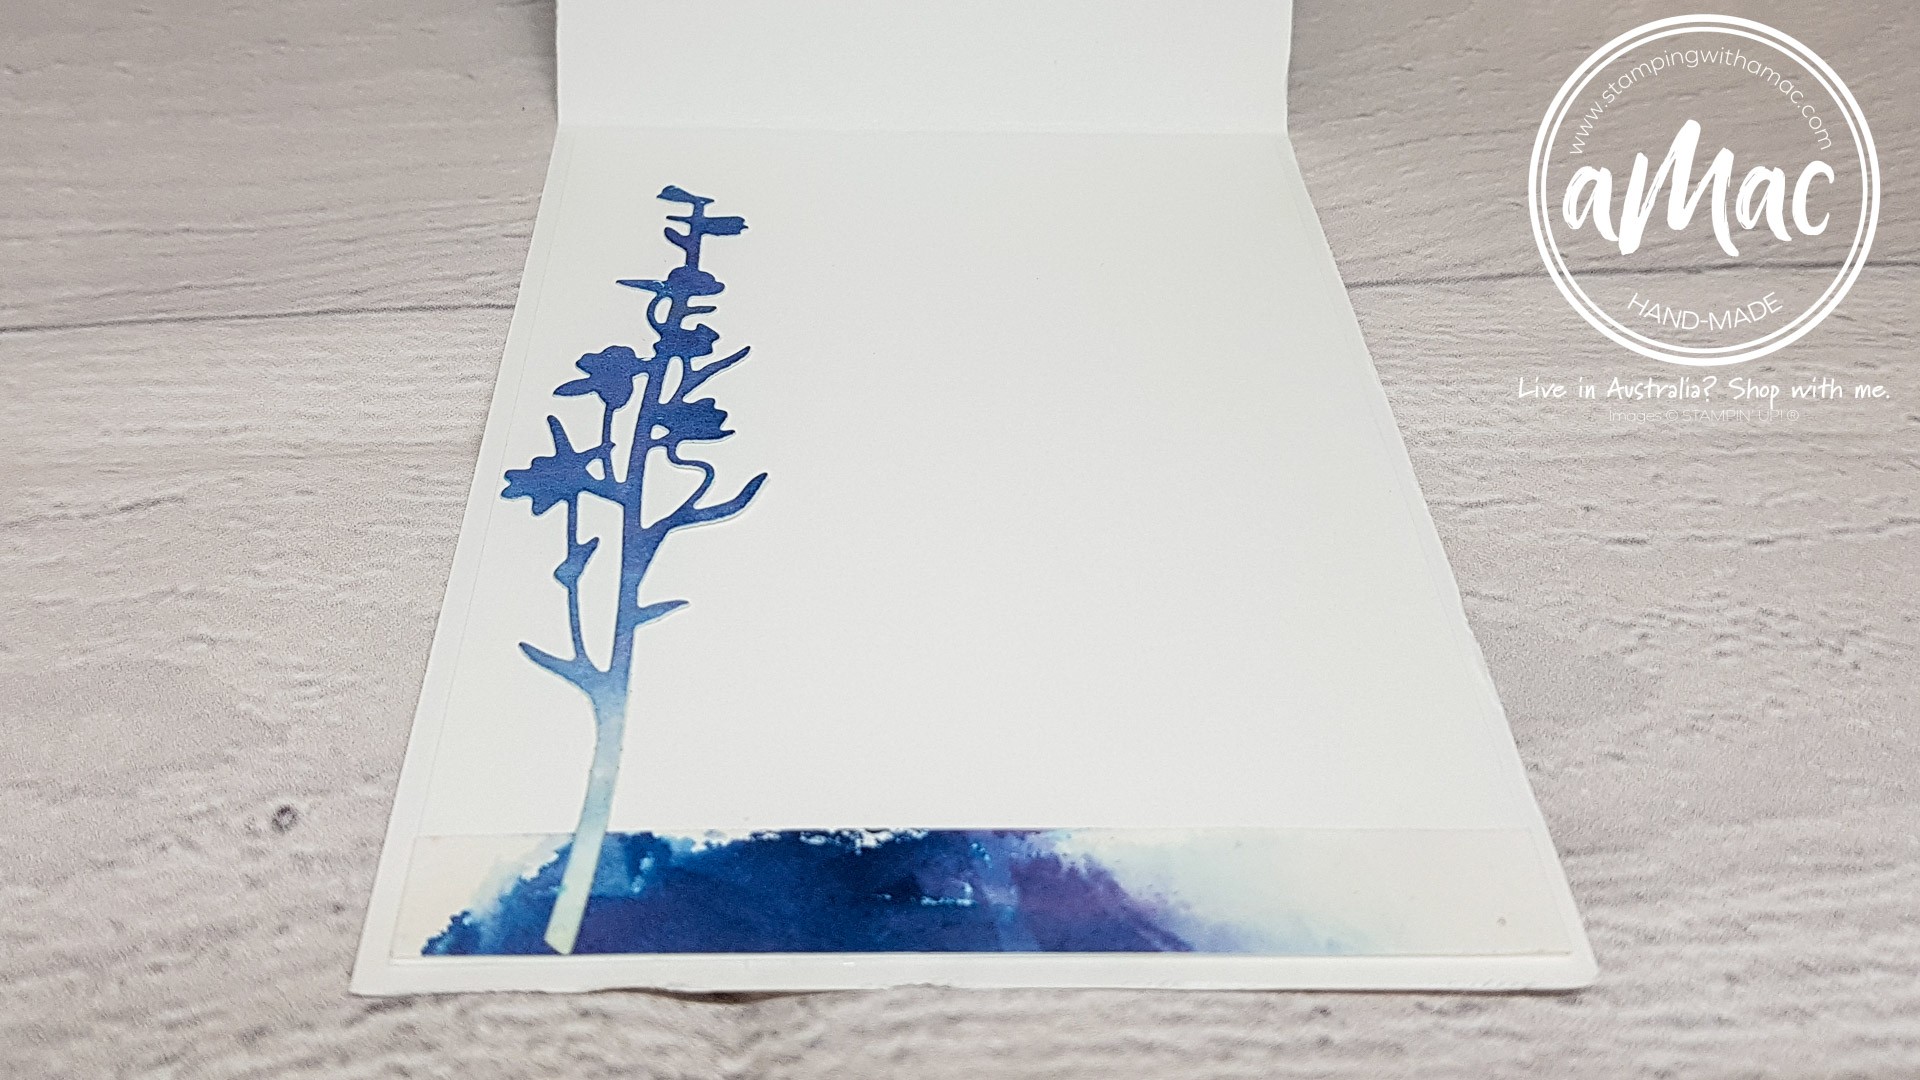
Faux Silk Technique
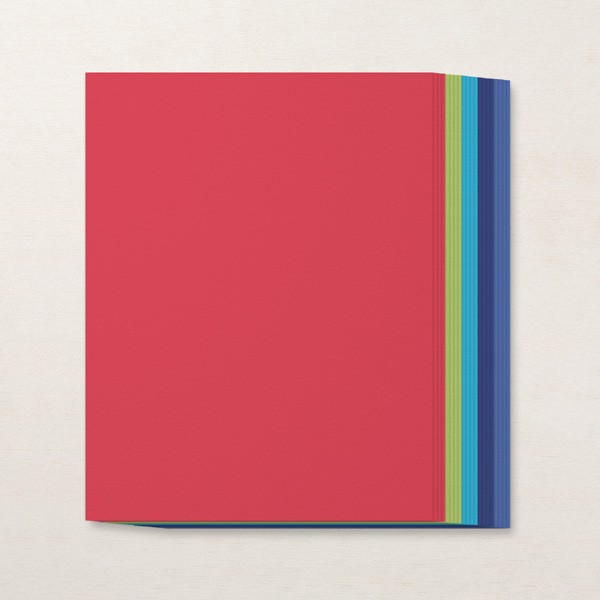
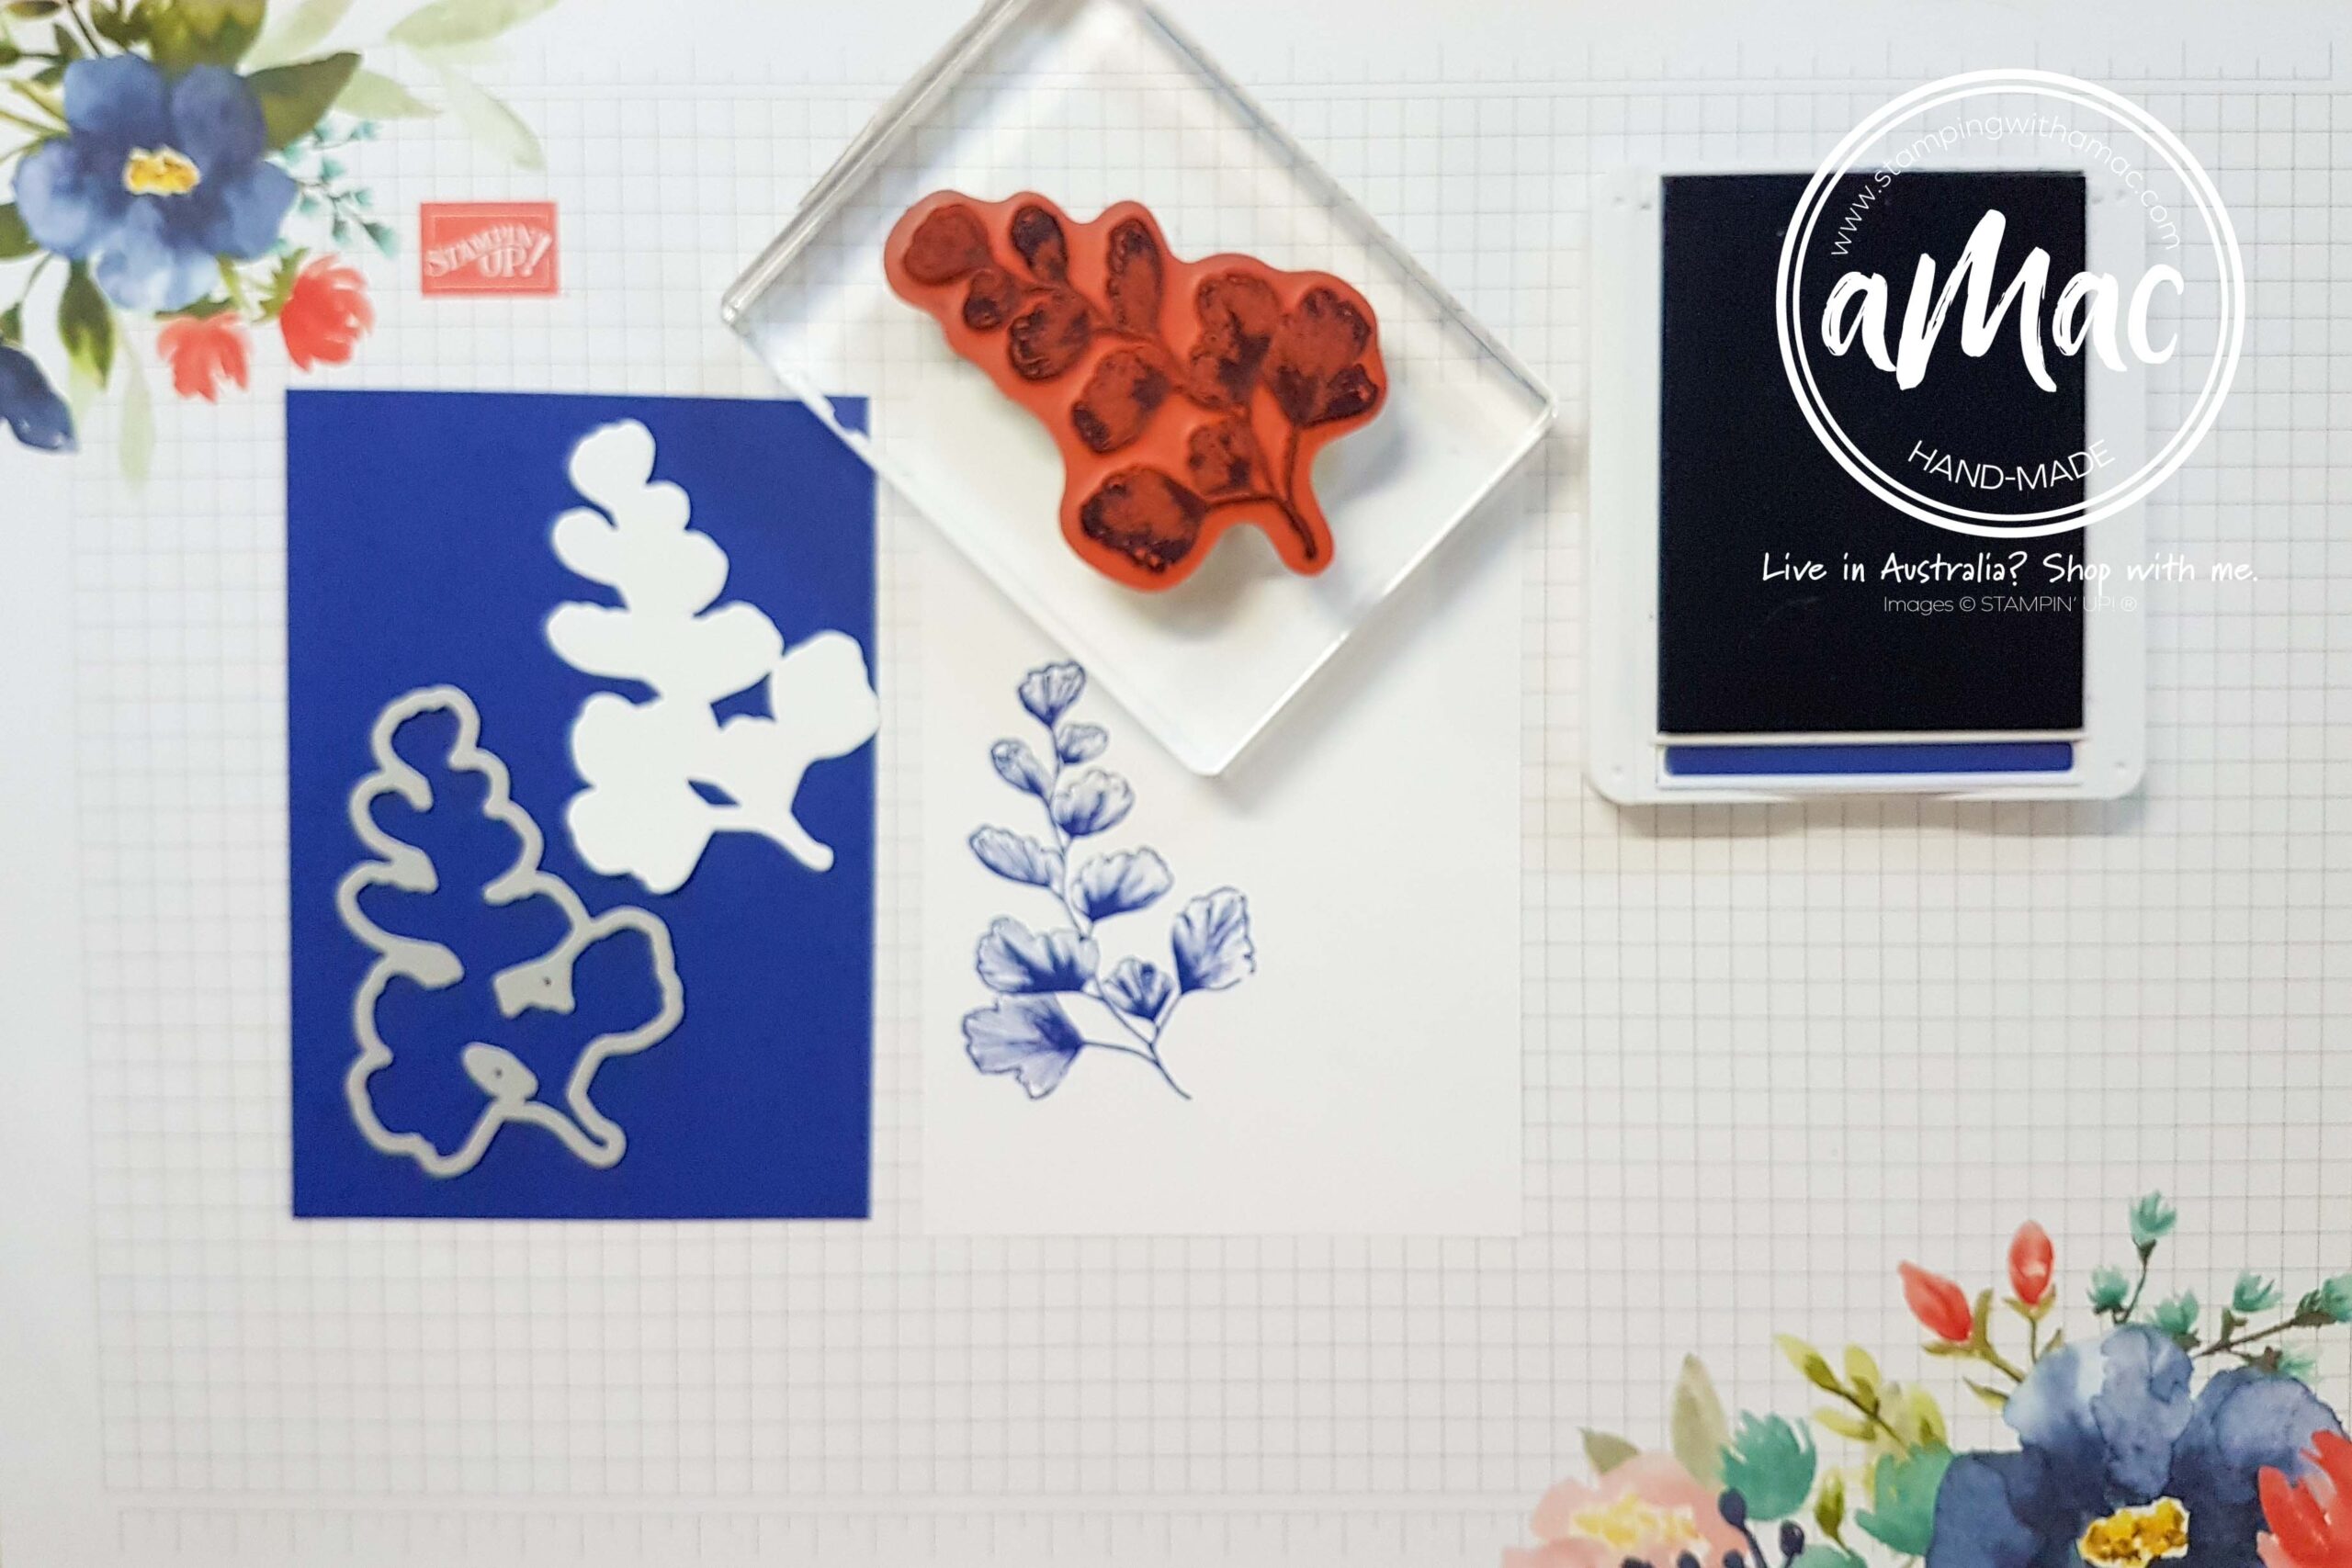
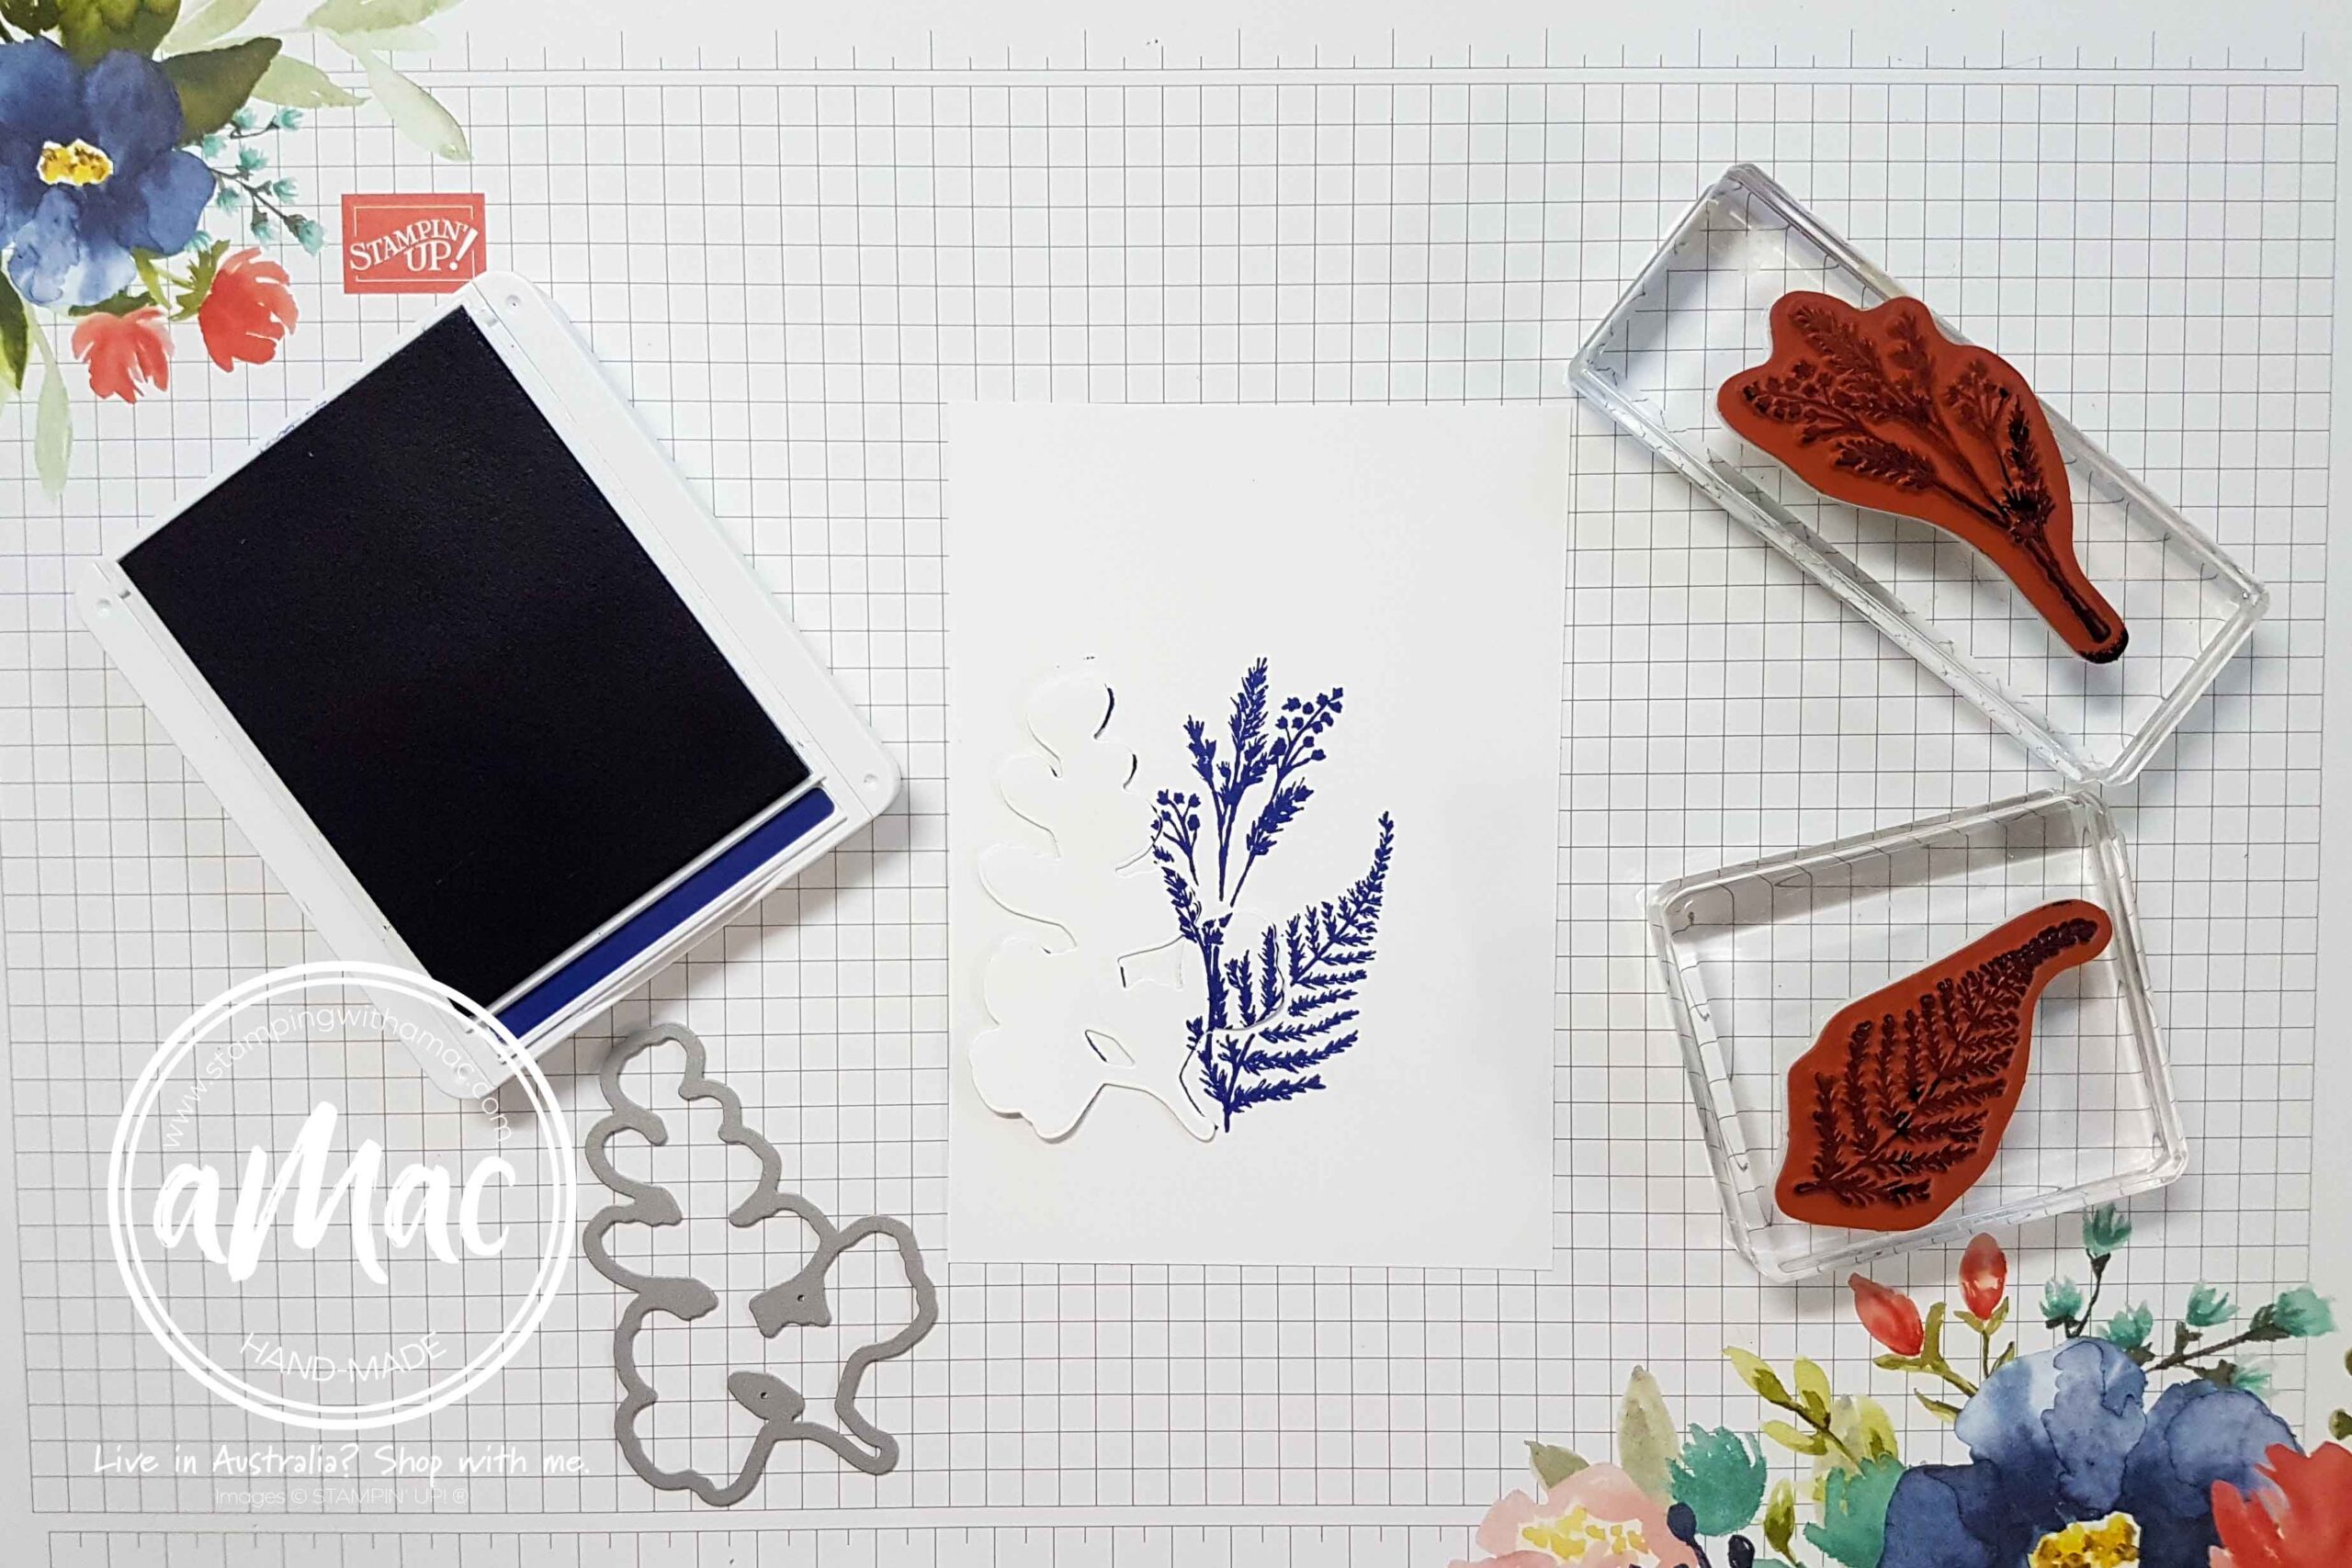
Product used to create this card


")


-
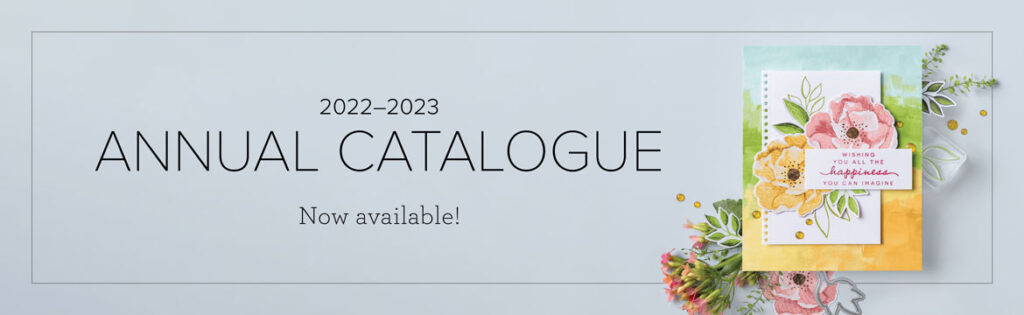
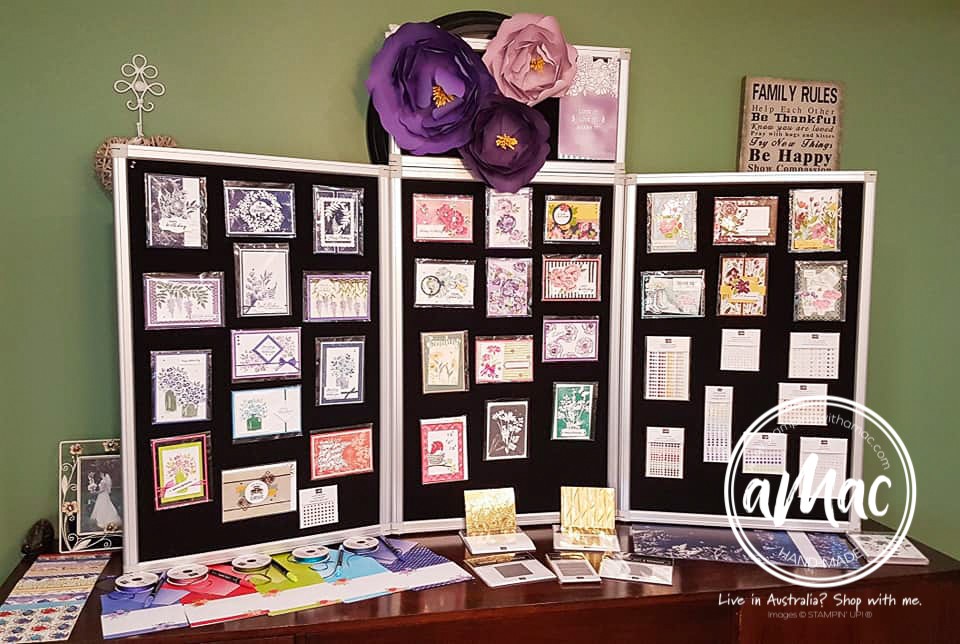
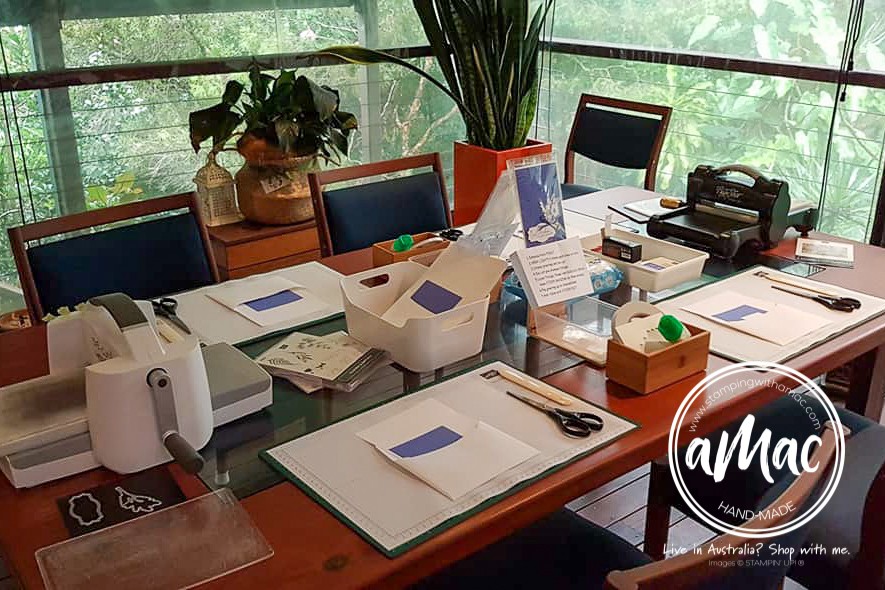
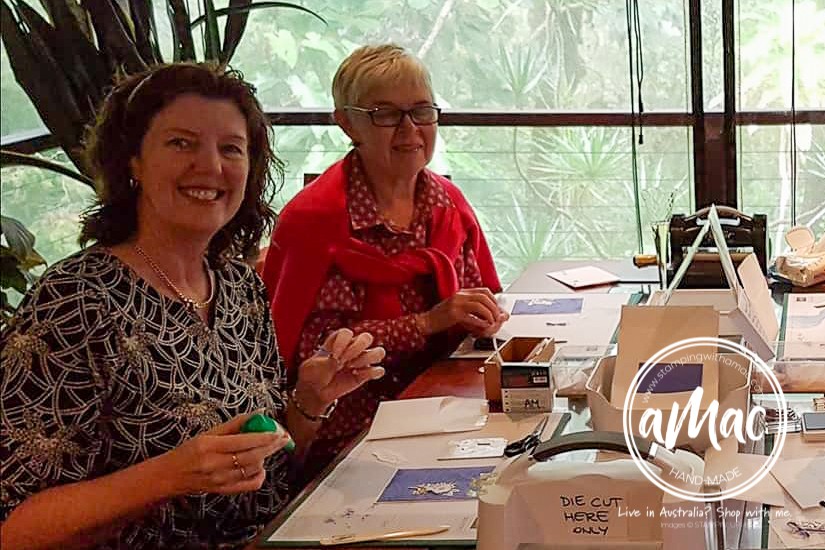
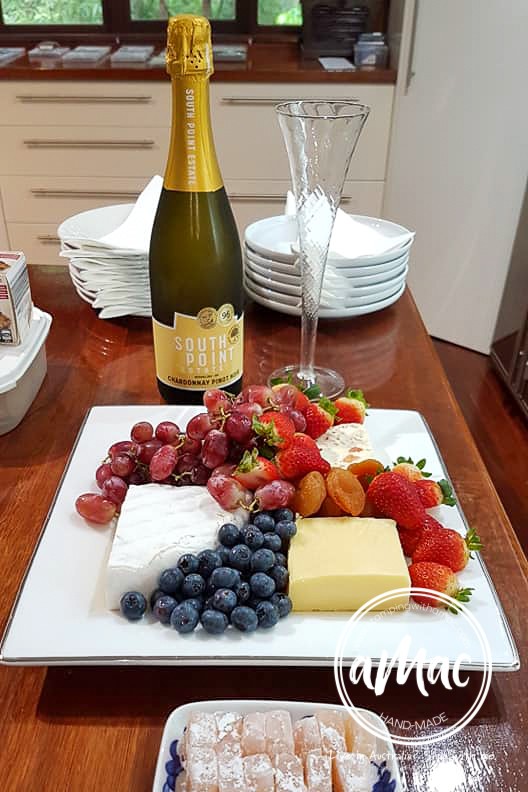
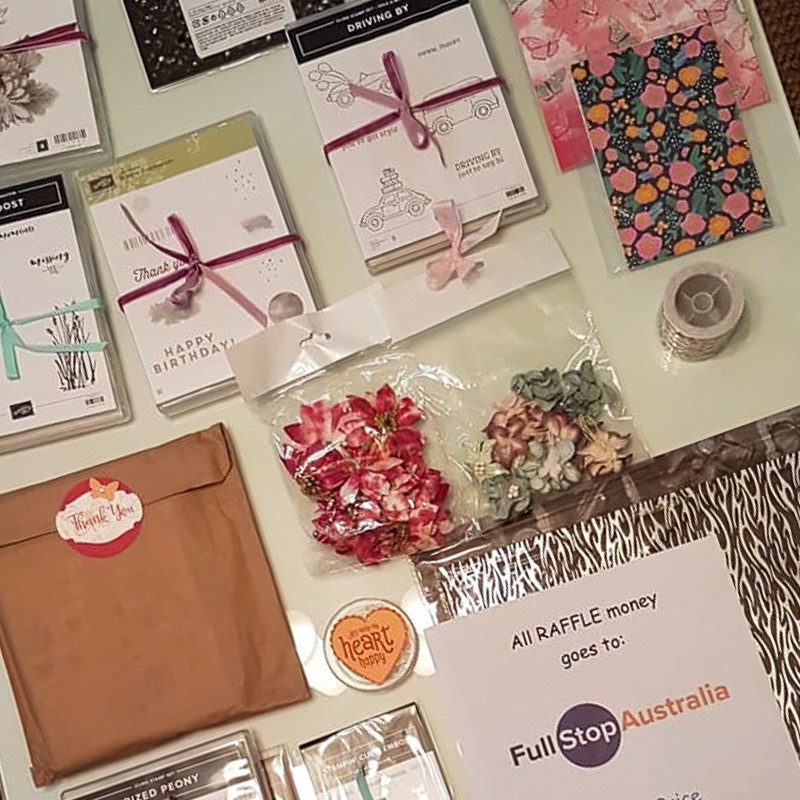
2022 Wine and Cheese Fundraiser | Catalogue Launch
-
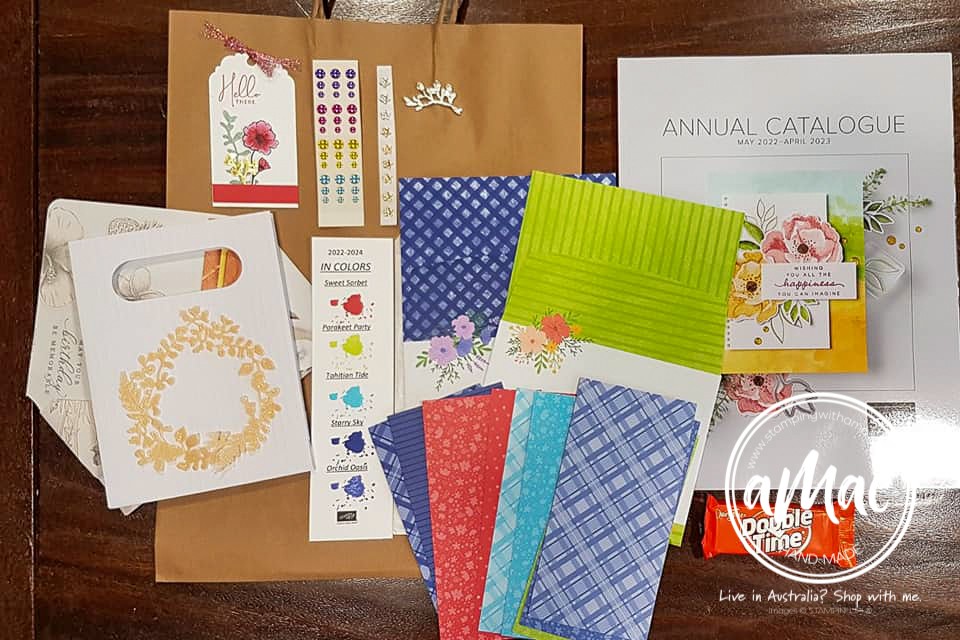
2022-2023 Annual Catalogue Now Available!
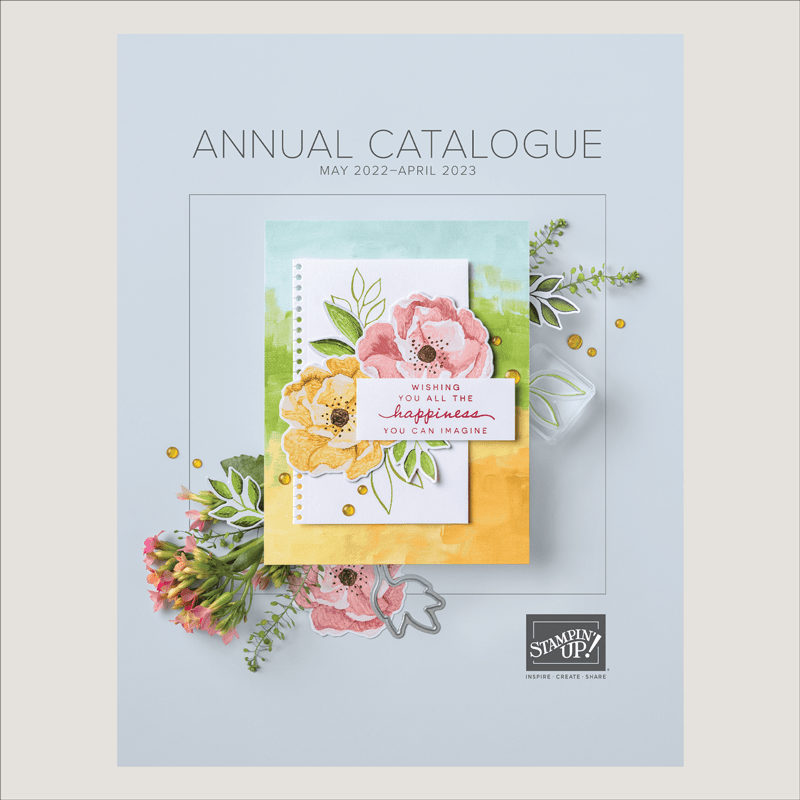
Click the image to download PDF Catalogue 
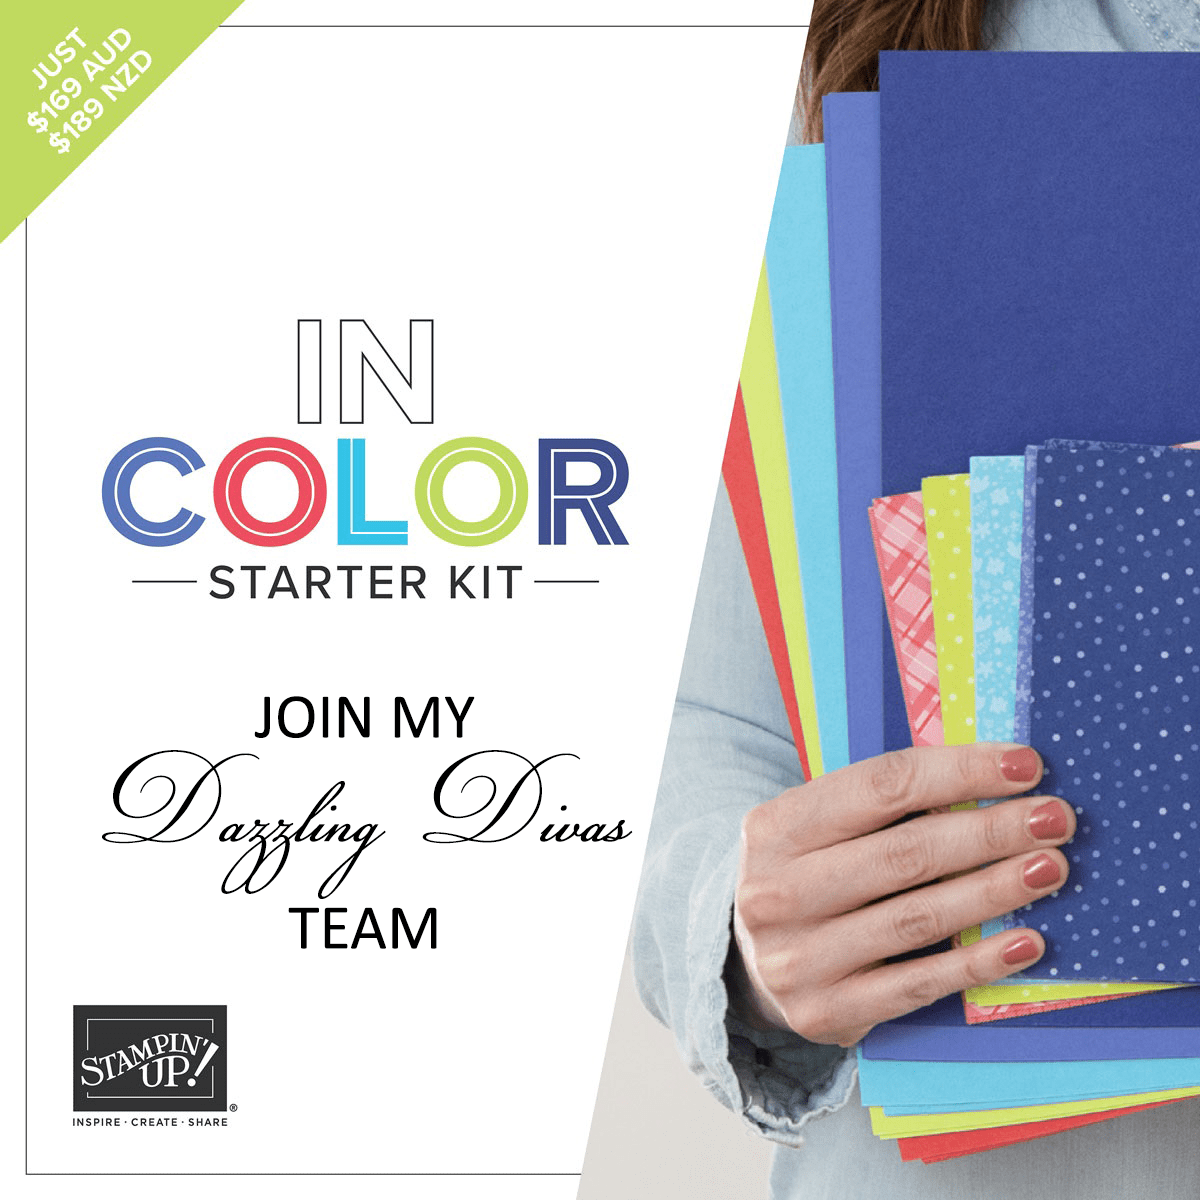
Click the image to join my Dazzling Divas team 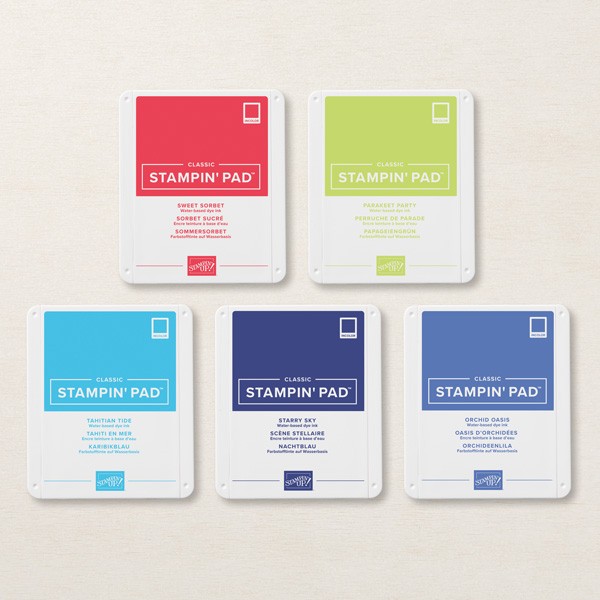

-
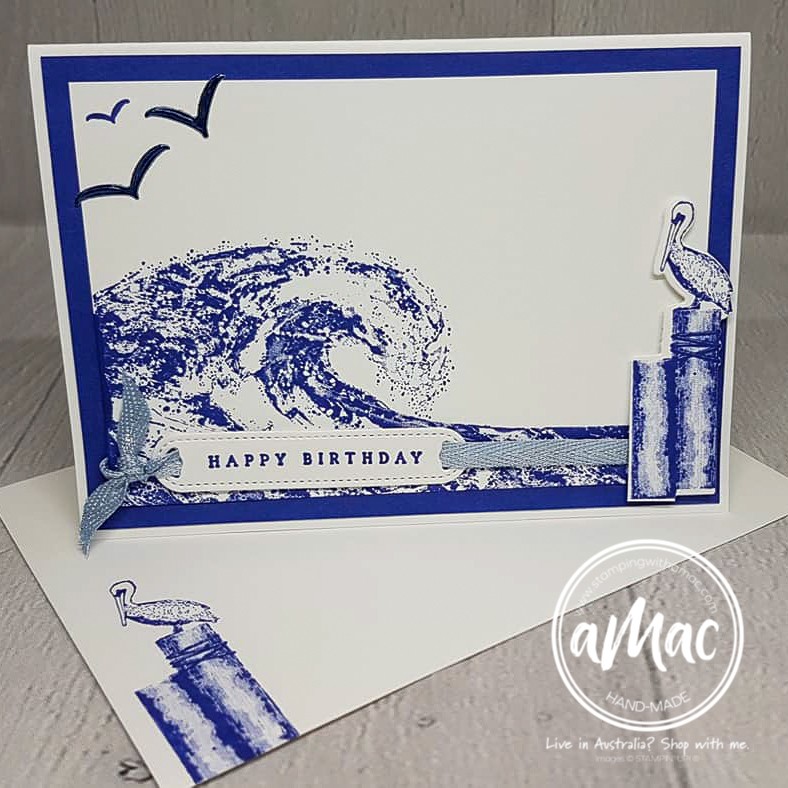
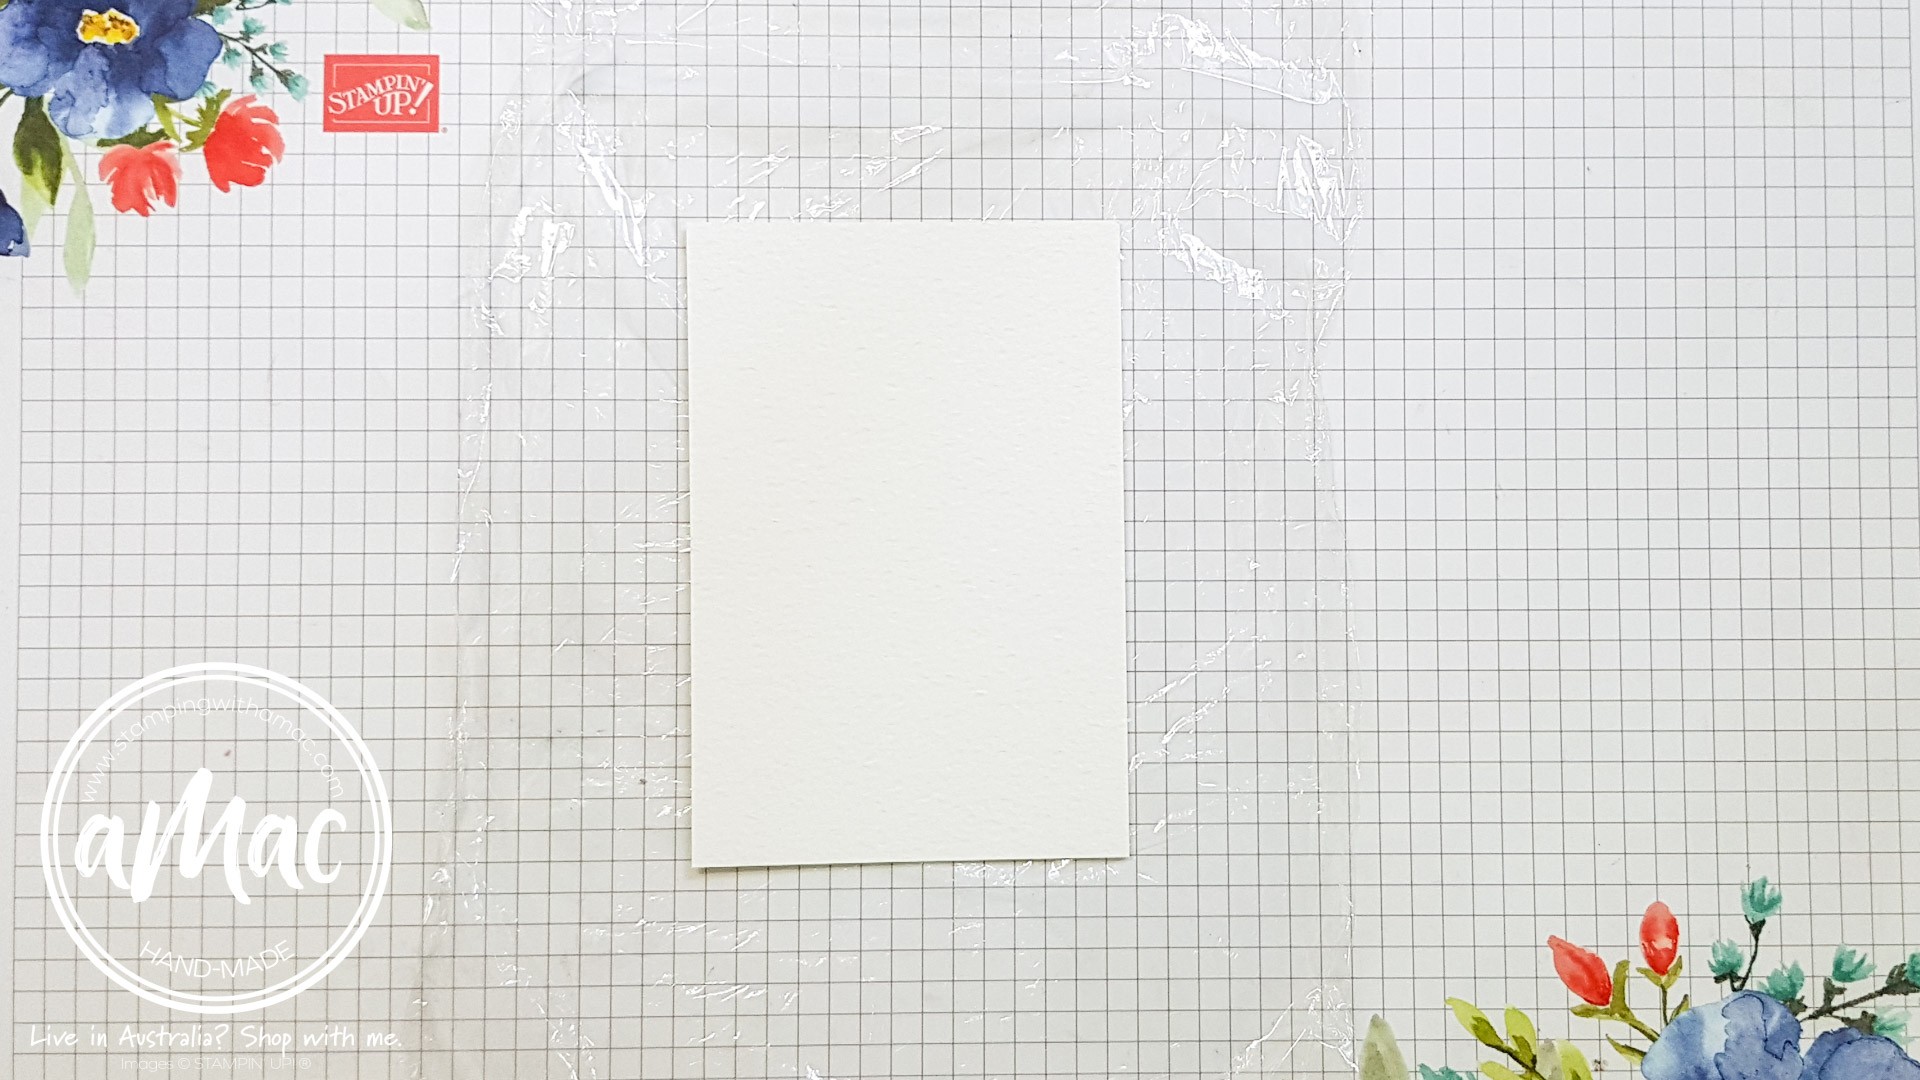
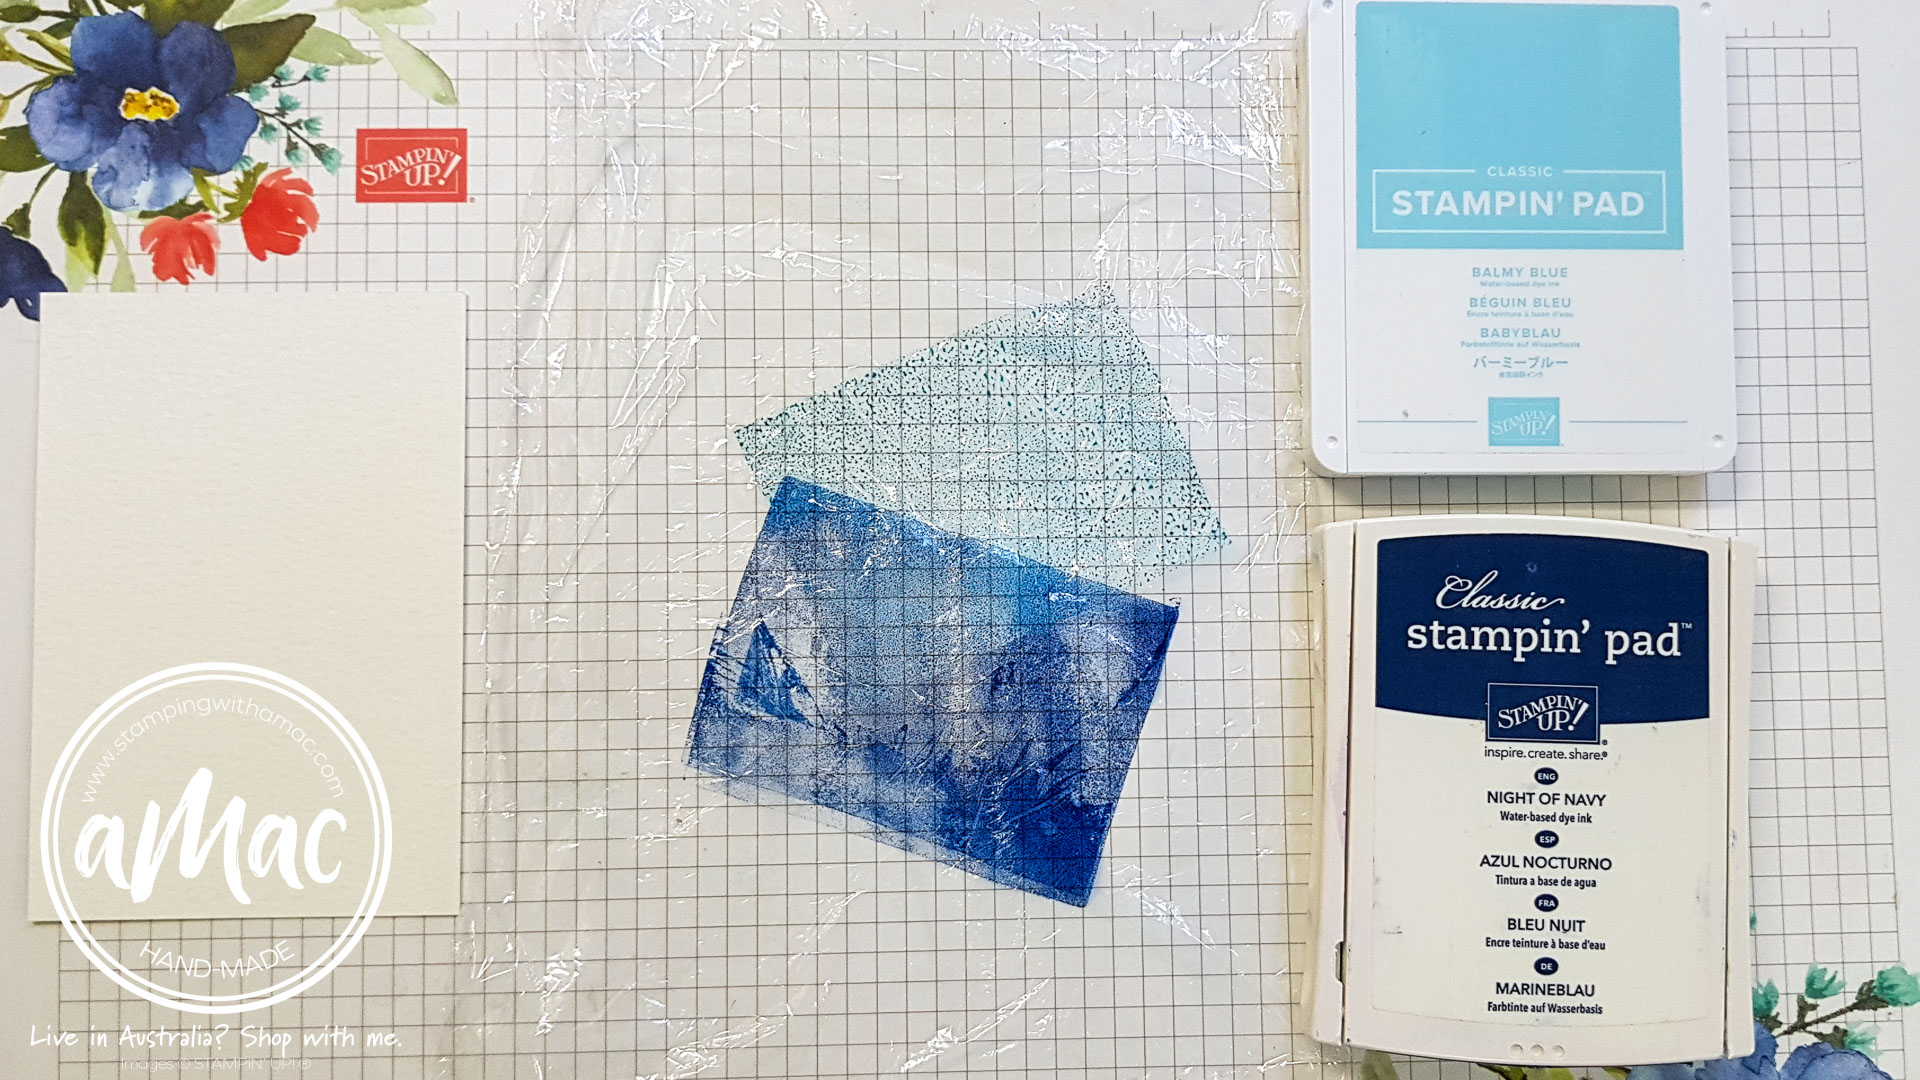
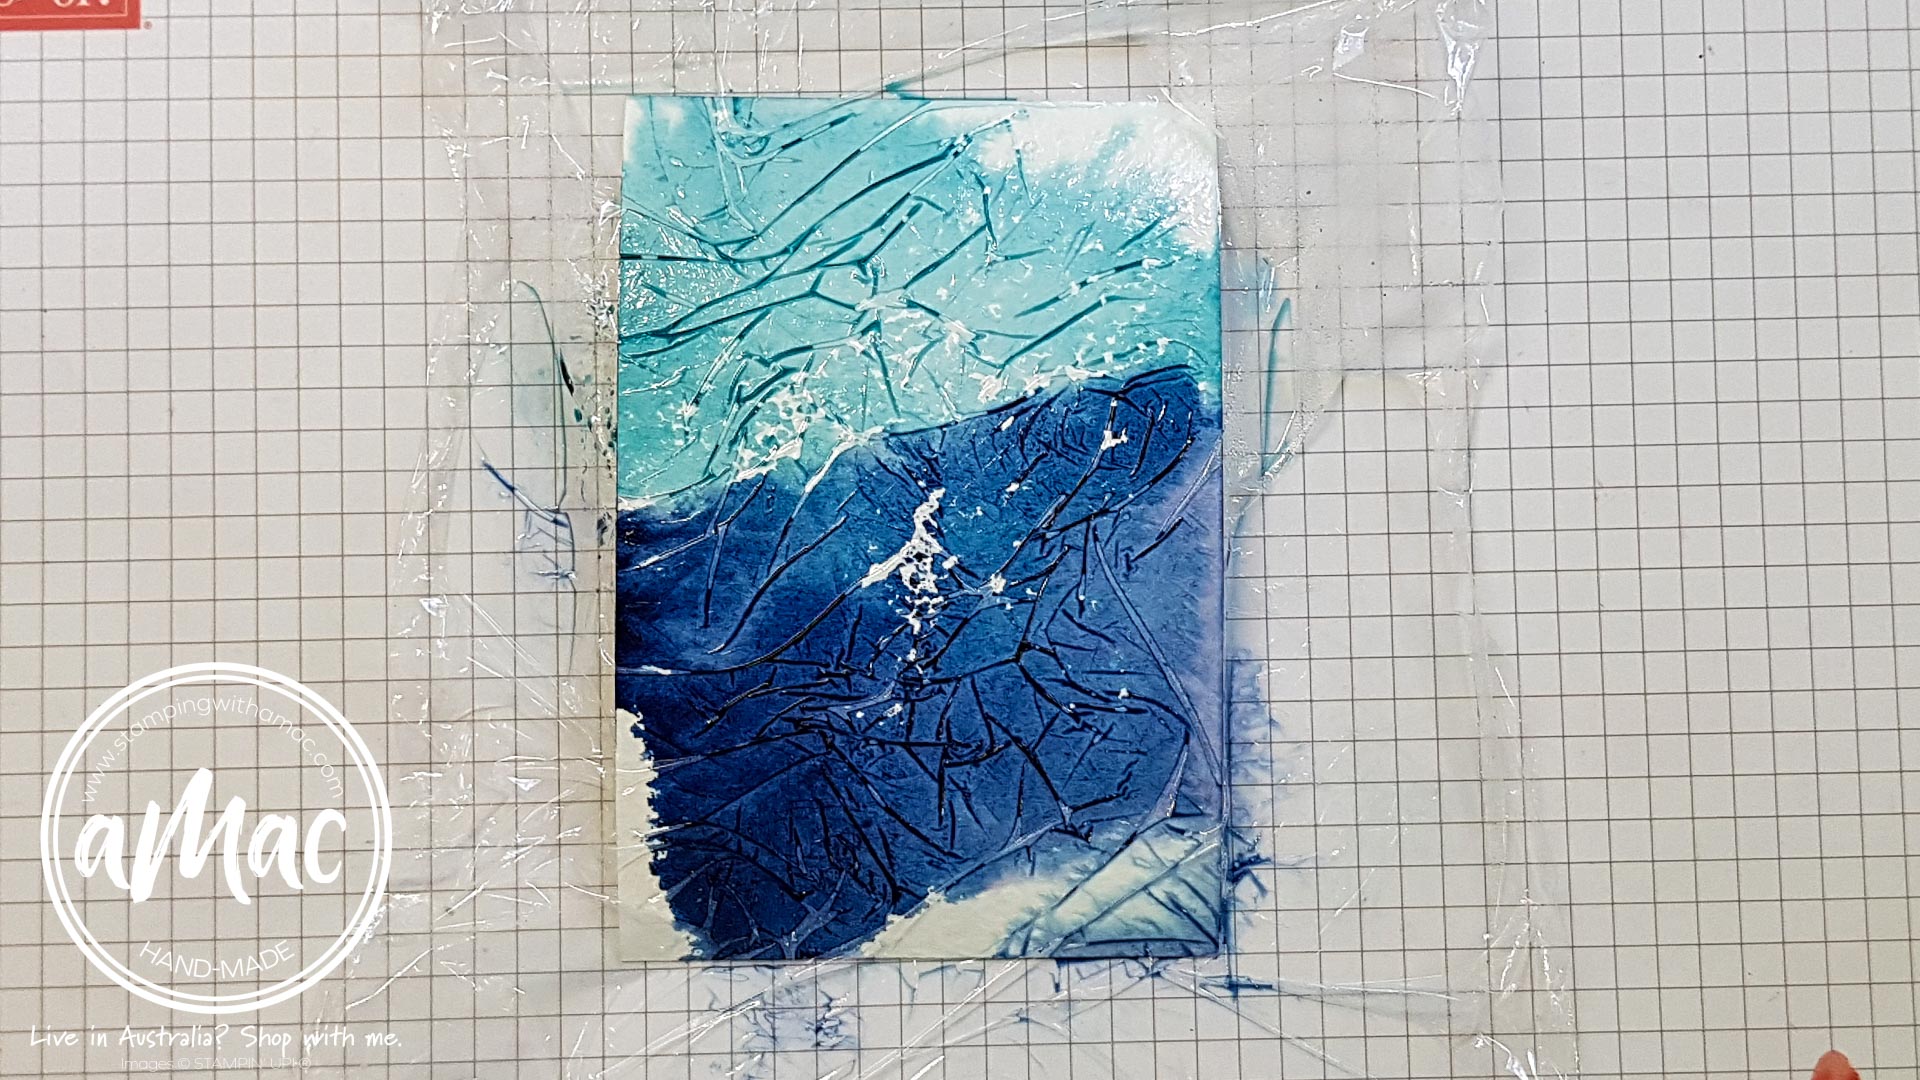
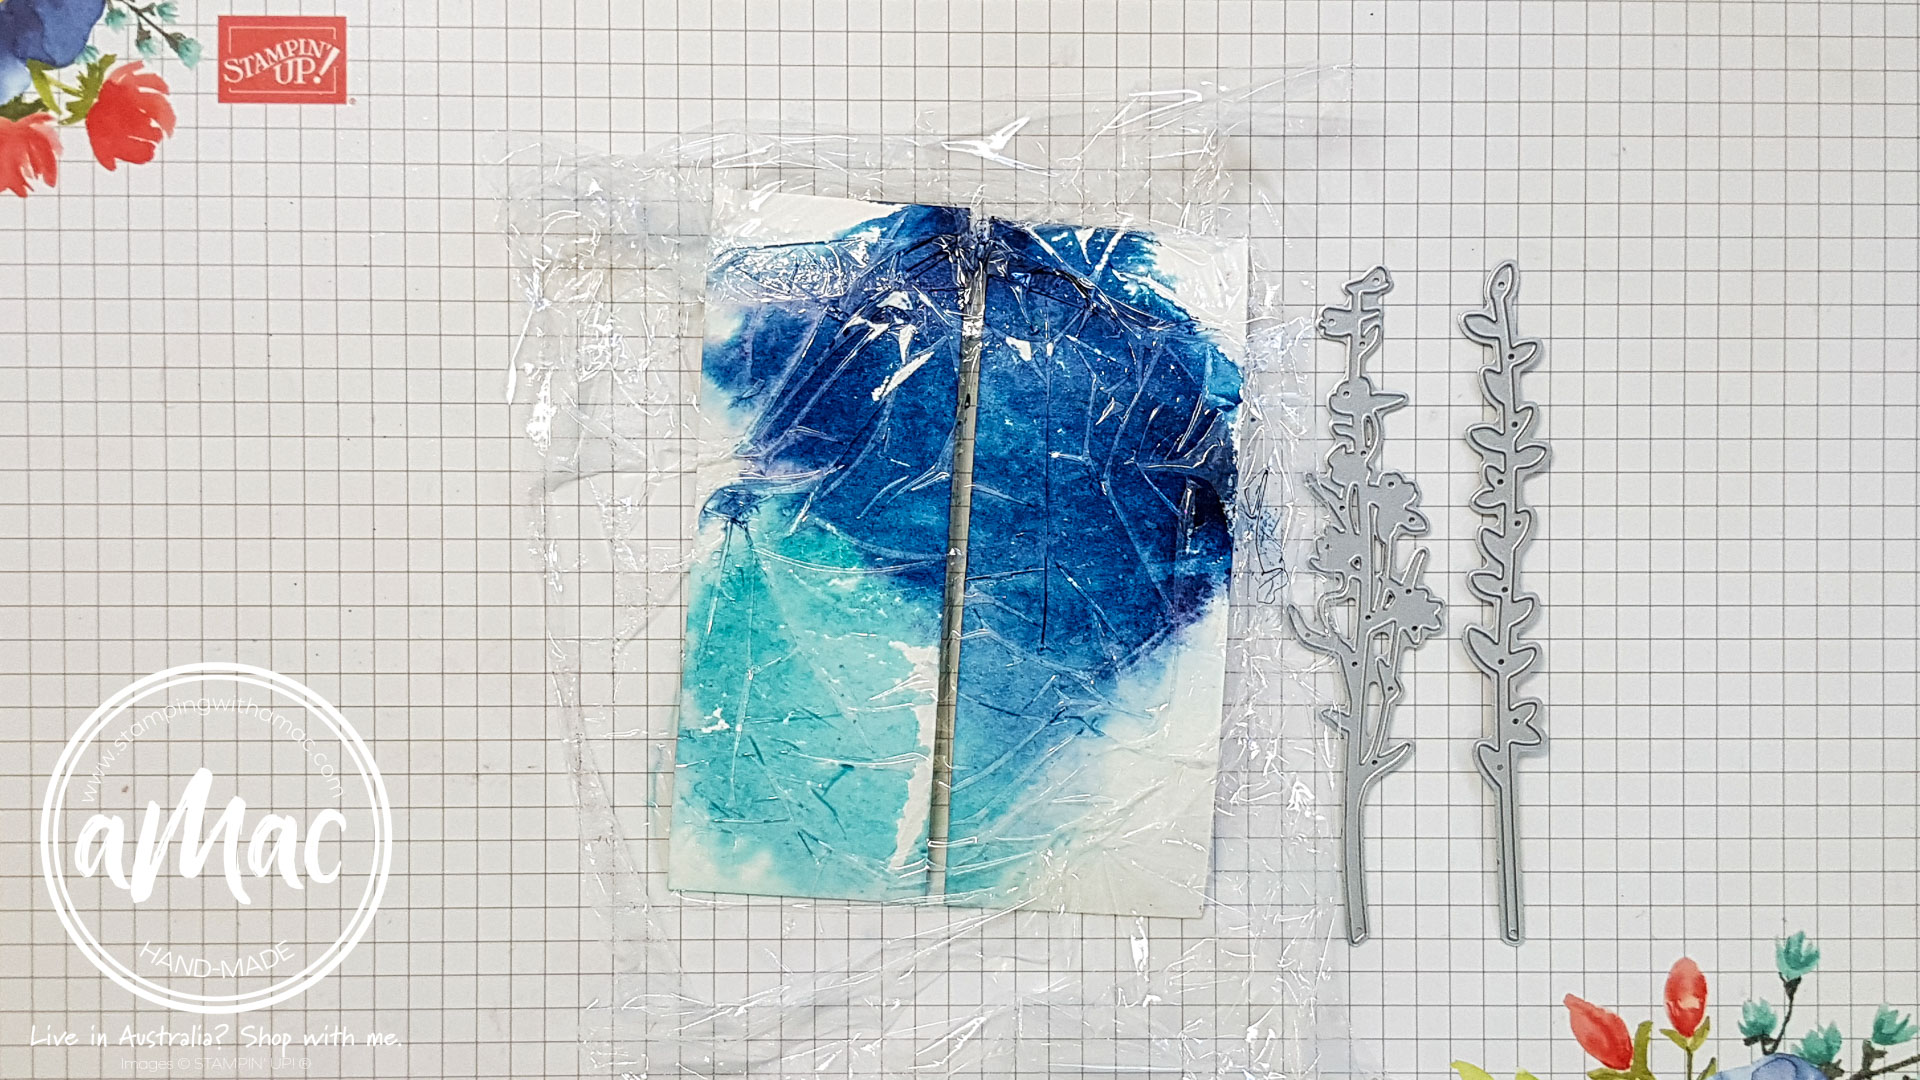
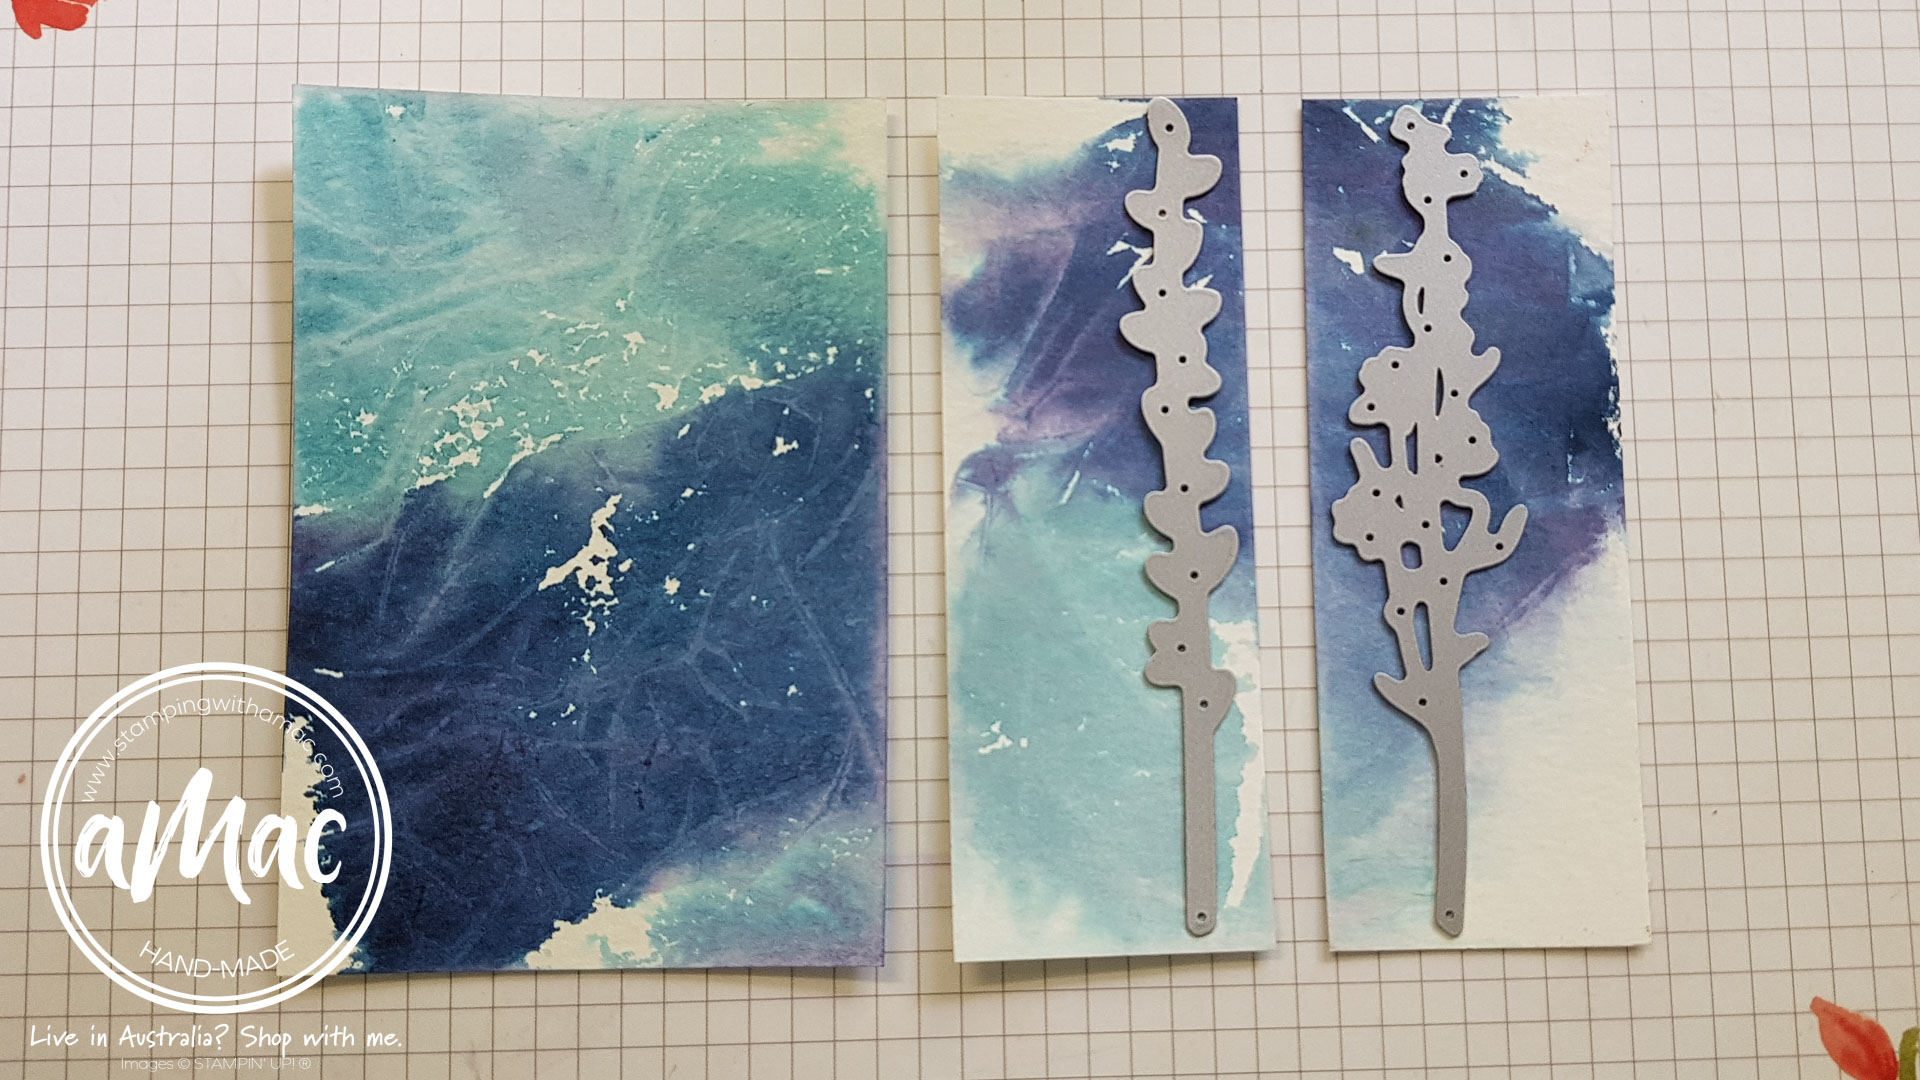
Cling Wrap Background Technique
Shop Stampin' Up!


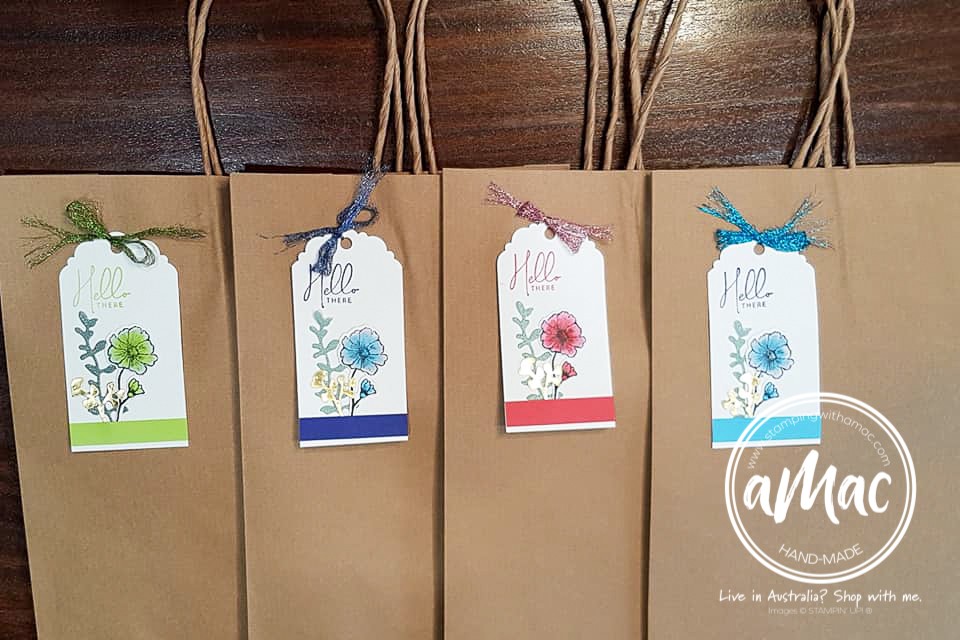
 Frayed Ribbon")
-
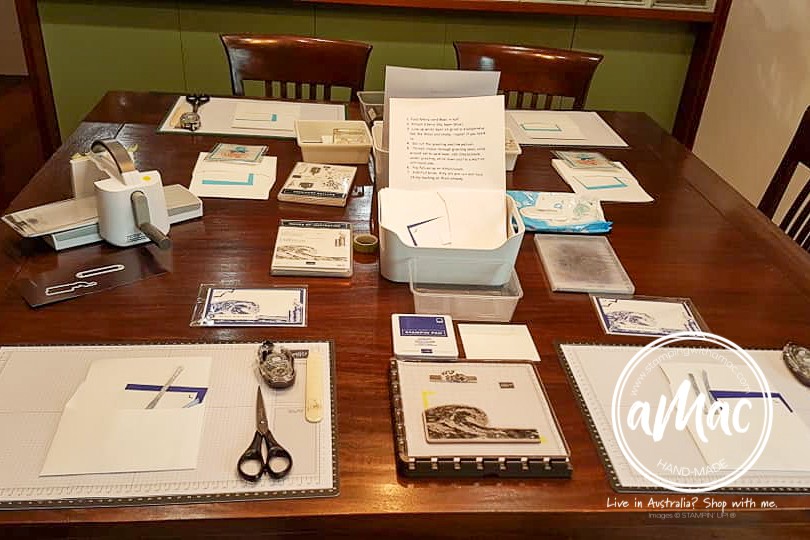
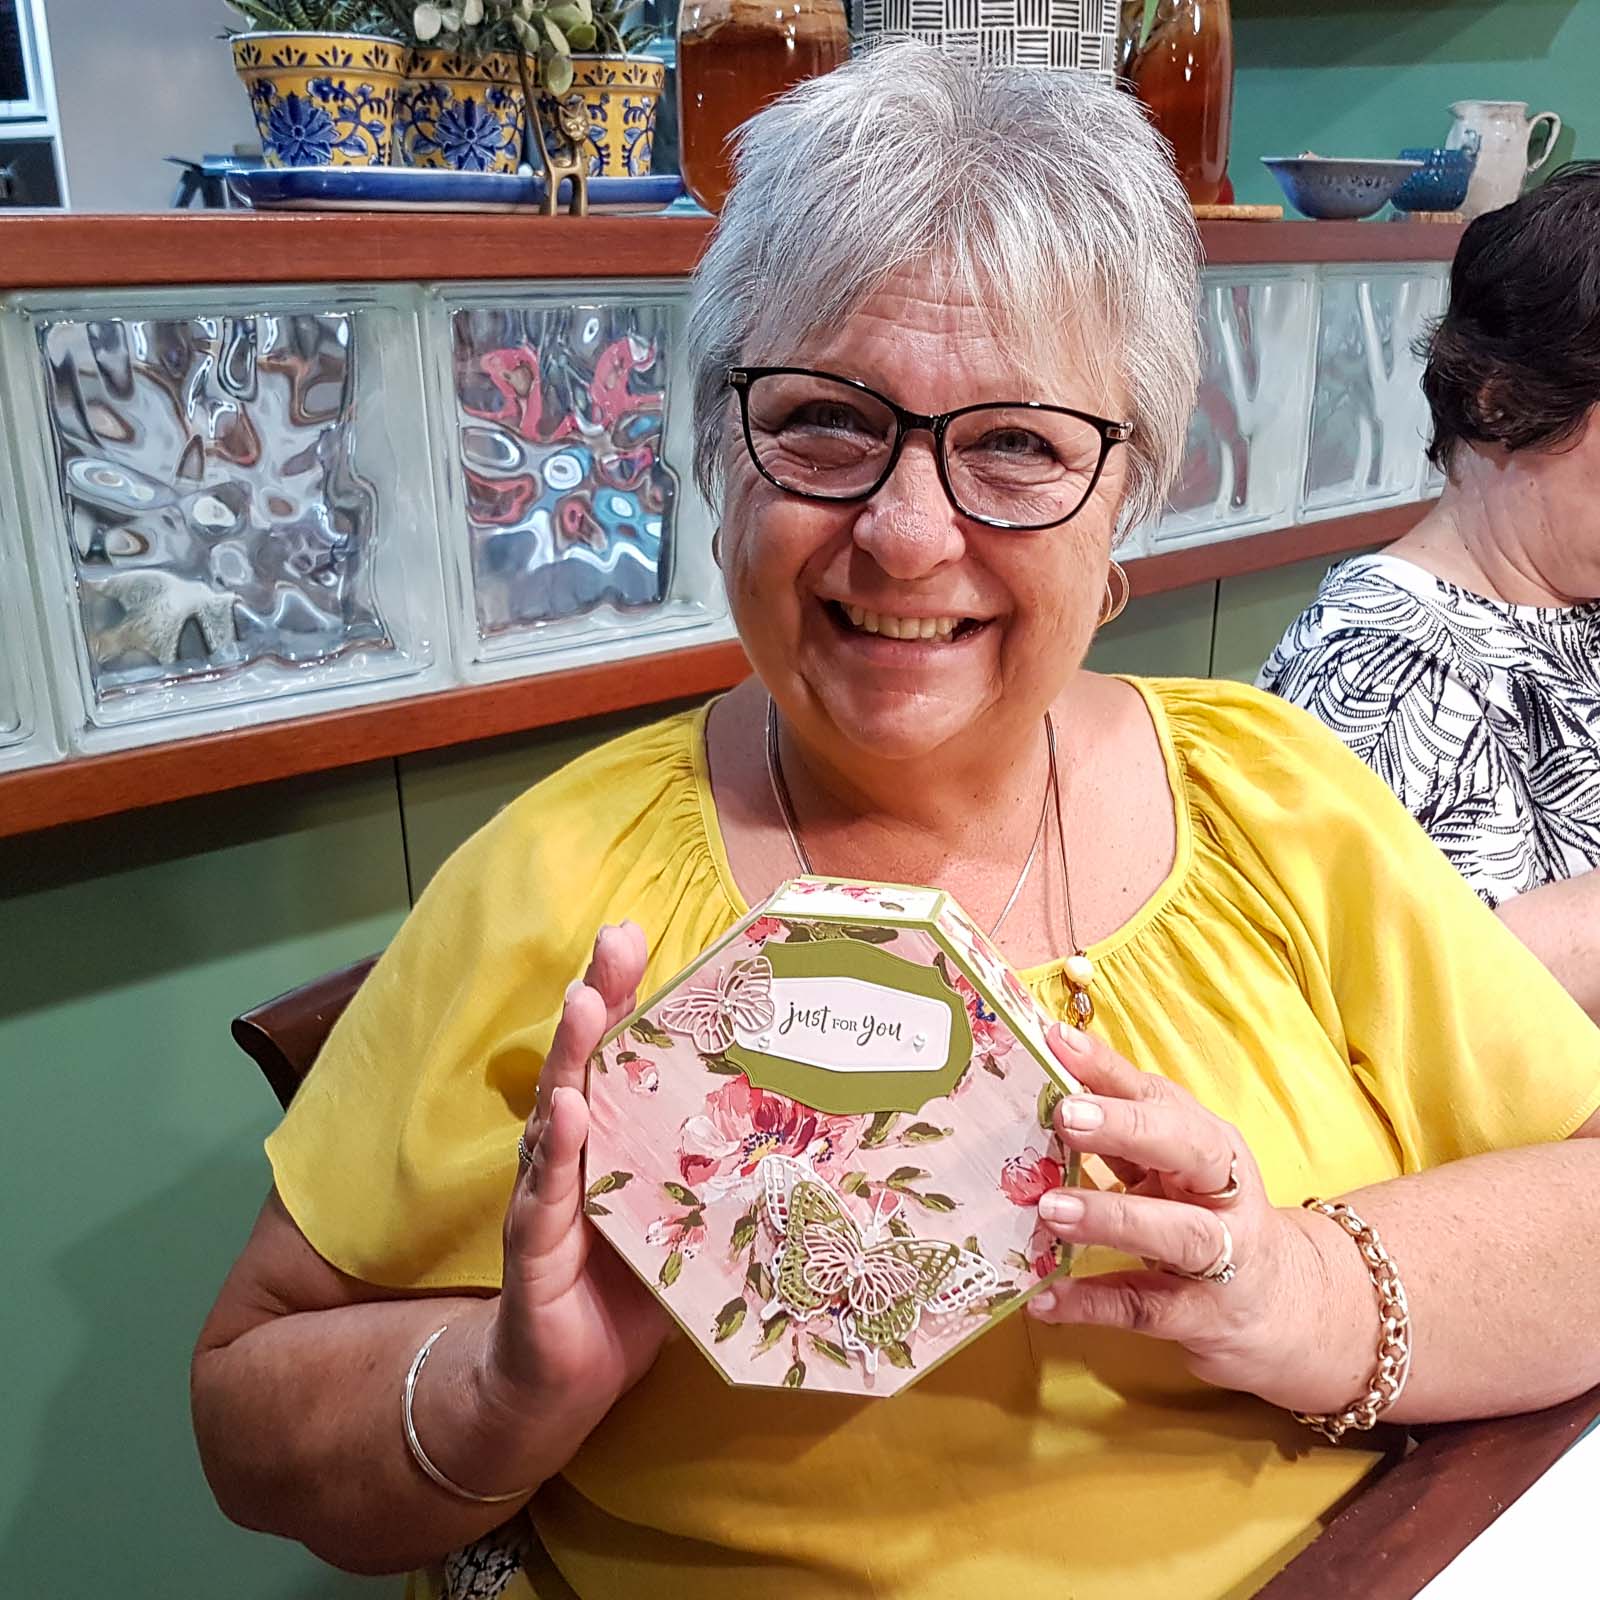
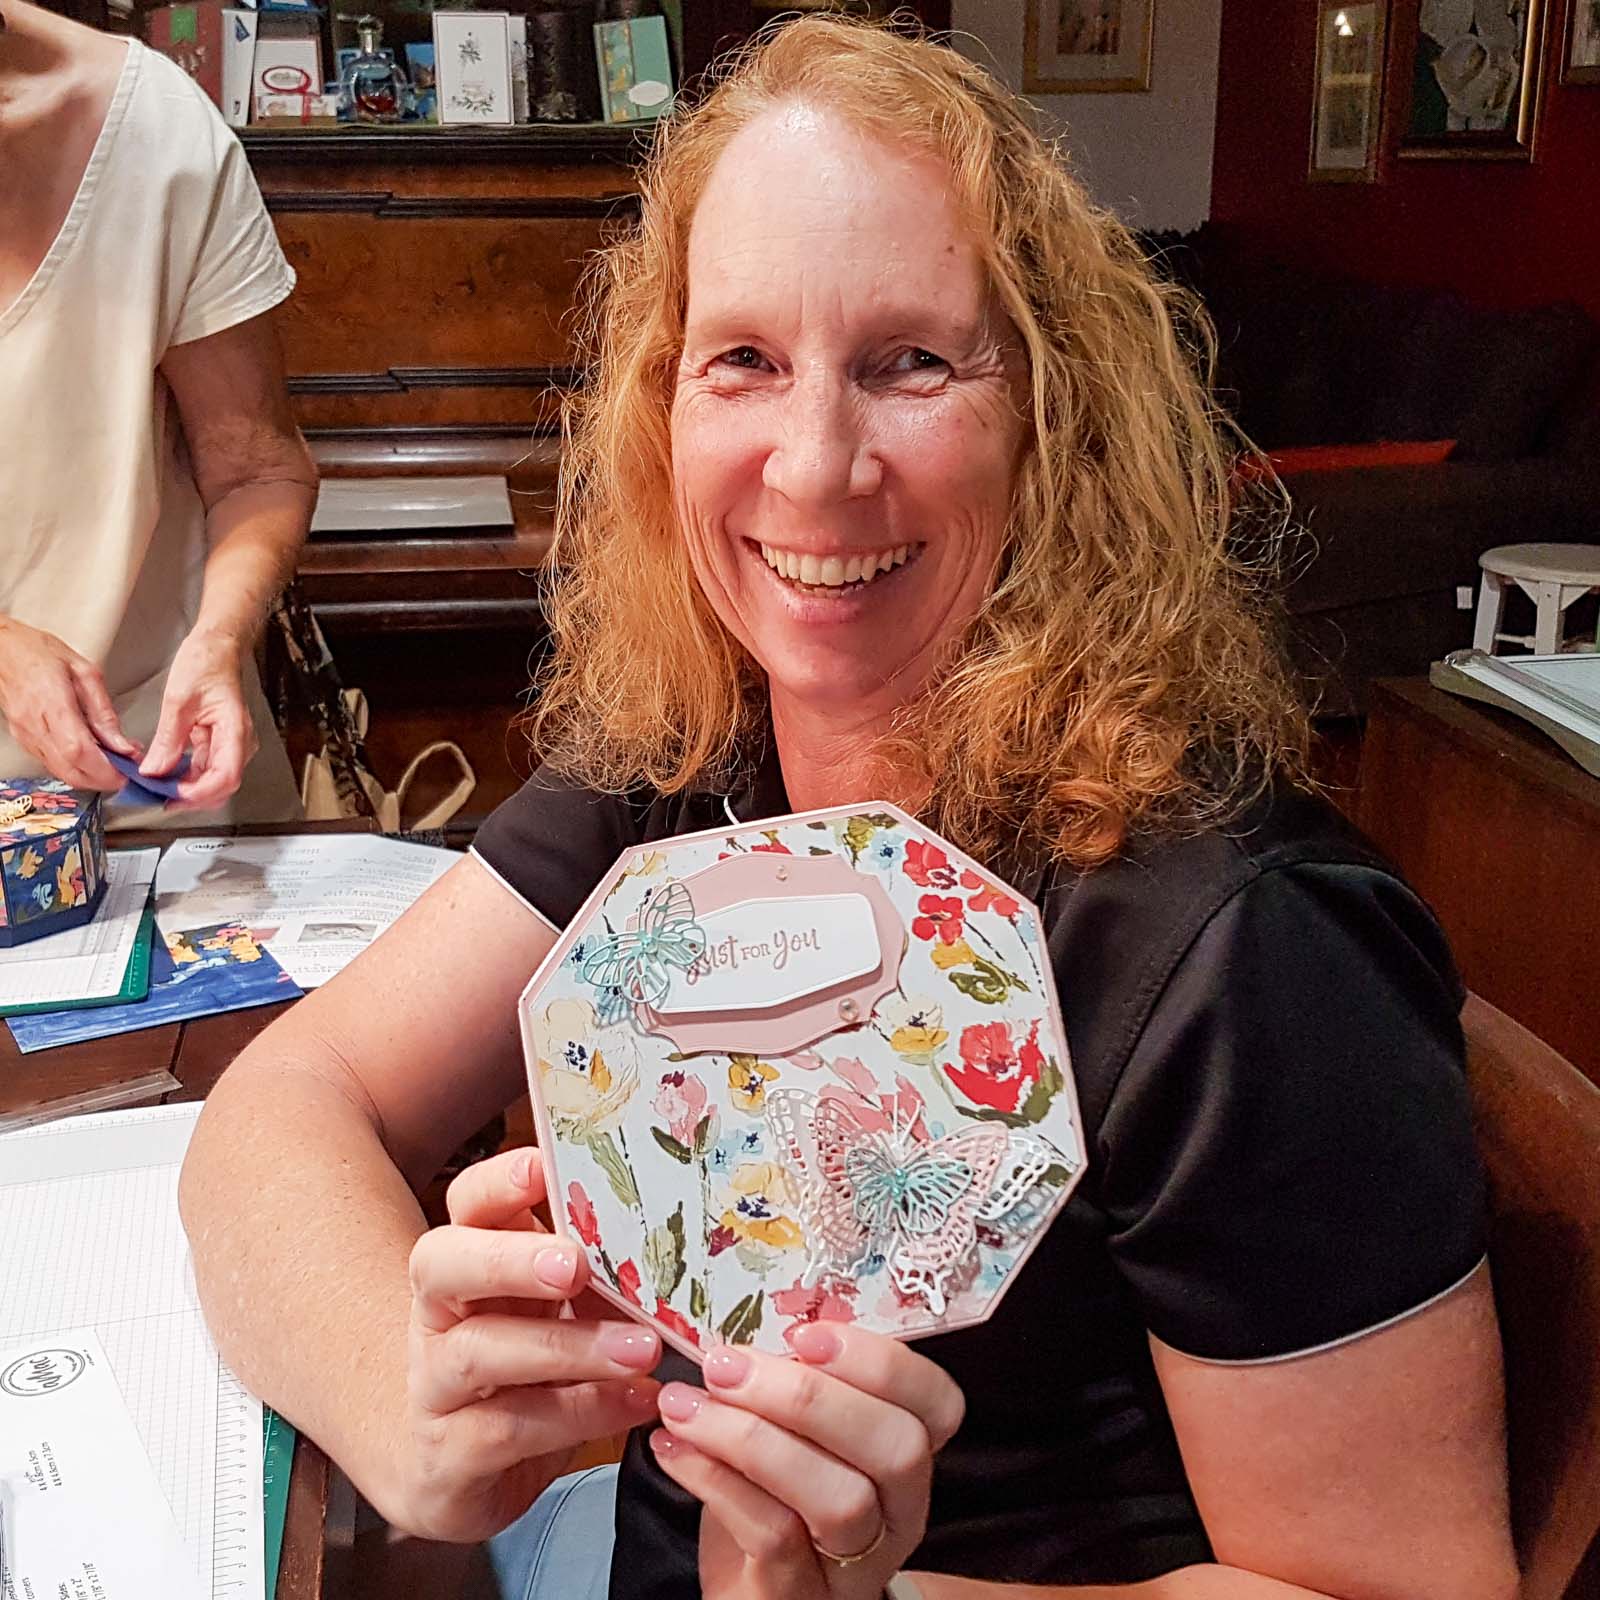
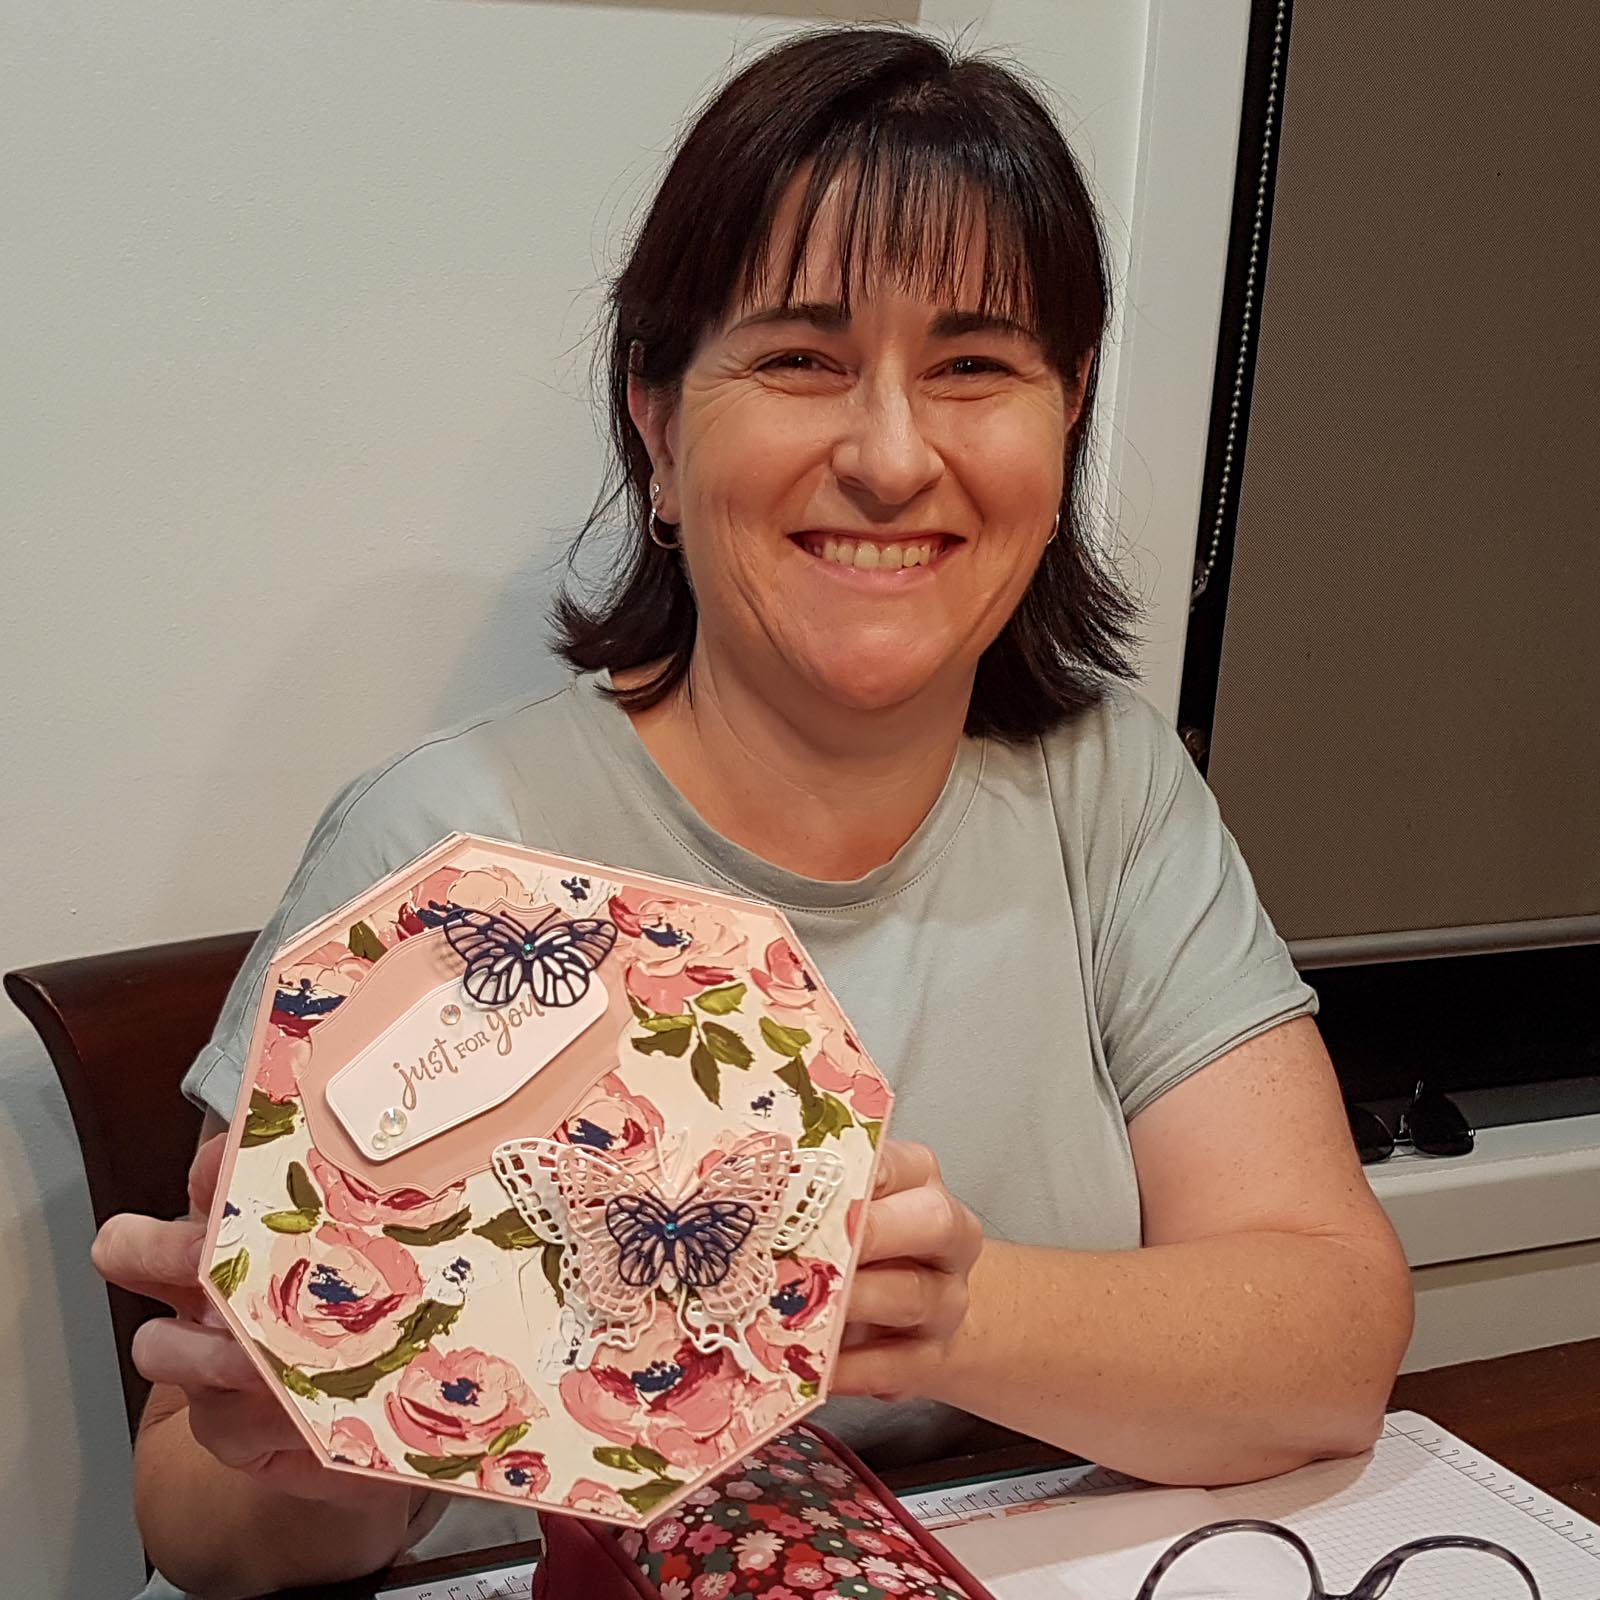
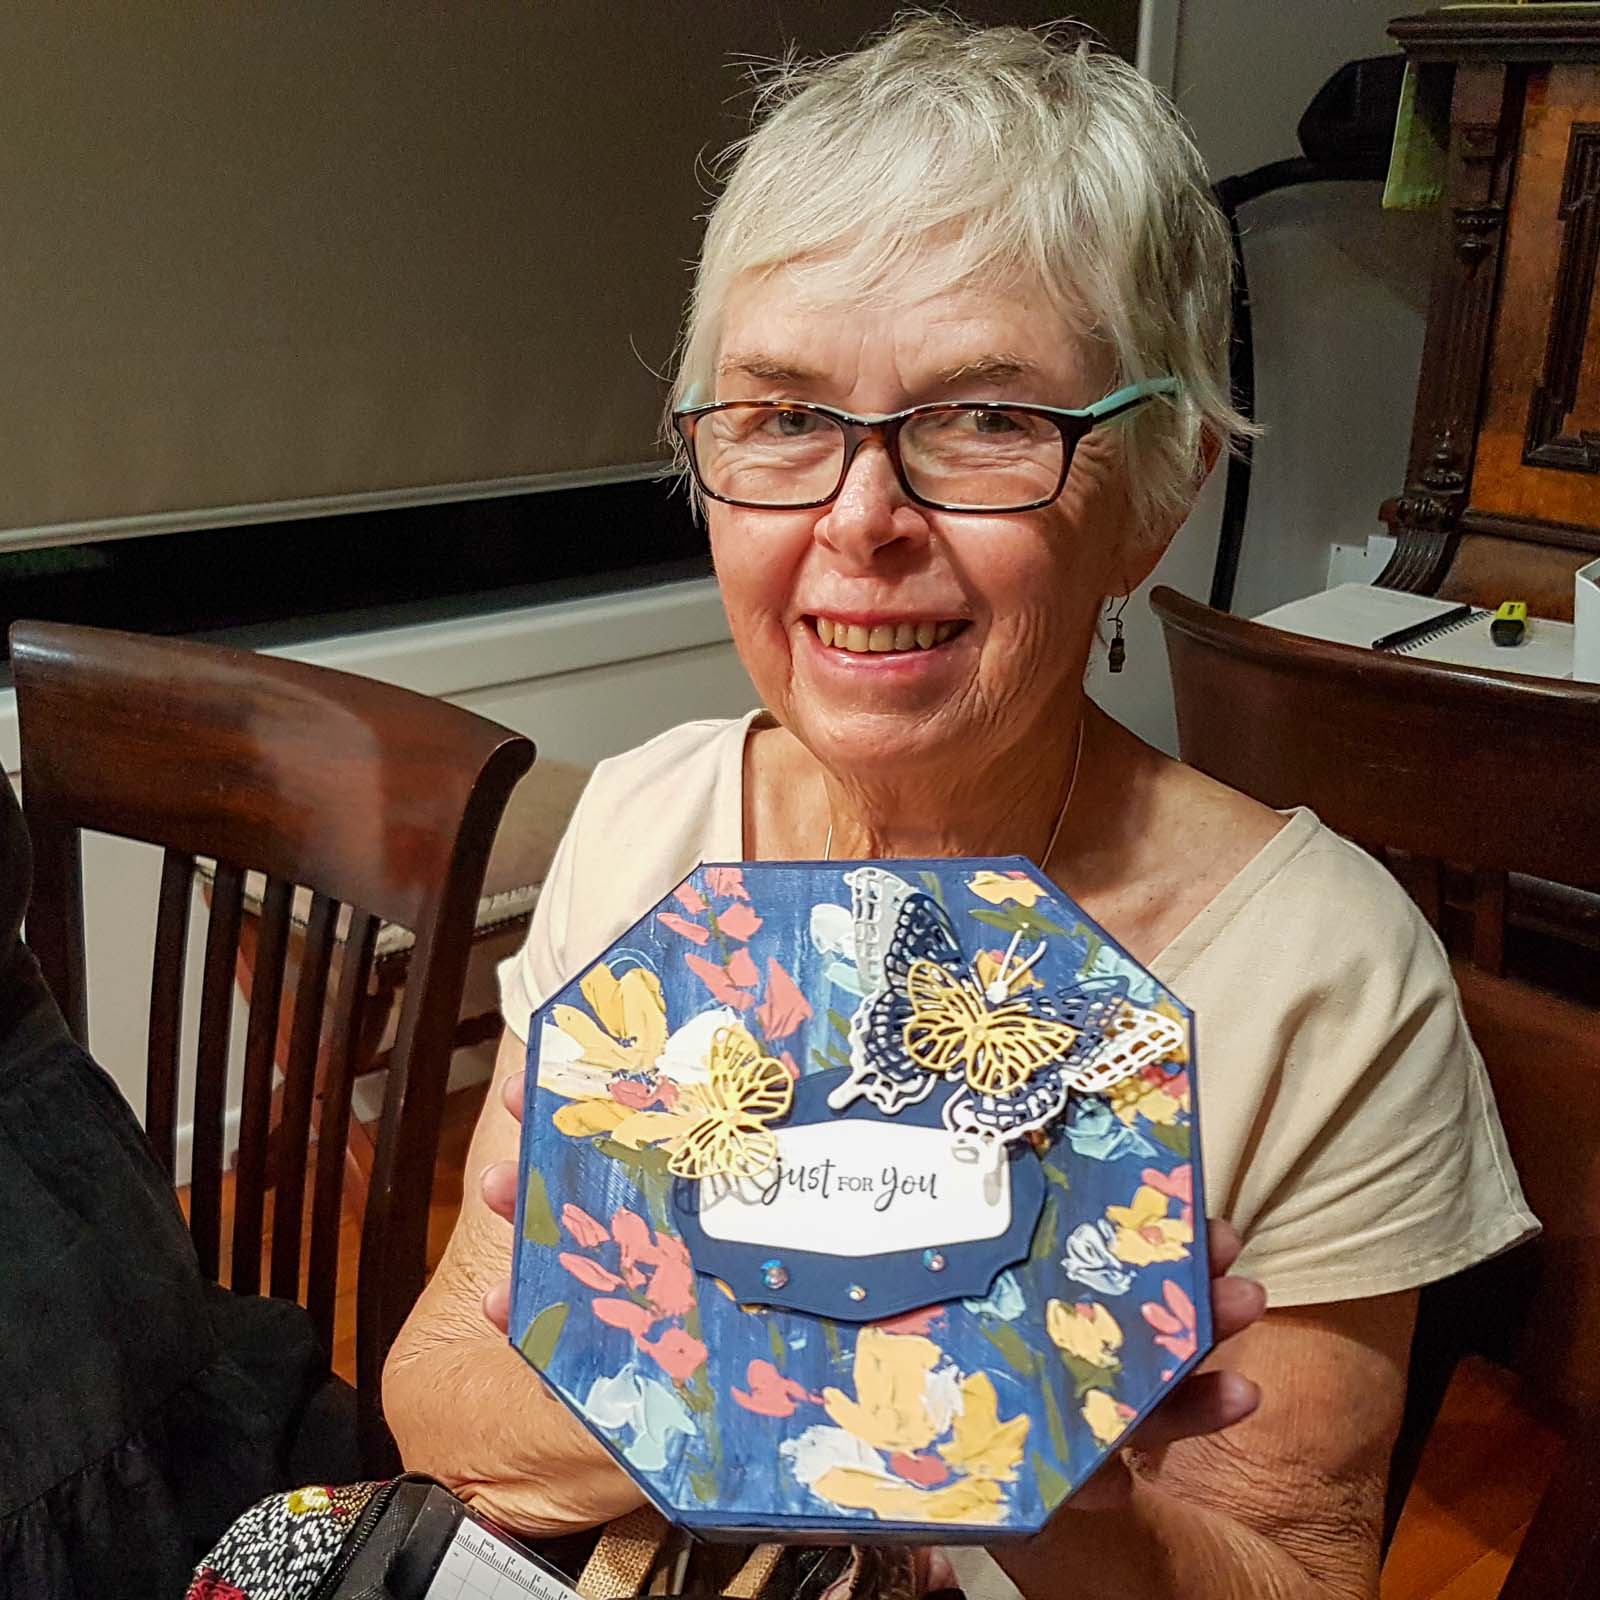
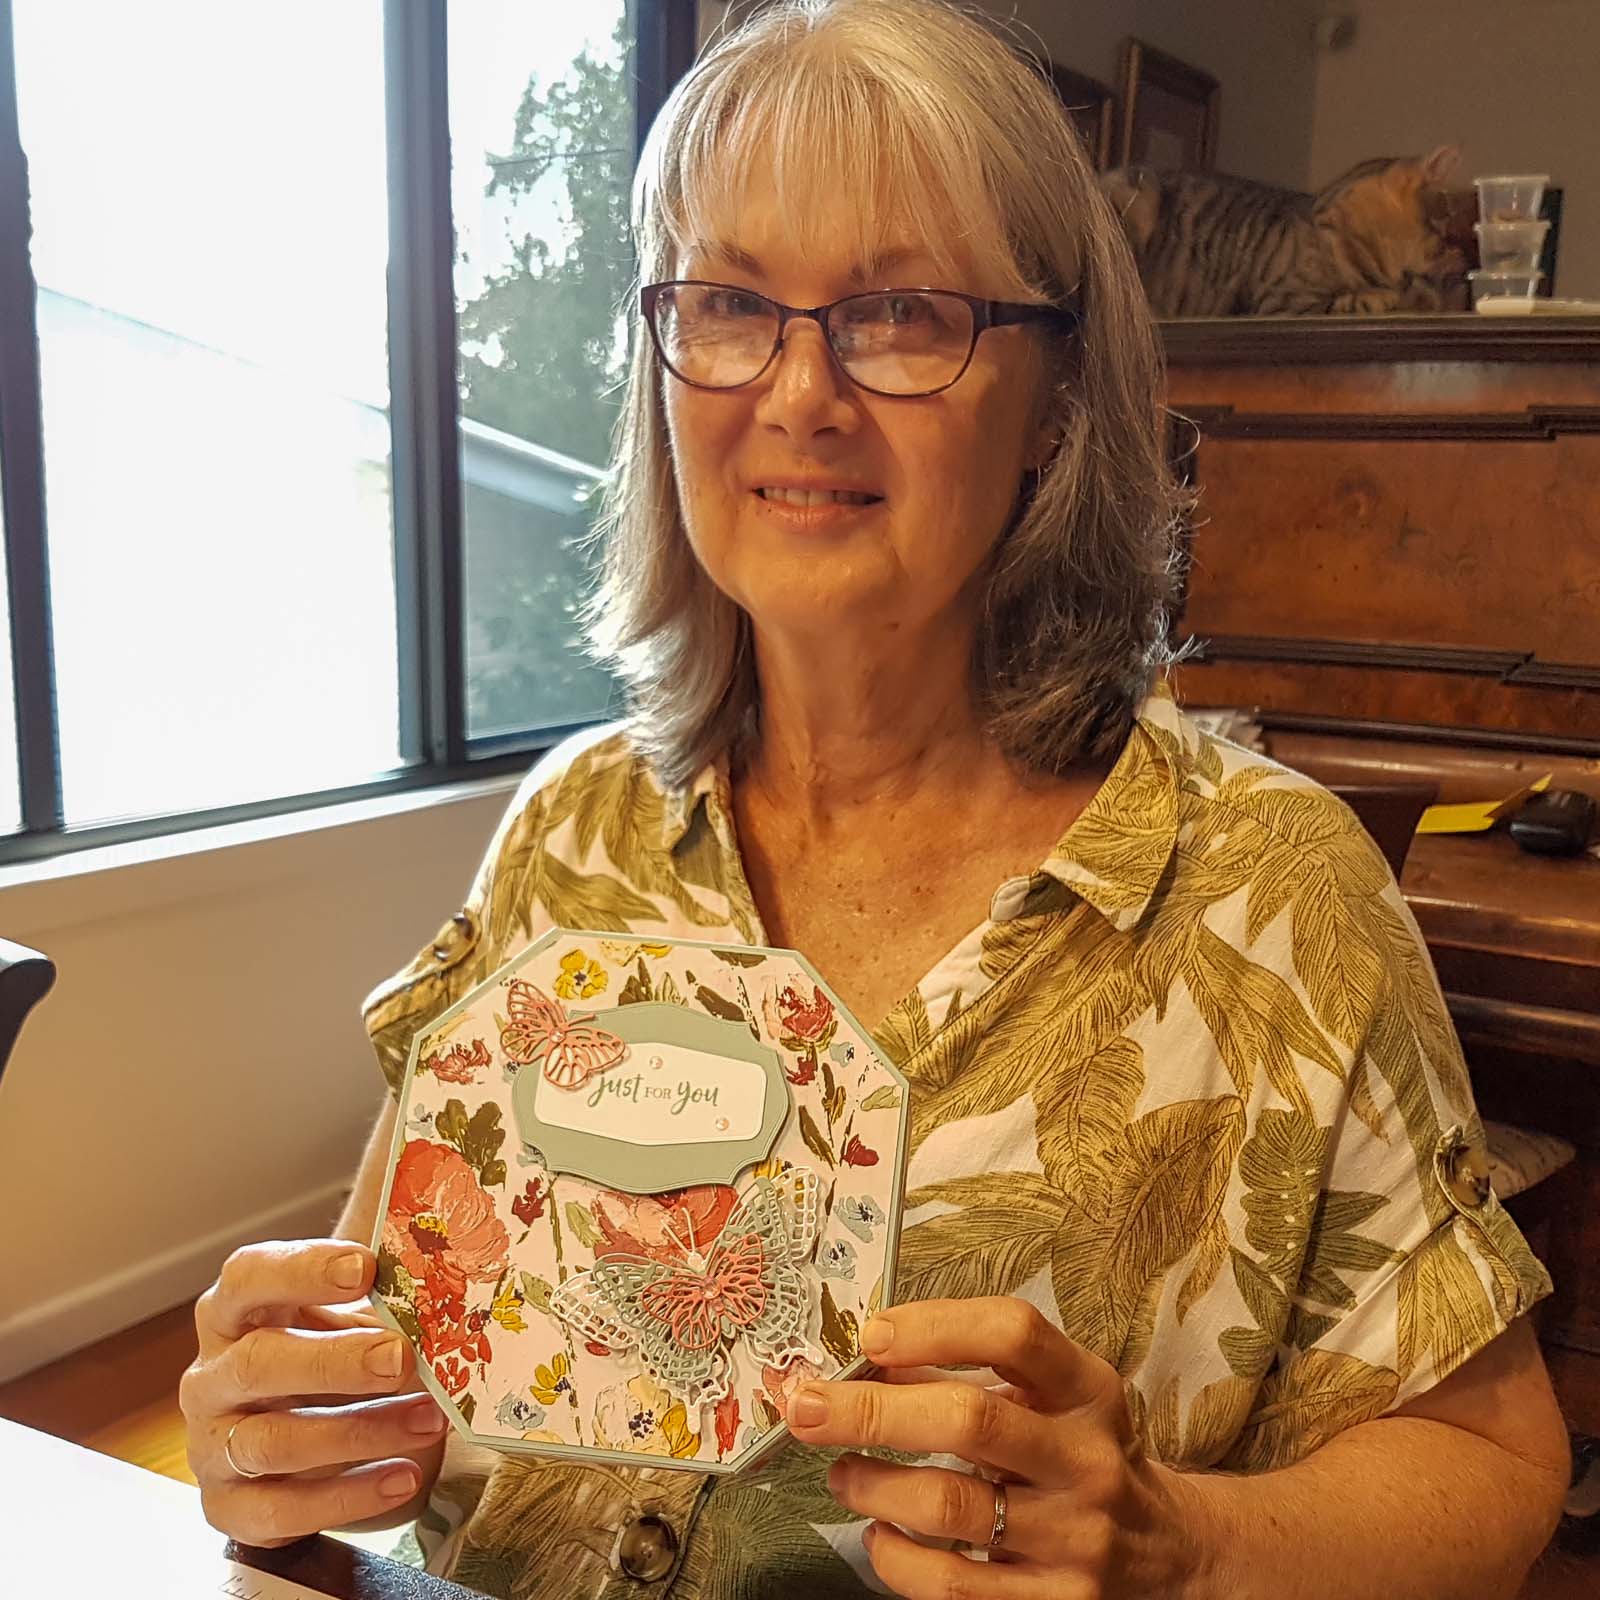
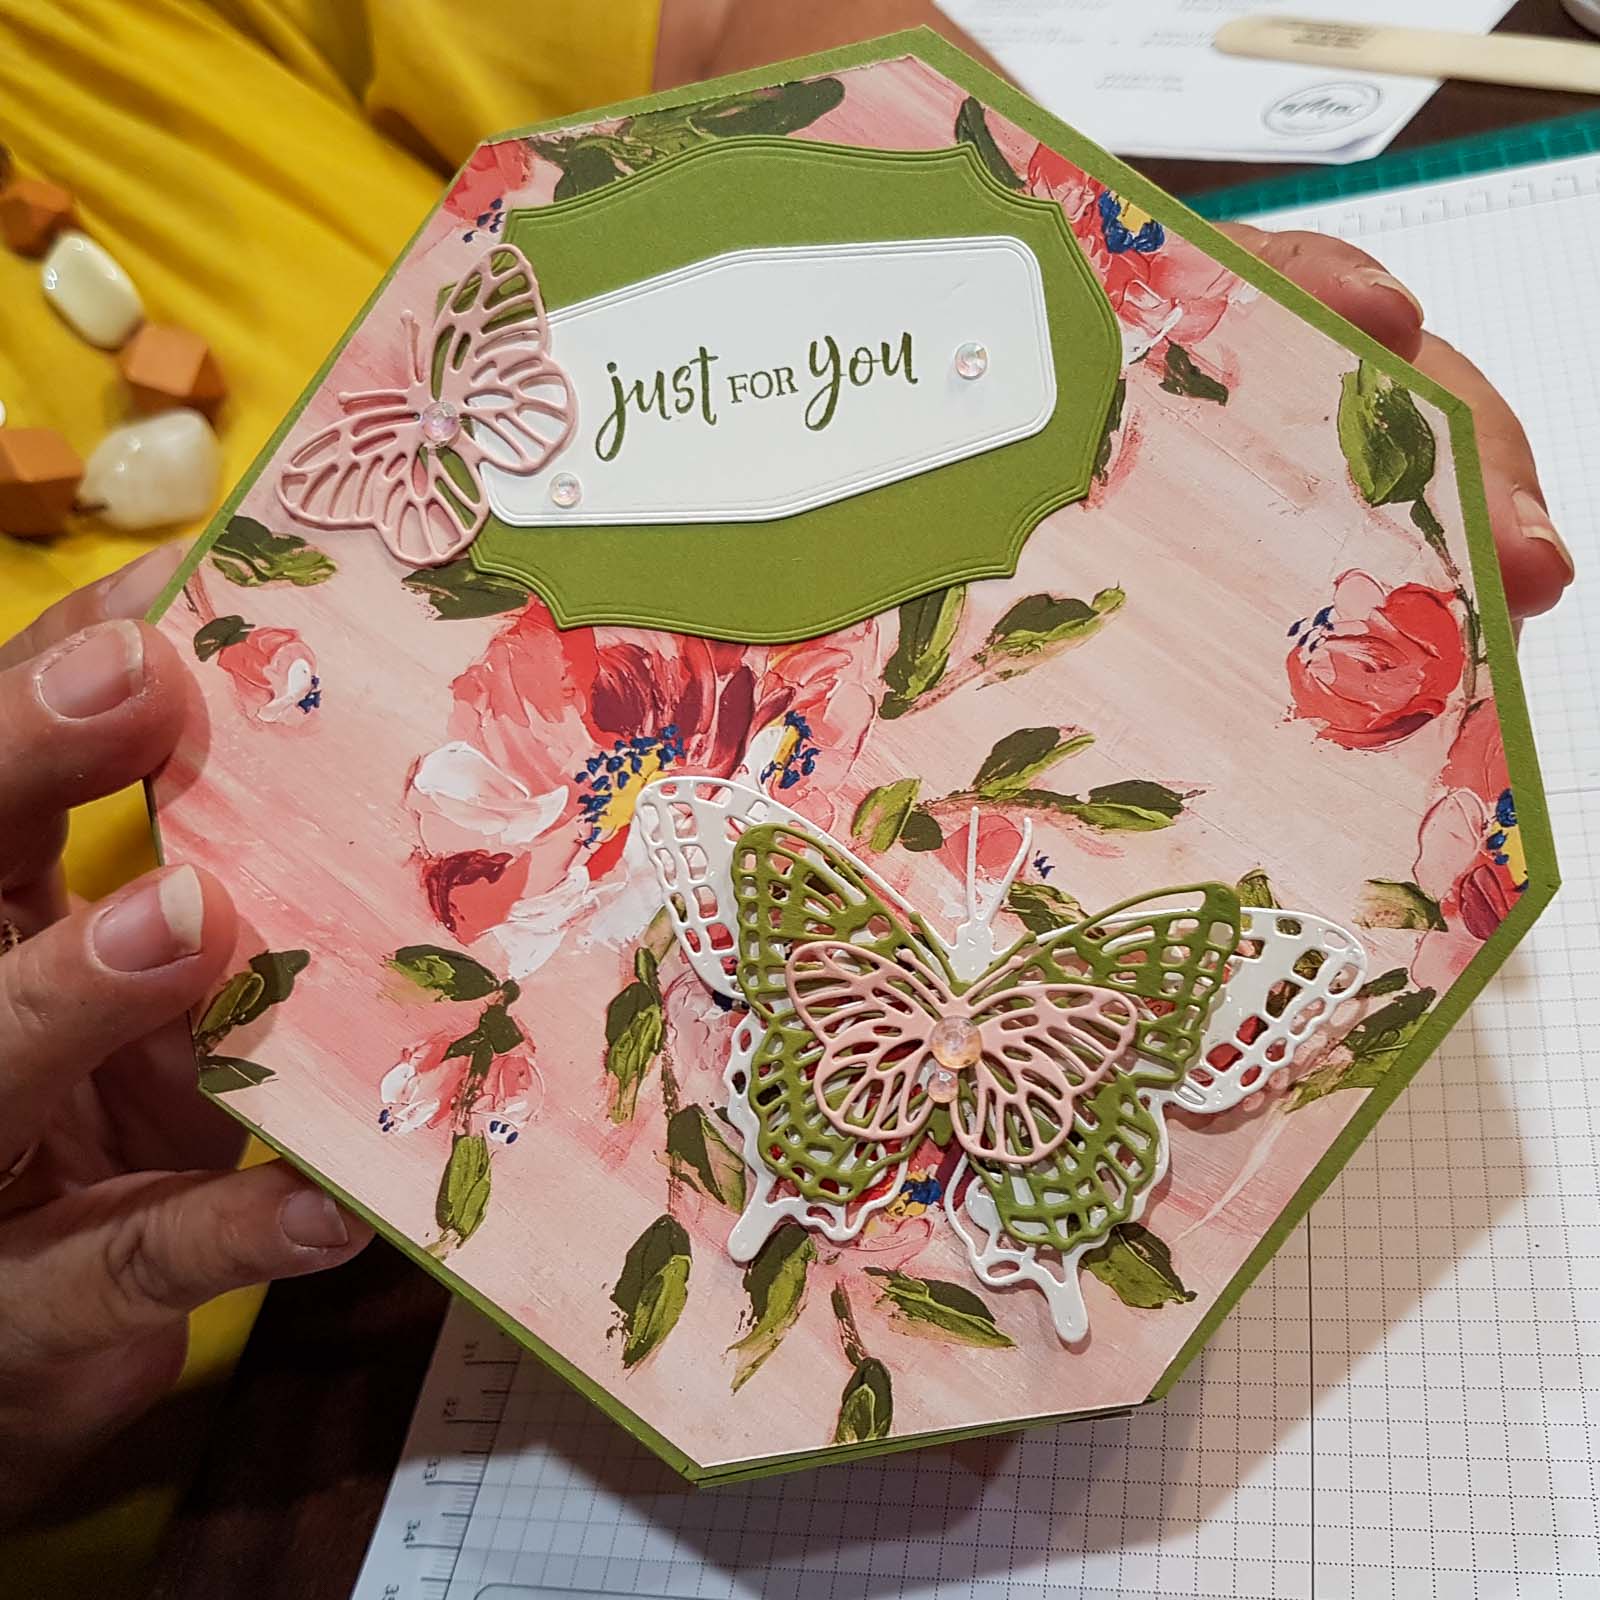
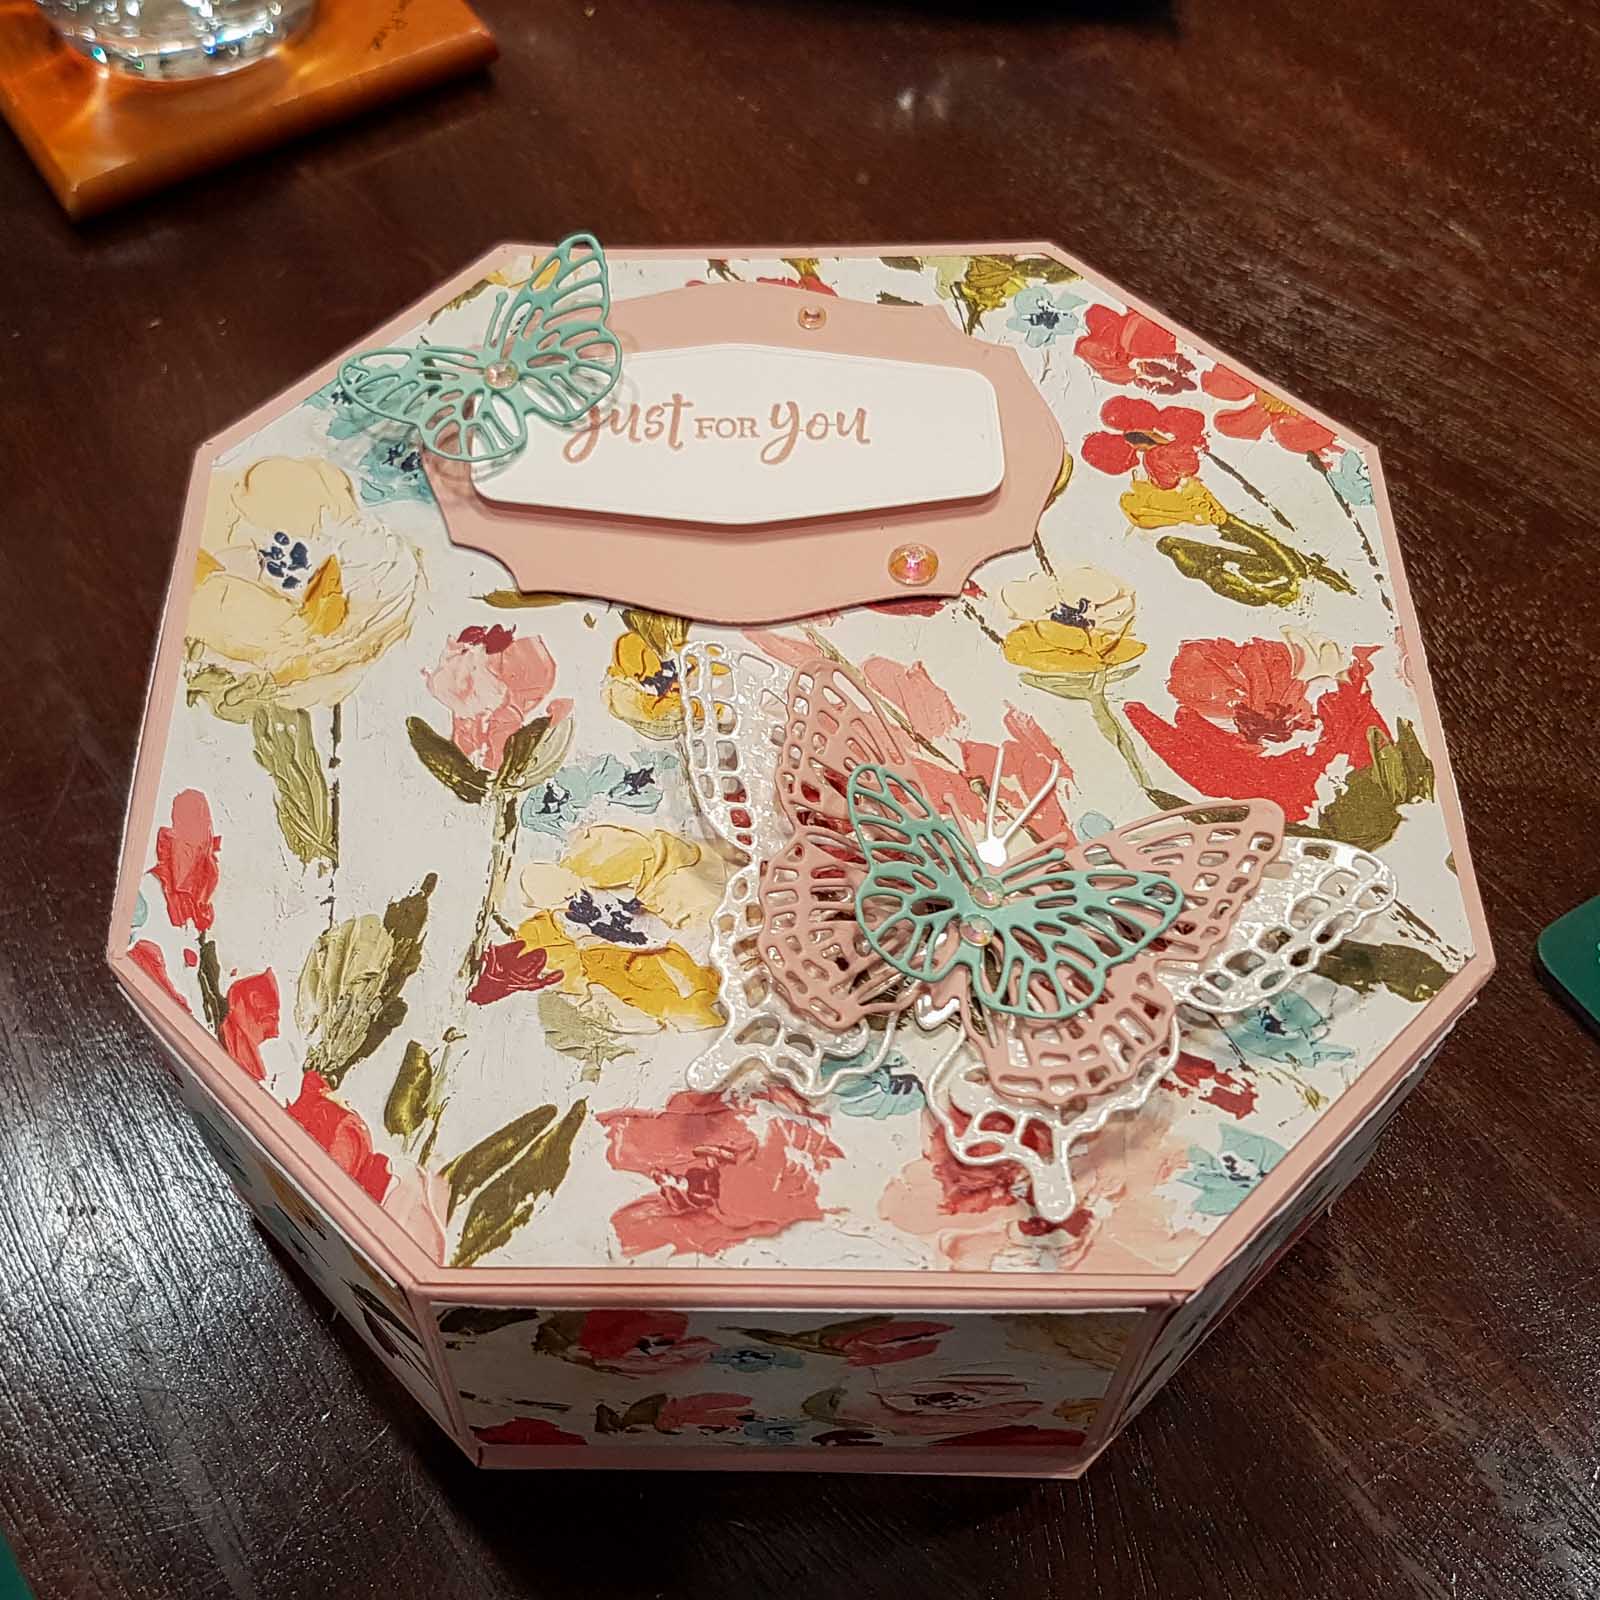
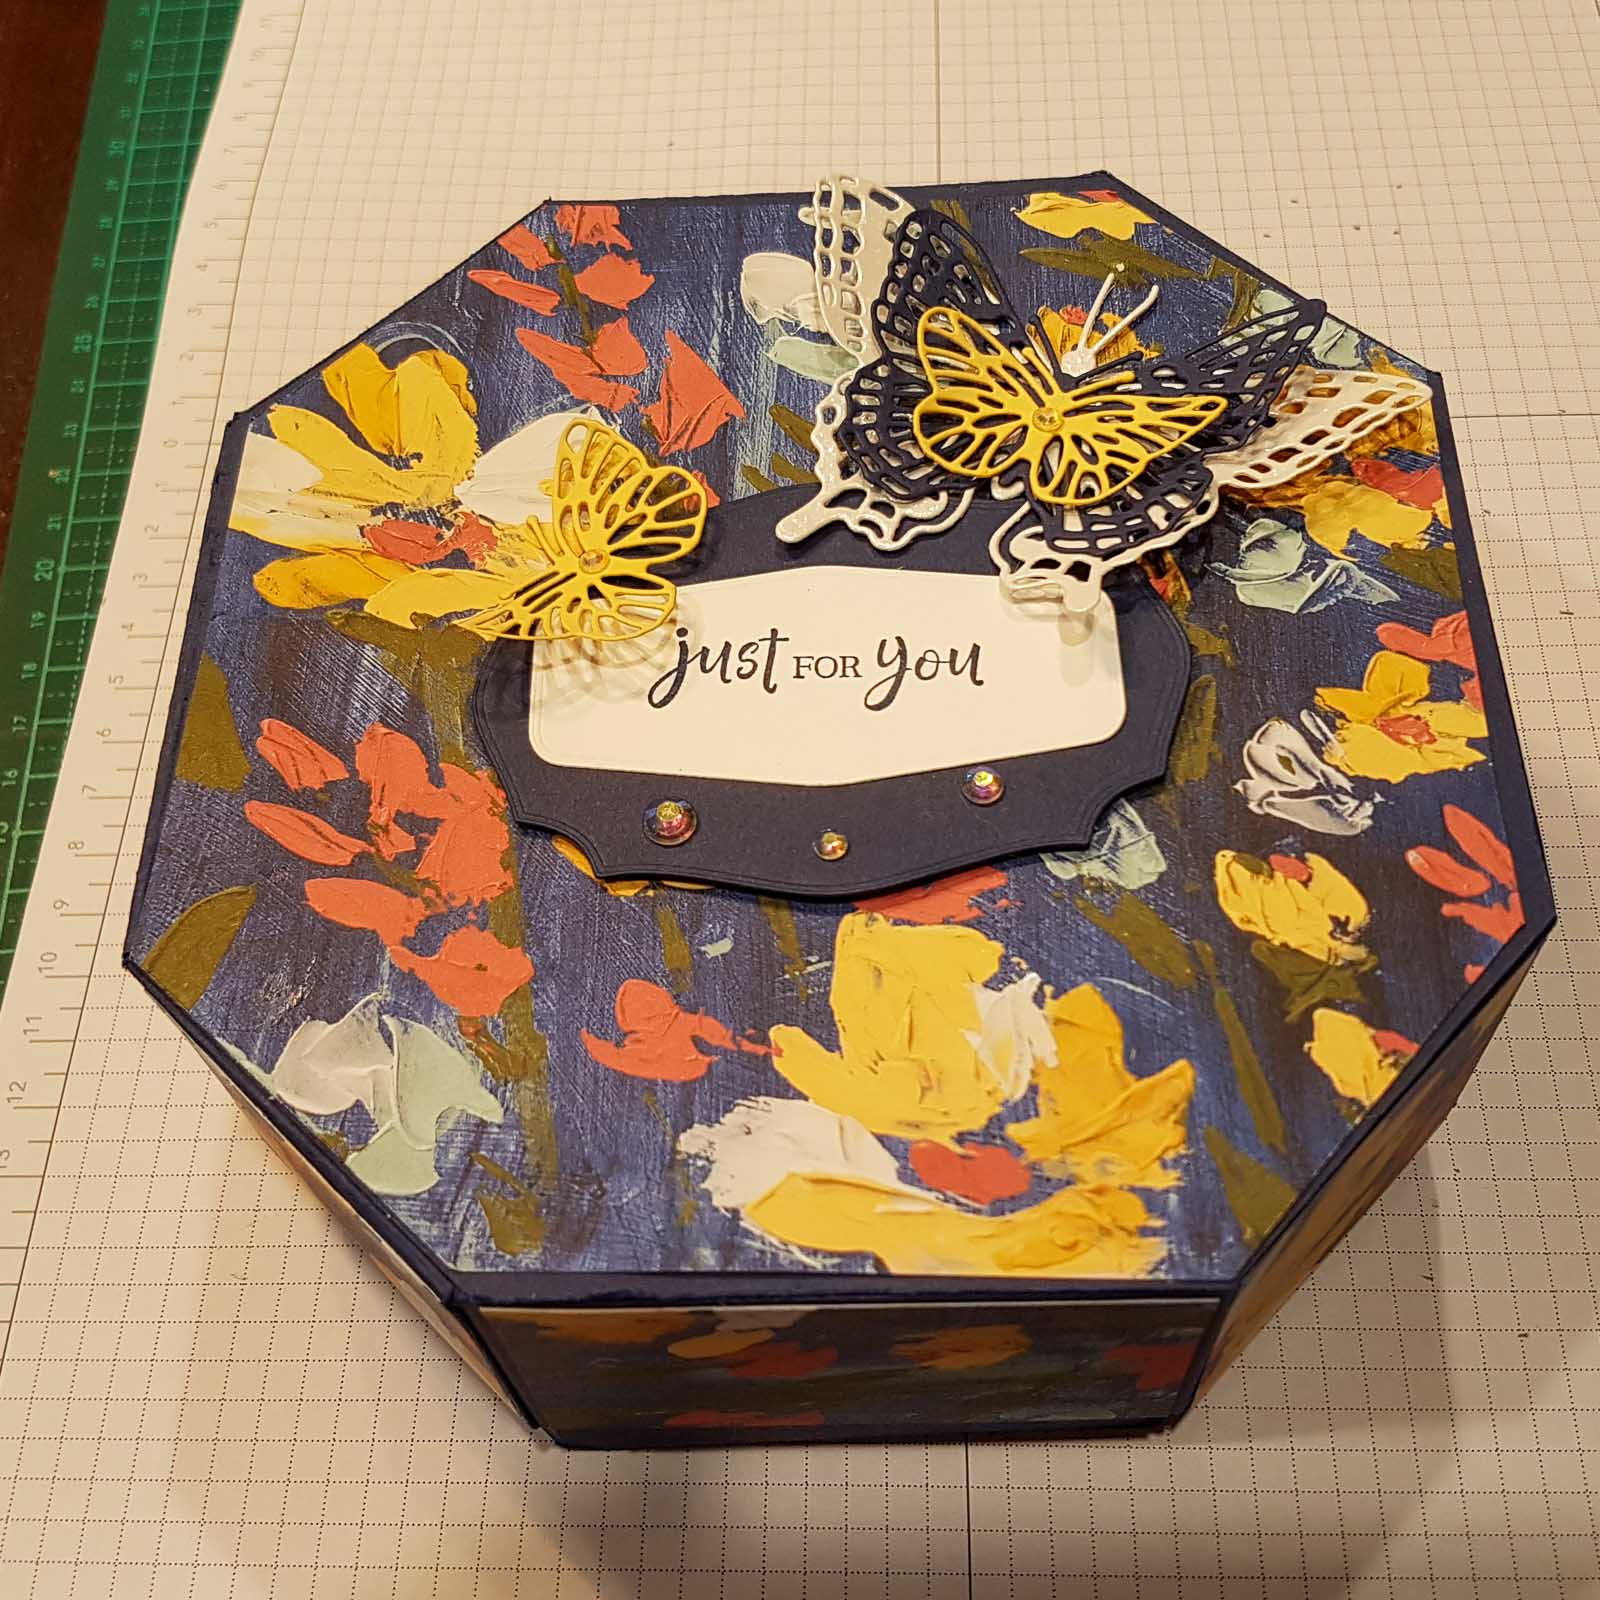
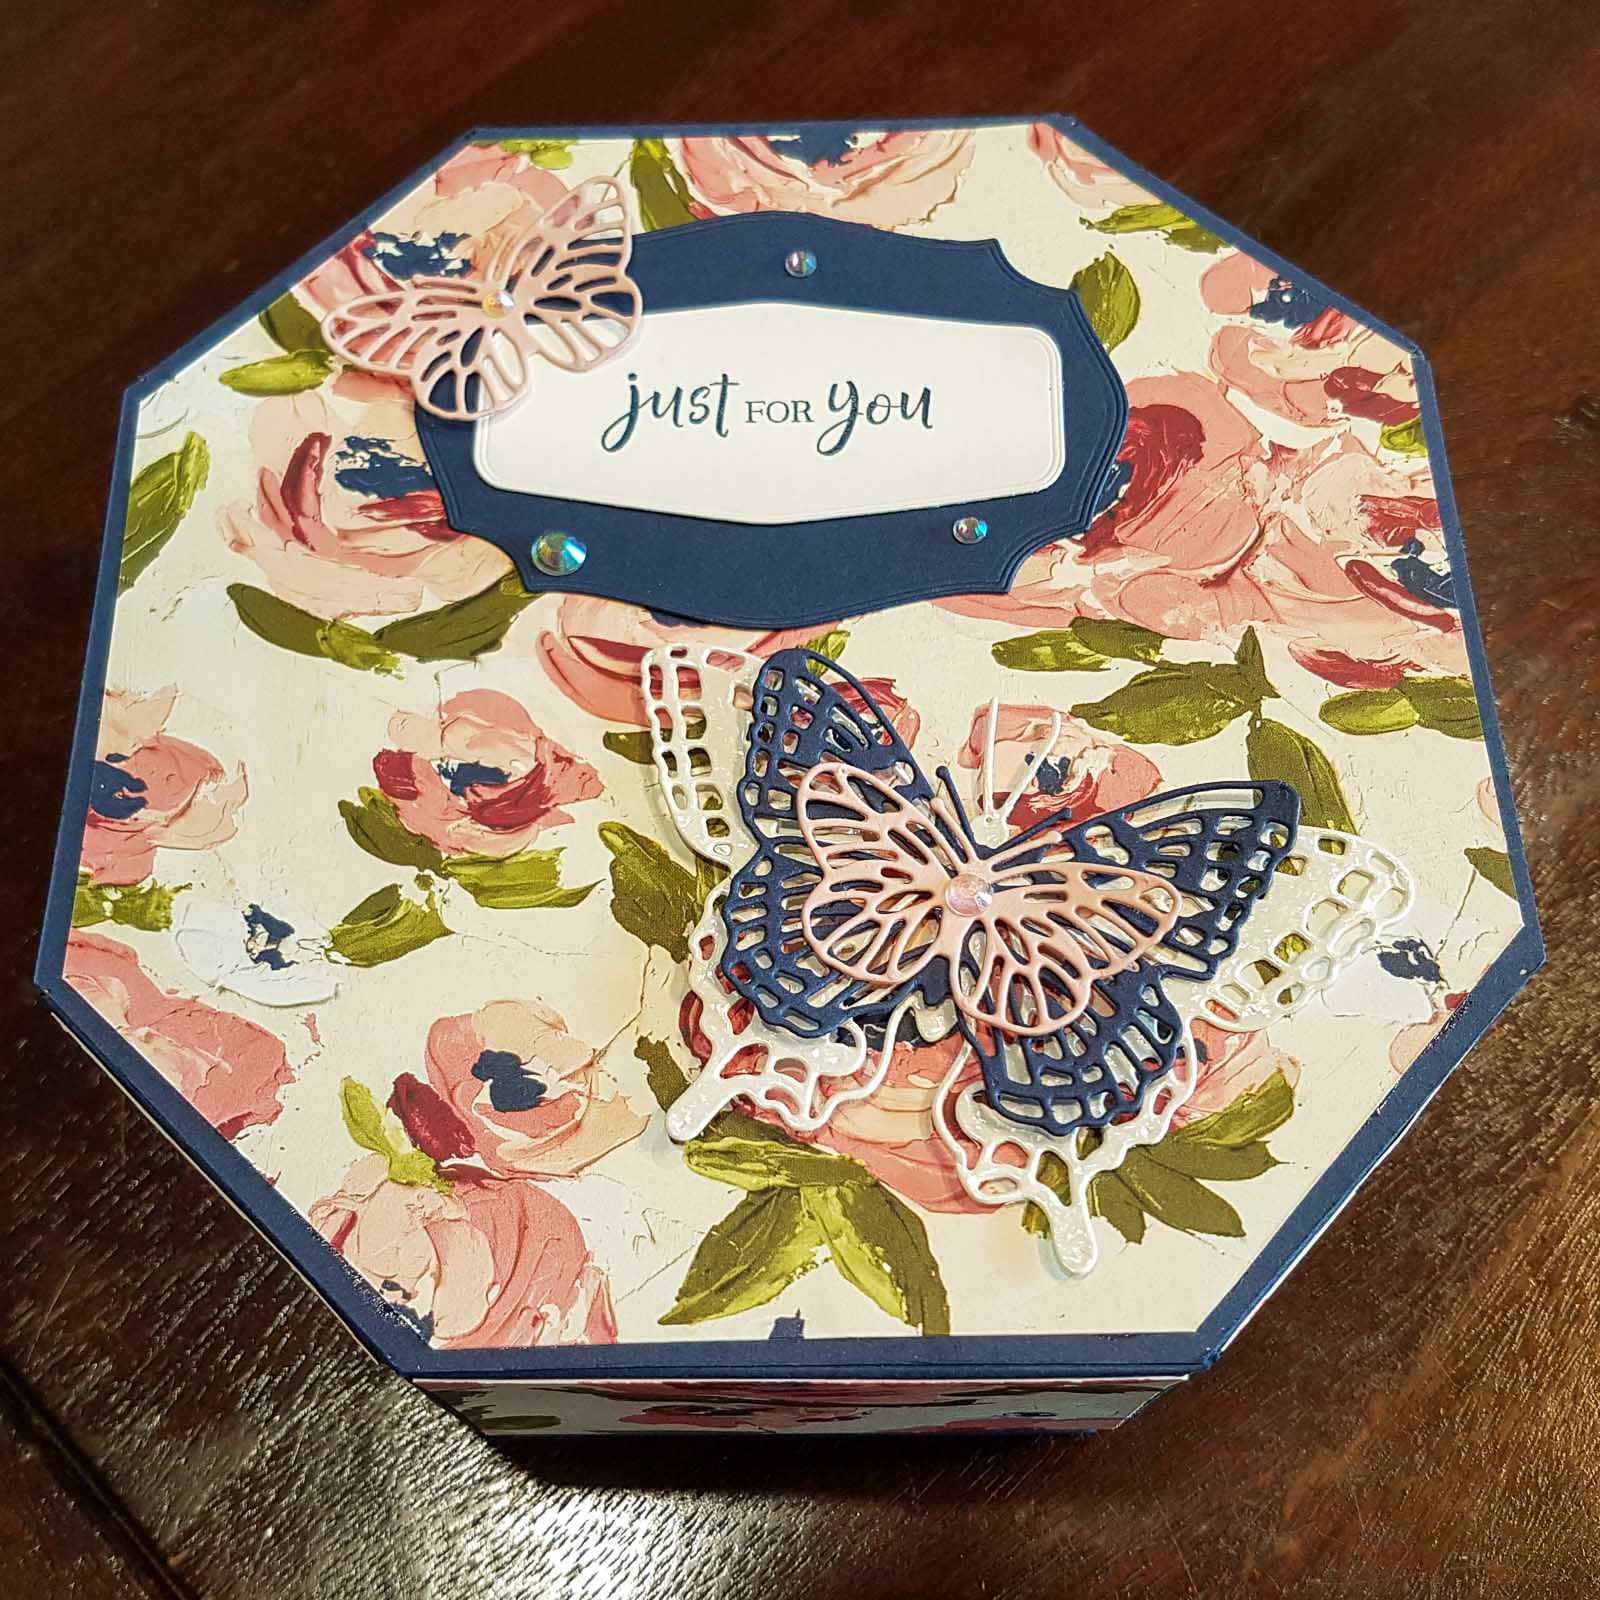
Advanced Class – 8-sided Box
 Metallic Woven Ribbon")

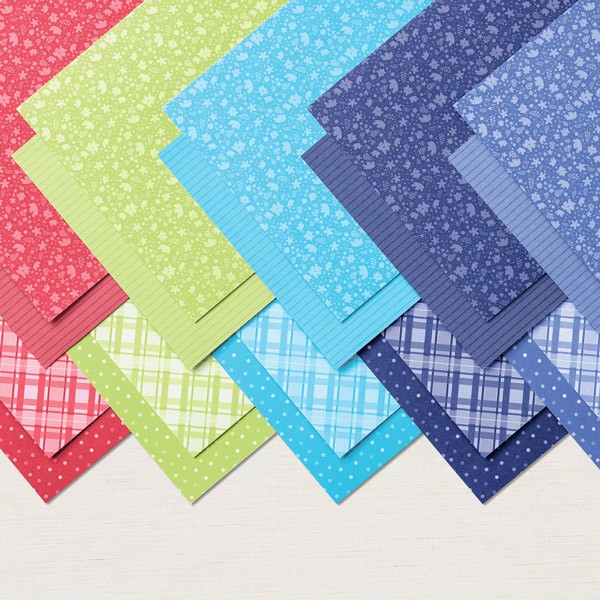
 Specialty Paper")