I’ve had the privilege of being invited to join a group of amazing demonstrators in an international blog hop over the next 12 months.
As you can tell by the name, we’ll be sharing a variety of projects each month show casing different techniques. This month we are featuring the Cling Wrap Background technique.
I’ll share the process with you that I used to create this card.
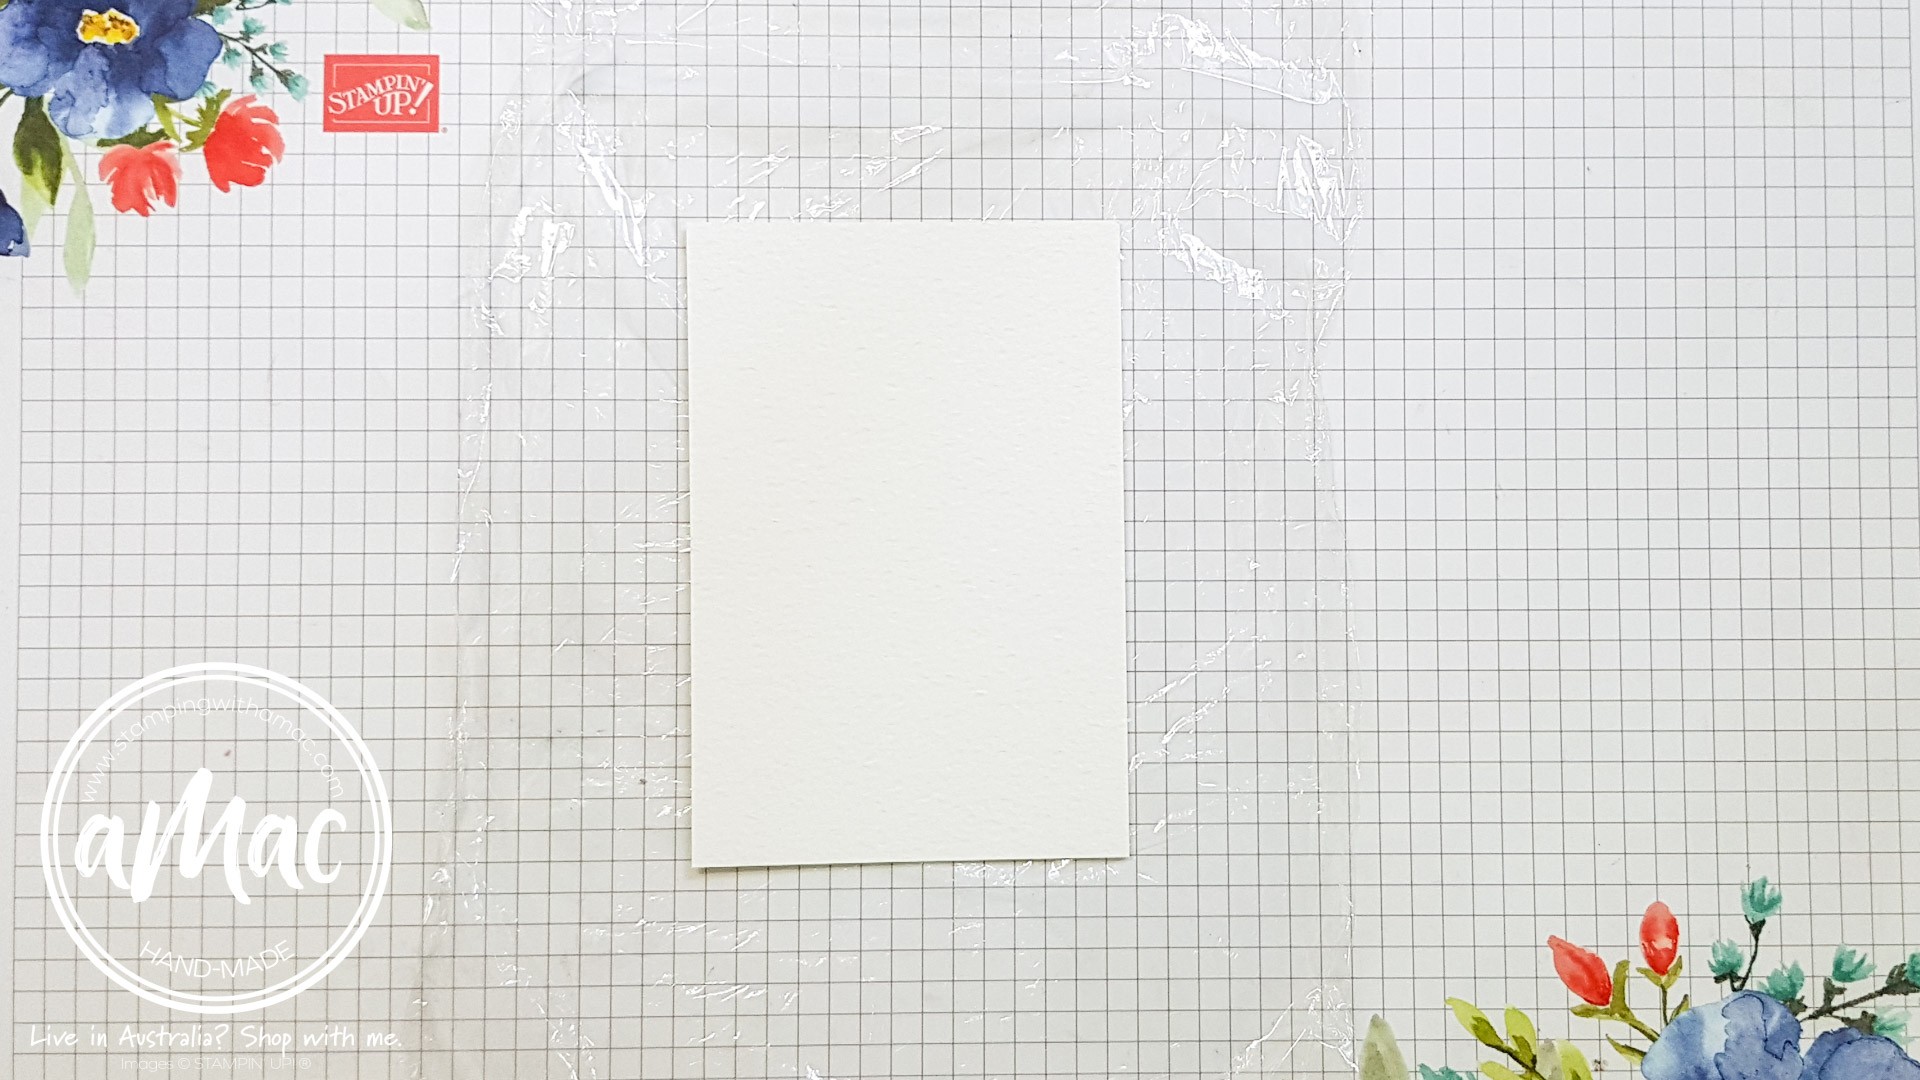
Step 1
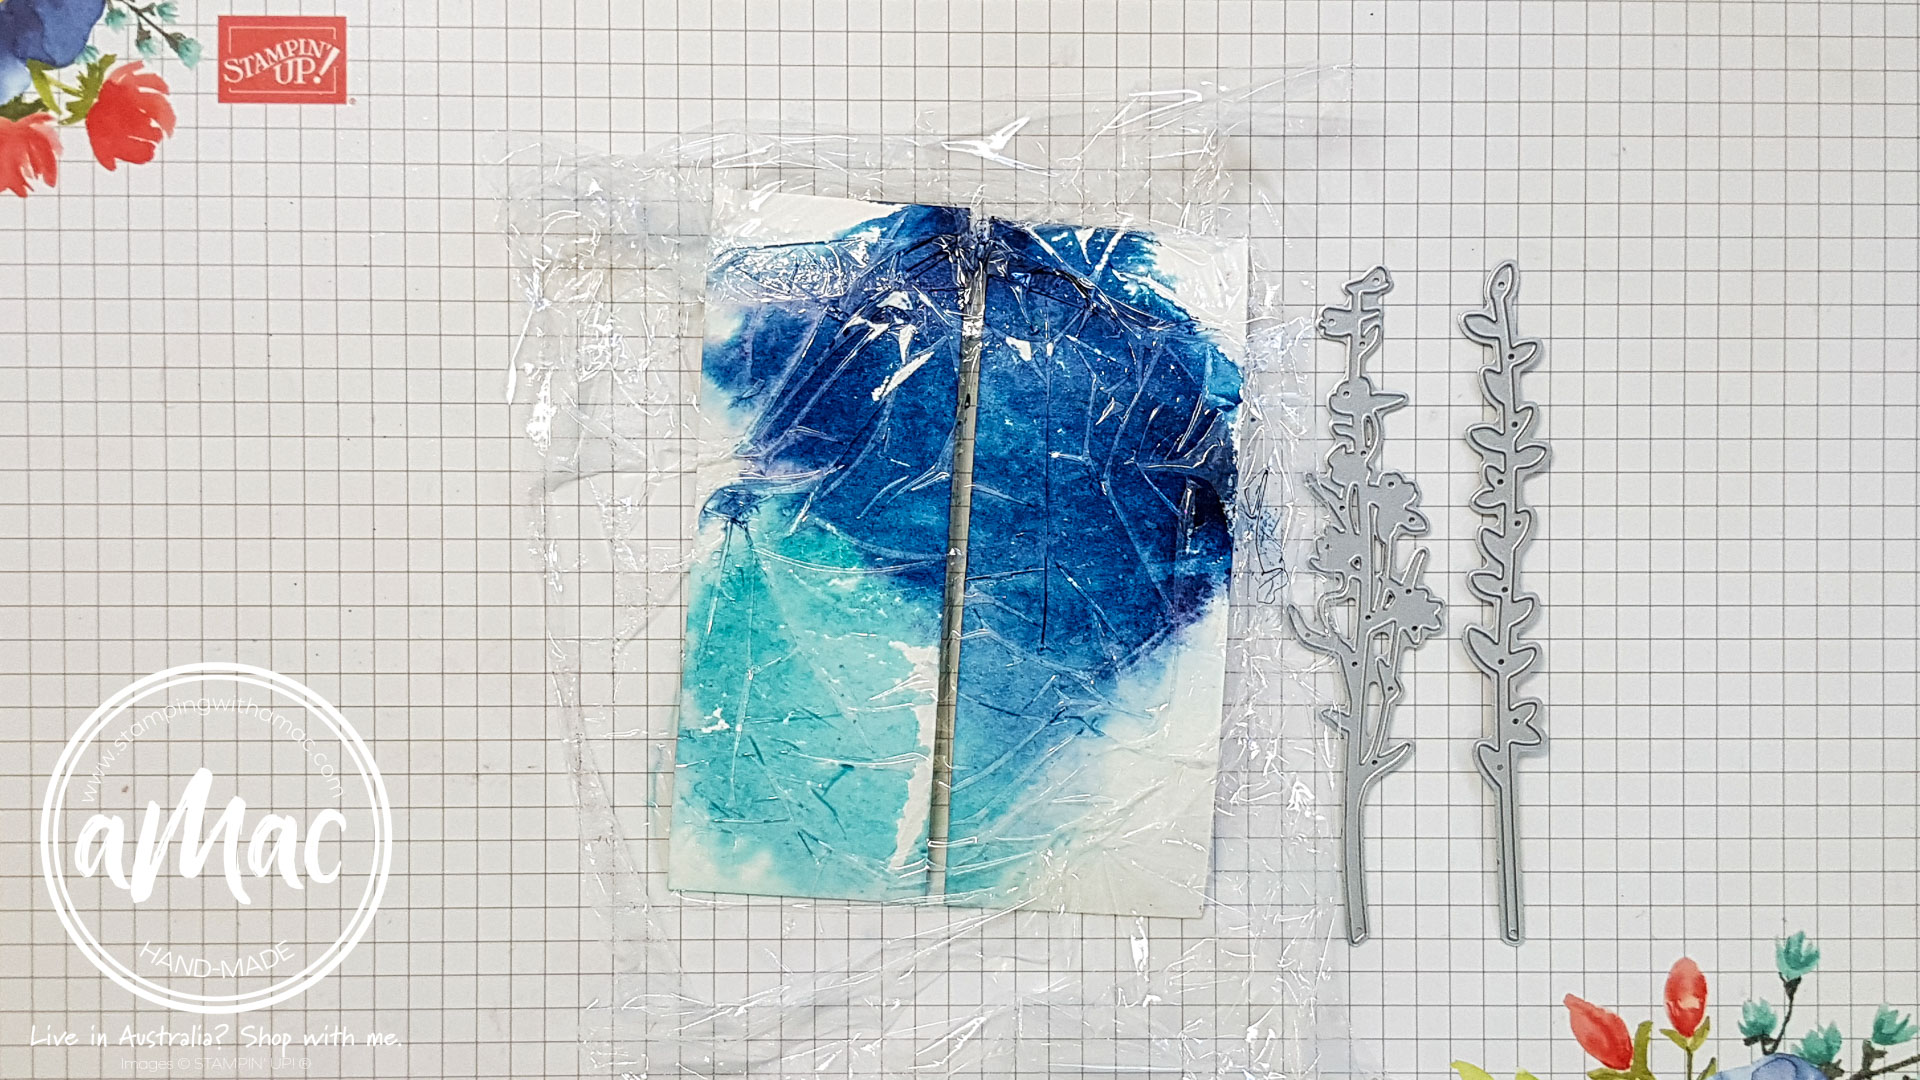
Place a piece of cling wrap (which doesn’t need to be flat), onto your work surface making sure that it’s larger than the piece of paper that you’ll be using.
I used our Fluid 100 Watercolor Paper.
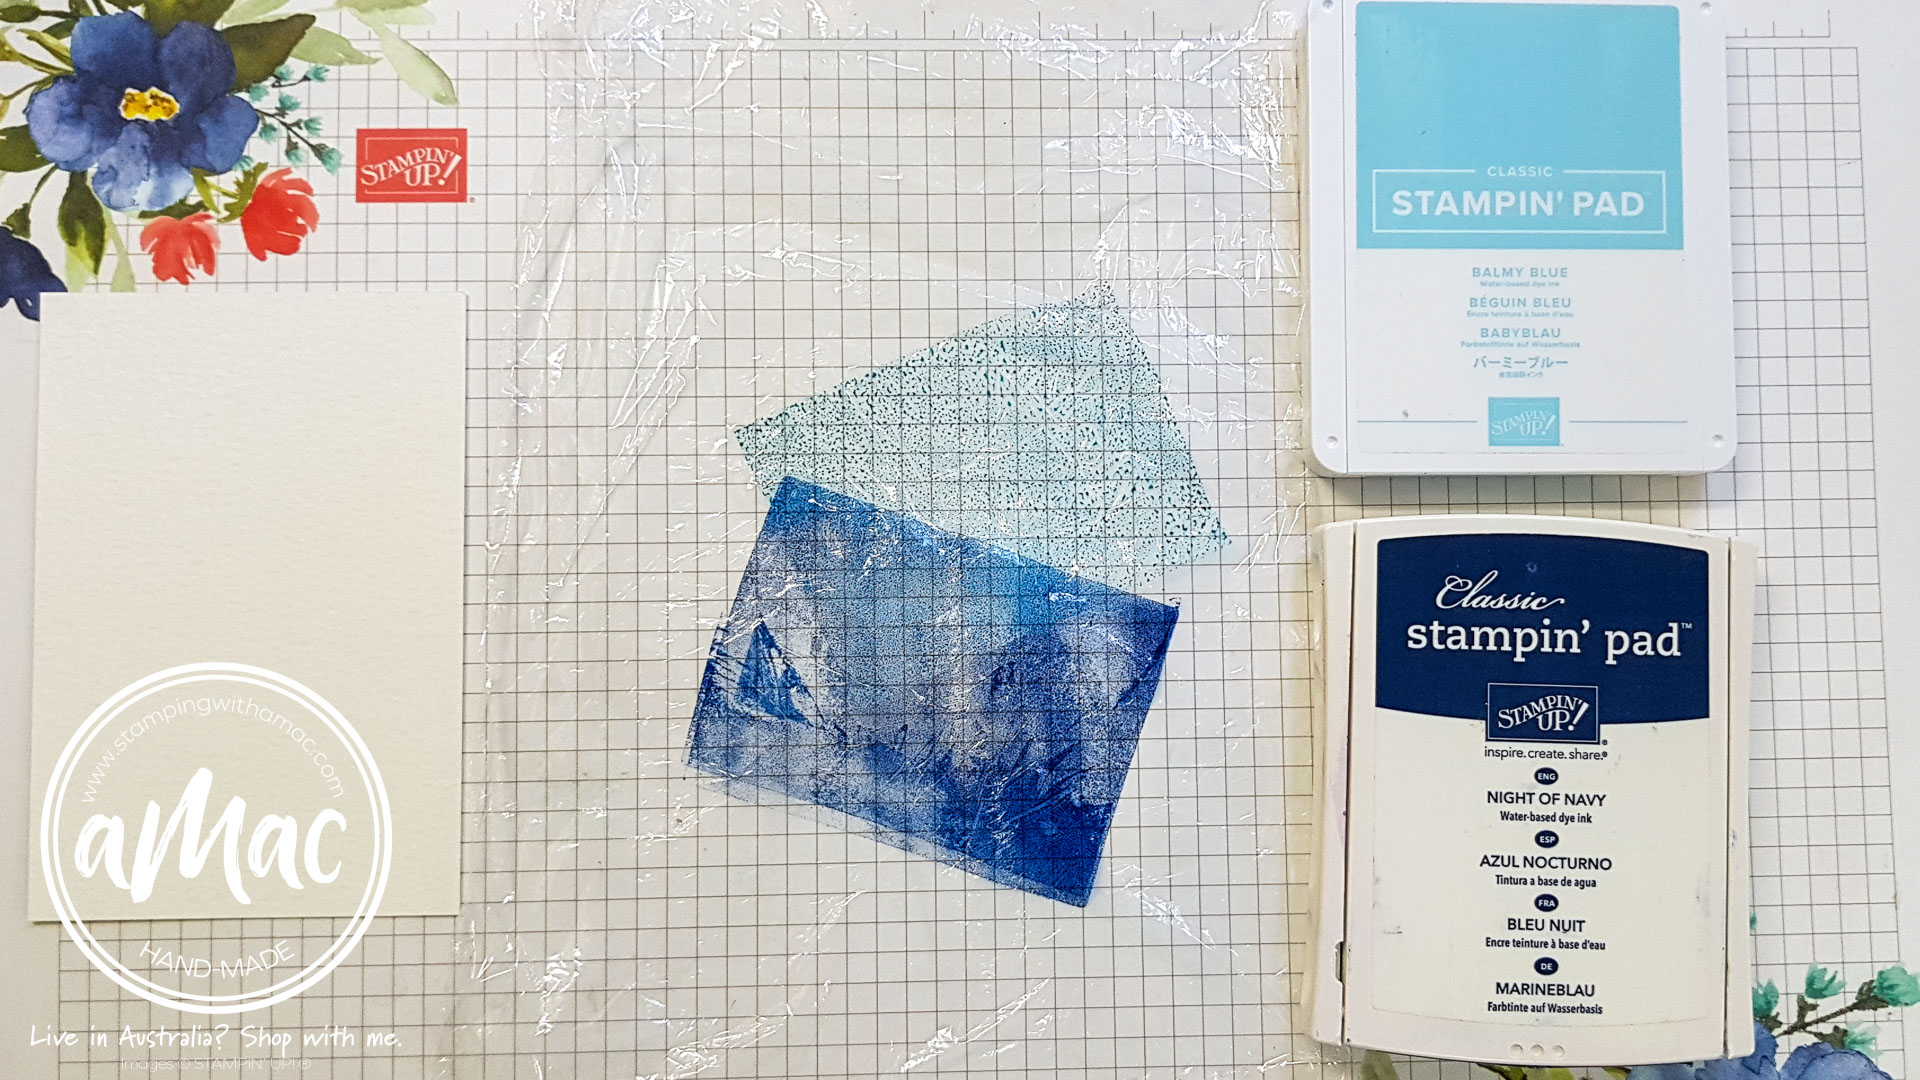
Step 2
I used Stampin’ Up! Balmy Blue and Night of Navy water-based inks and stamped them directly on the glad wrap.
I stamped the lighter Balmy Blue first, to prevent contamination the ink pad.
Step 3
Activate the ink on the cling wrap by using a spray bottle – spritz it with water.
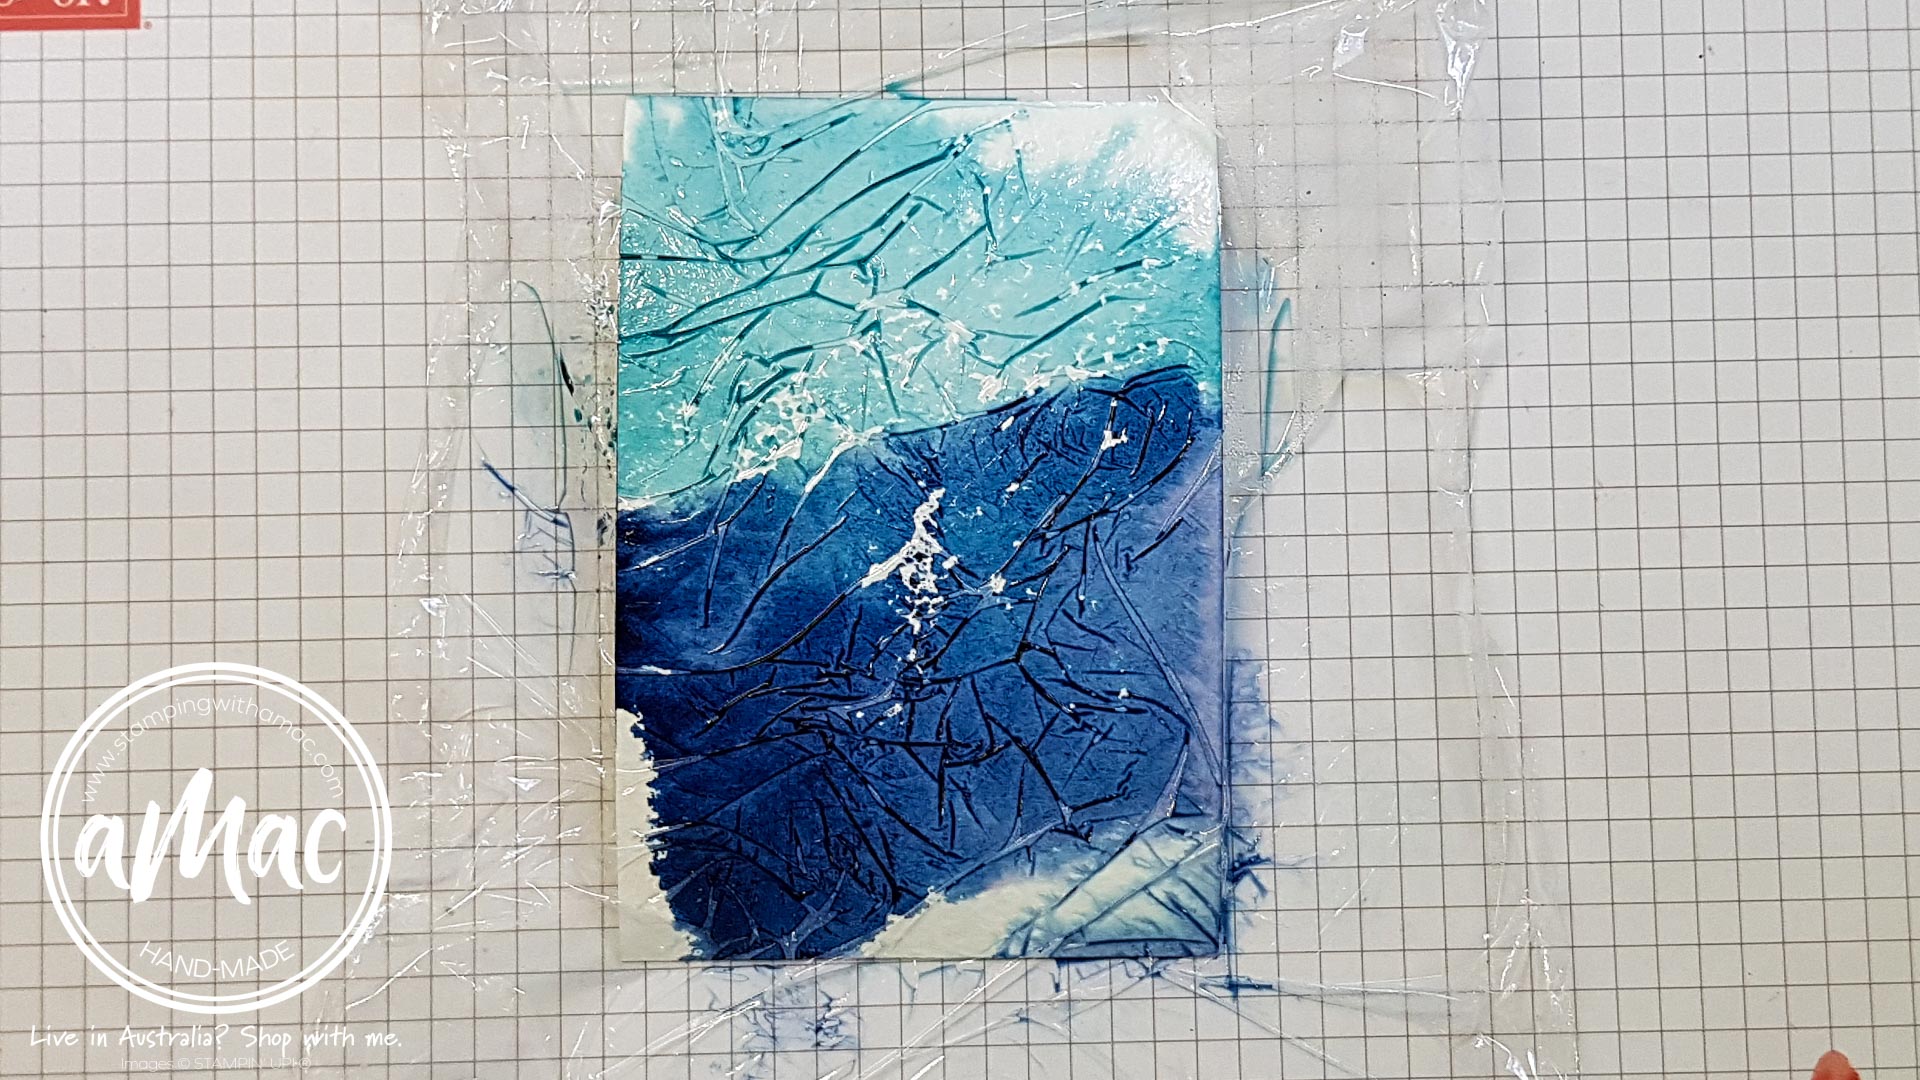
Step 4
Place the Watercolor paper onto cling wrap and flip it over so you can see what you’re doing.
Scrunch up the cling wrap on the surface of the watercolour paper to make desired angles and patterns.
Let this dry naturally – don’t use a heat gun.
Step 5
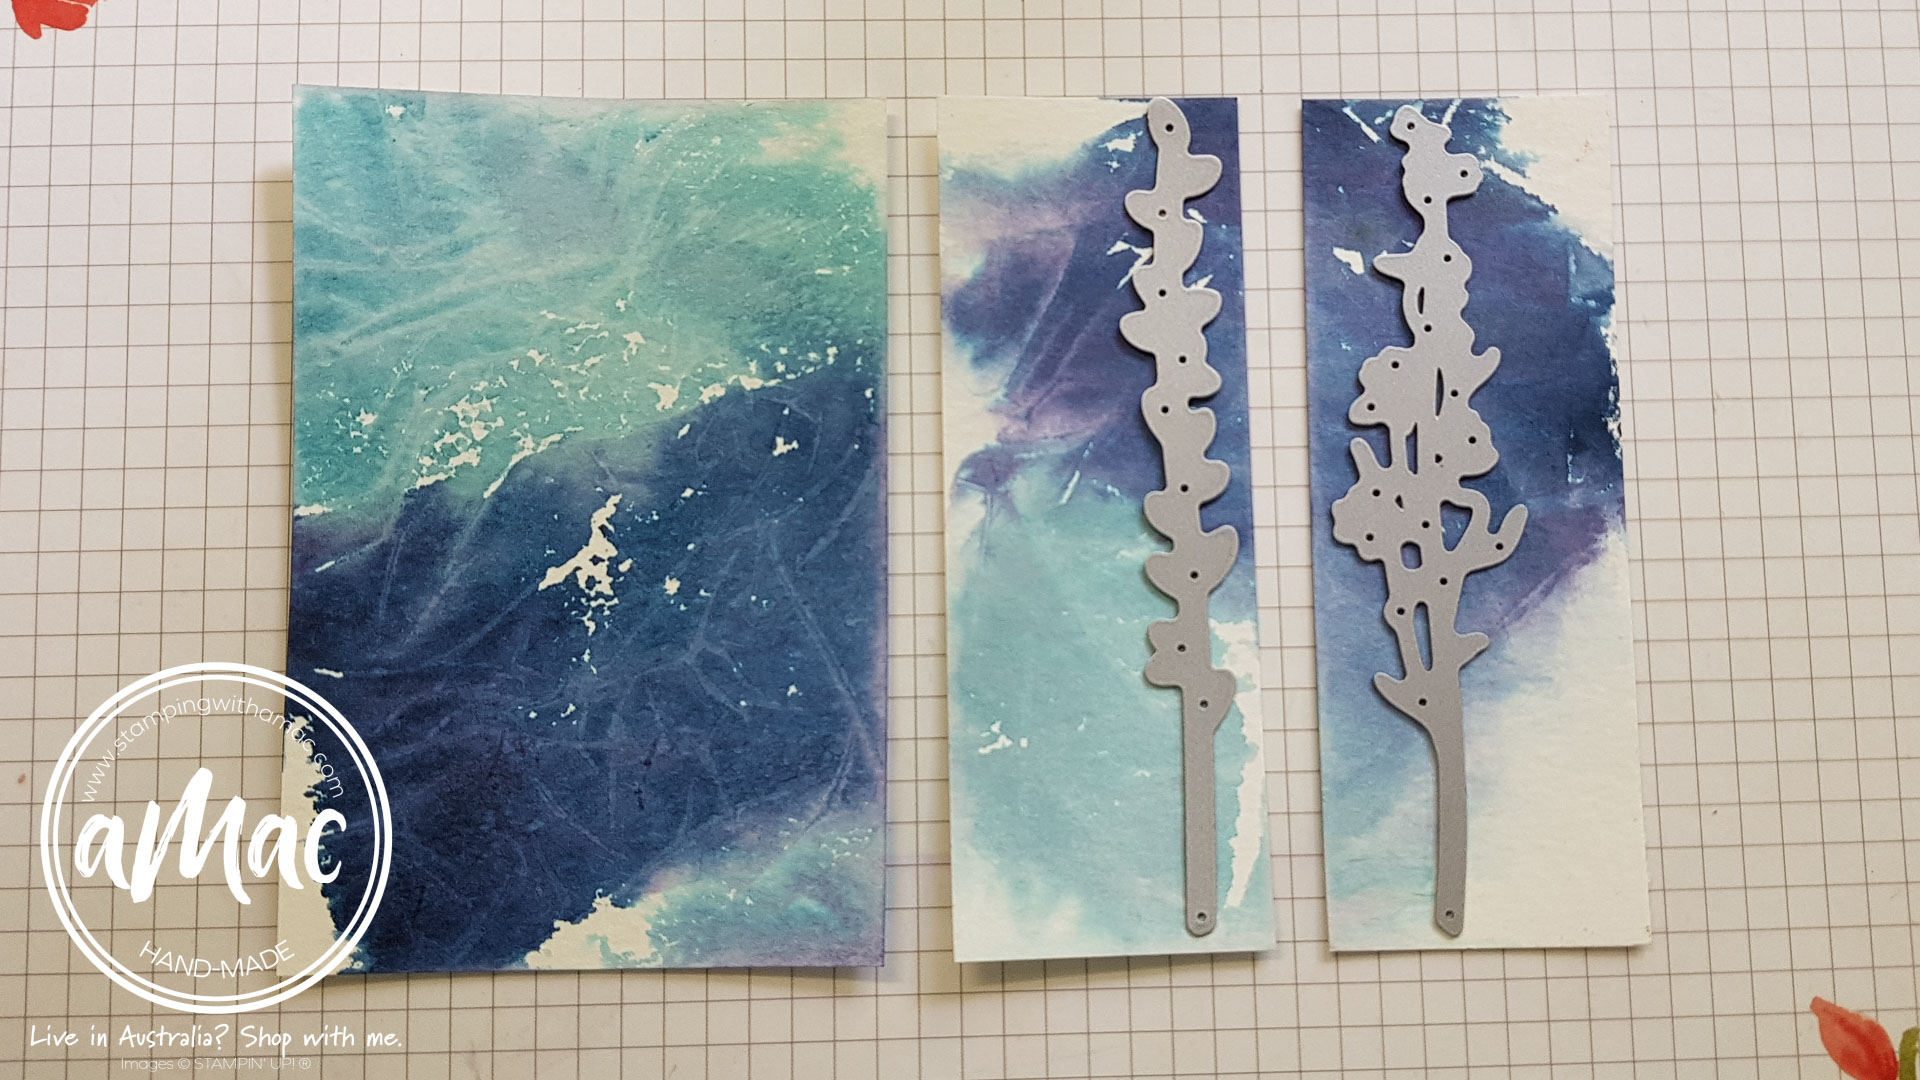
I wanted to tie in my die cut pieces, so I repeated the process with some scrap Watercolor paper.
I re-used my piece of cling wrap, just by wiping it clean with a paper towel before re-inking and repeating the process.
Step 6
Remove the cling wrap once the ink is completely dry, I die cut the small pieces using the Meadow Dies and used the large piece as the background to complete the card.
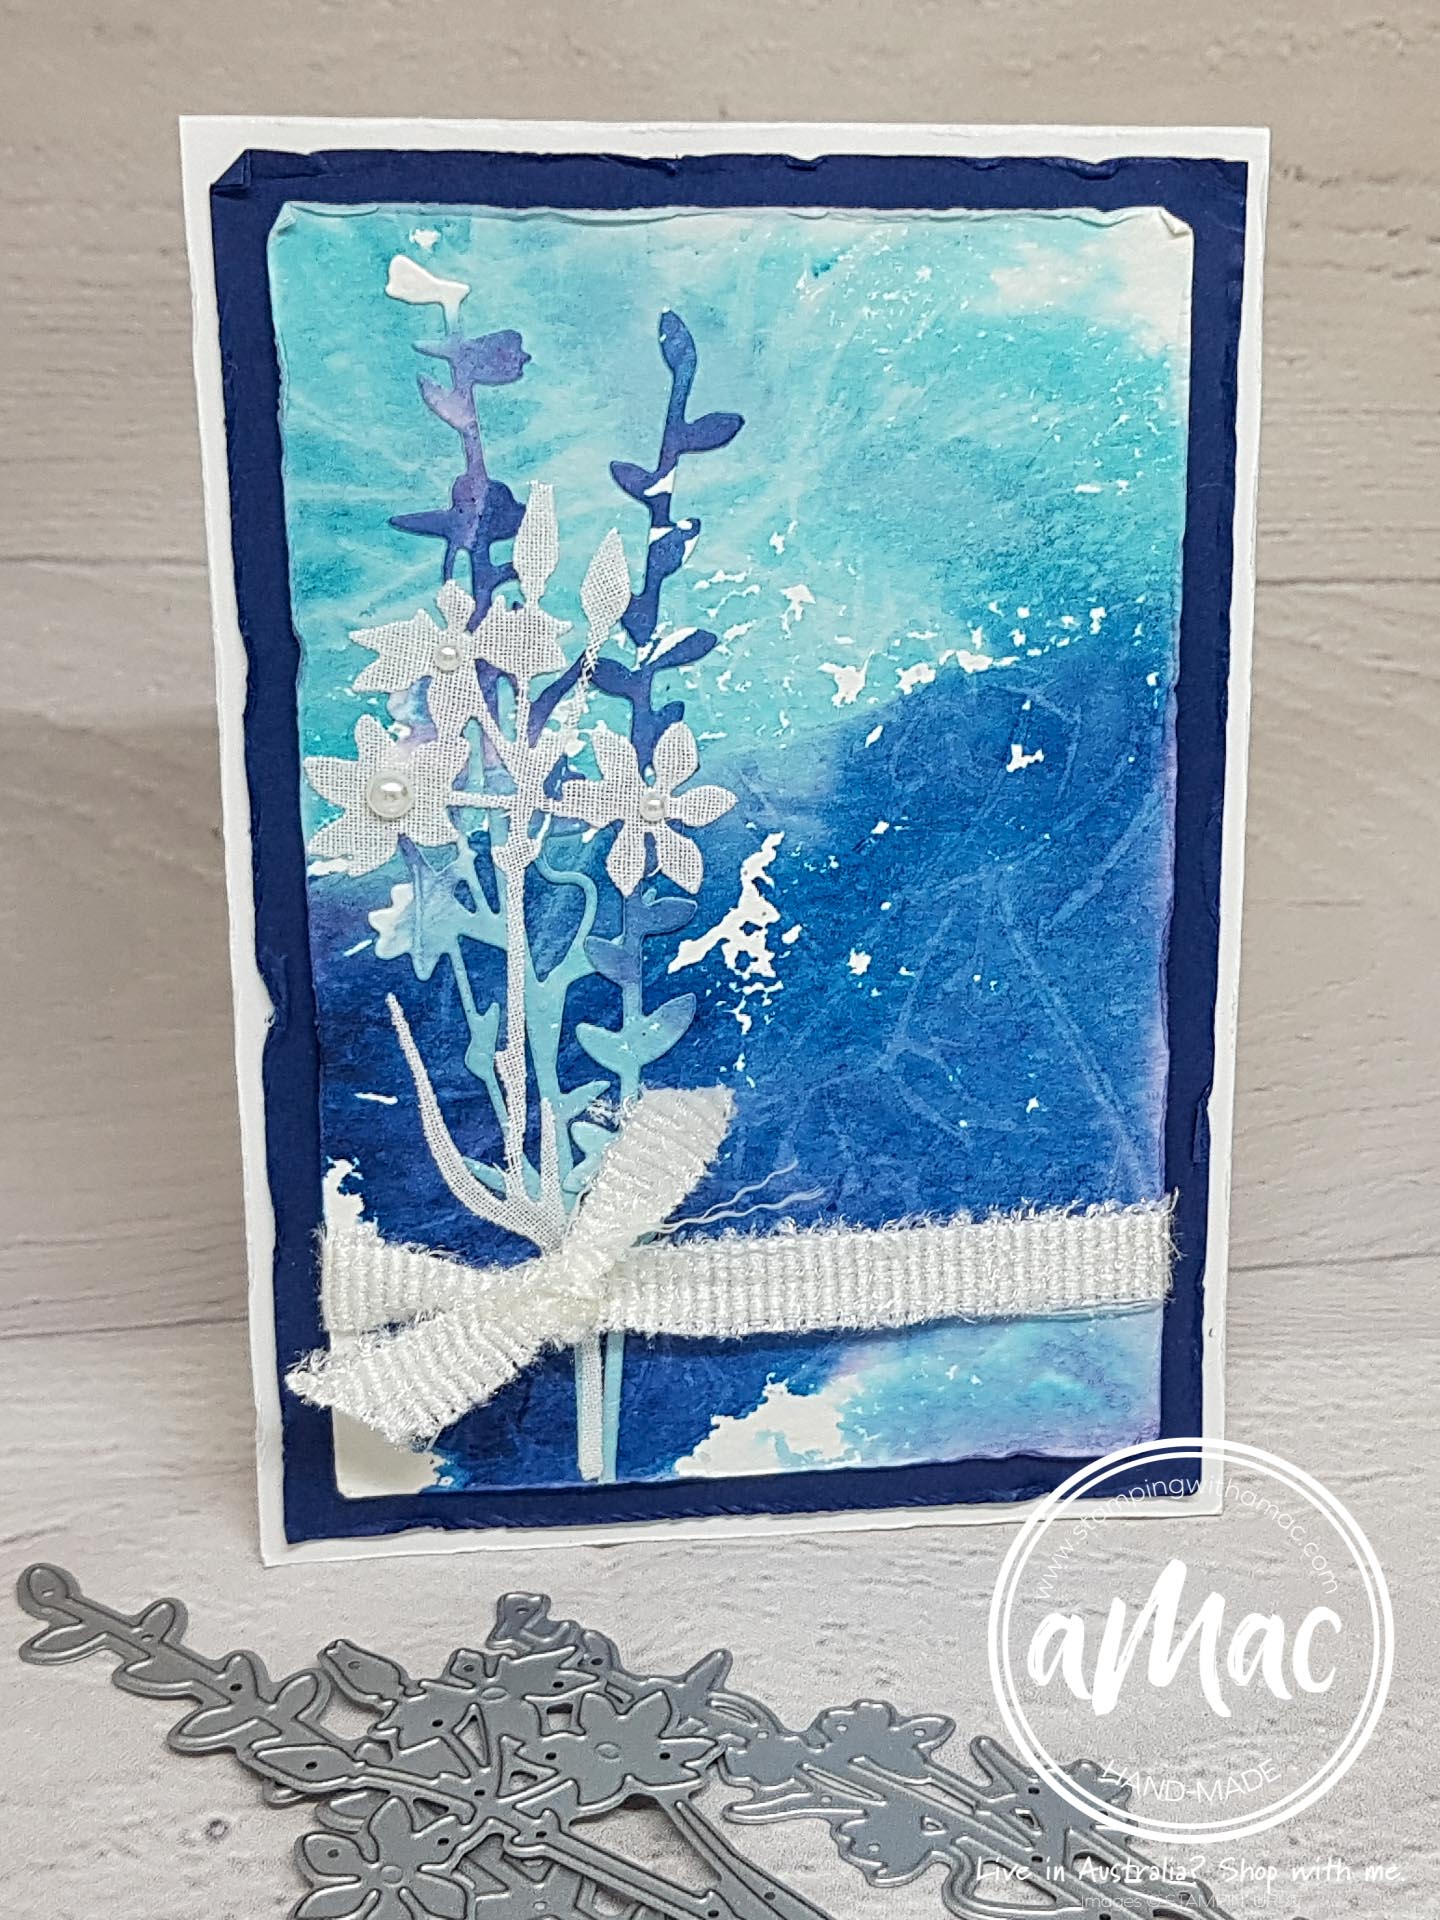
Step 7
The white flower was die cut using our gorgeous Linen Paper which has a sticky backing on it to make it easy to adhere!
I cut the White Frayed Ribbon in half and added it to my Watercolor layer before I adhered it to the front of the card. I also distressed the card stock edges to add more texture.
I intentionally didn’t add a greeting, as the card was ‘full enough’.
Blank cards are always handy to have and you can add any greeting to the inside later on.
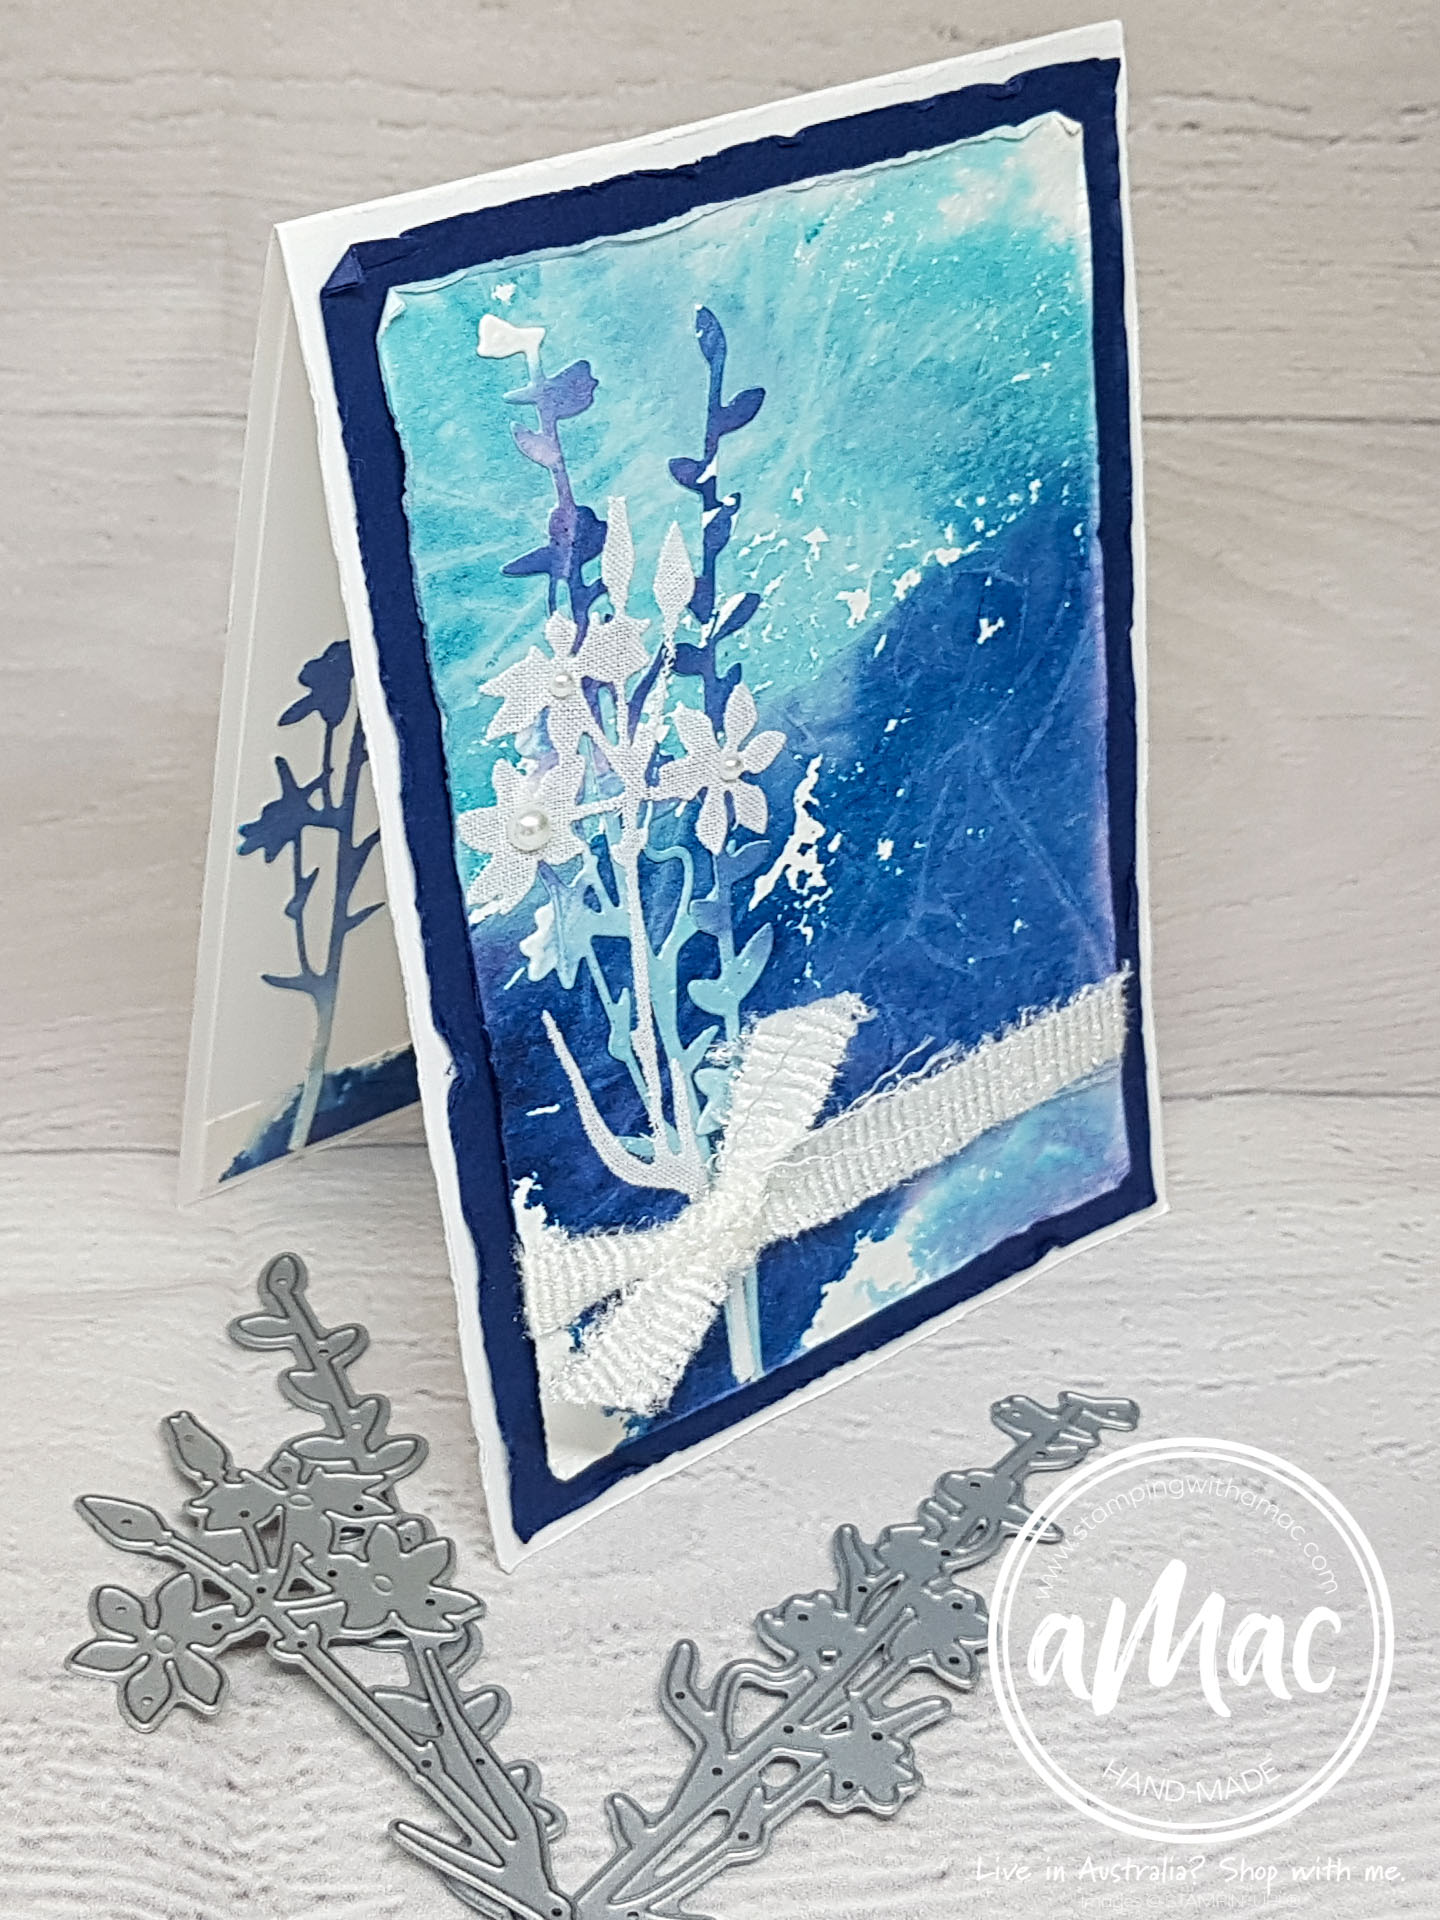
Step 8
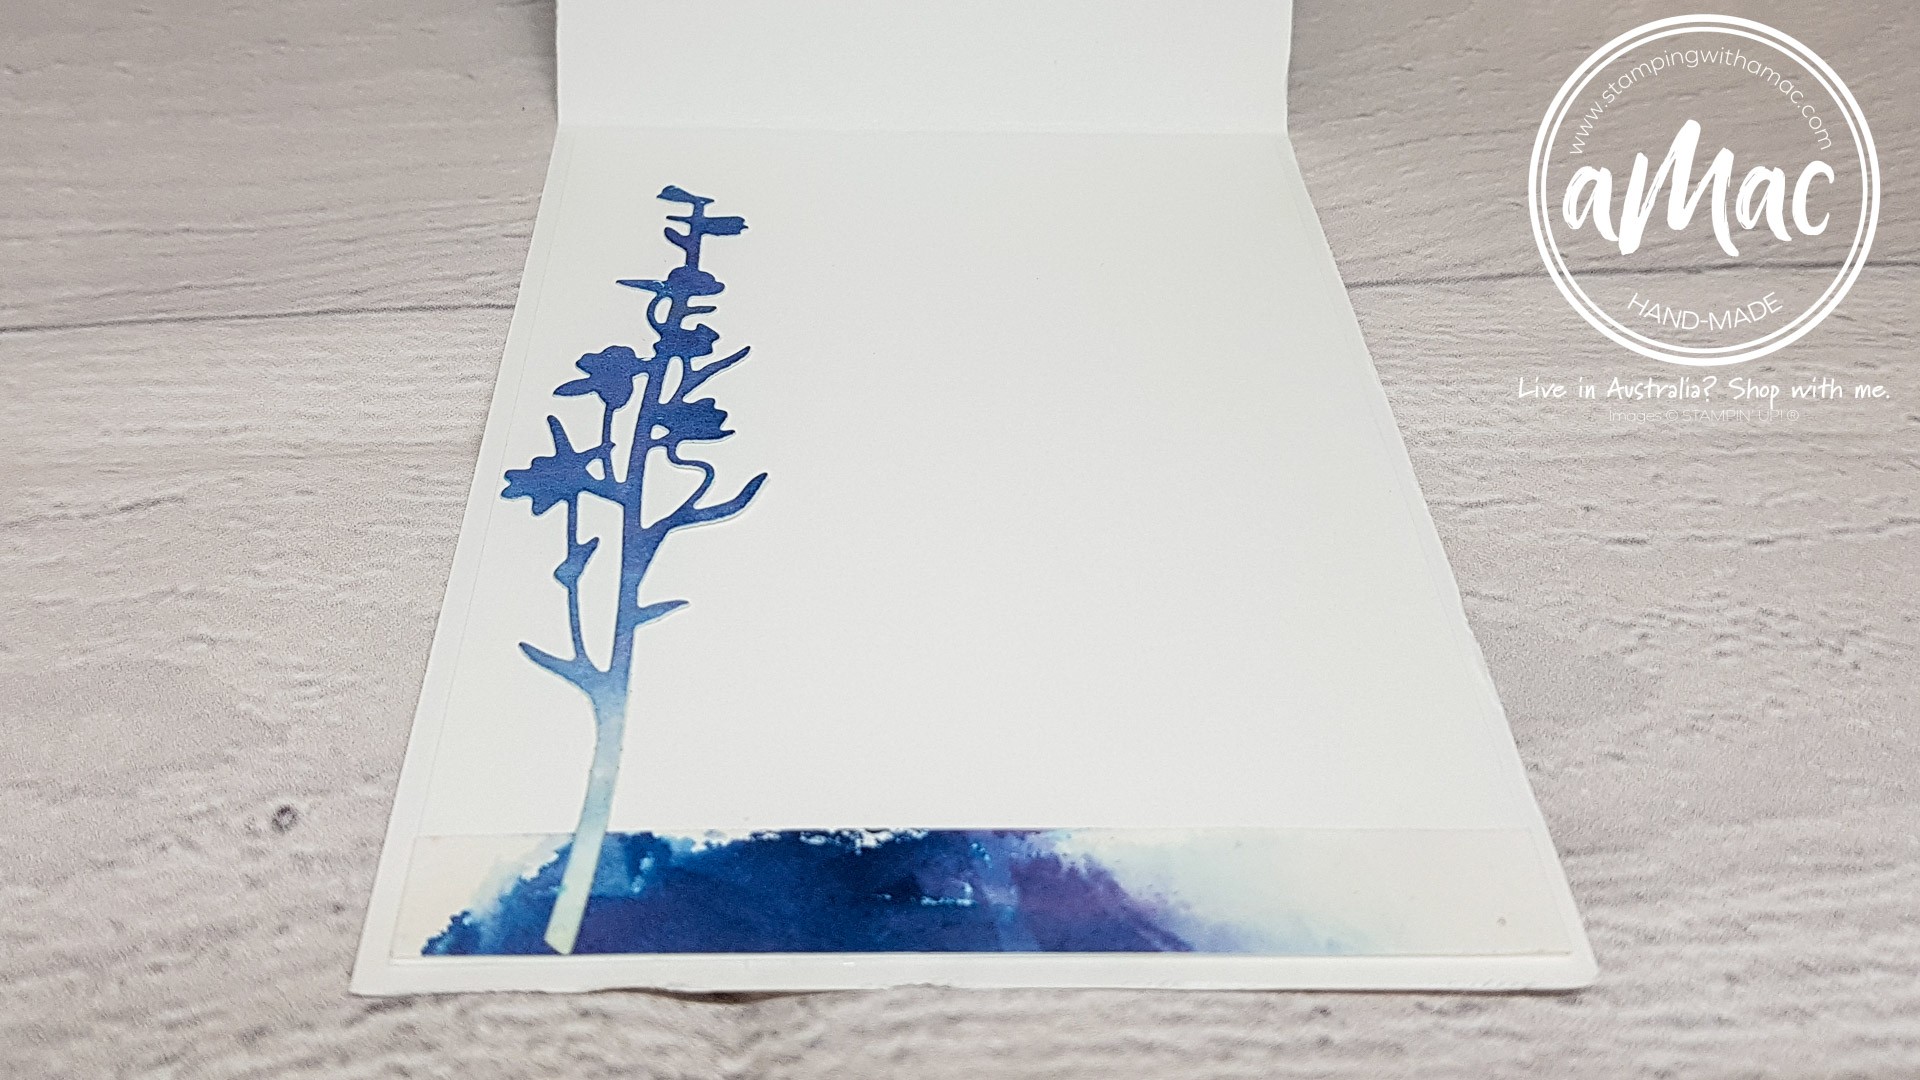
I used some left-over pieces to decorate the inside of my card.
Please have a look at what the rest of the team has created for this month’s hop and enjoy!


 Specialty Paper")


 Frayed Ribbon")
