Welcome to the Totally Techniques Blog Hop! I’m Angela McFarlane from Gold Coast, Australia.
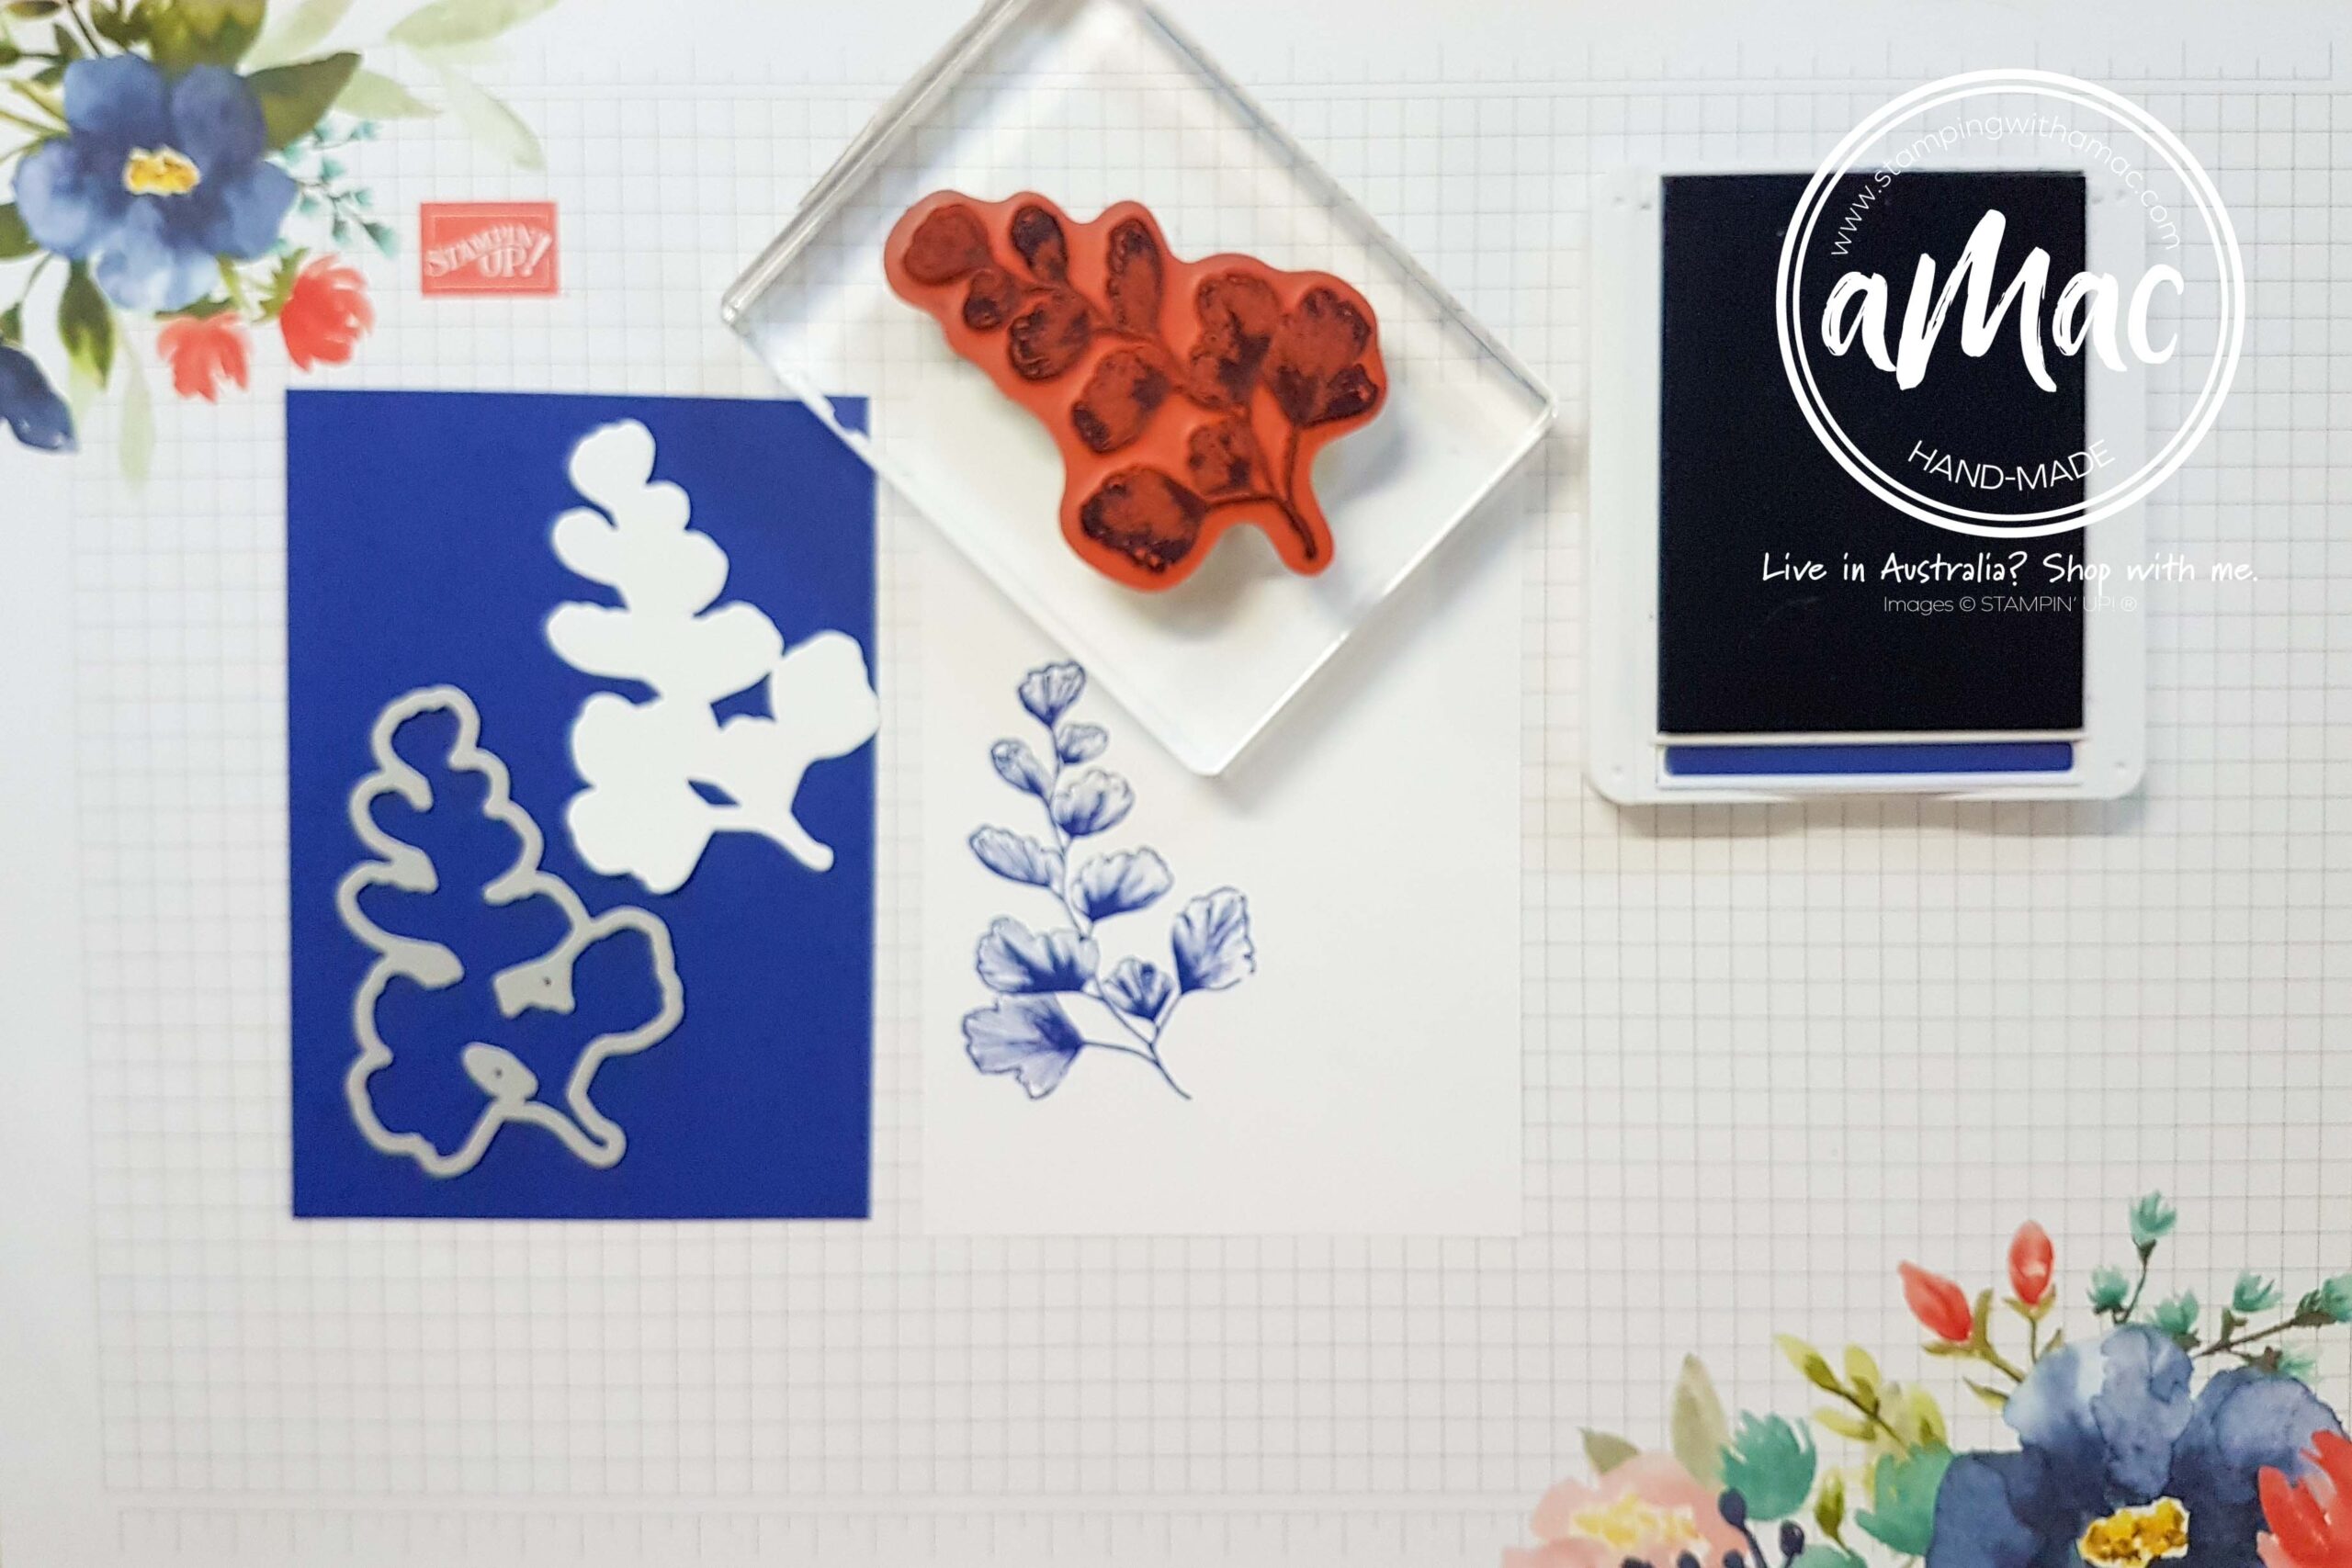
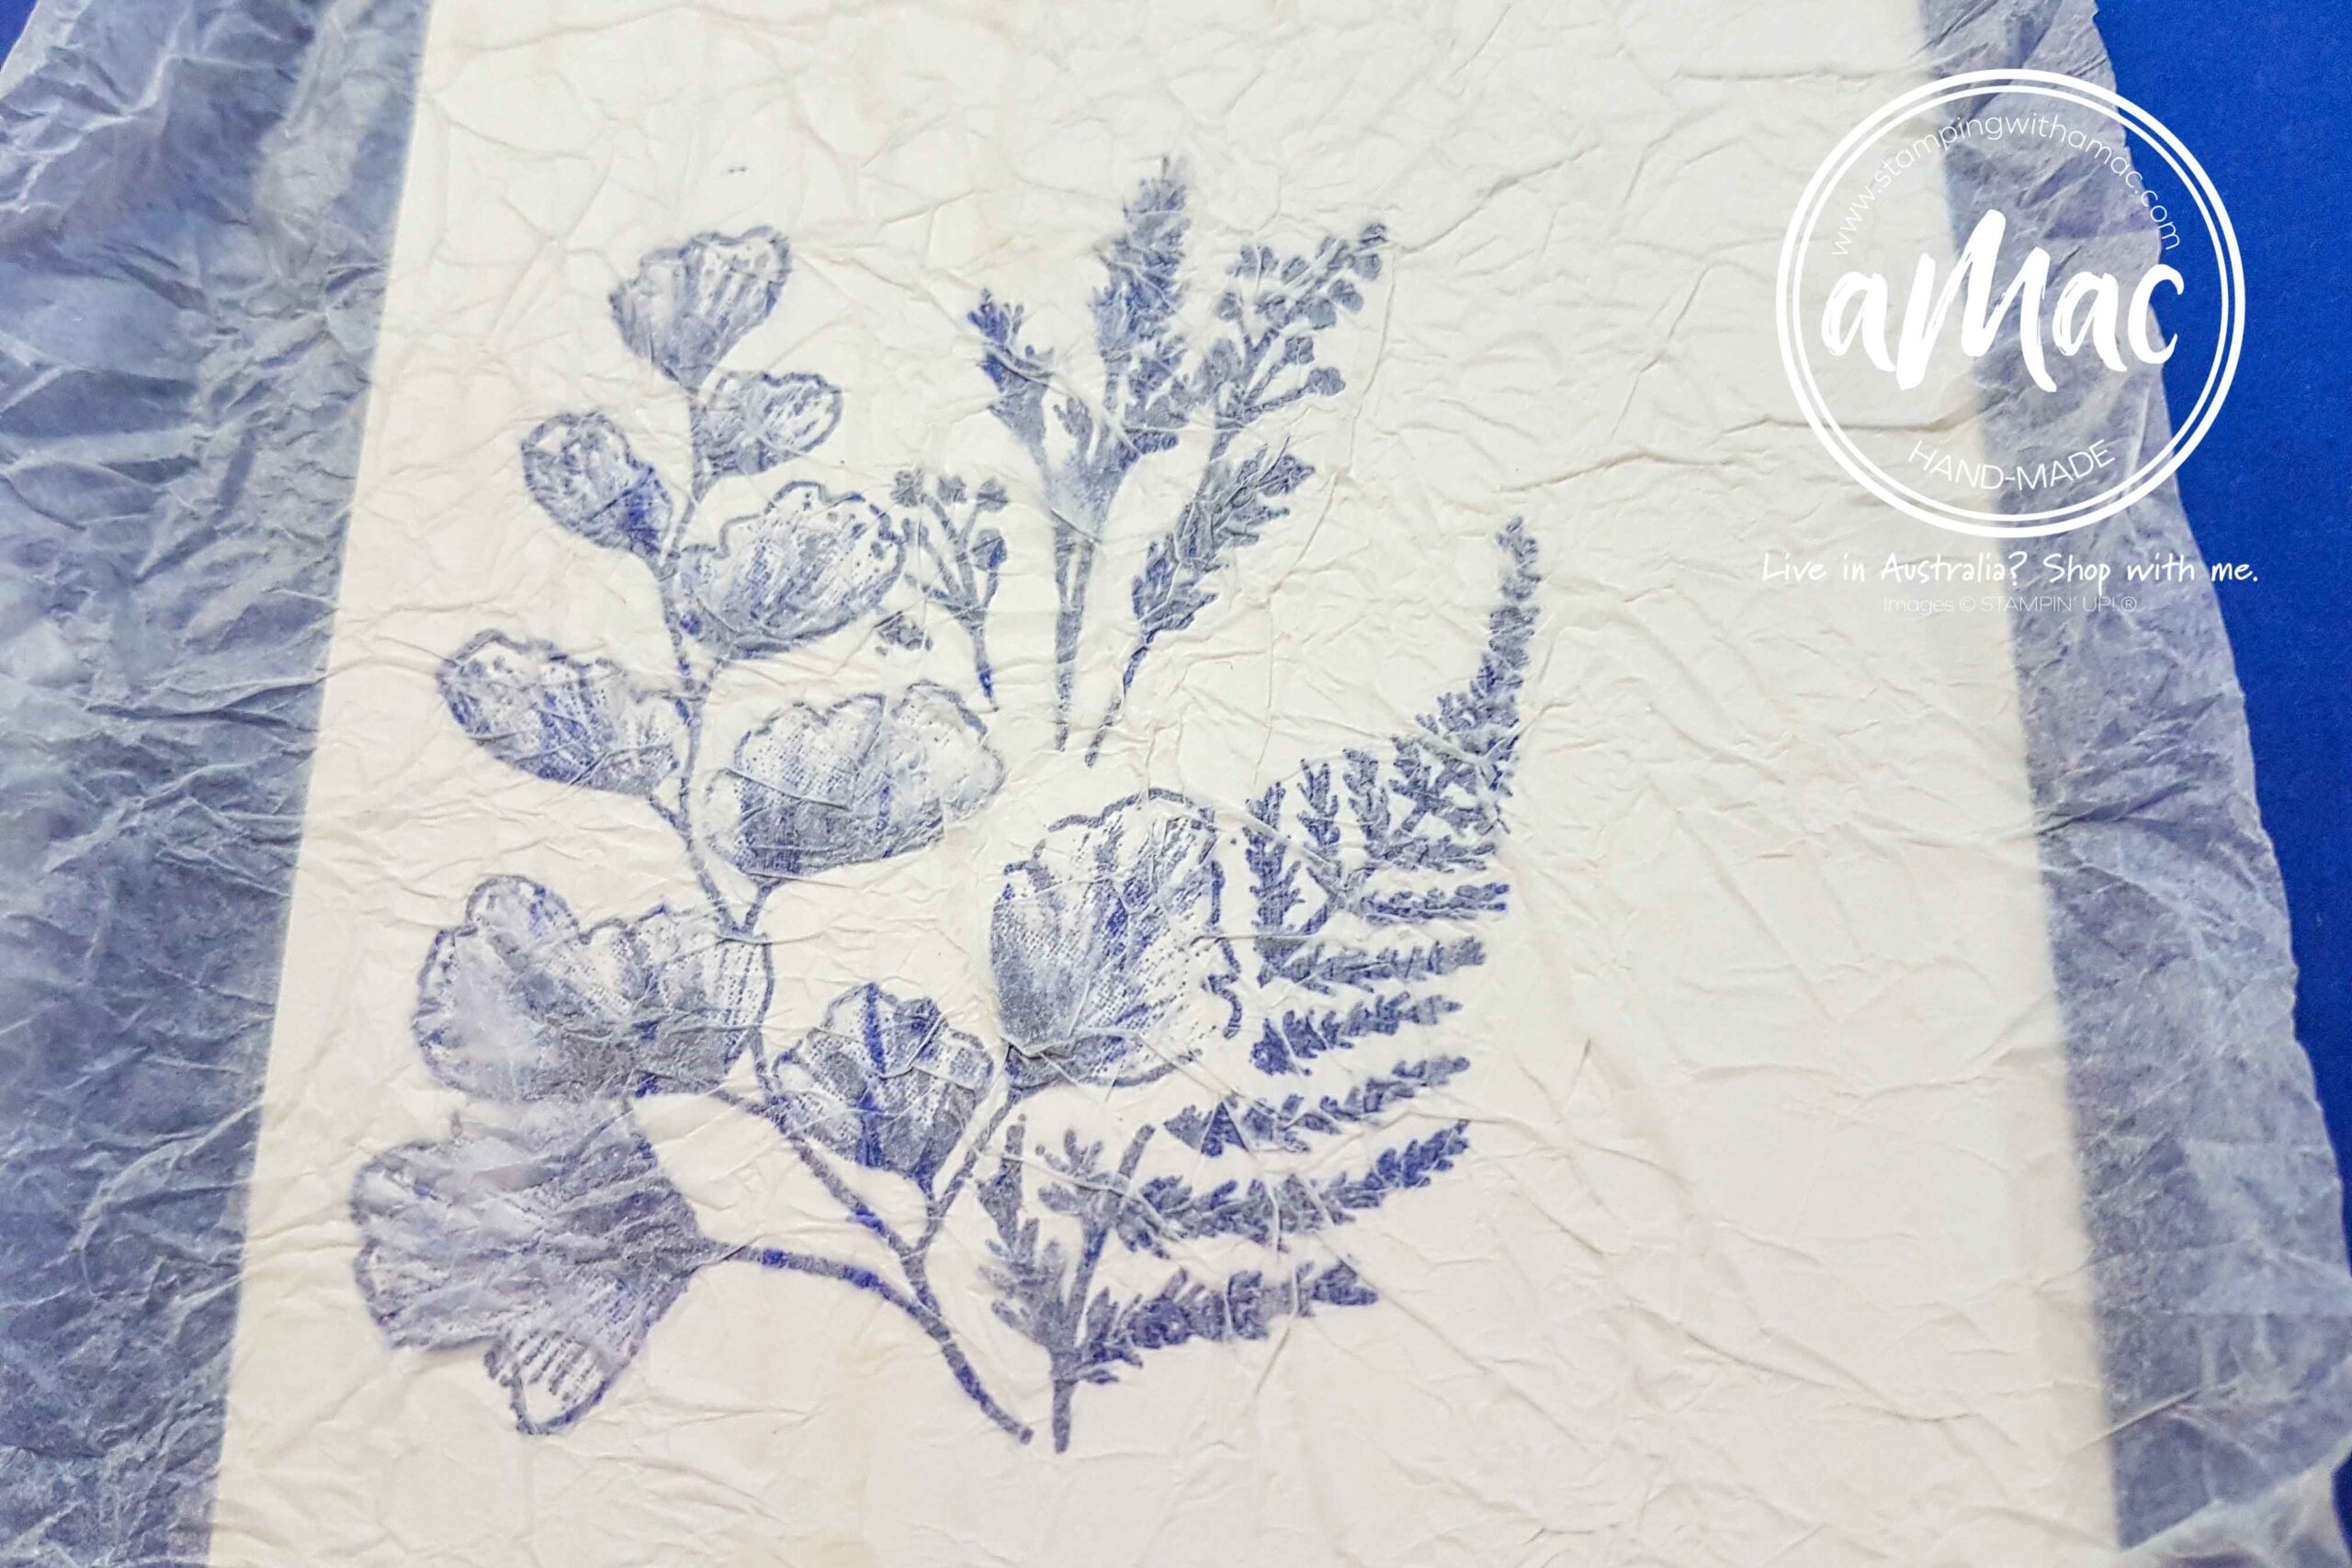
Each month our team chooses a different technique to feature and this month we will be showcasing the Faux Silk Technique. I’ll share the process below to explain how I created my card.
At the end of my blog please ‘hop along’ to see all of the different projects made by our talented team!
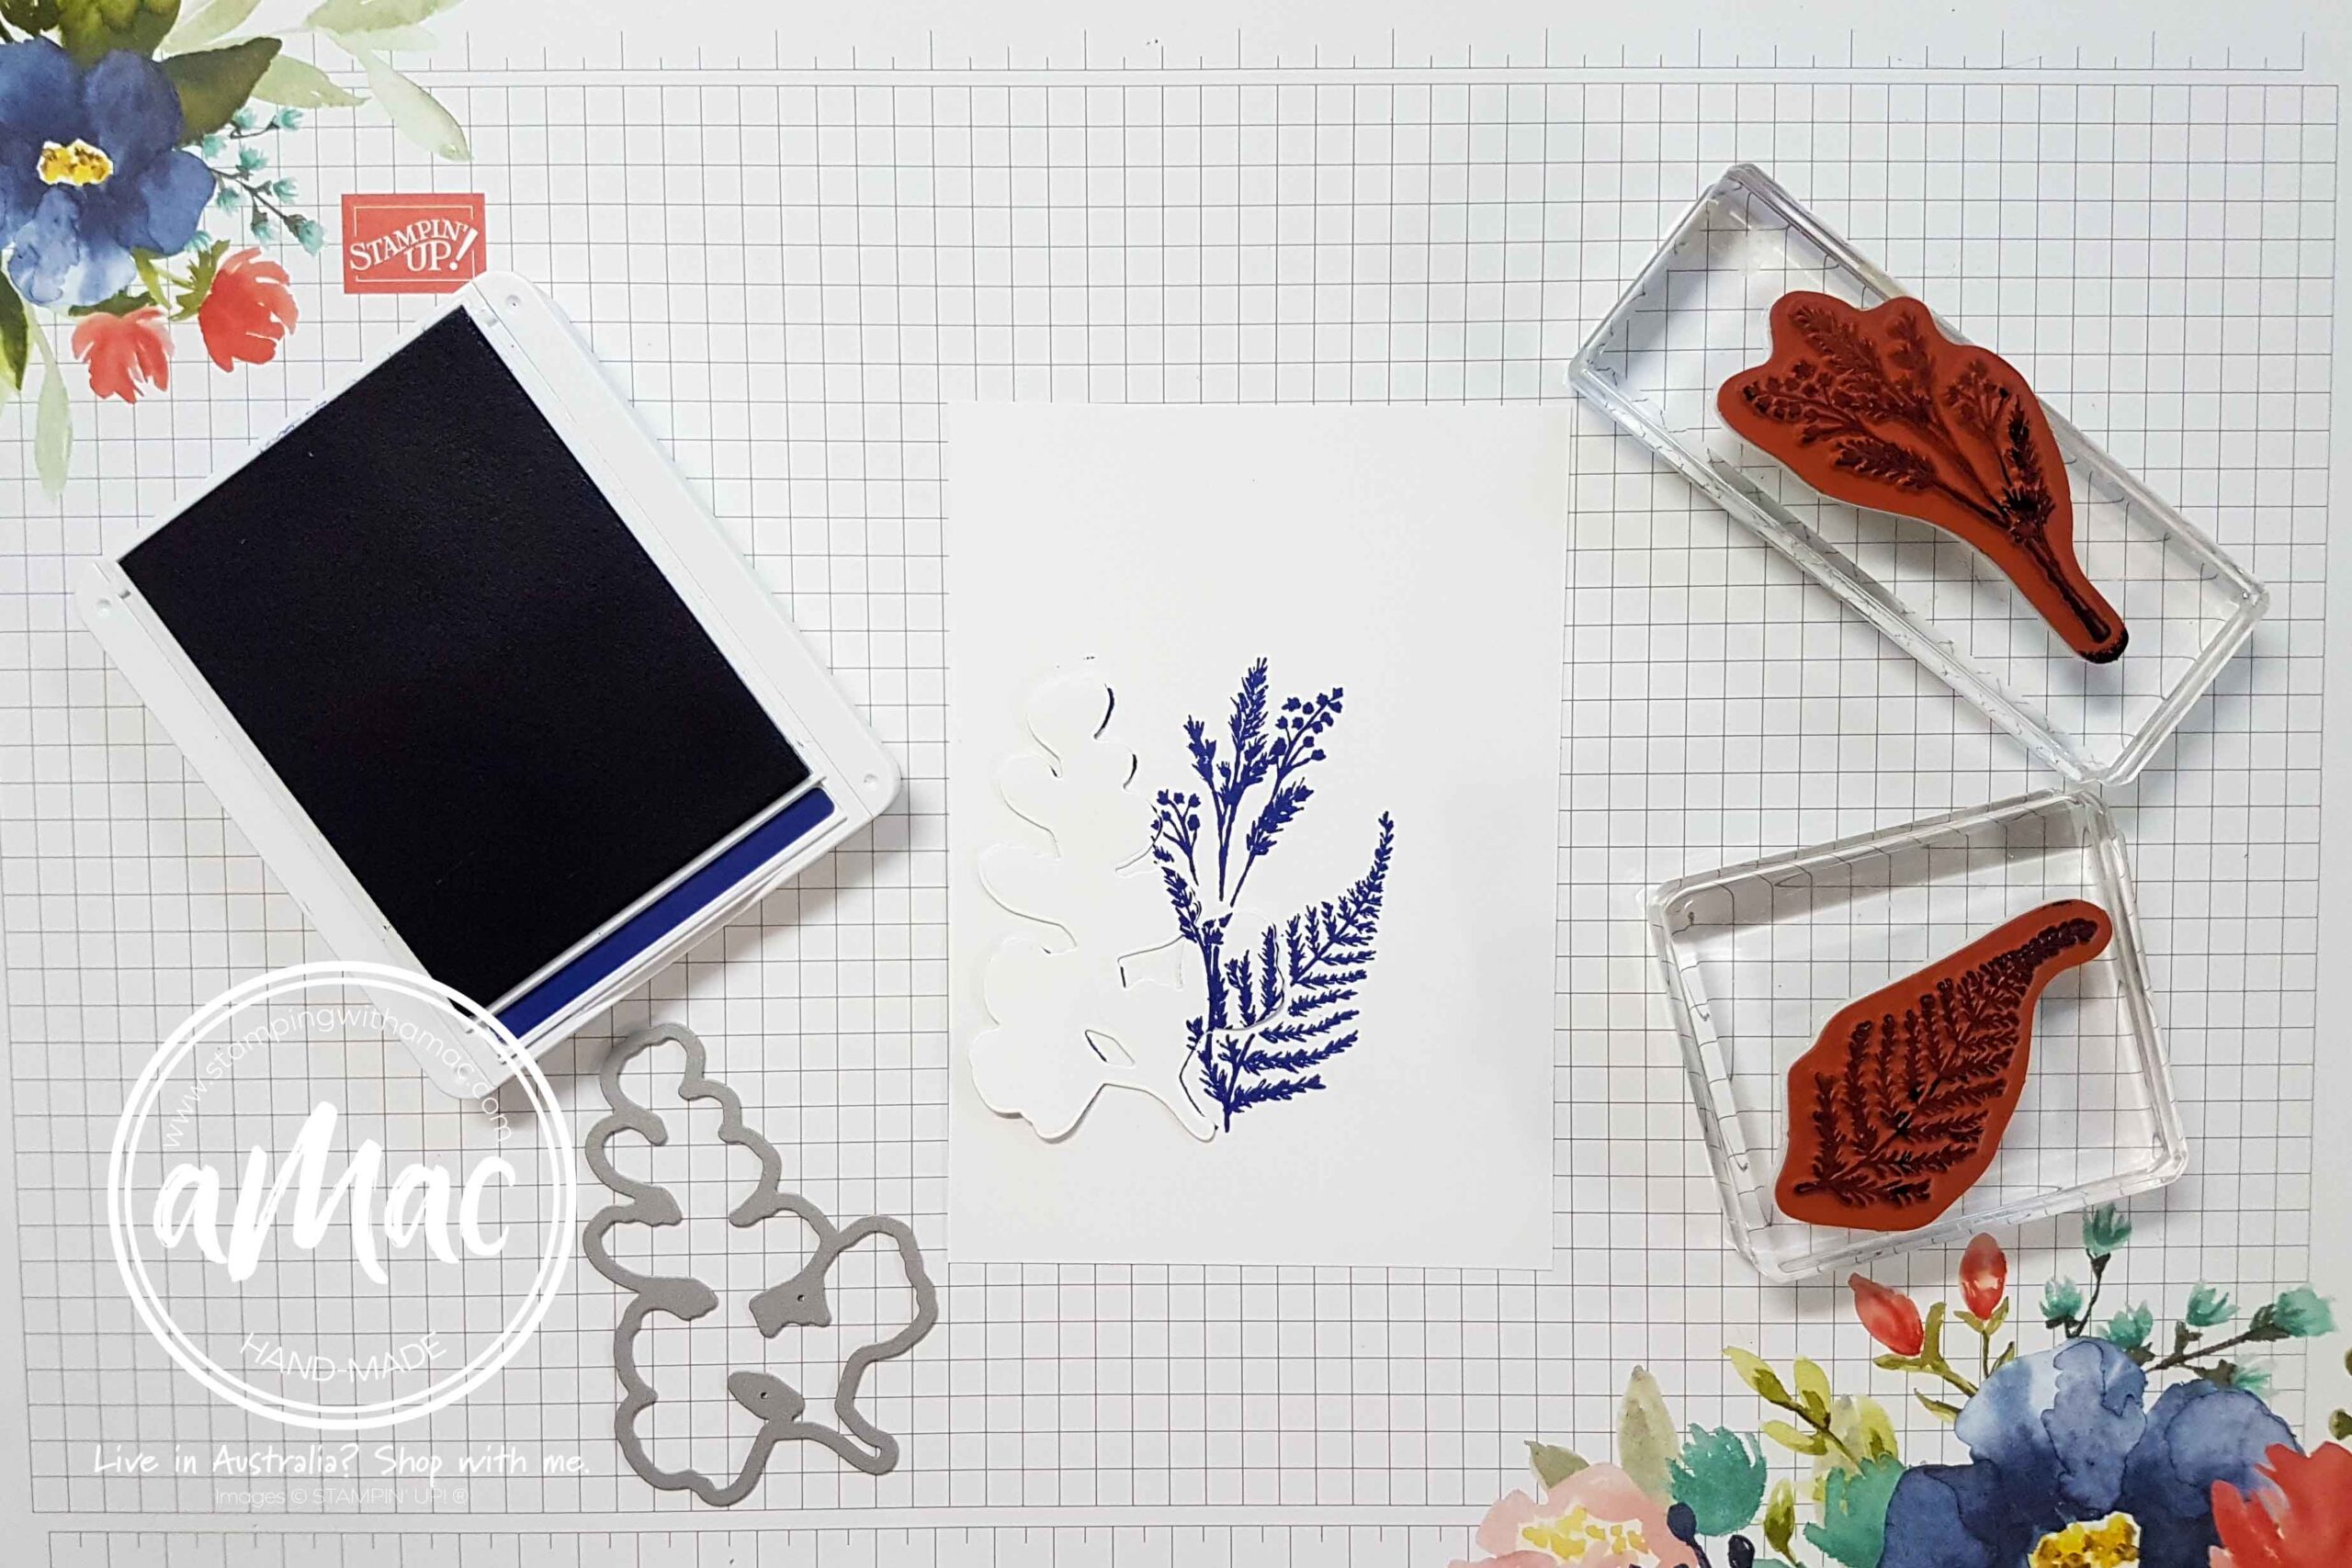
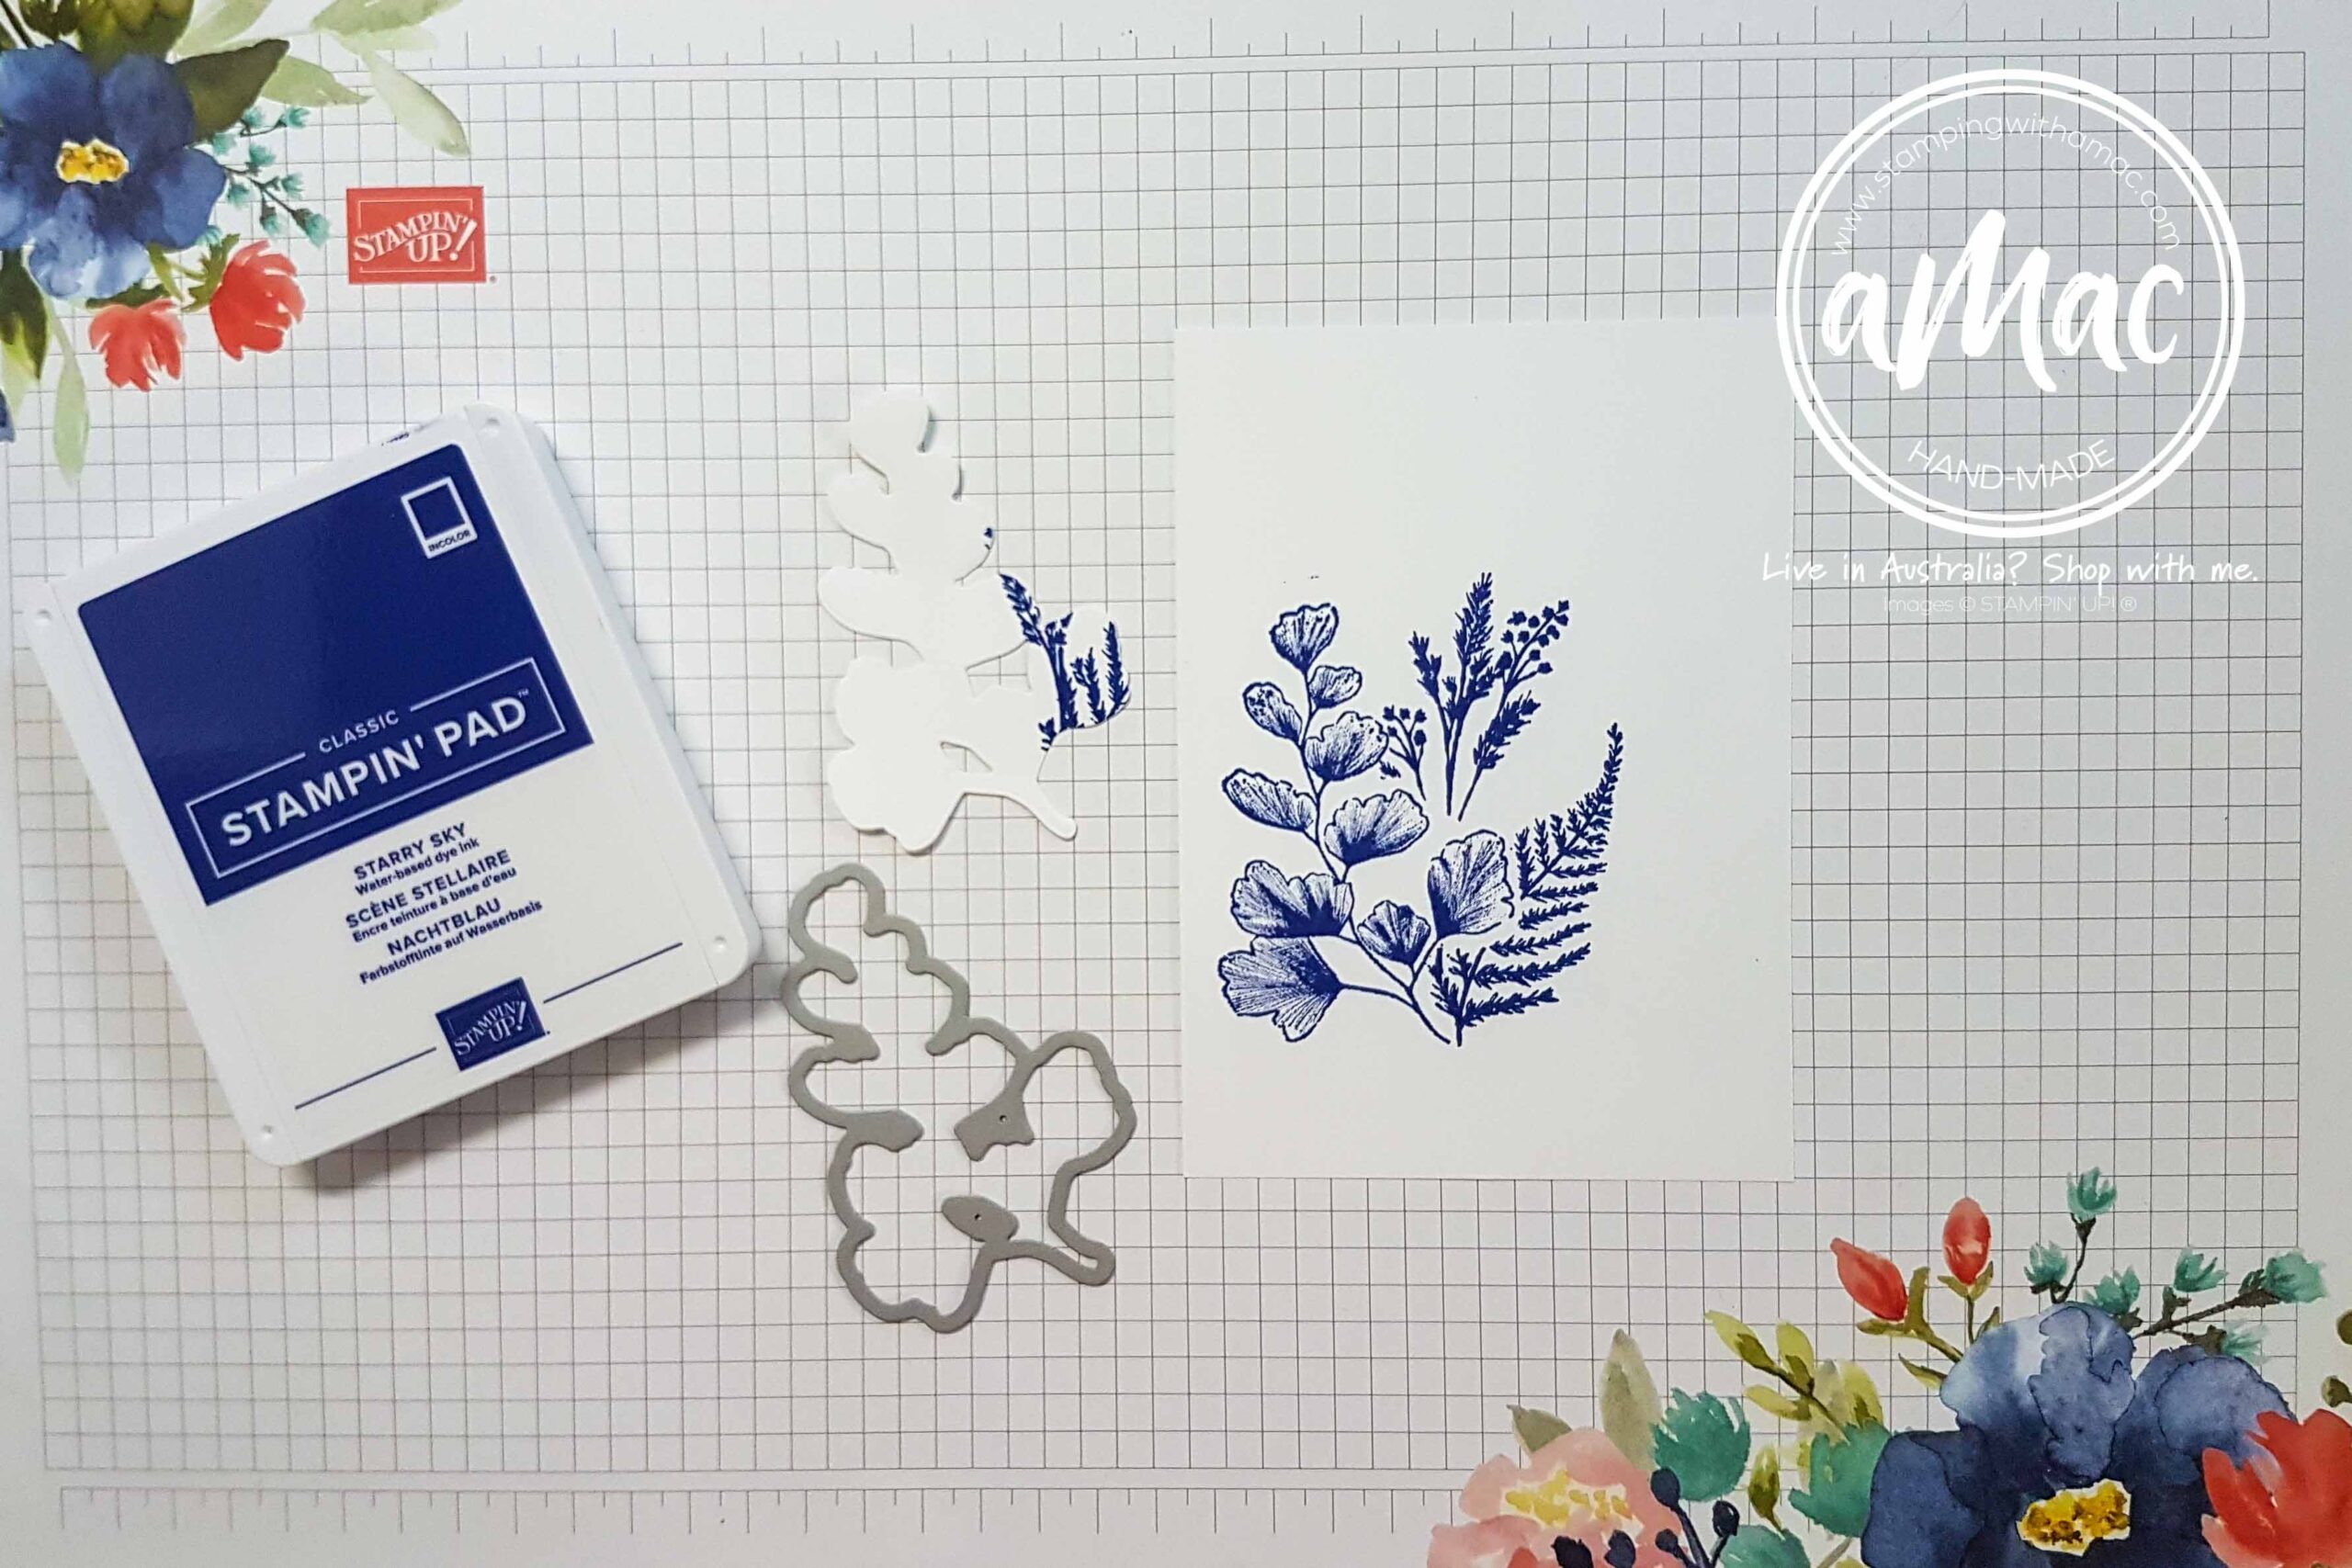
Step 1
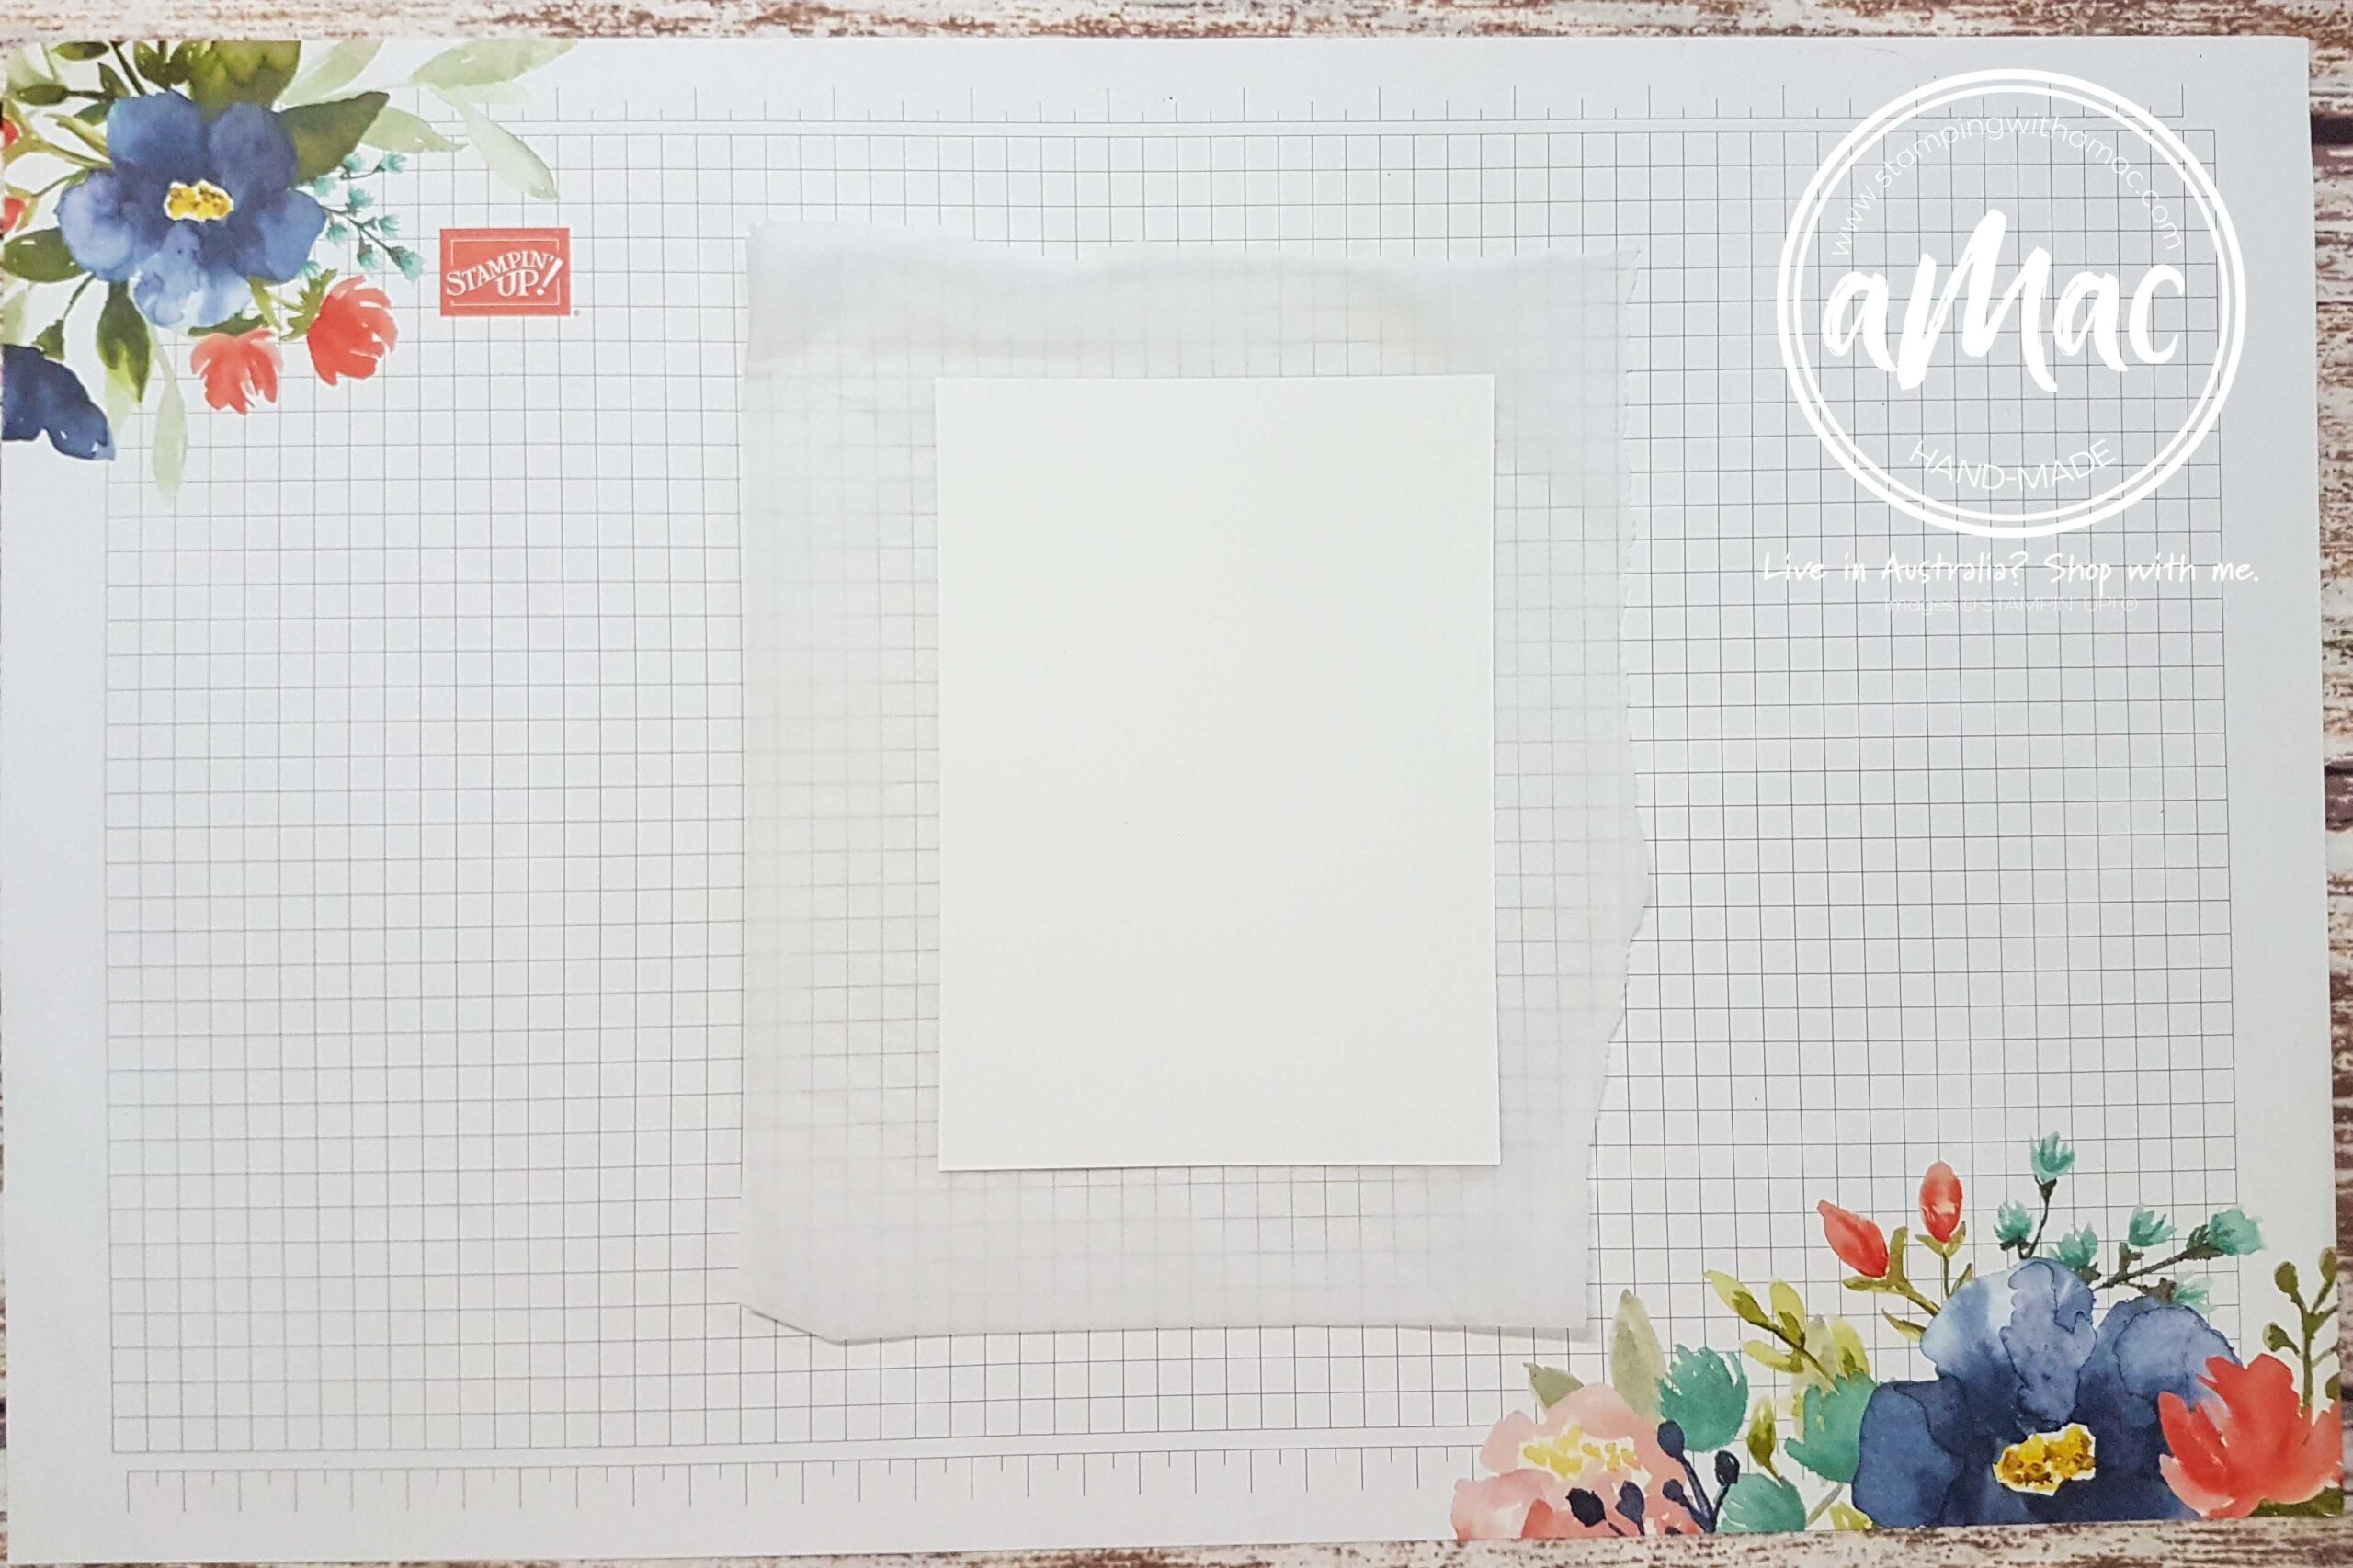
I used a piece of 10.5 x 14.8cm Basic White for the front of my card that’s bigger than my finished card front will be.
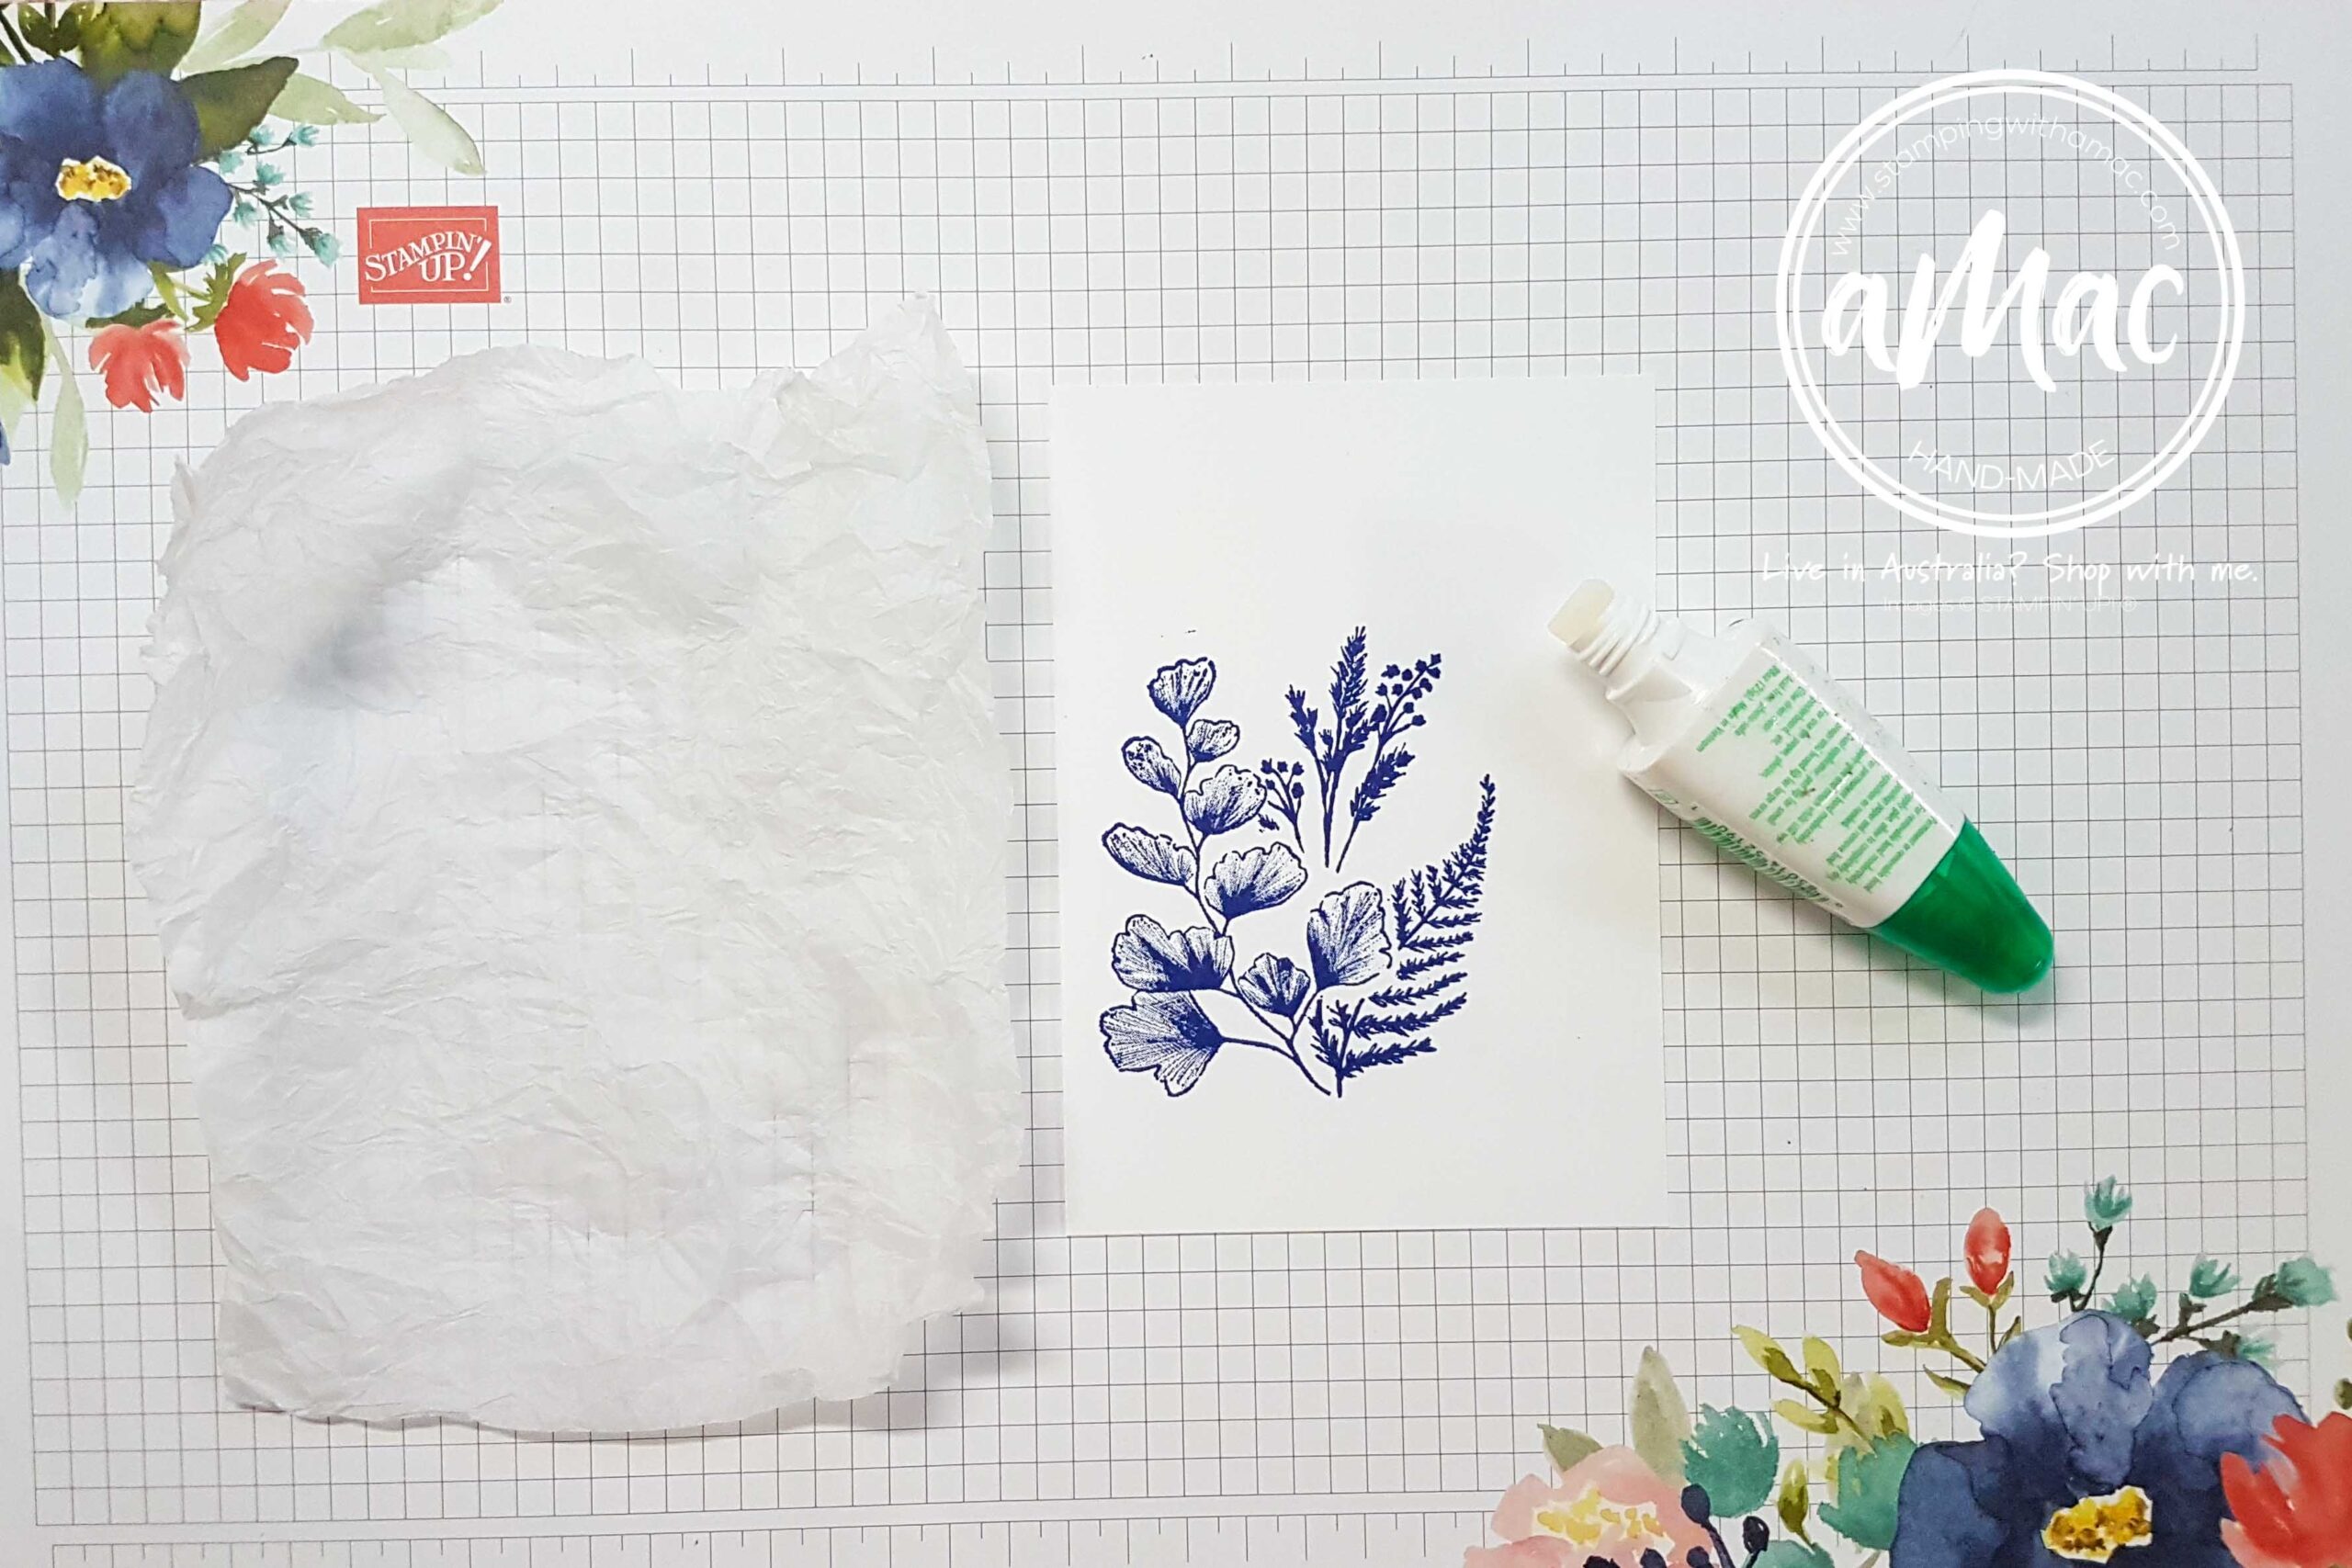
I also recycled some tissue paper and made sure it was bigger than my card front base.
I scrunched up the tissue paper into a tight ball and I will use the thick end of my multipurpose liquid tombo glue to attach the tissue paper after stamping on the card front.
I let the glue dry, then trimmed off the excess to the finished size of my card front which is 9.5 x 13.8cm.
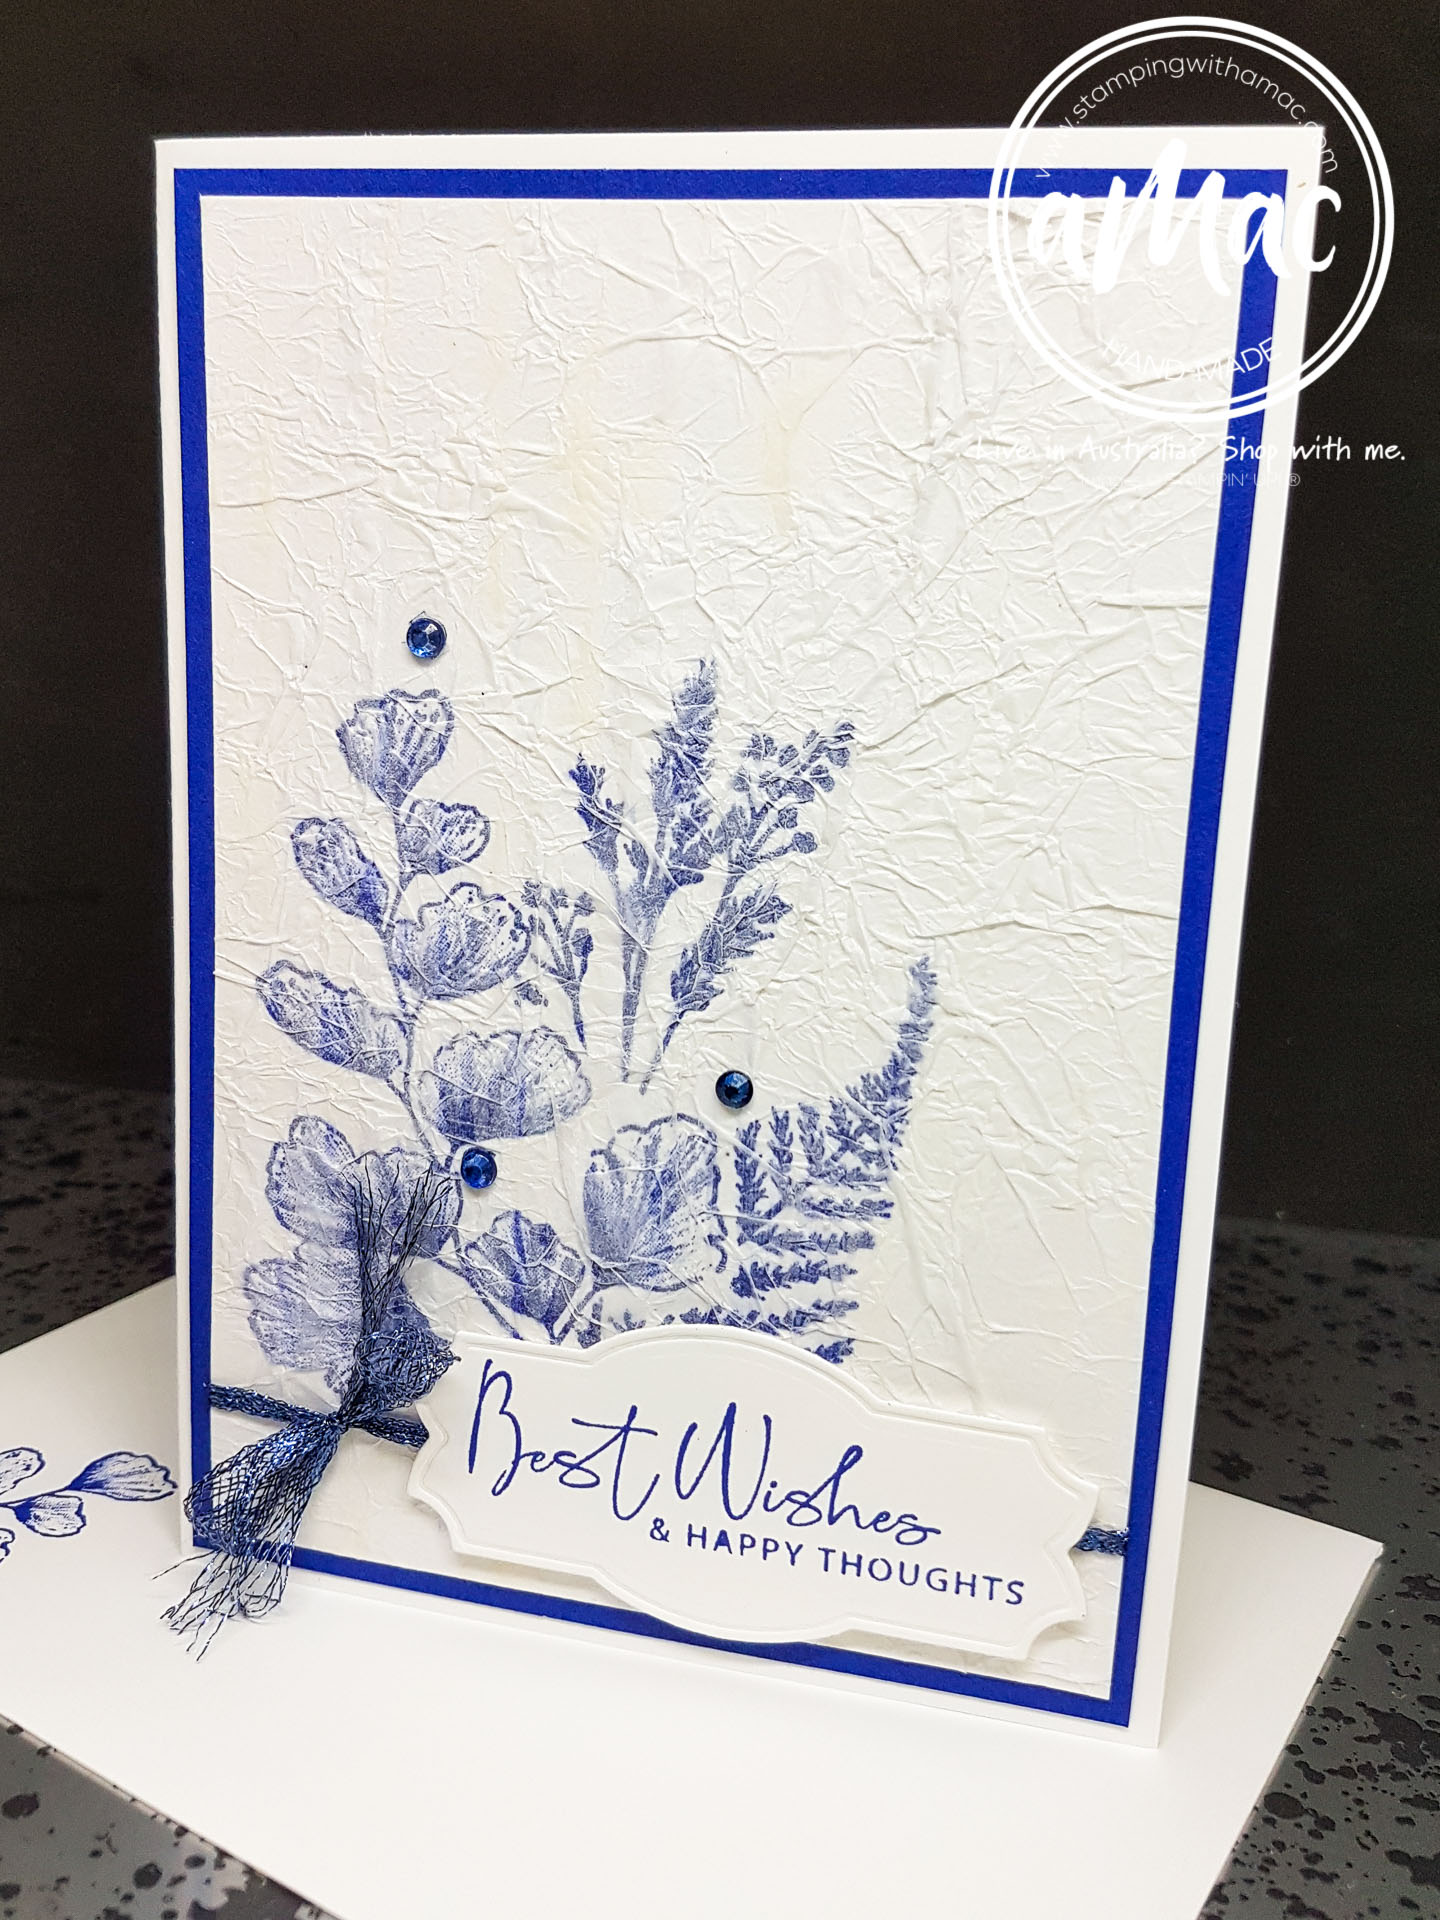
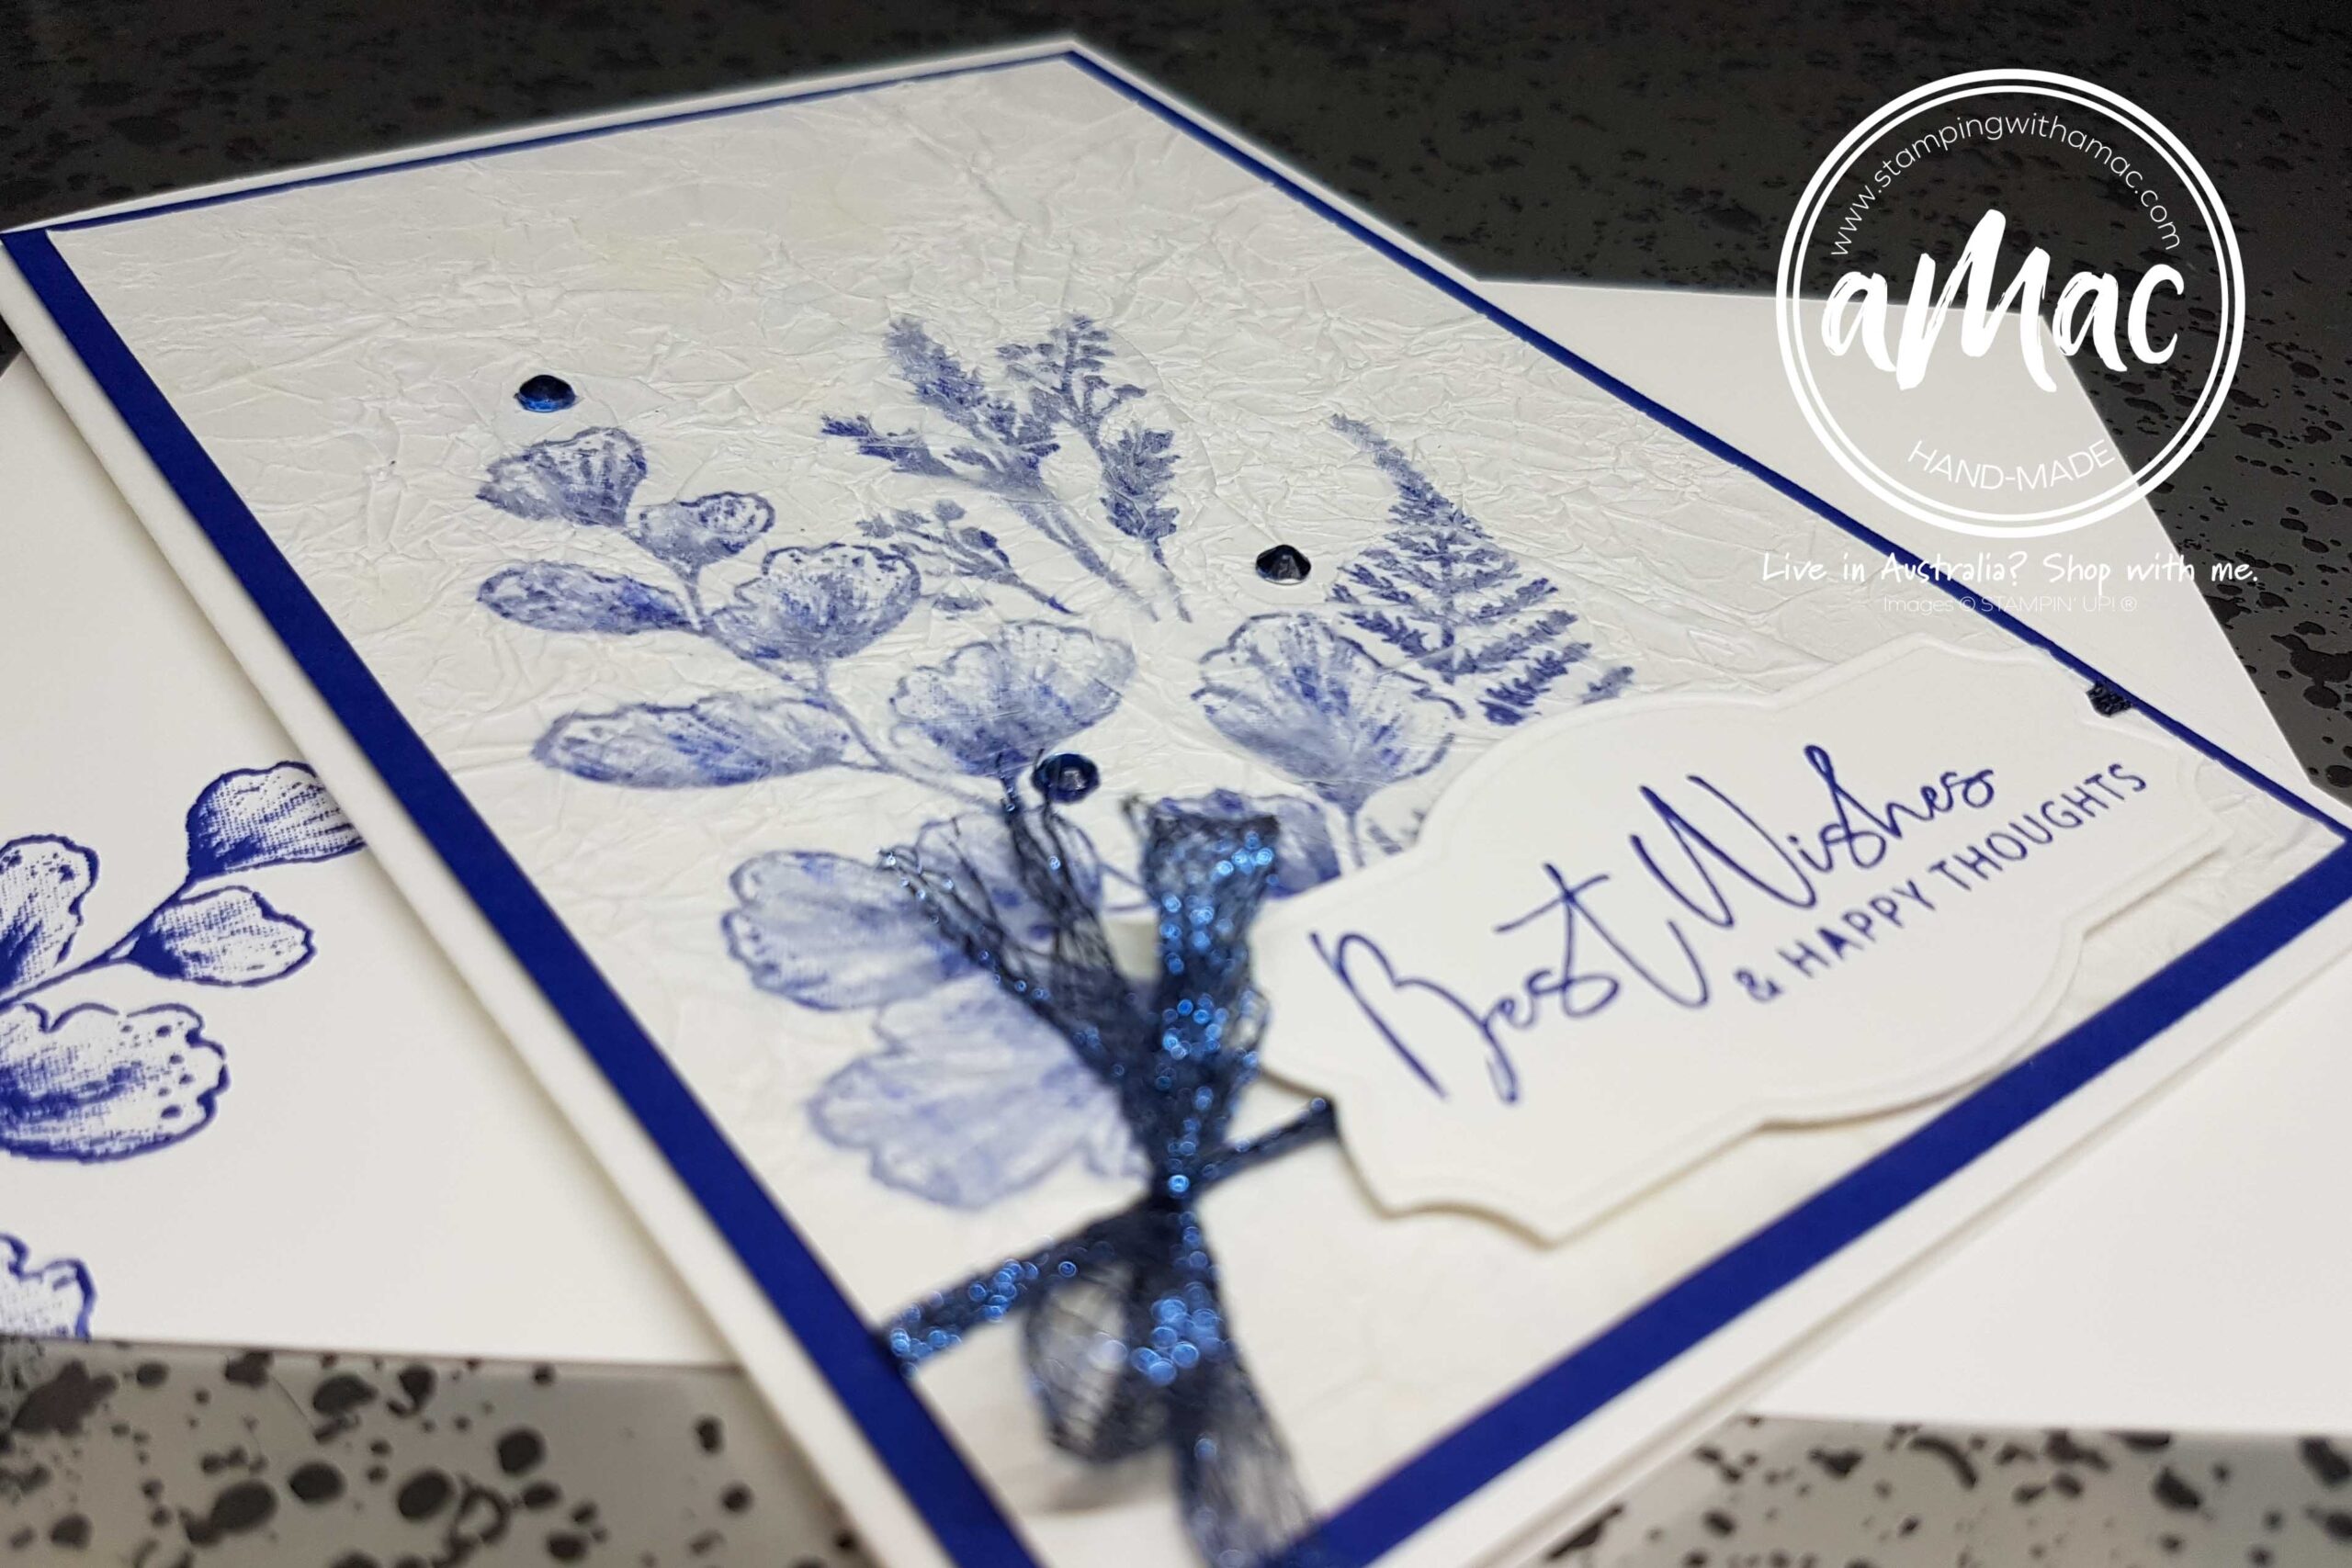
Using a 38cm piece of Starry Sky Metallic Woven ribbon, I wrapped it around the bottom, tied a bow and popped the greeting up on dimensionals.
Both greeting and the gorgeous label it’s stamped on, are found in the Nature’s Prints Bundle.
The second layer used for contrast is the Starry Sky cardstock cut to 10 x 14.3cm. I mounted this onto my card base which is 14.8 x 21 cm folded in half.
The blue rhinestone embellishments are coloured with the Starry Sky Stampin’ Blend. I love that you can colour your embellishments to what ever colour you need for your project.
Step 10
I decorated the envelope and inside the card by stamping partial images to make it look pretty, so when I send it out it’s true ‘Happy Mail’!
You can’t send out a ‘naked envelope’.
Please click on the next link and have a look at what the rest of our talented team has created for this month’s hop and enjoy!
Thanks so much for visiting my blog, see you again soon.


")
 Metallic Woven Ribbon")


