-
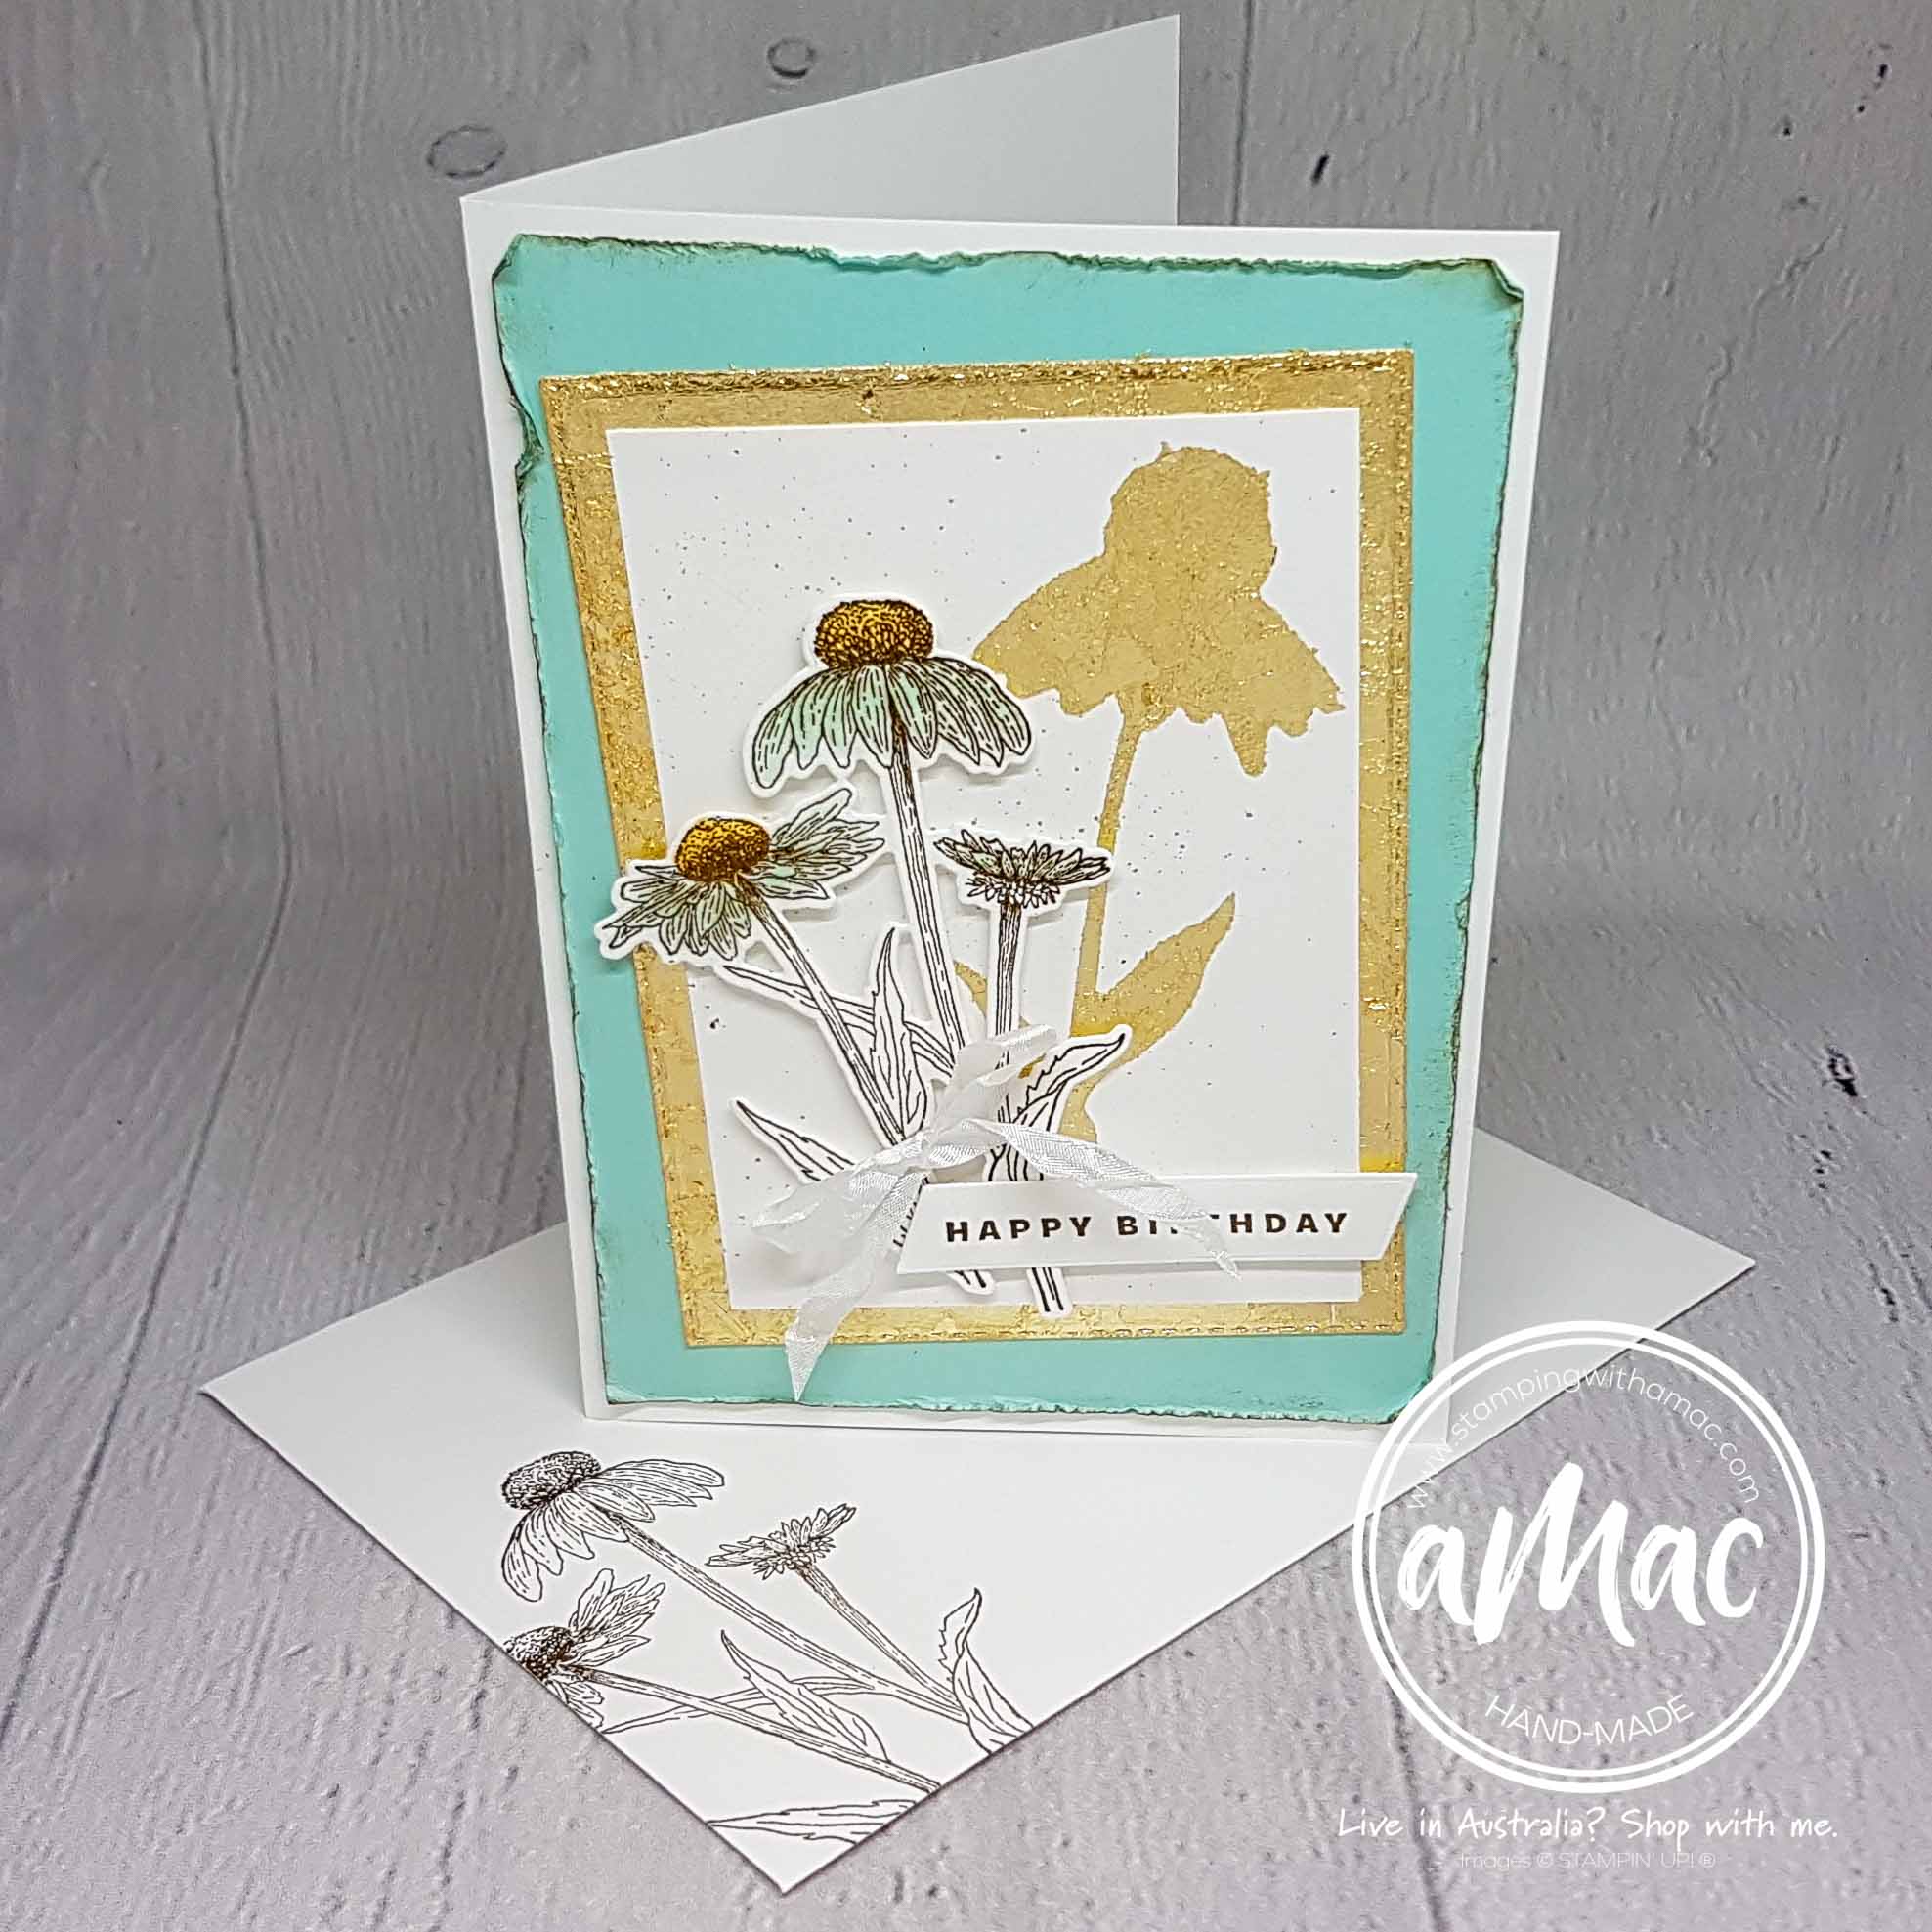
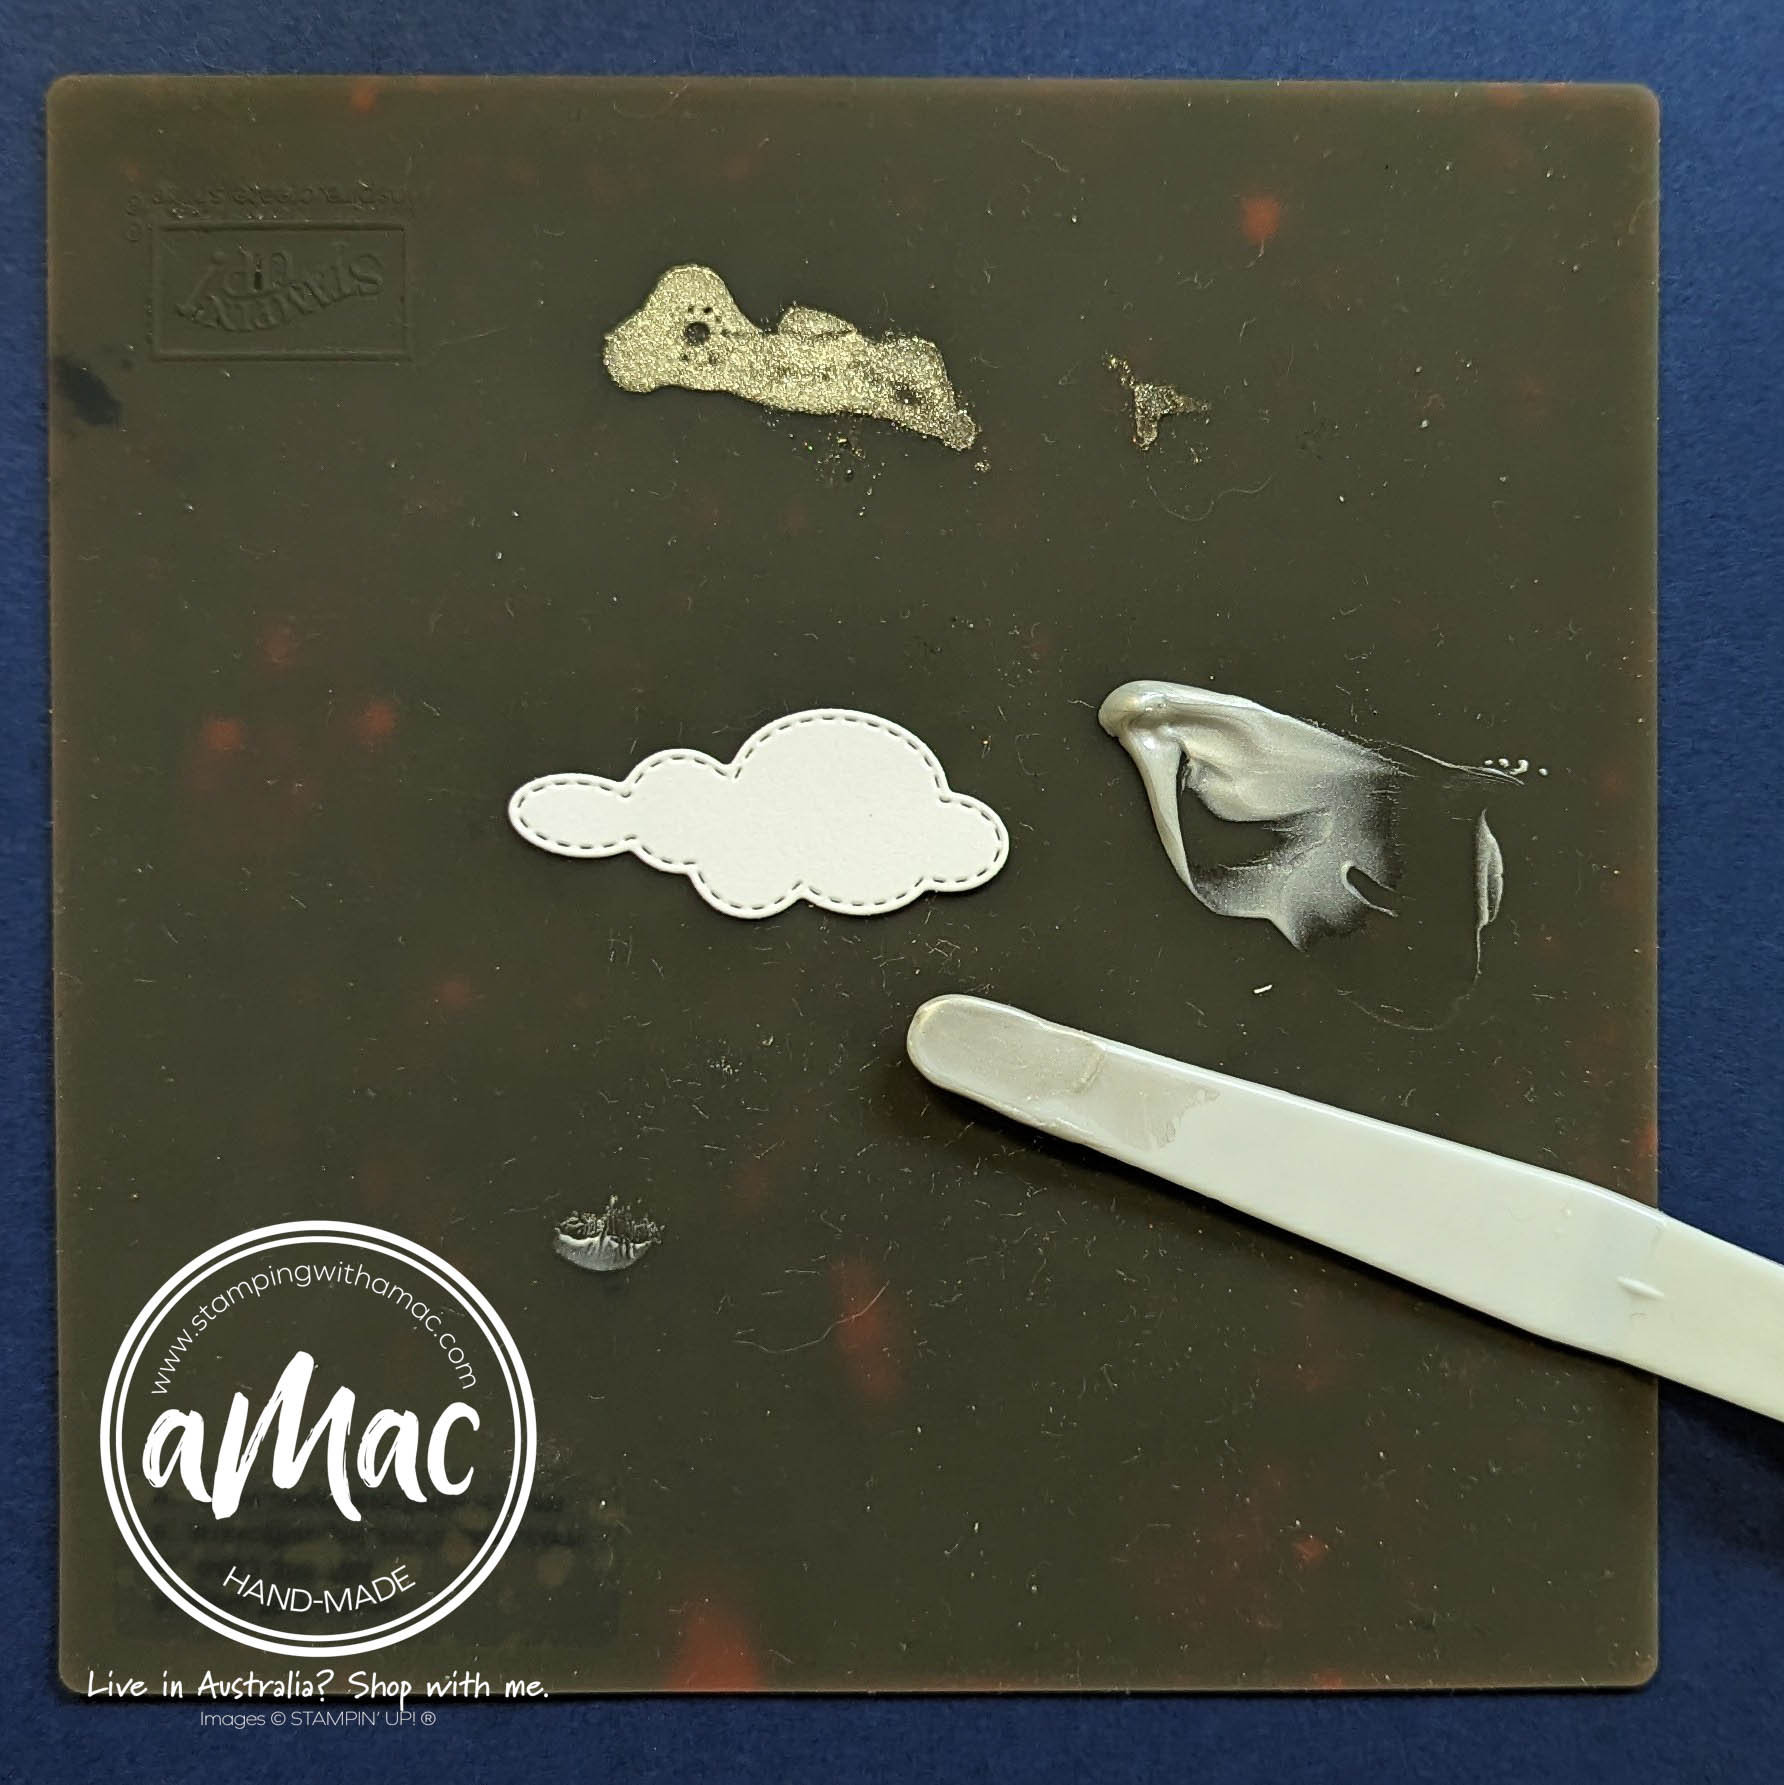
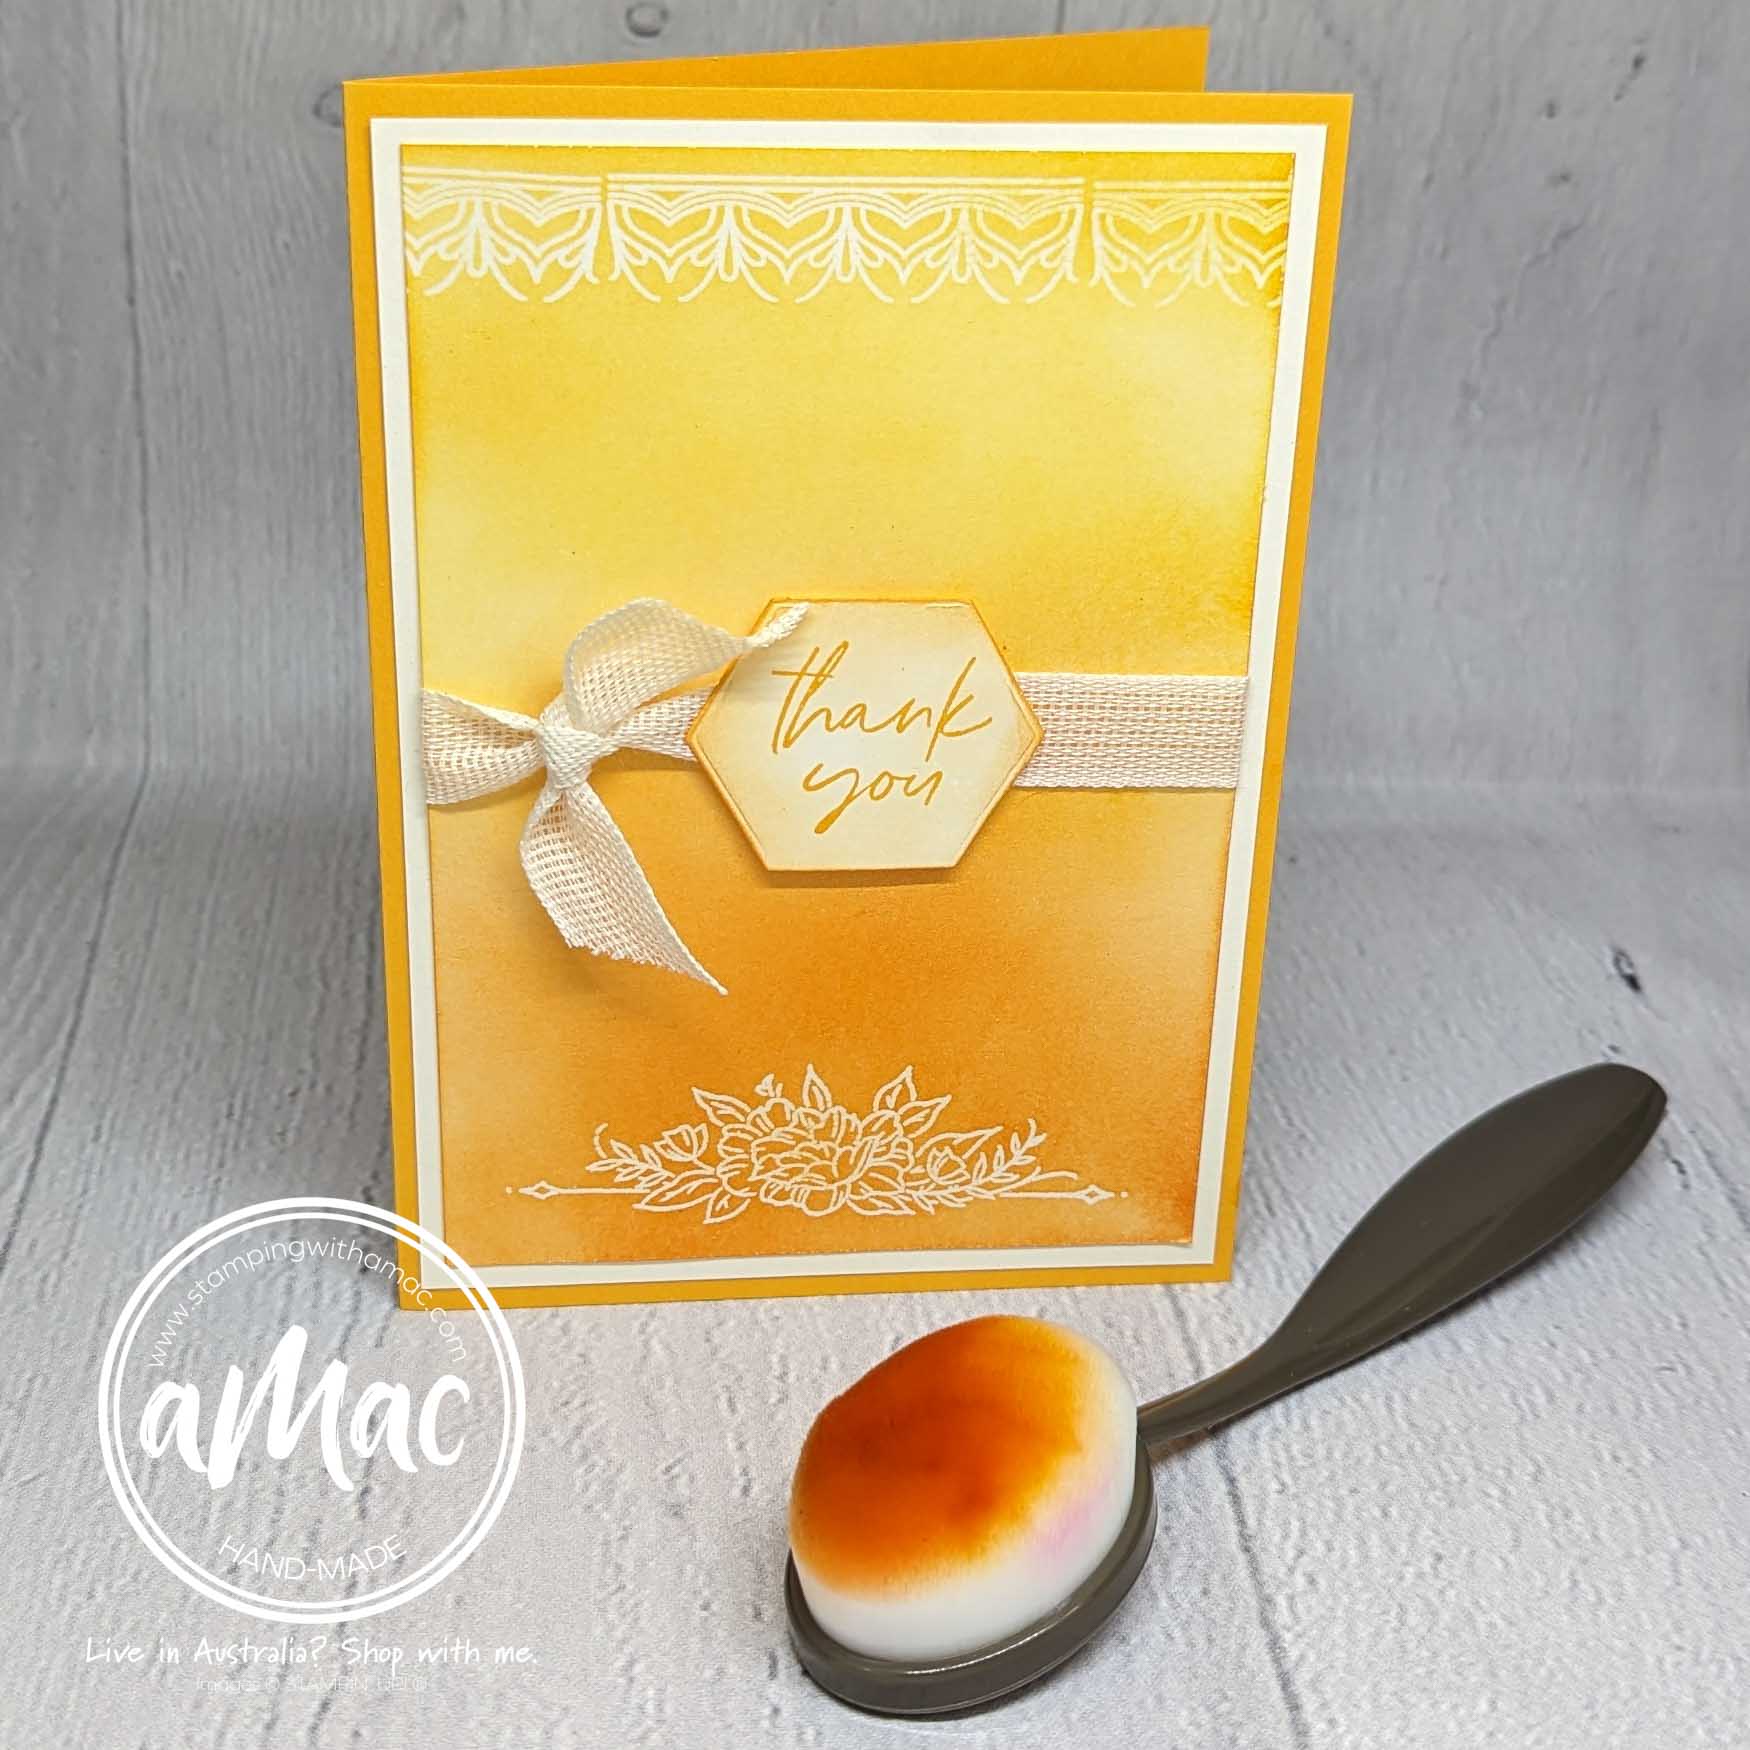
Gilded Leafing Technique
Products used to make this card


")
")

 Stitched Rectangle Dies[148551]$61.00


 Daffodil Delight Stampin' Blends Markers Combo Pack[144603]$15.50
 Crumb Cake Stampin' Write Marker[120967]$5.95


-
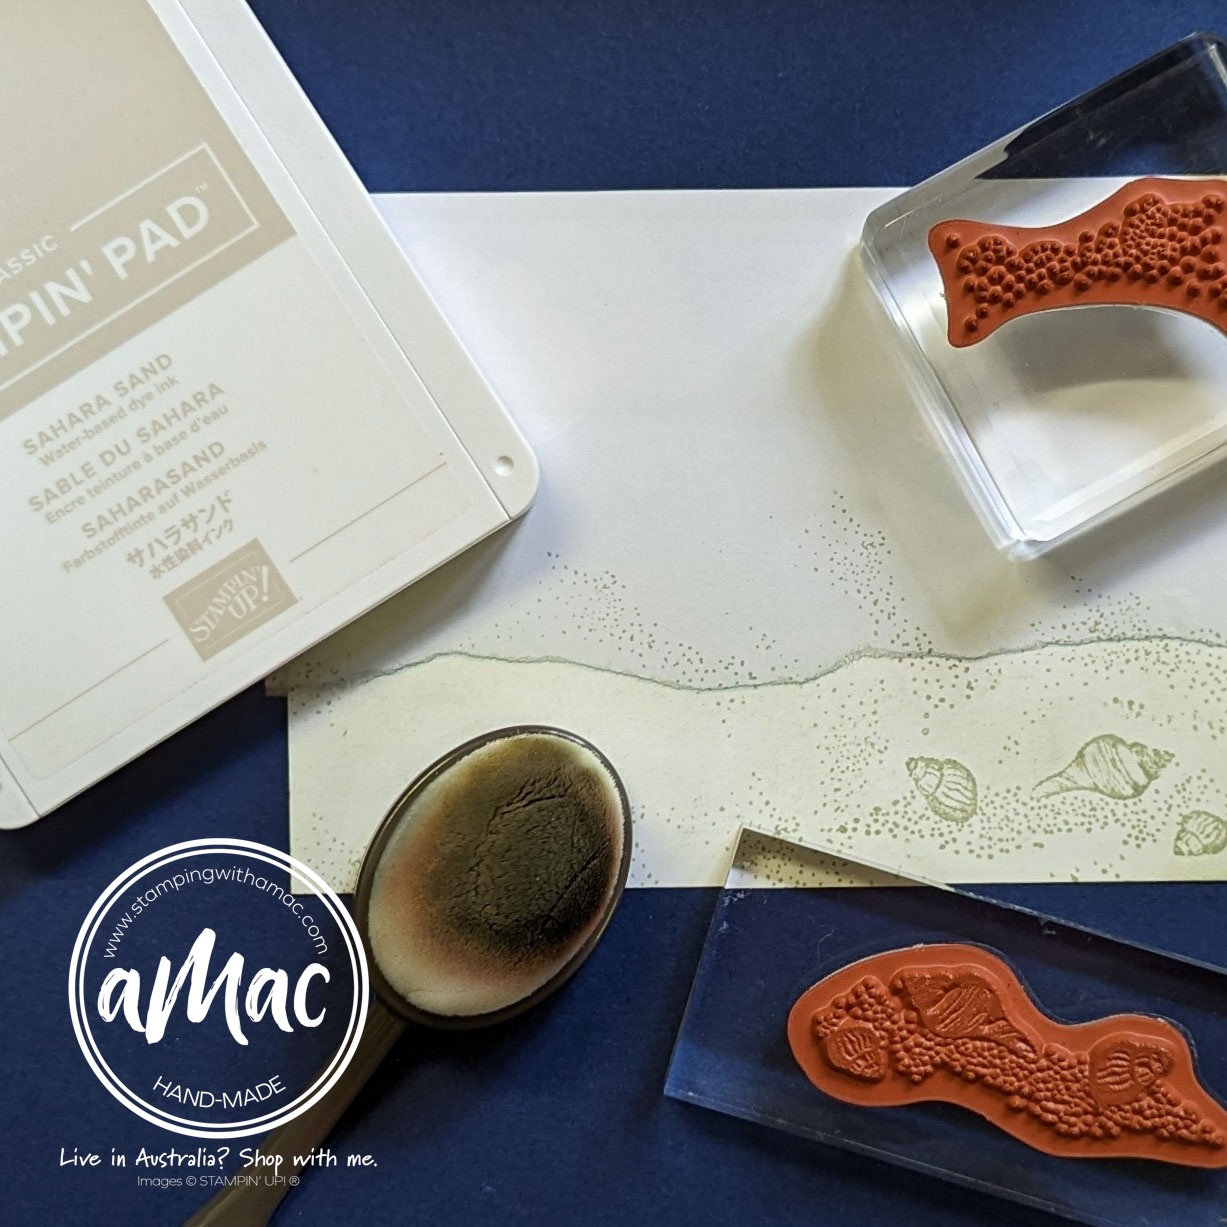
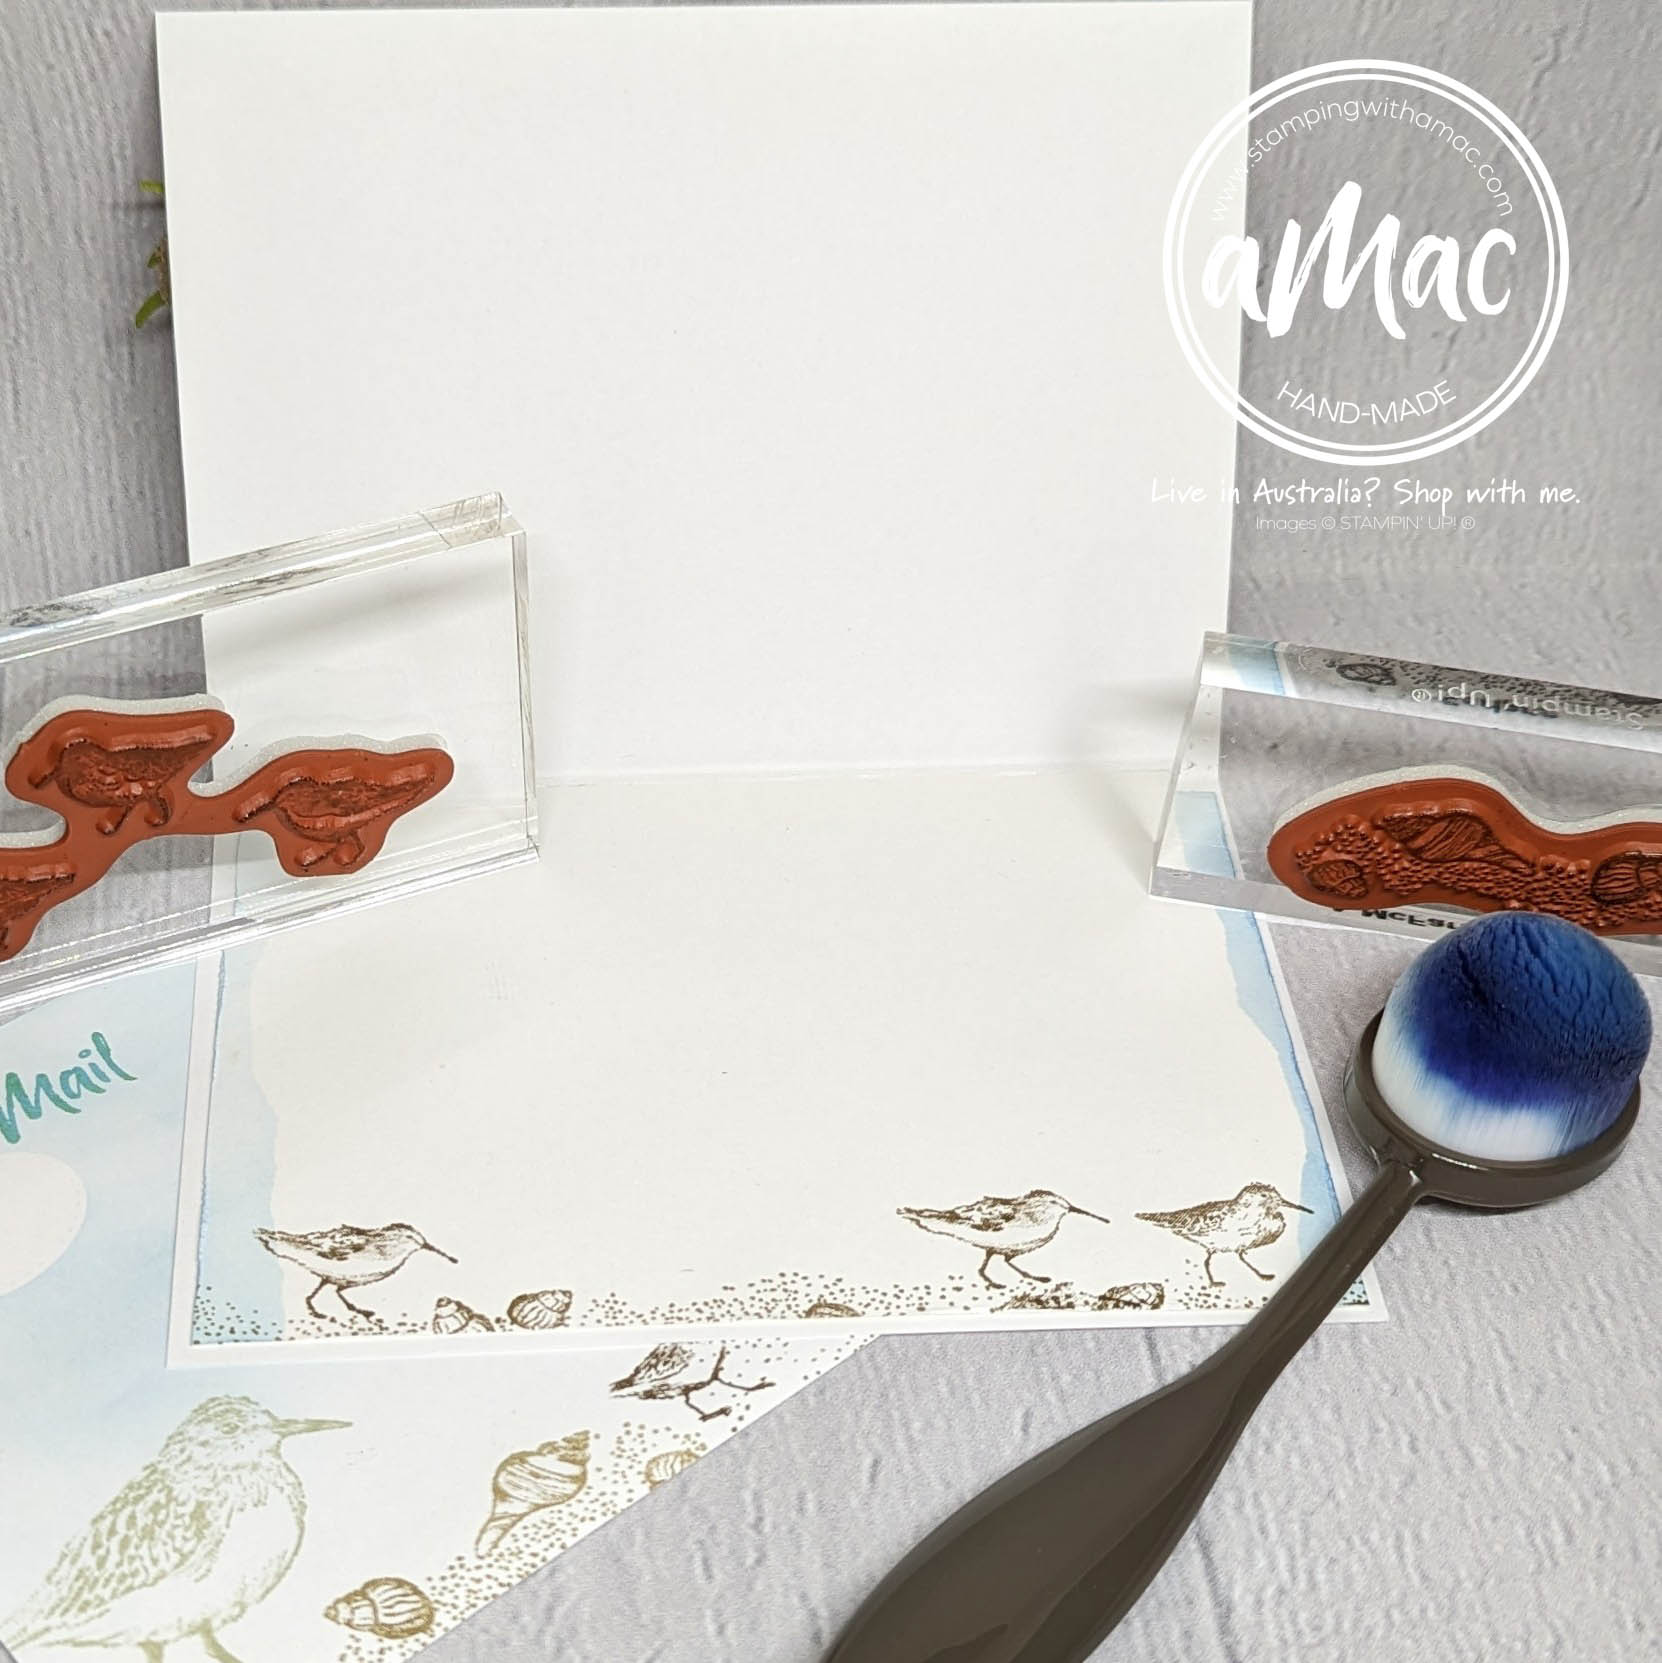
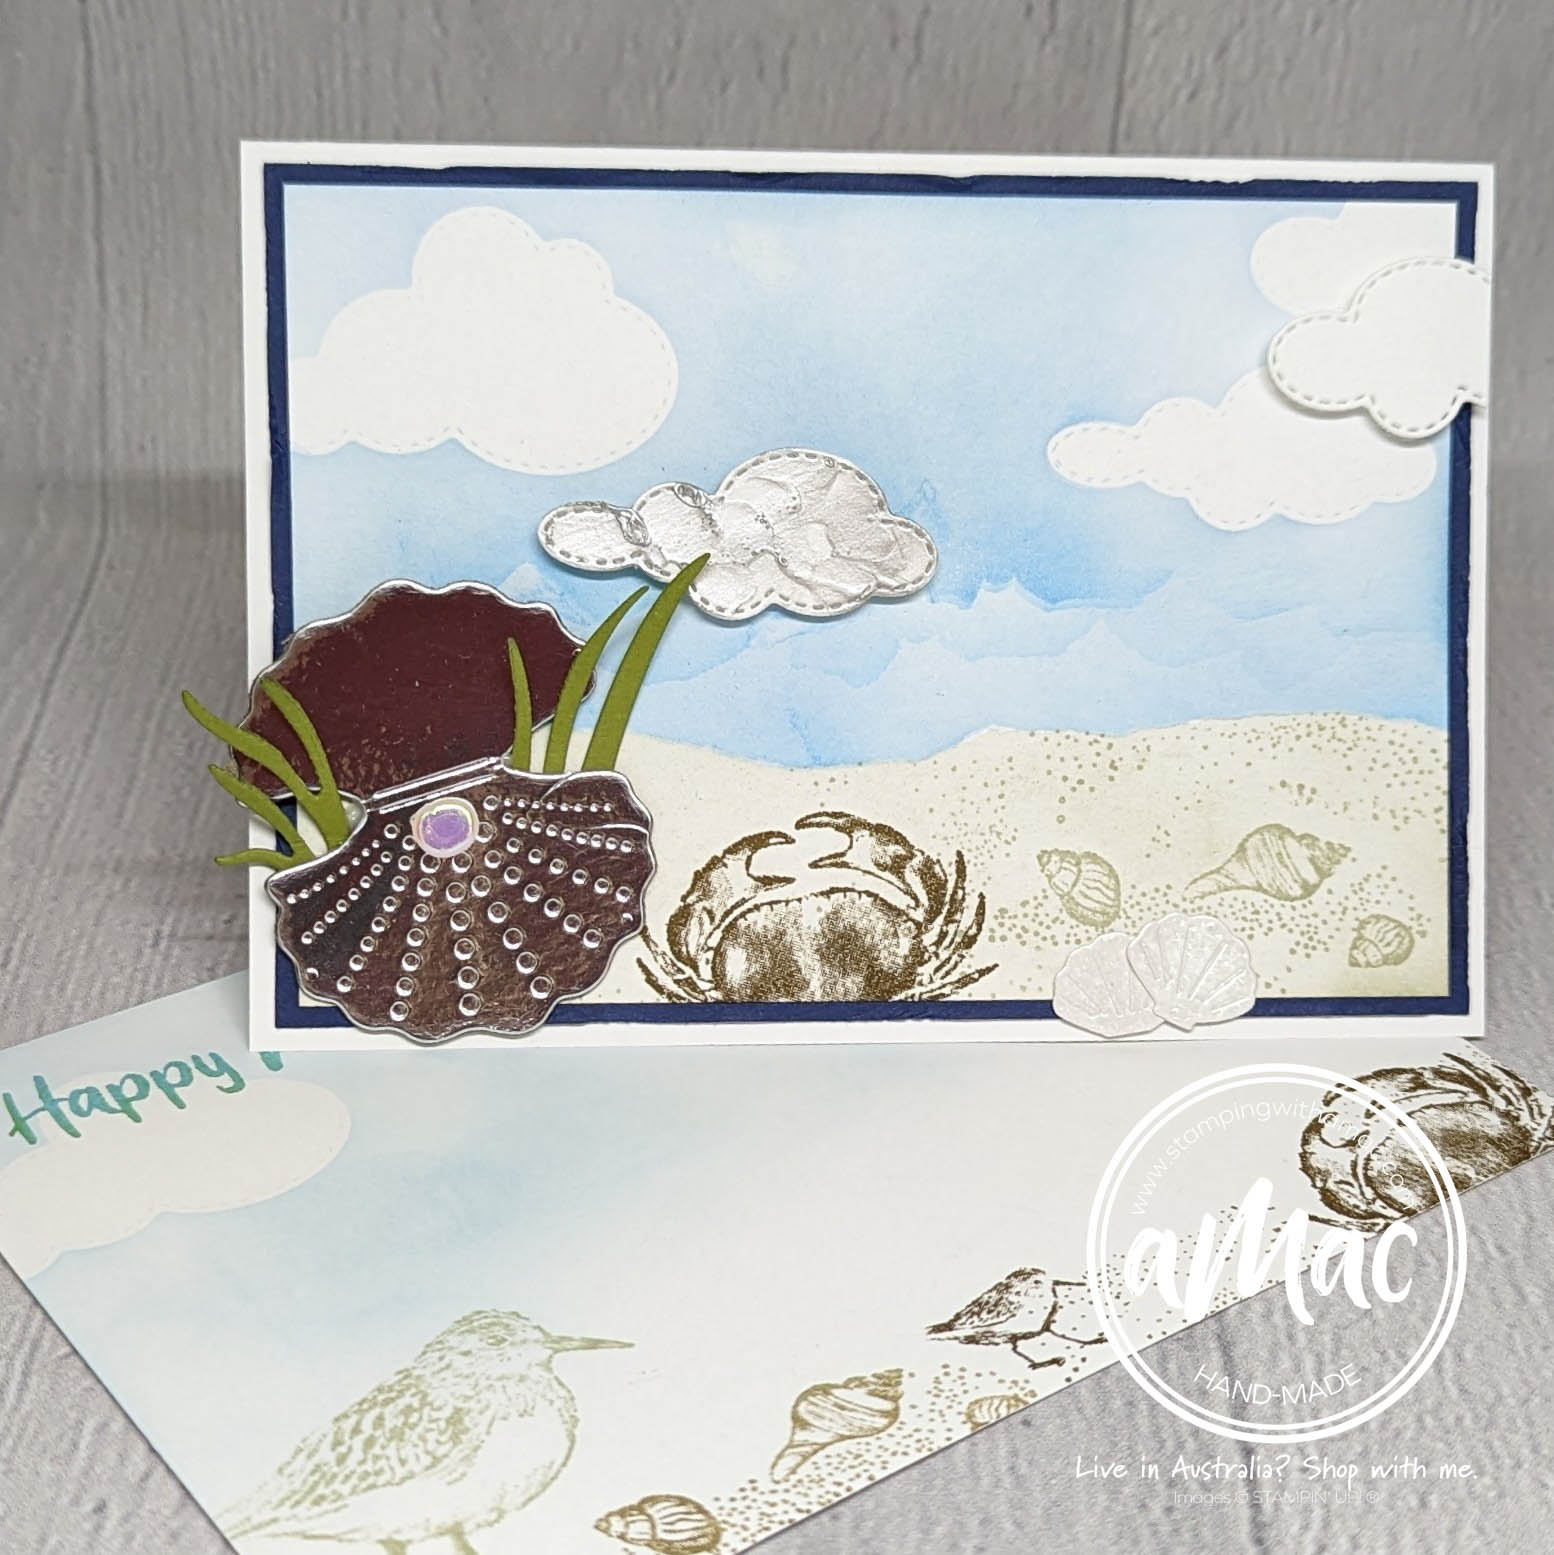
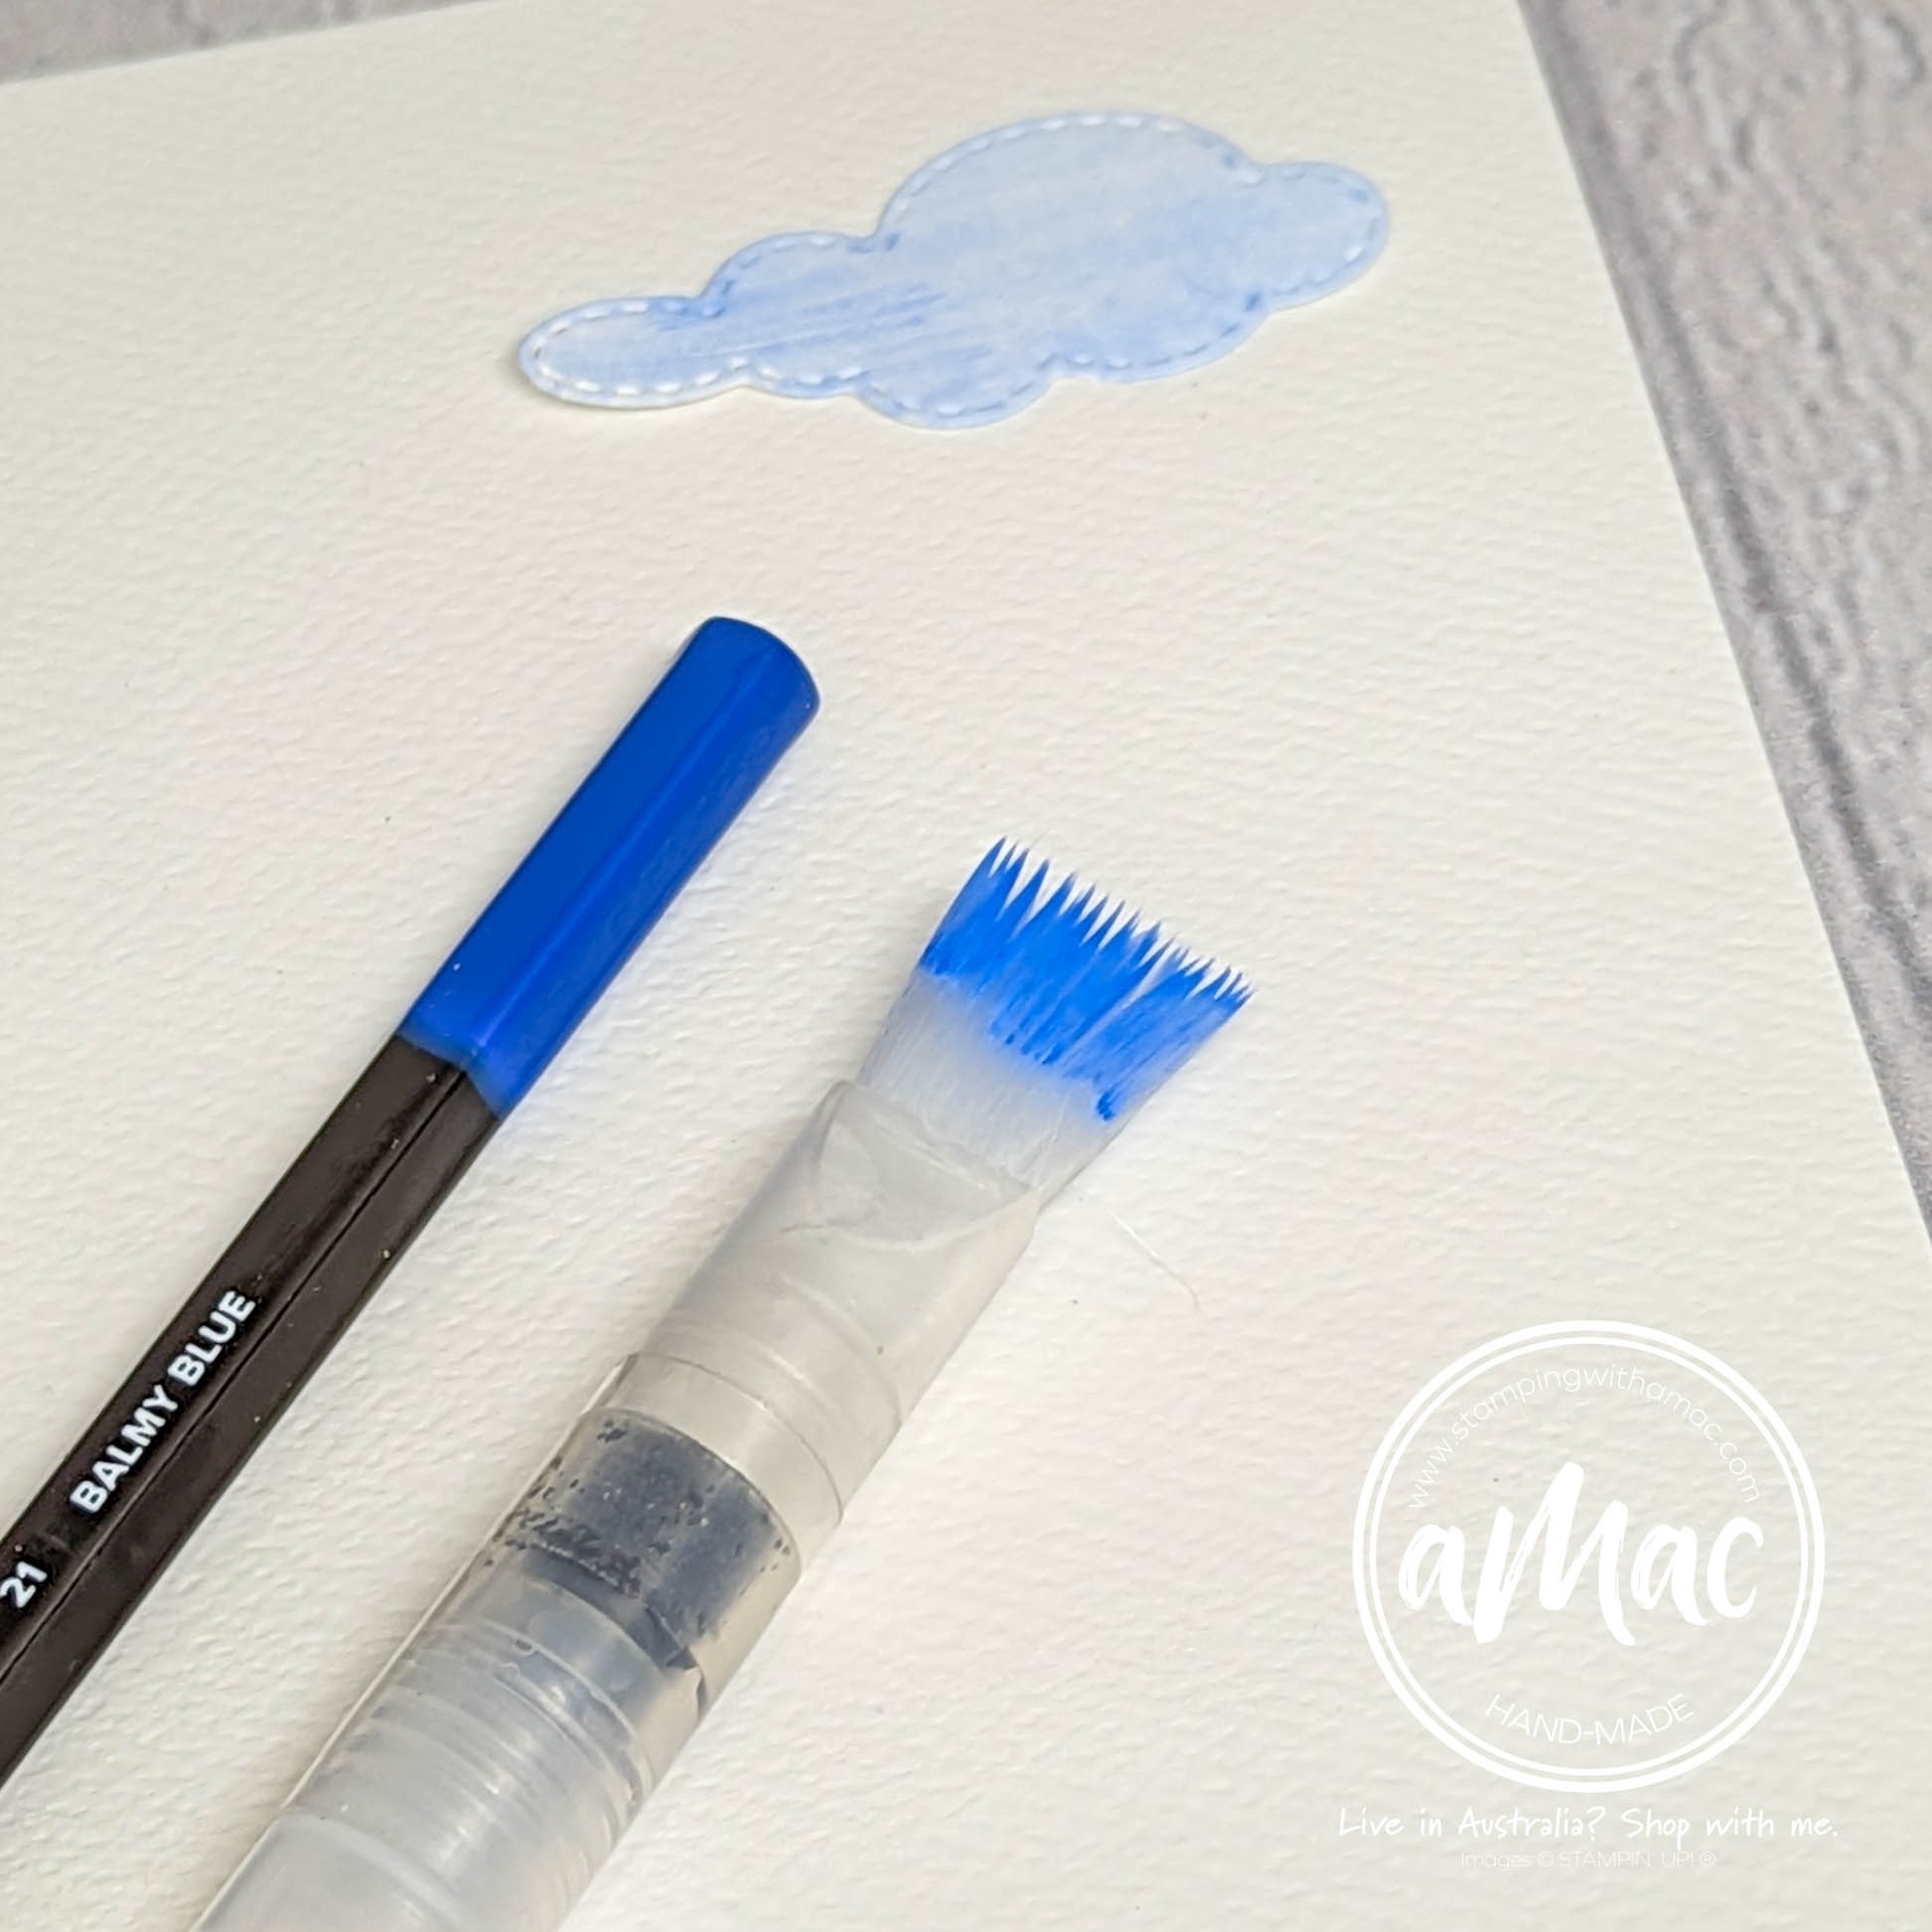
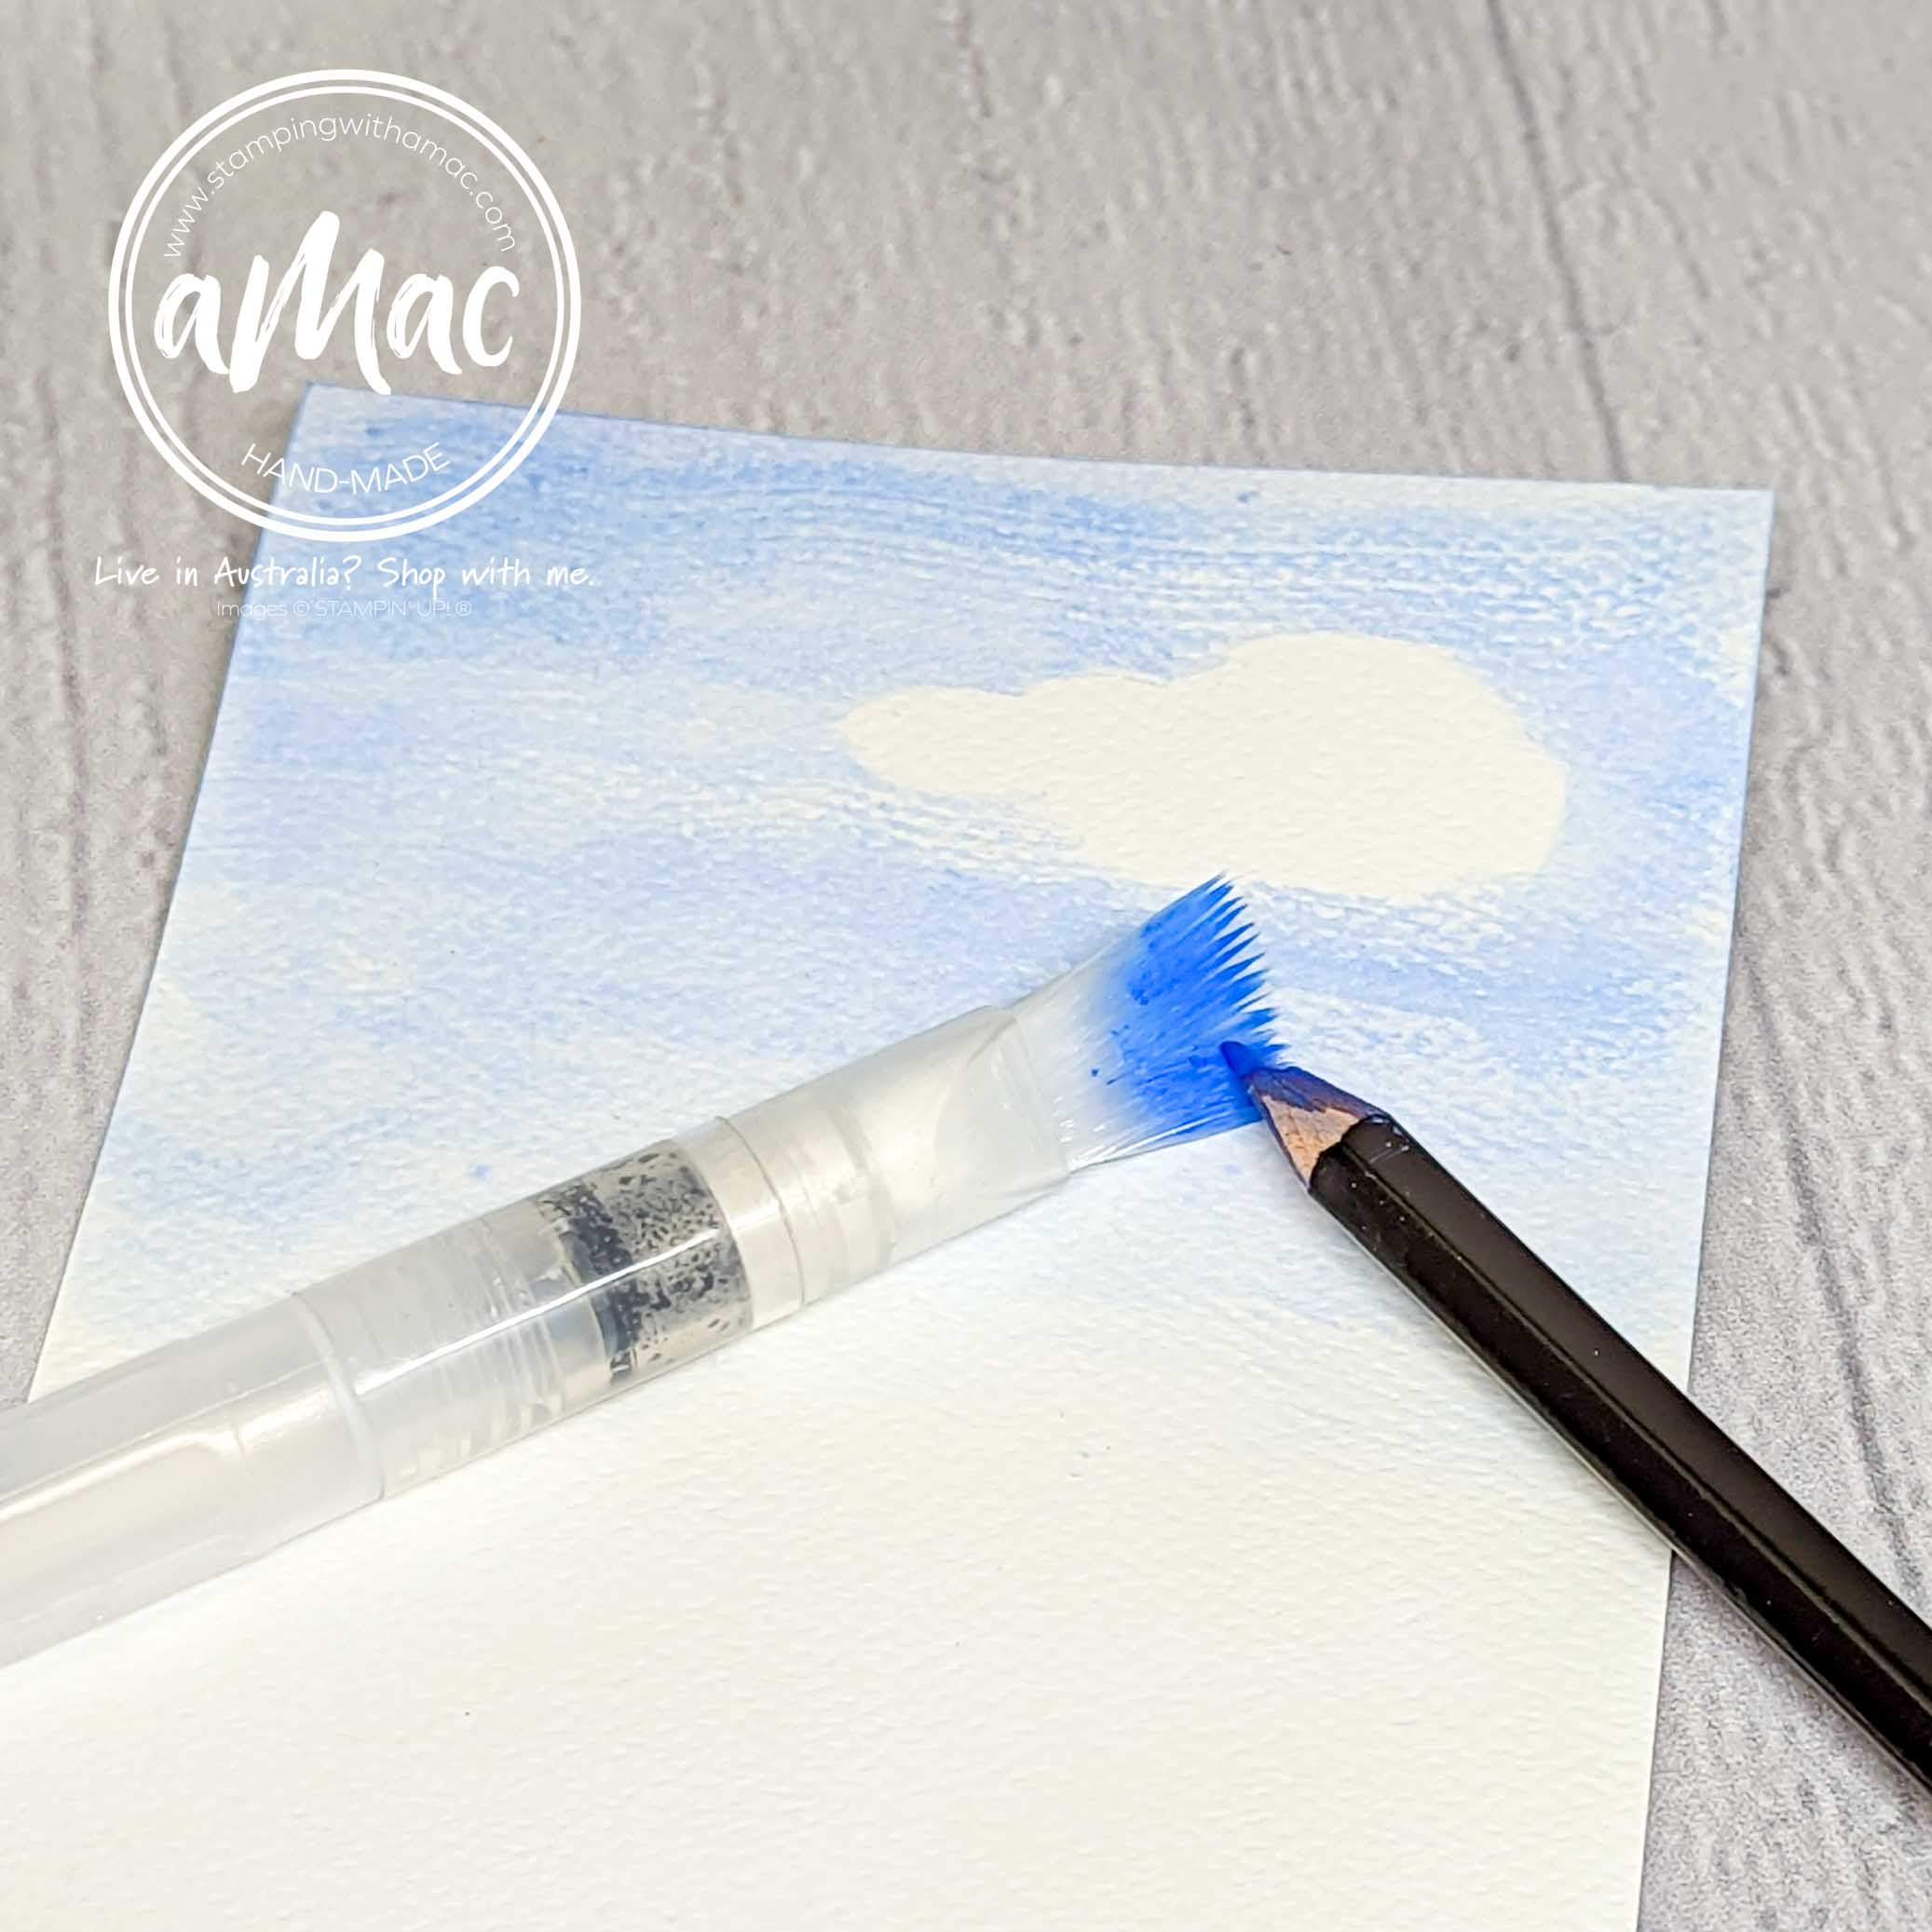
Masking Technique
Products used to make this card
")


-
Emboss Resist Technique
-
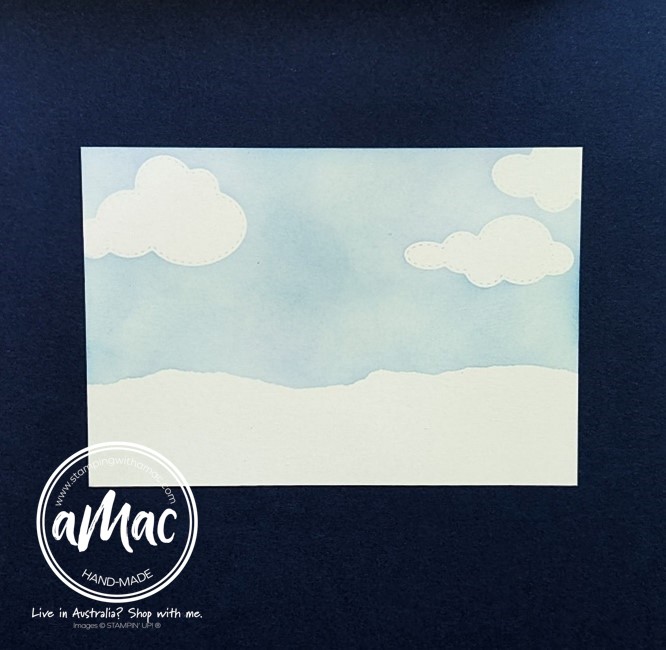
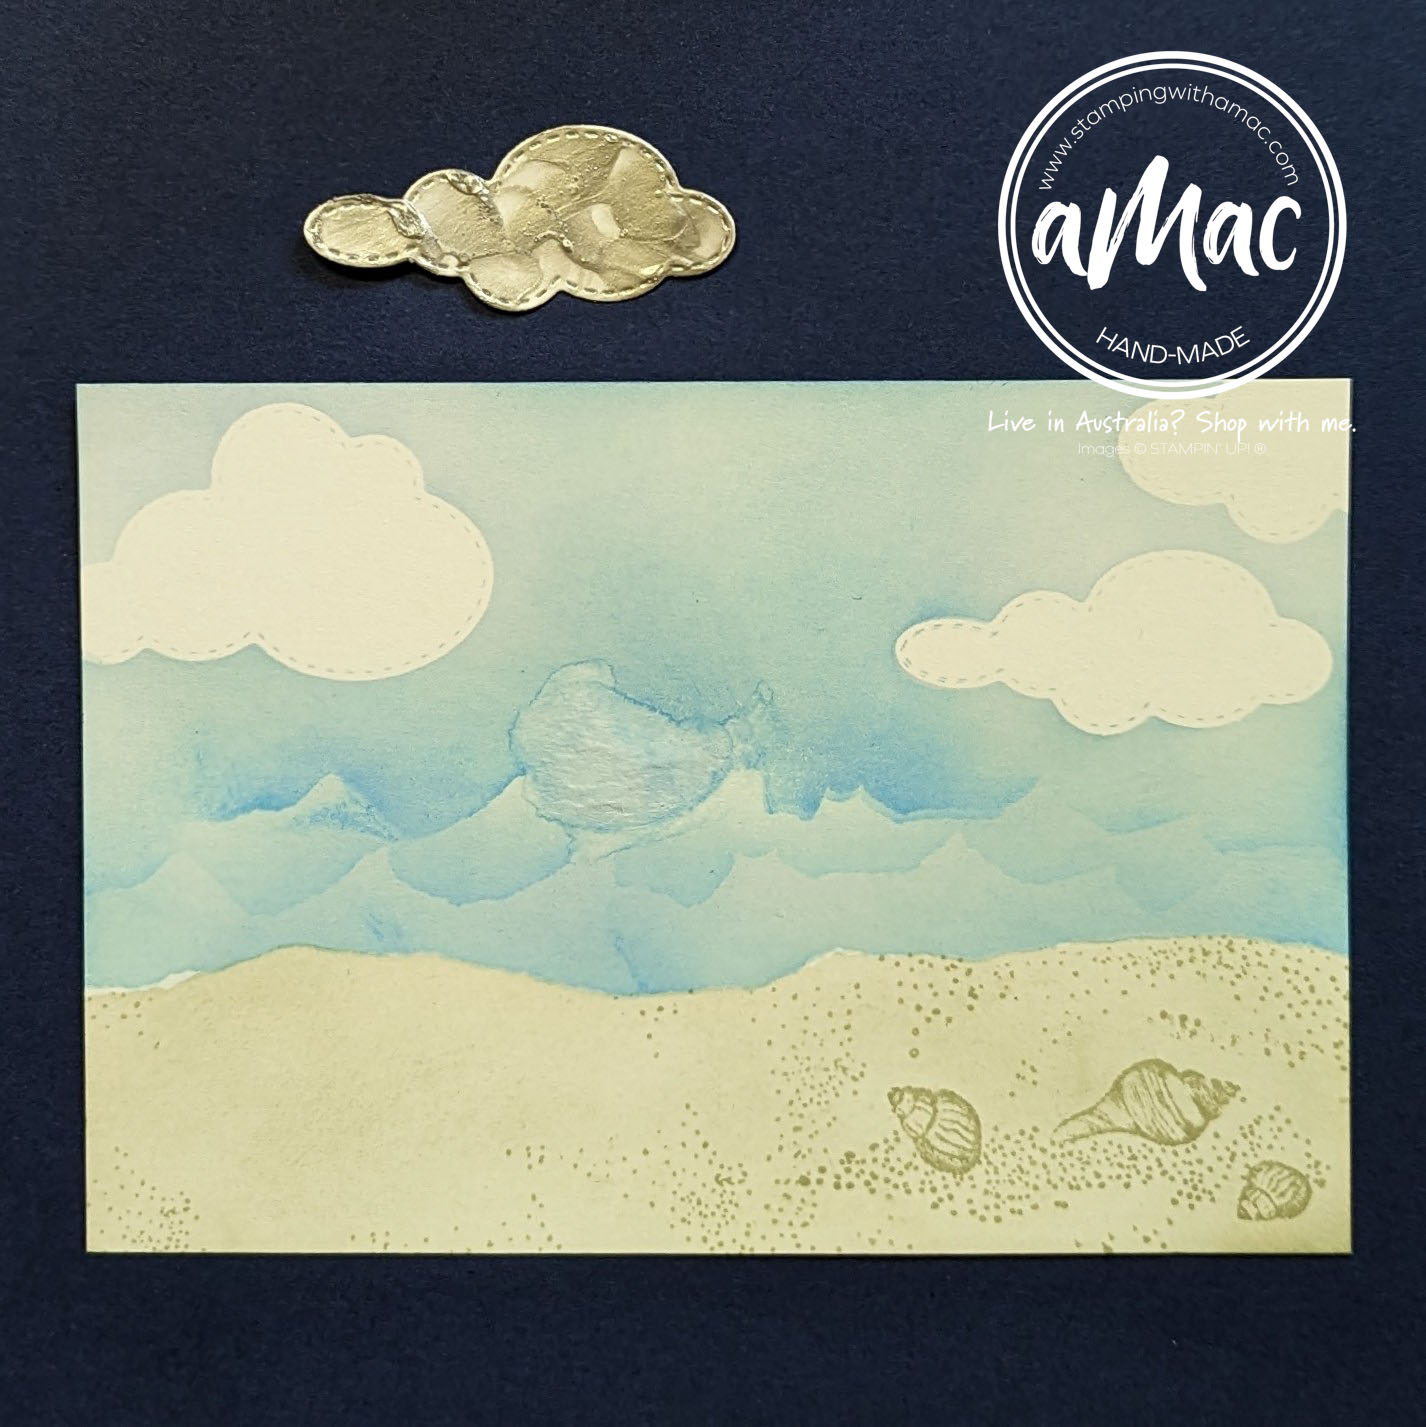
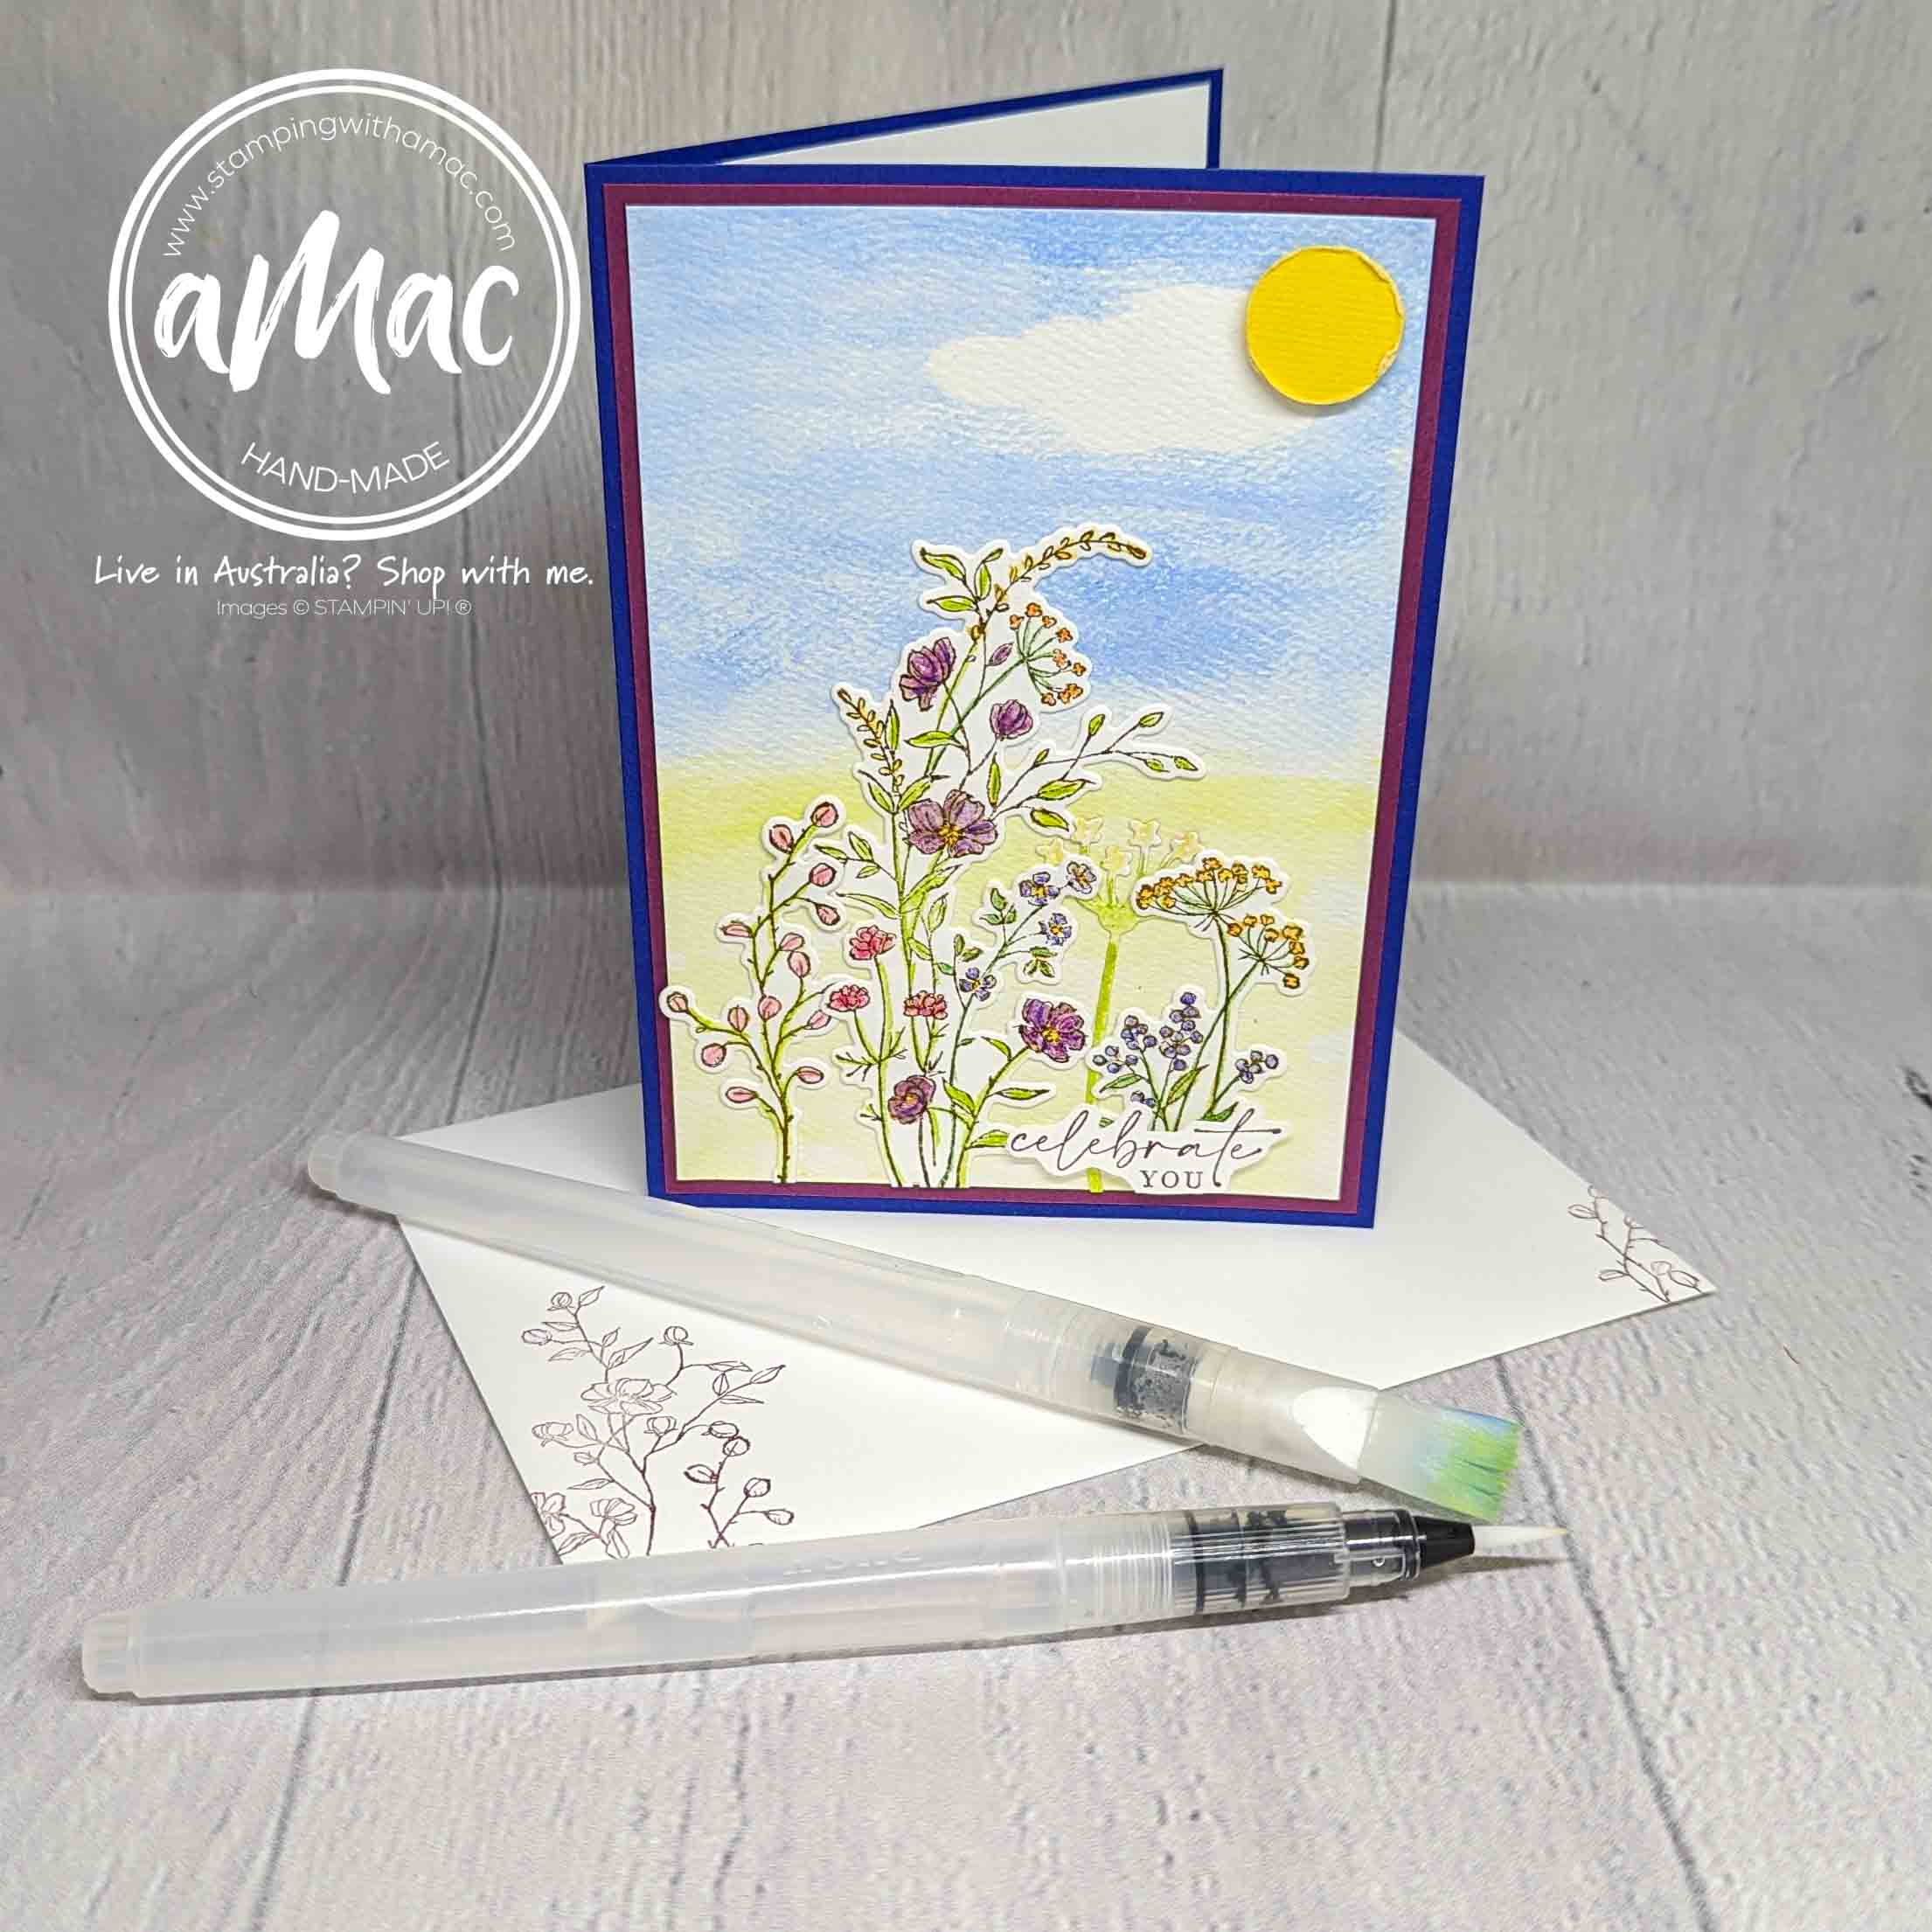
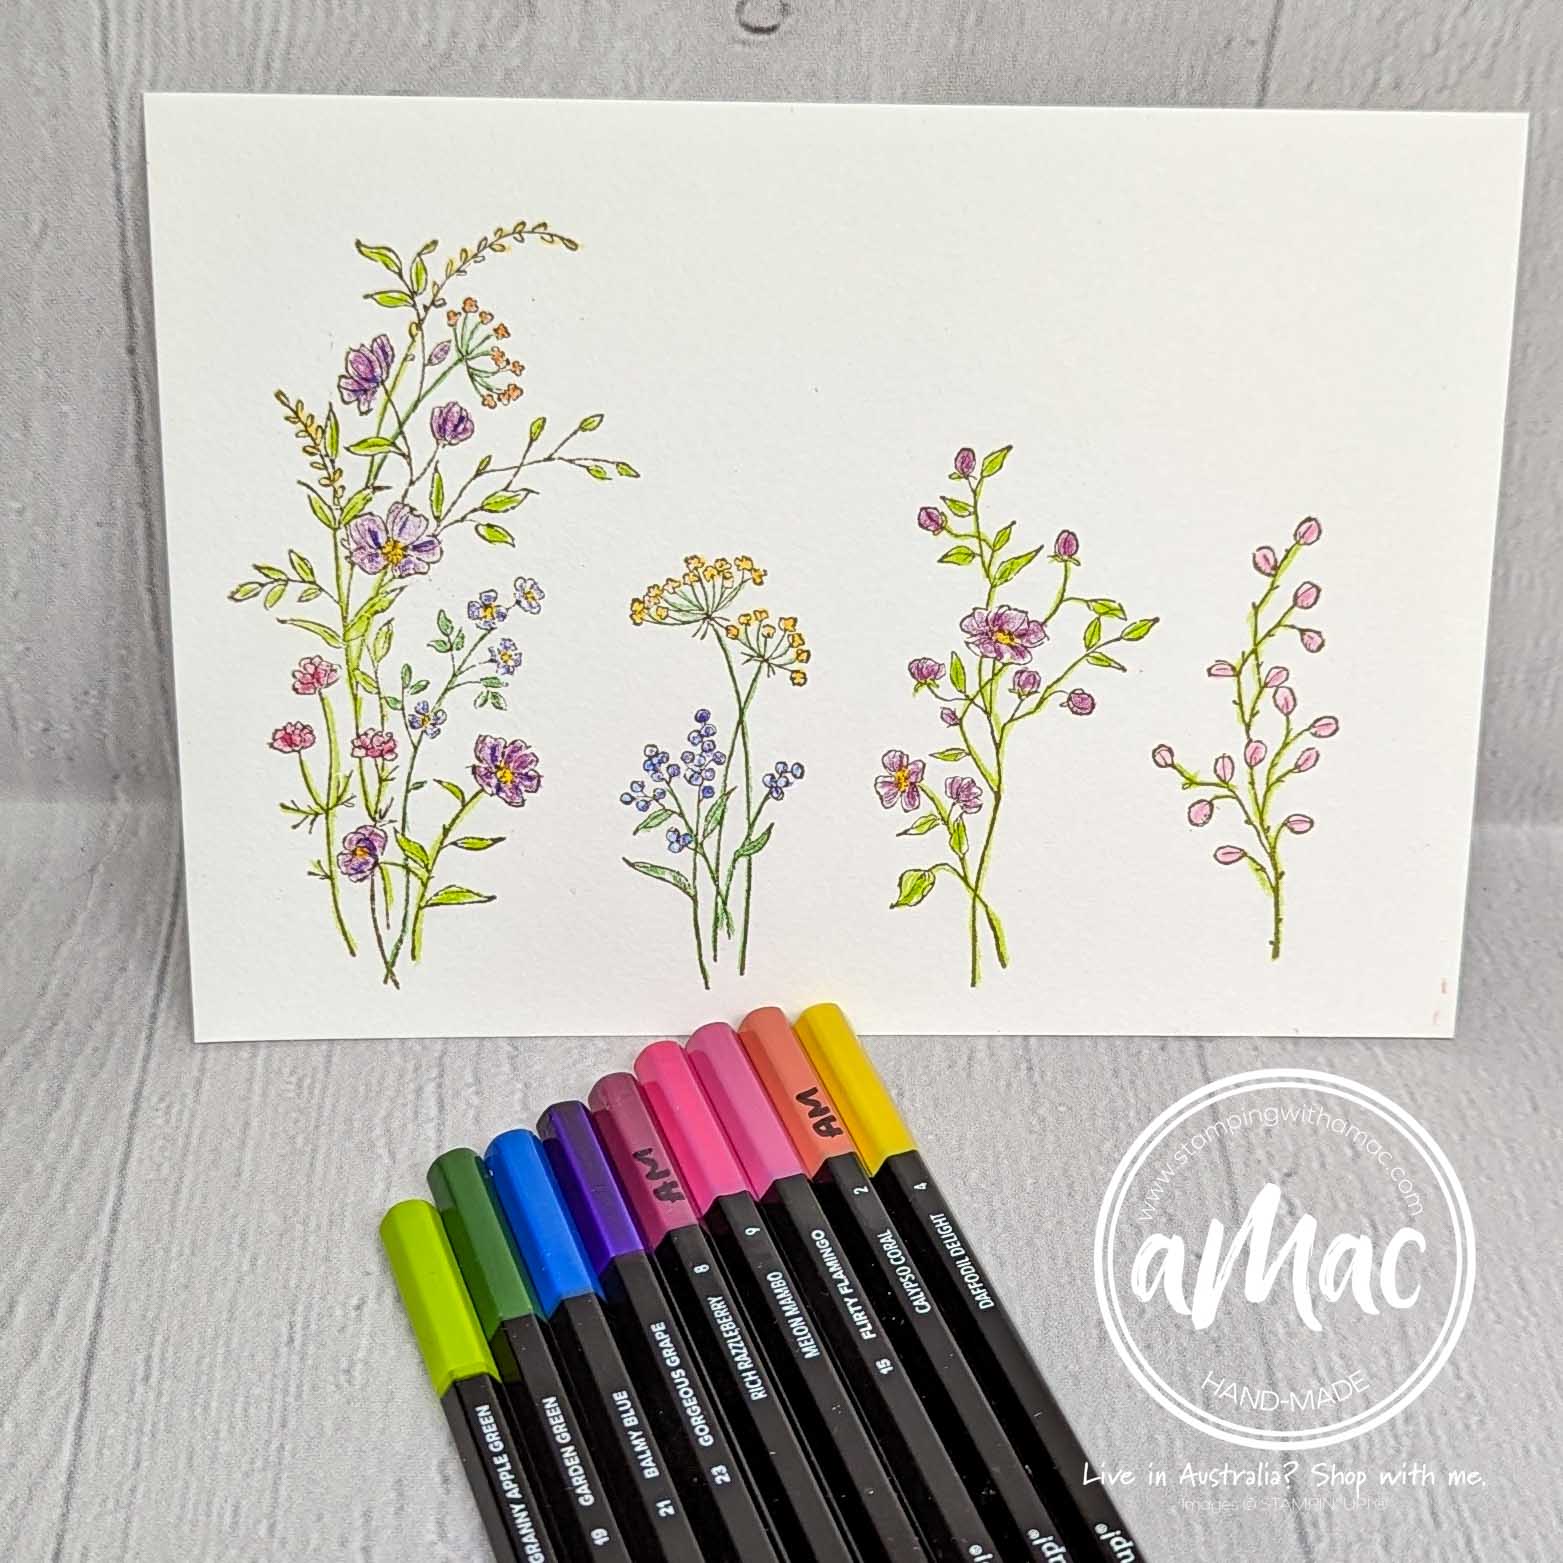
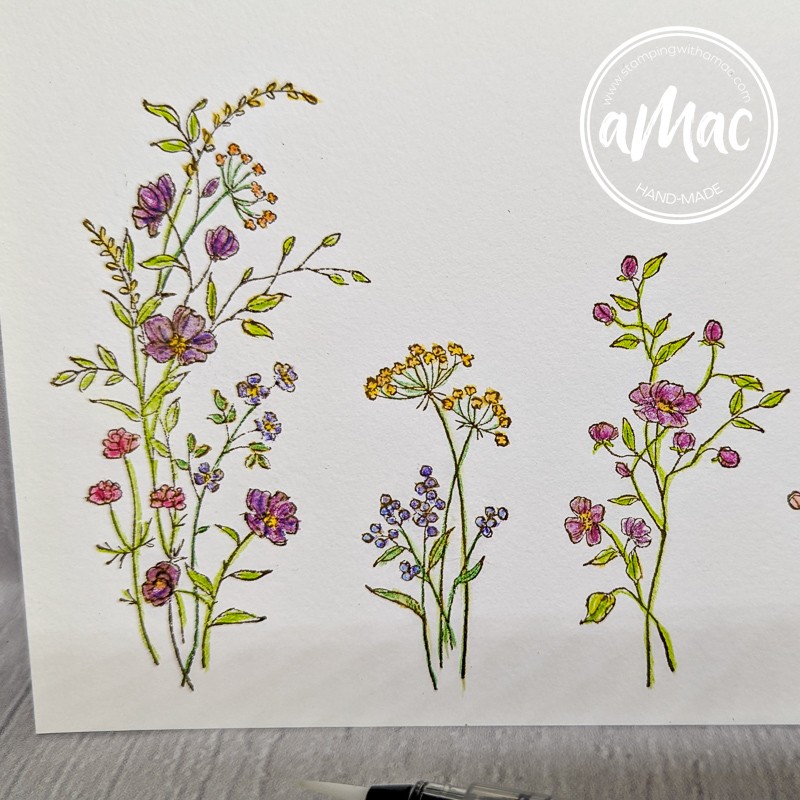
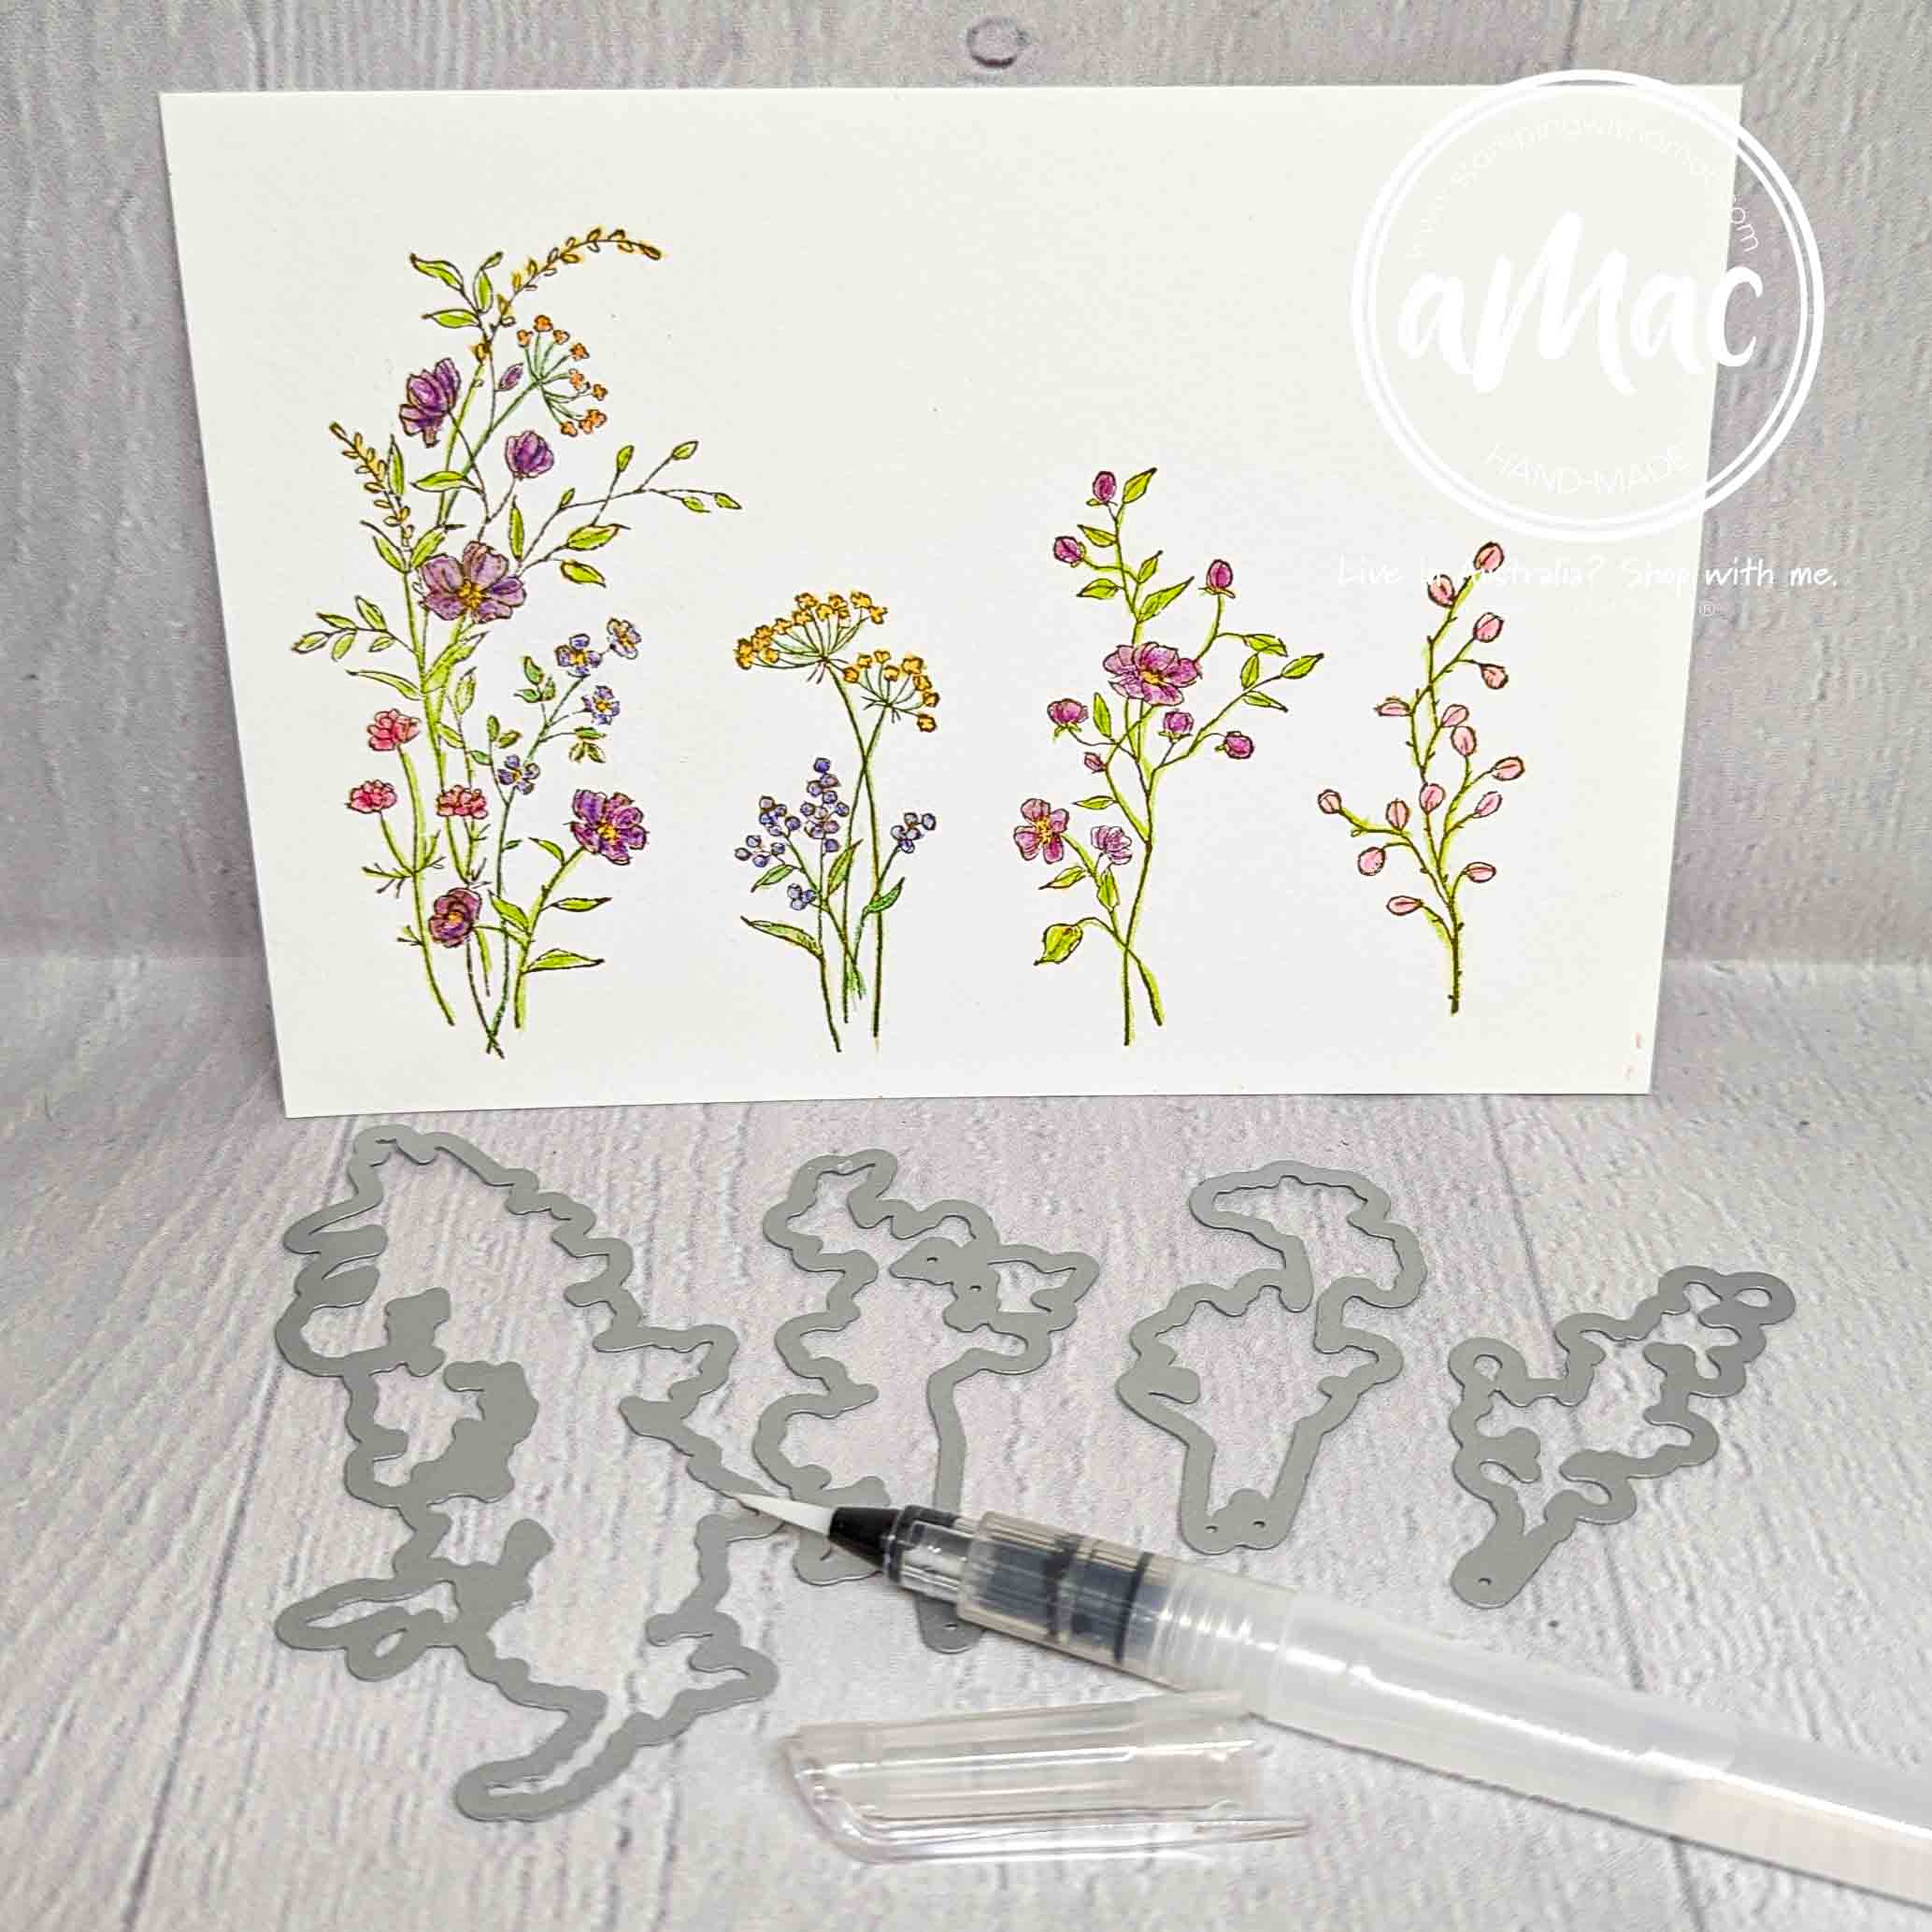
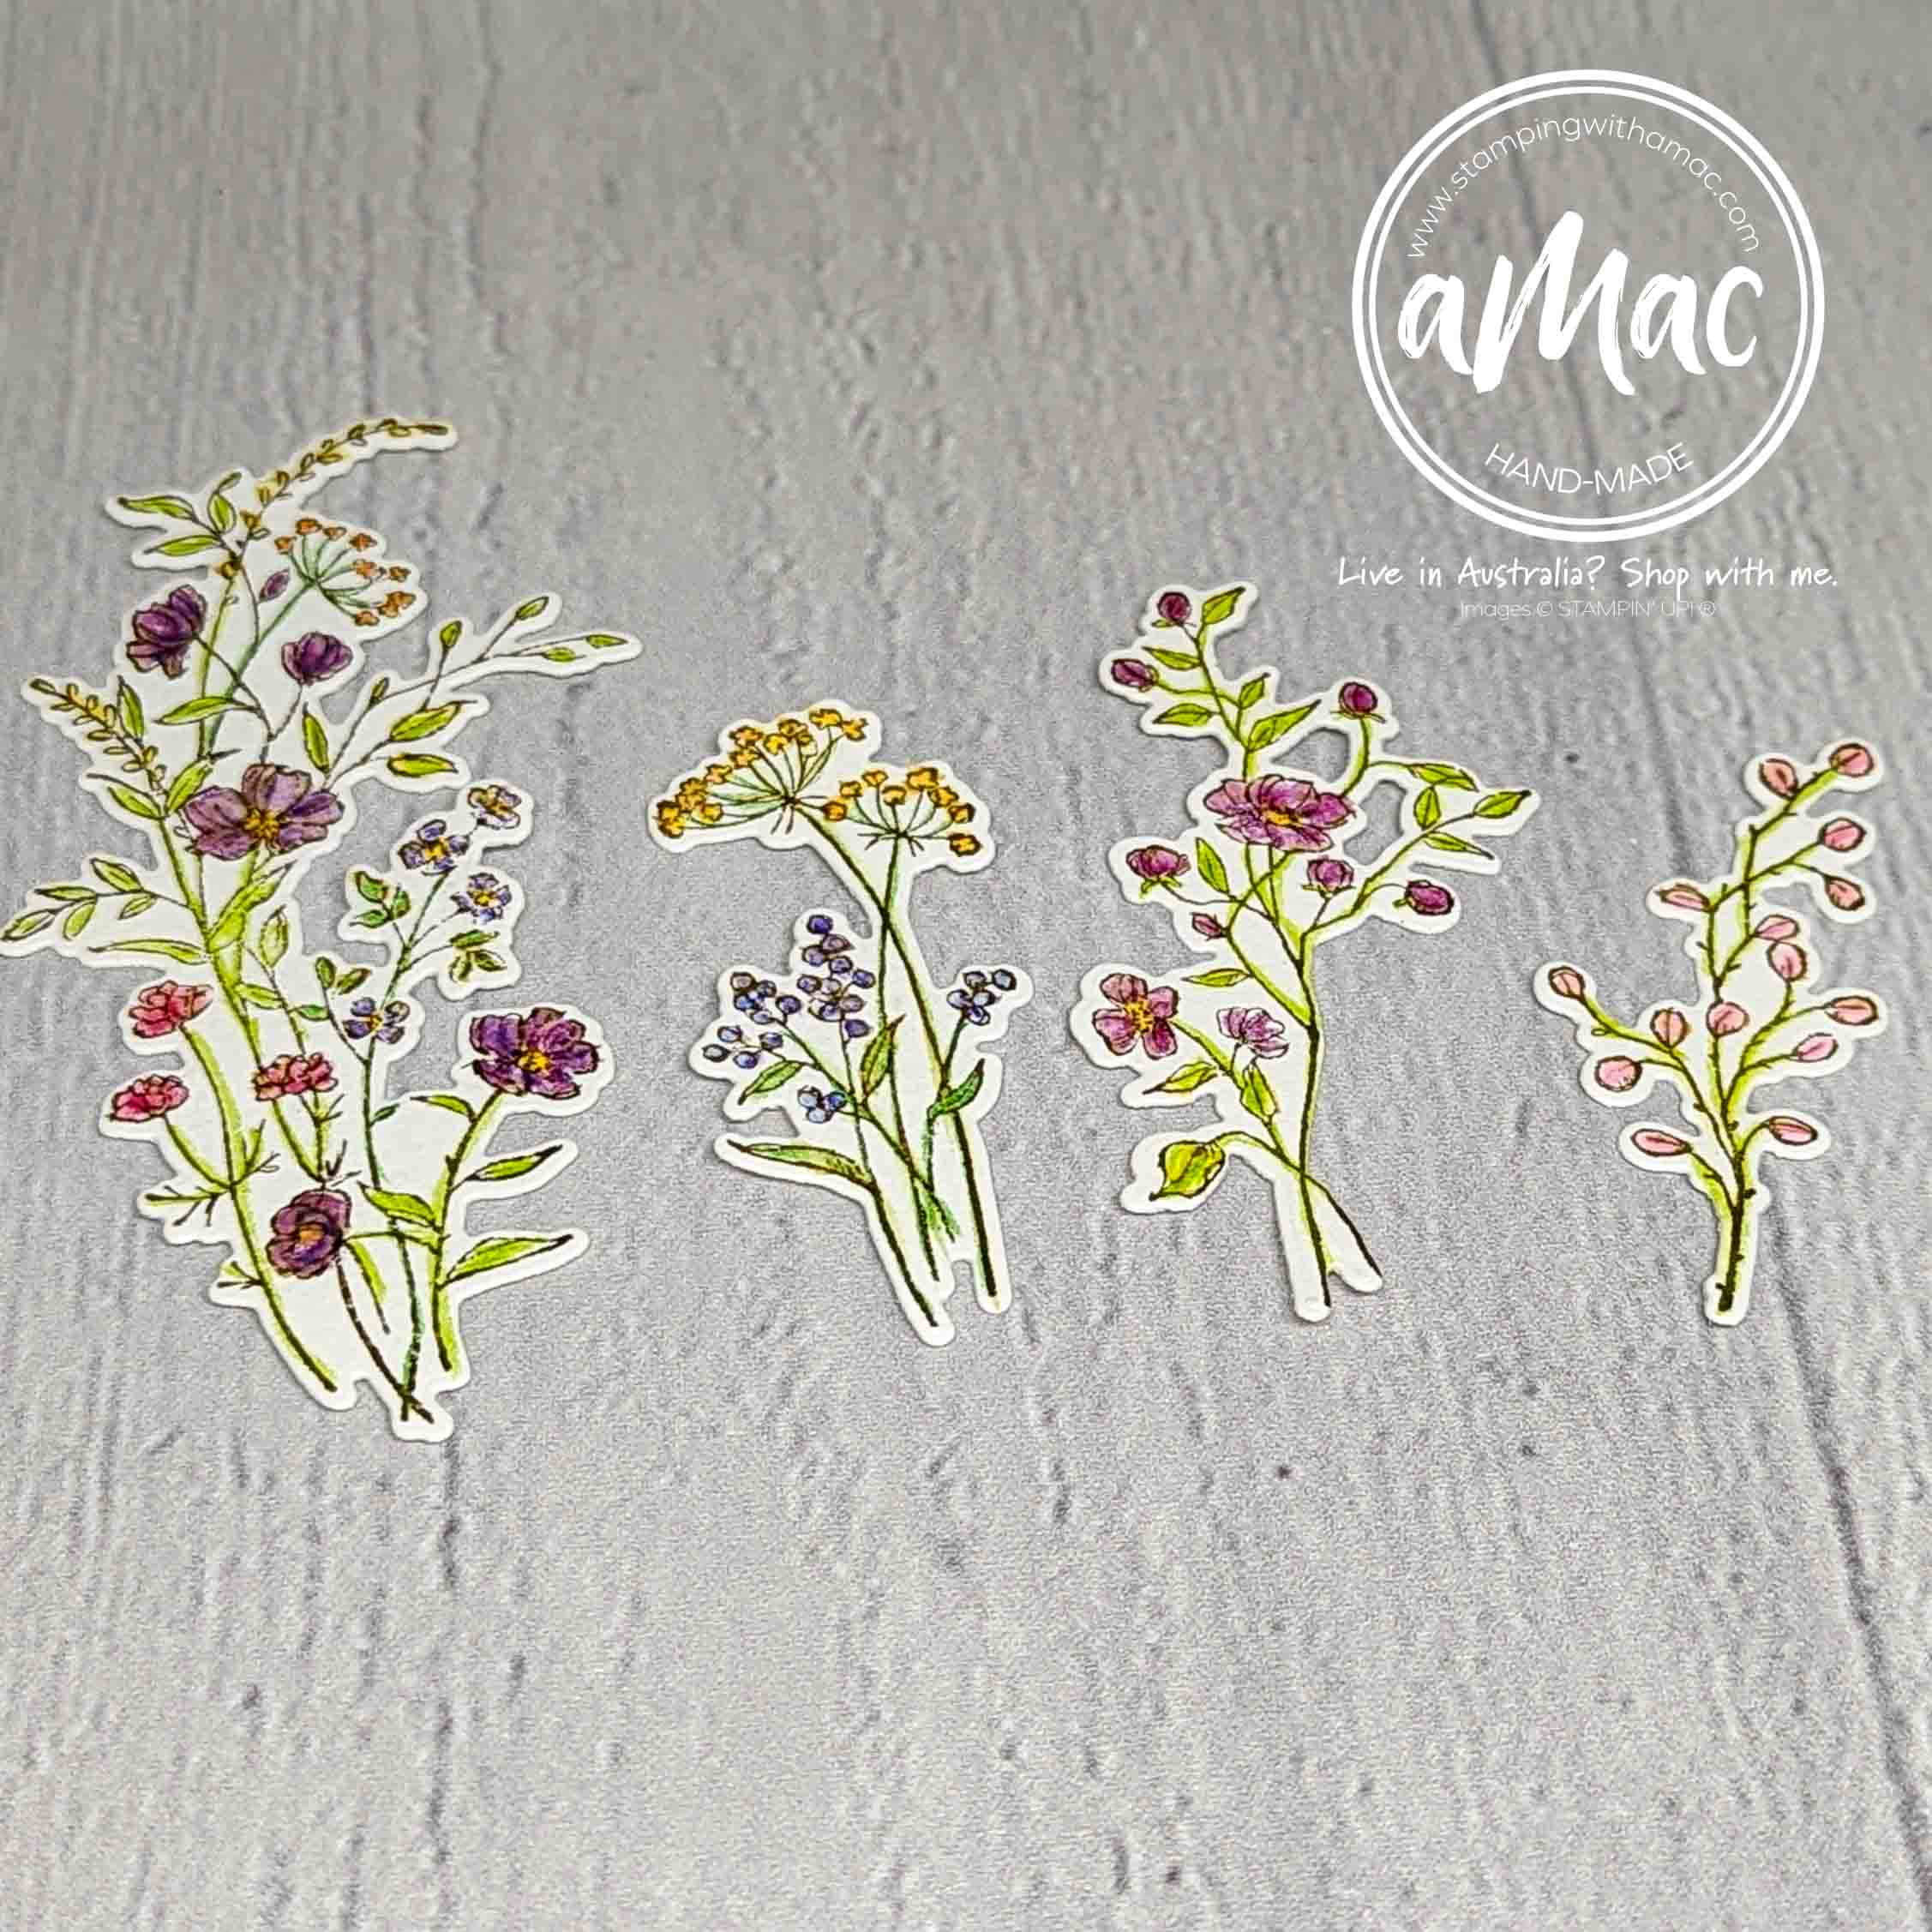
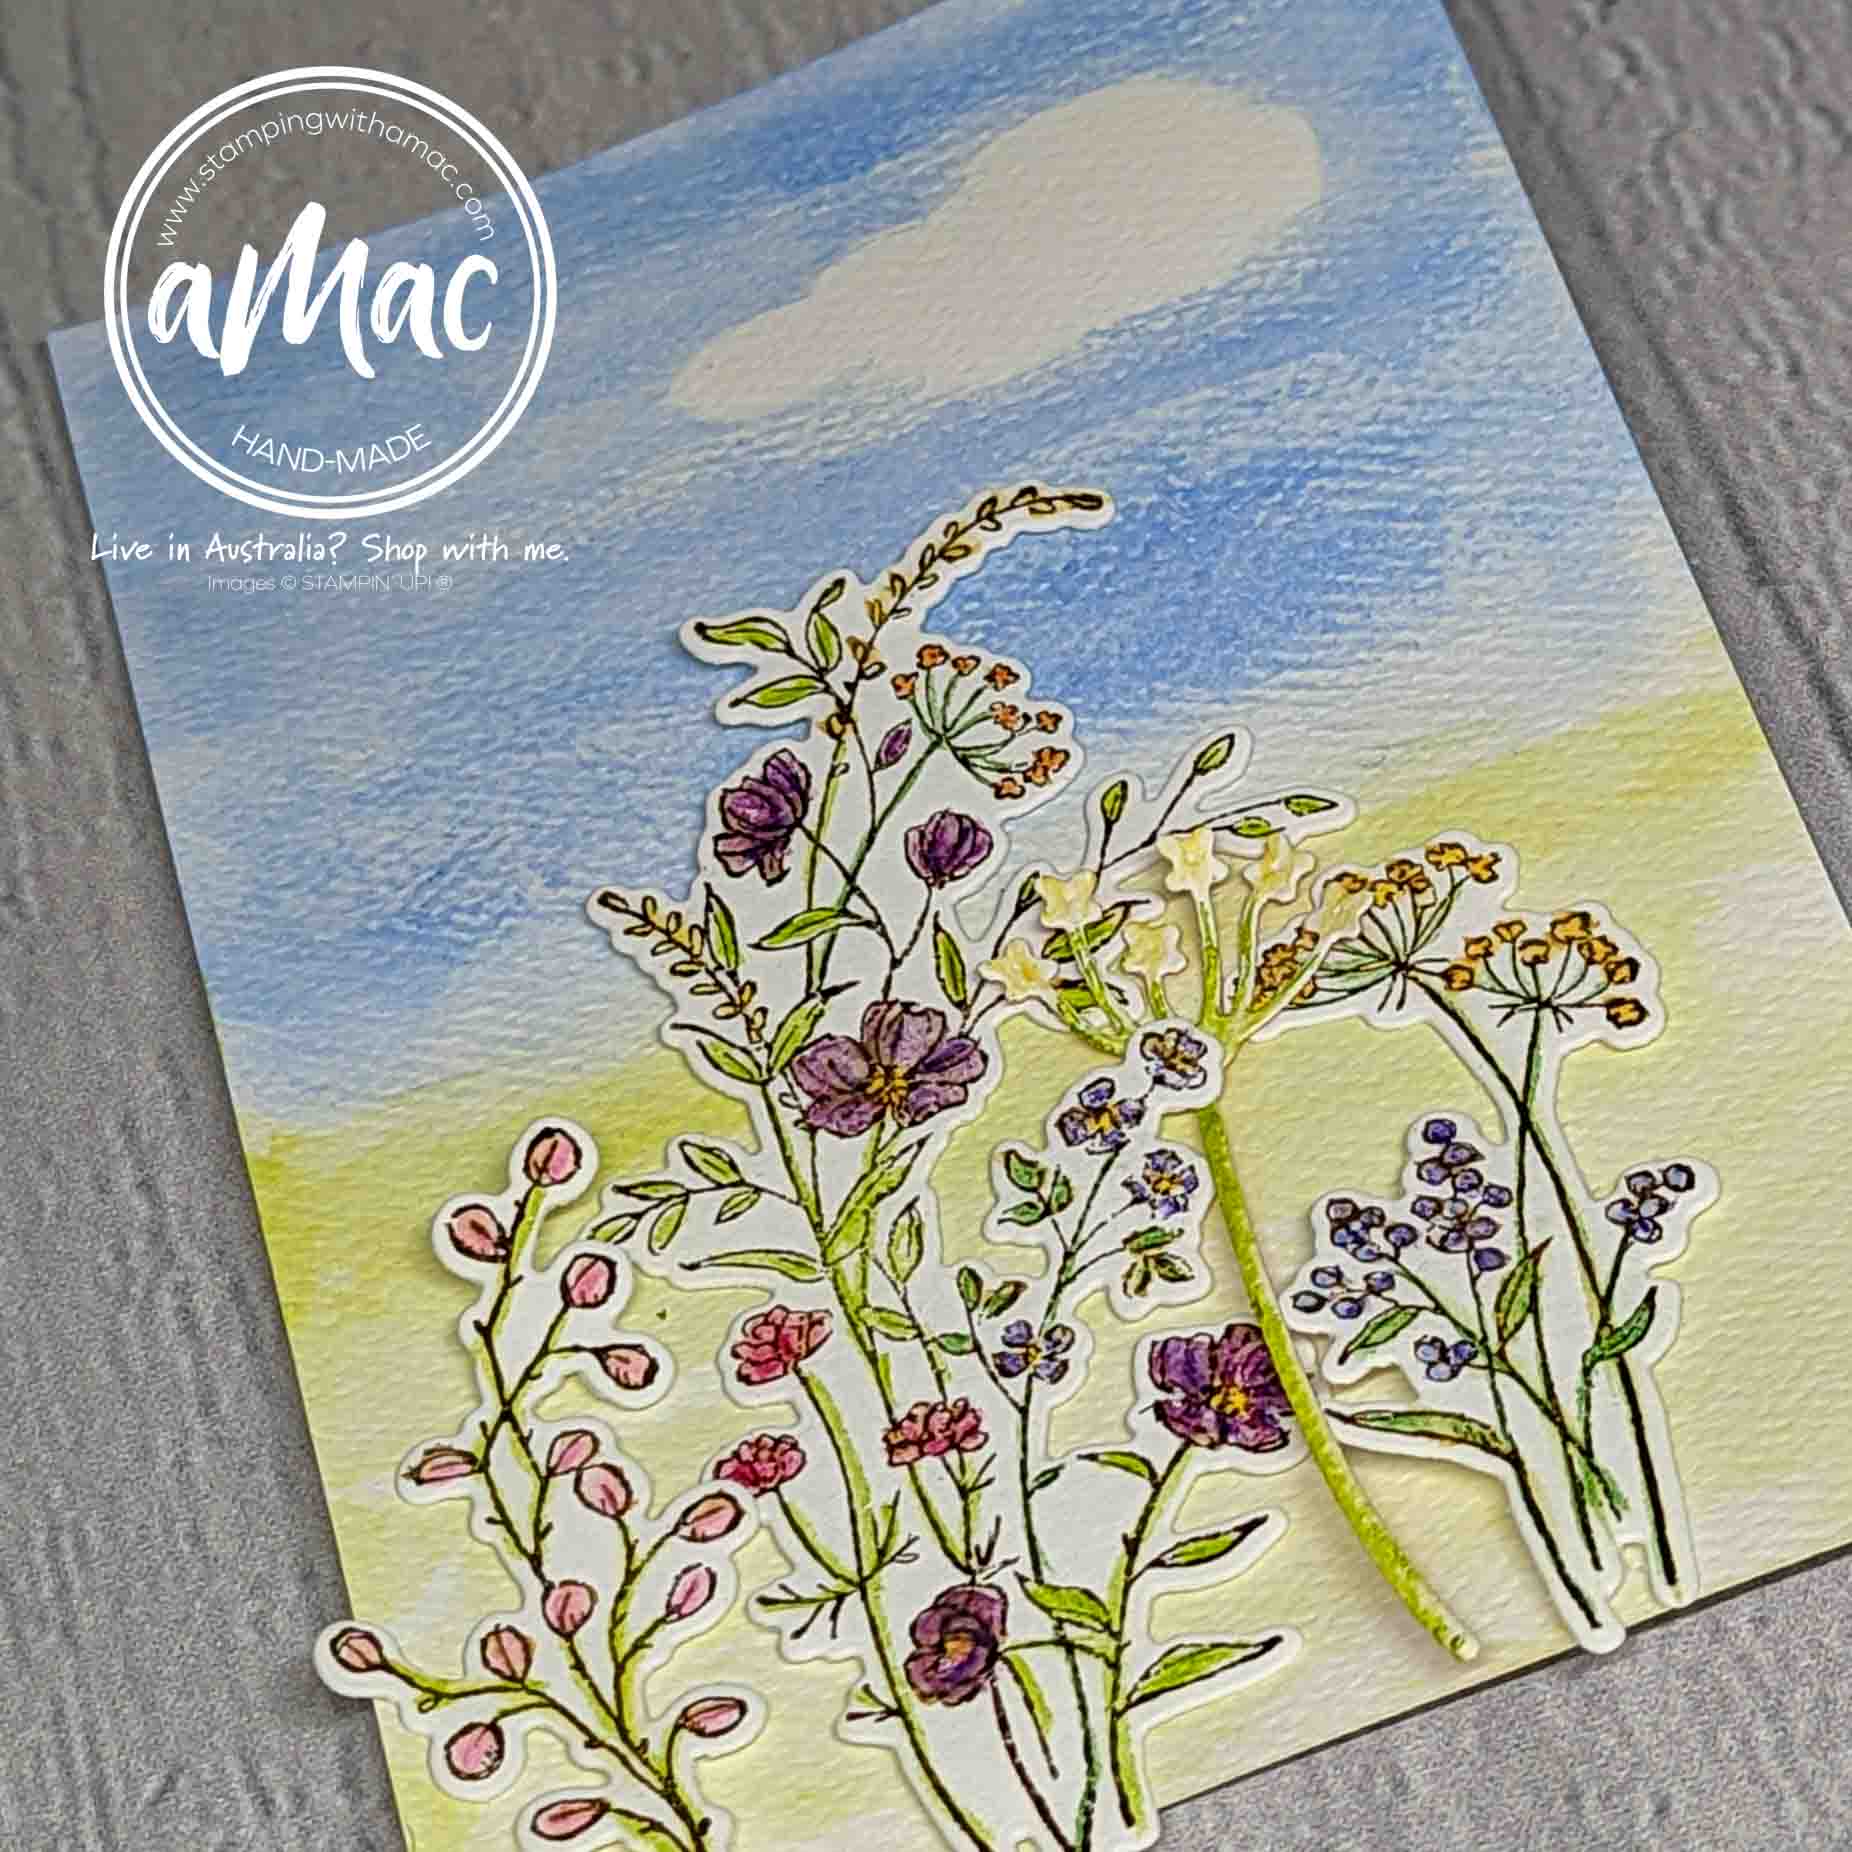
Water Colour Pencils Technique
Product used to create this card


-
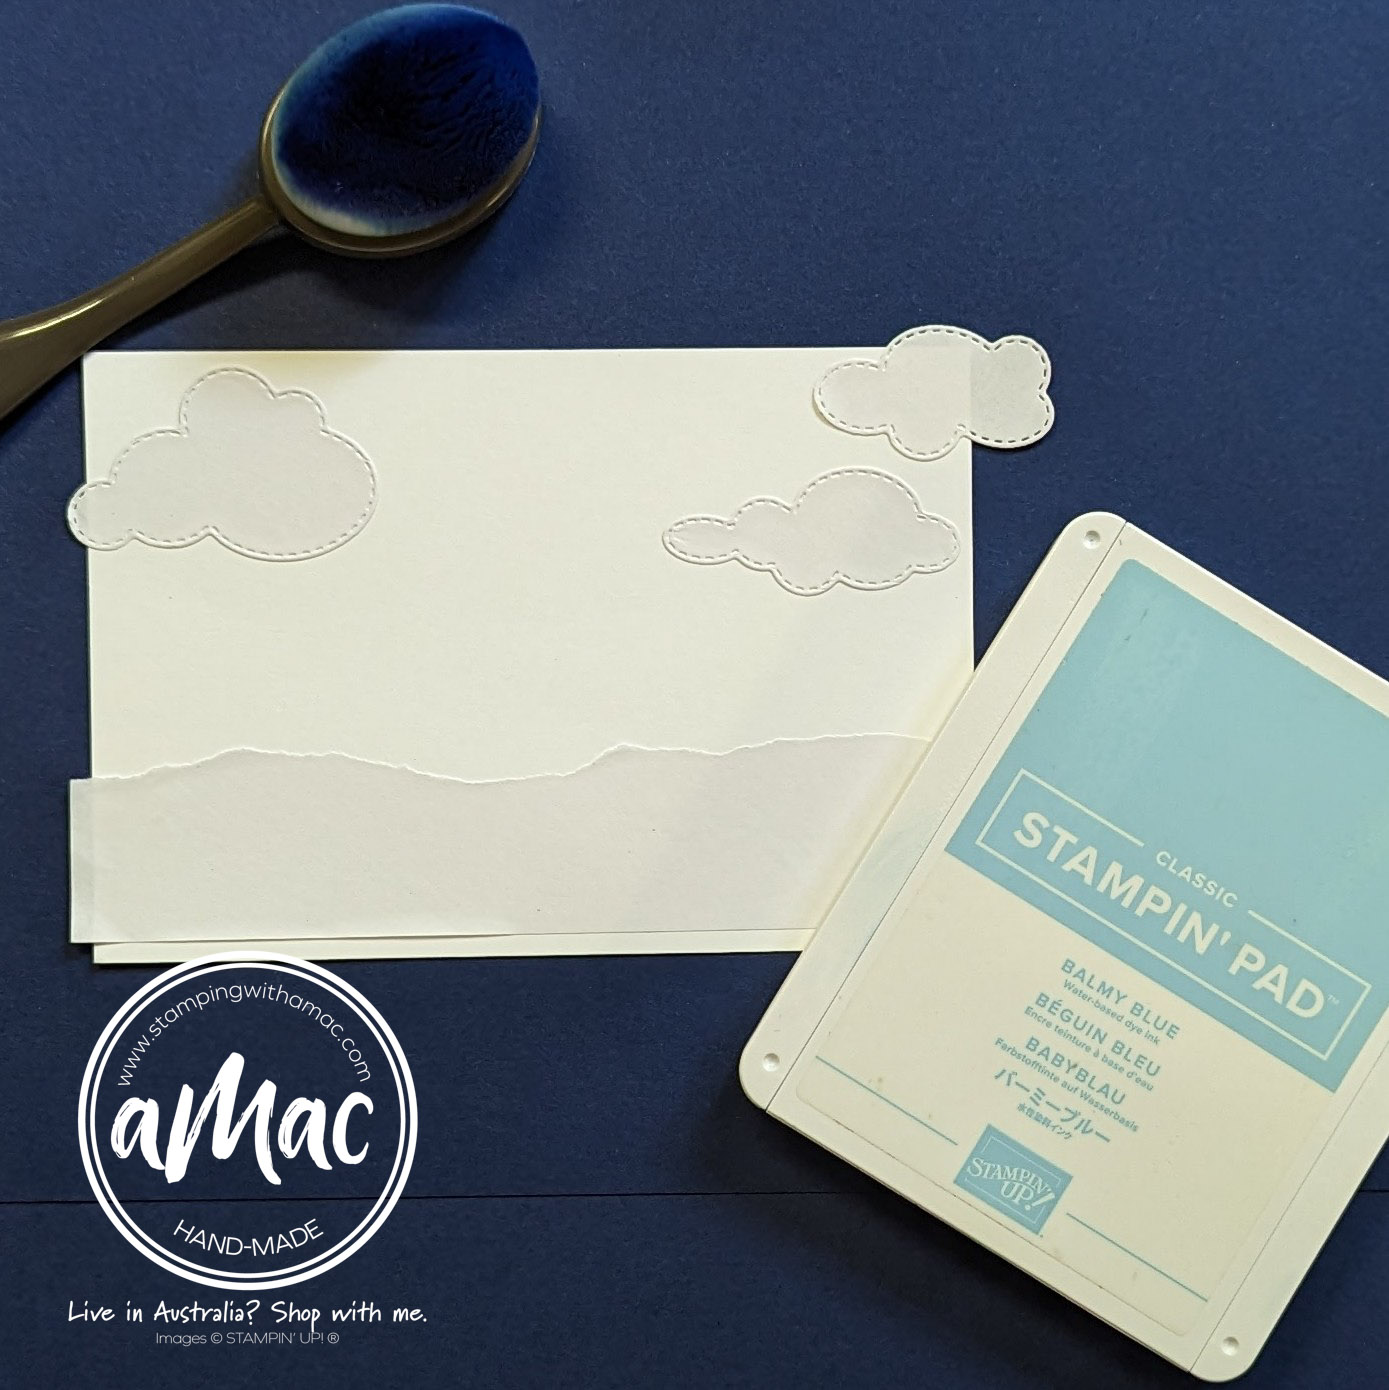
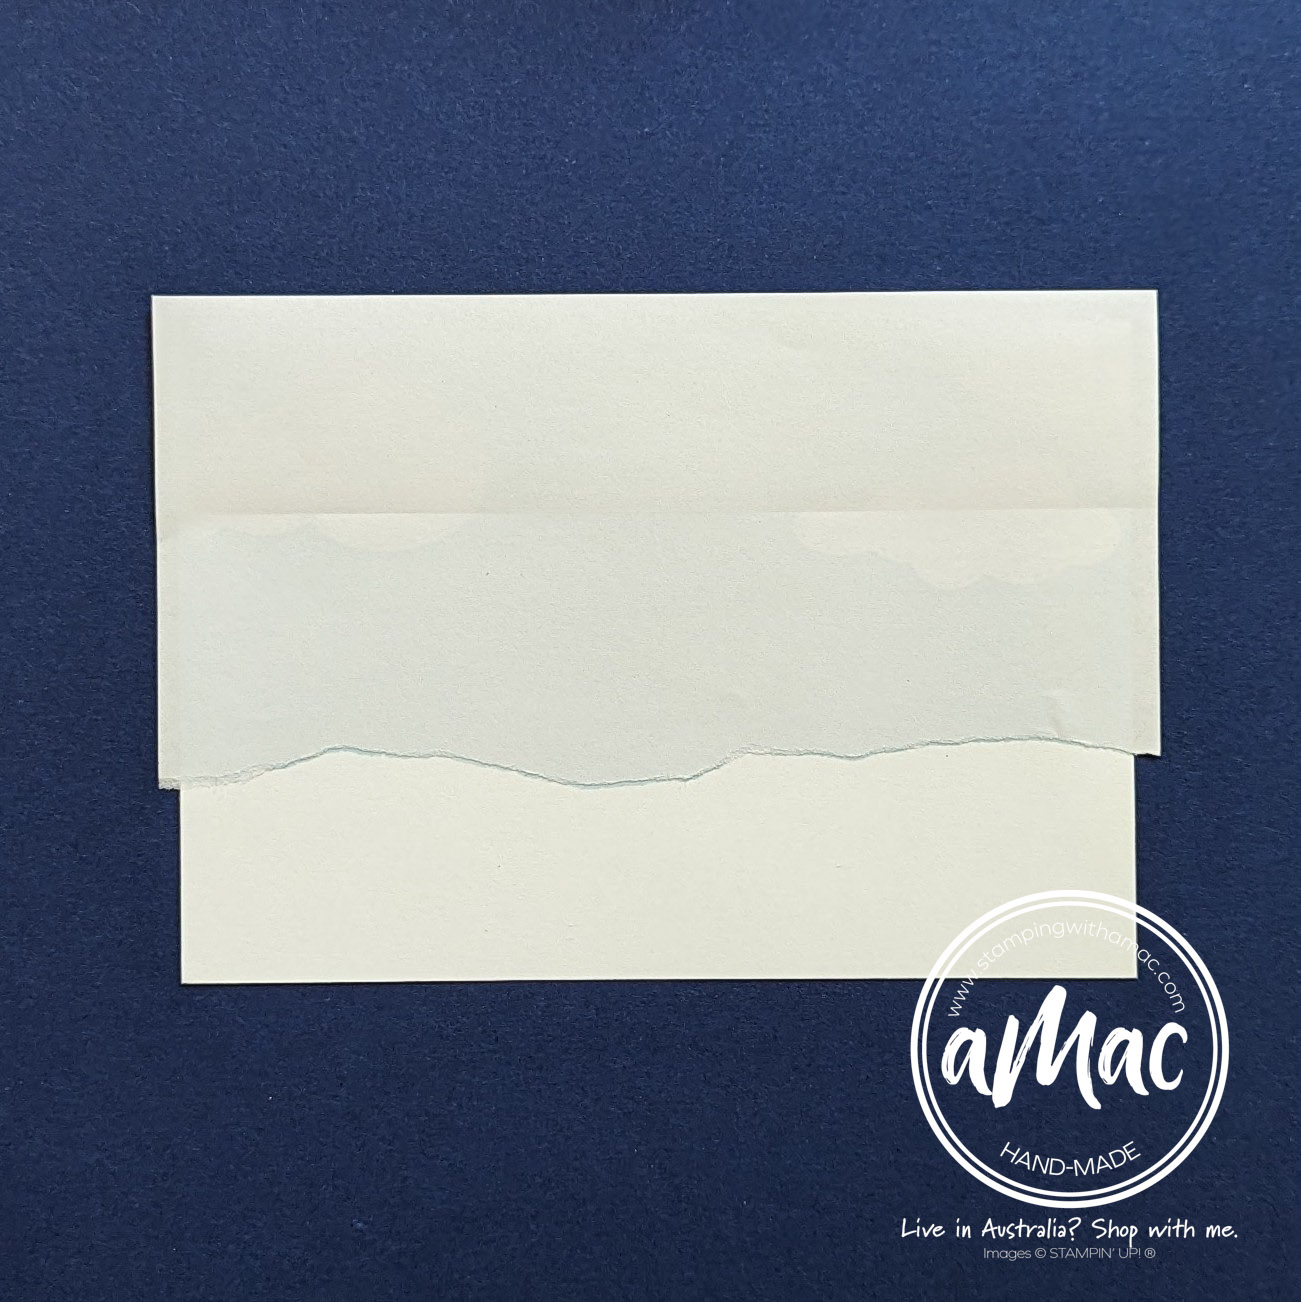
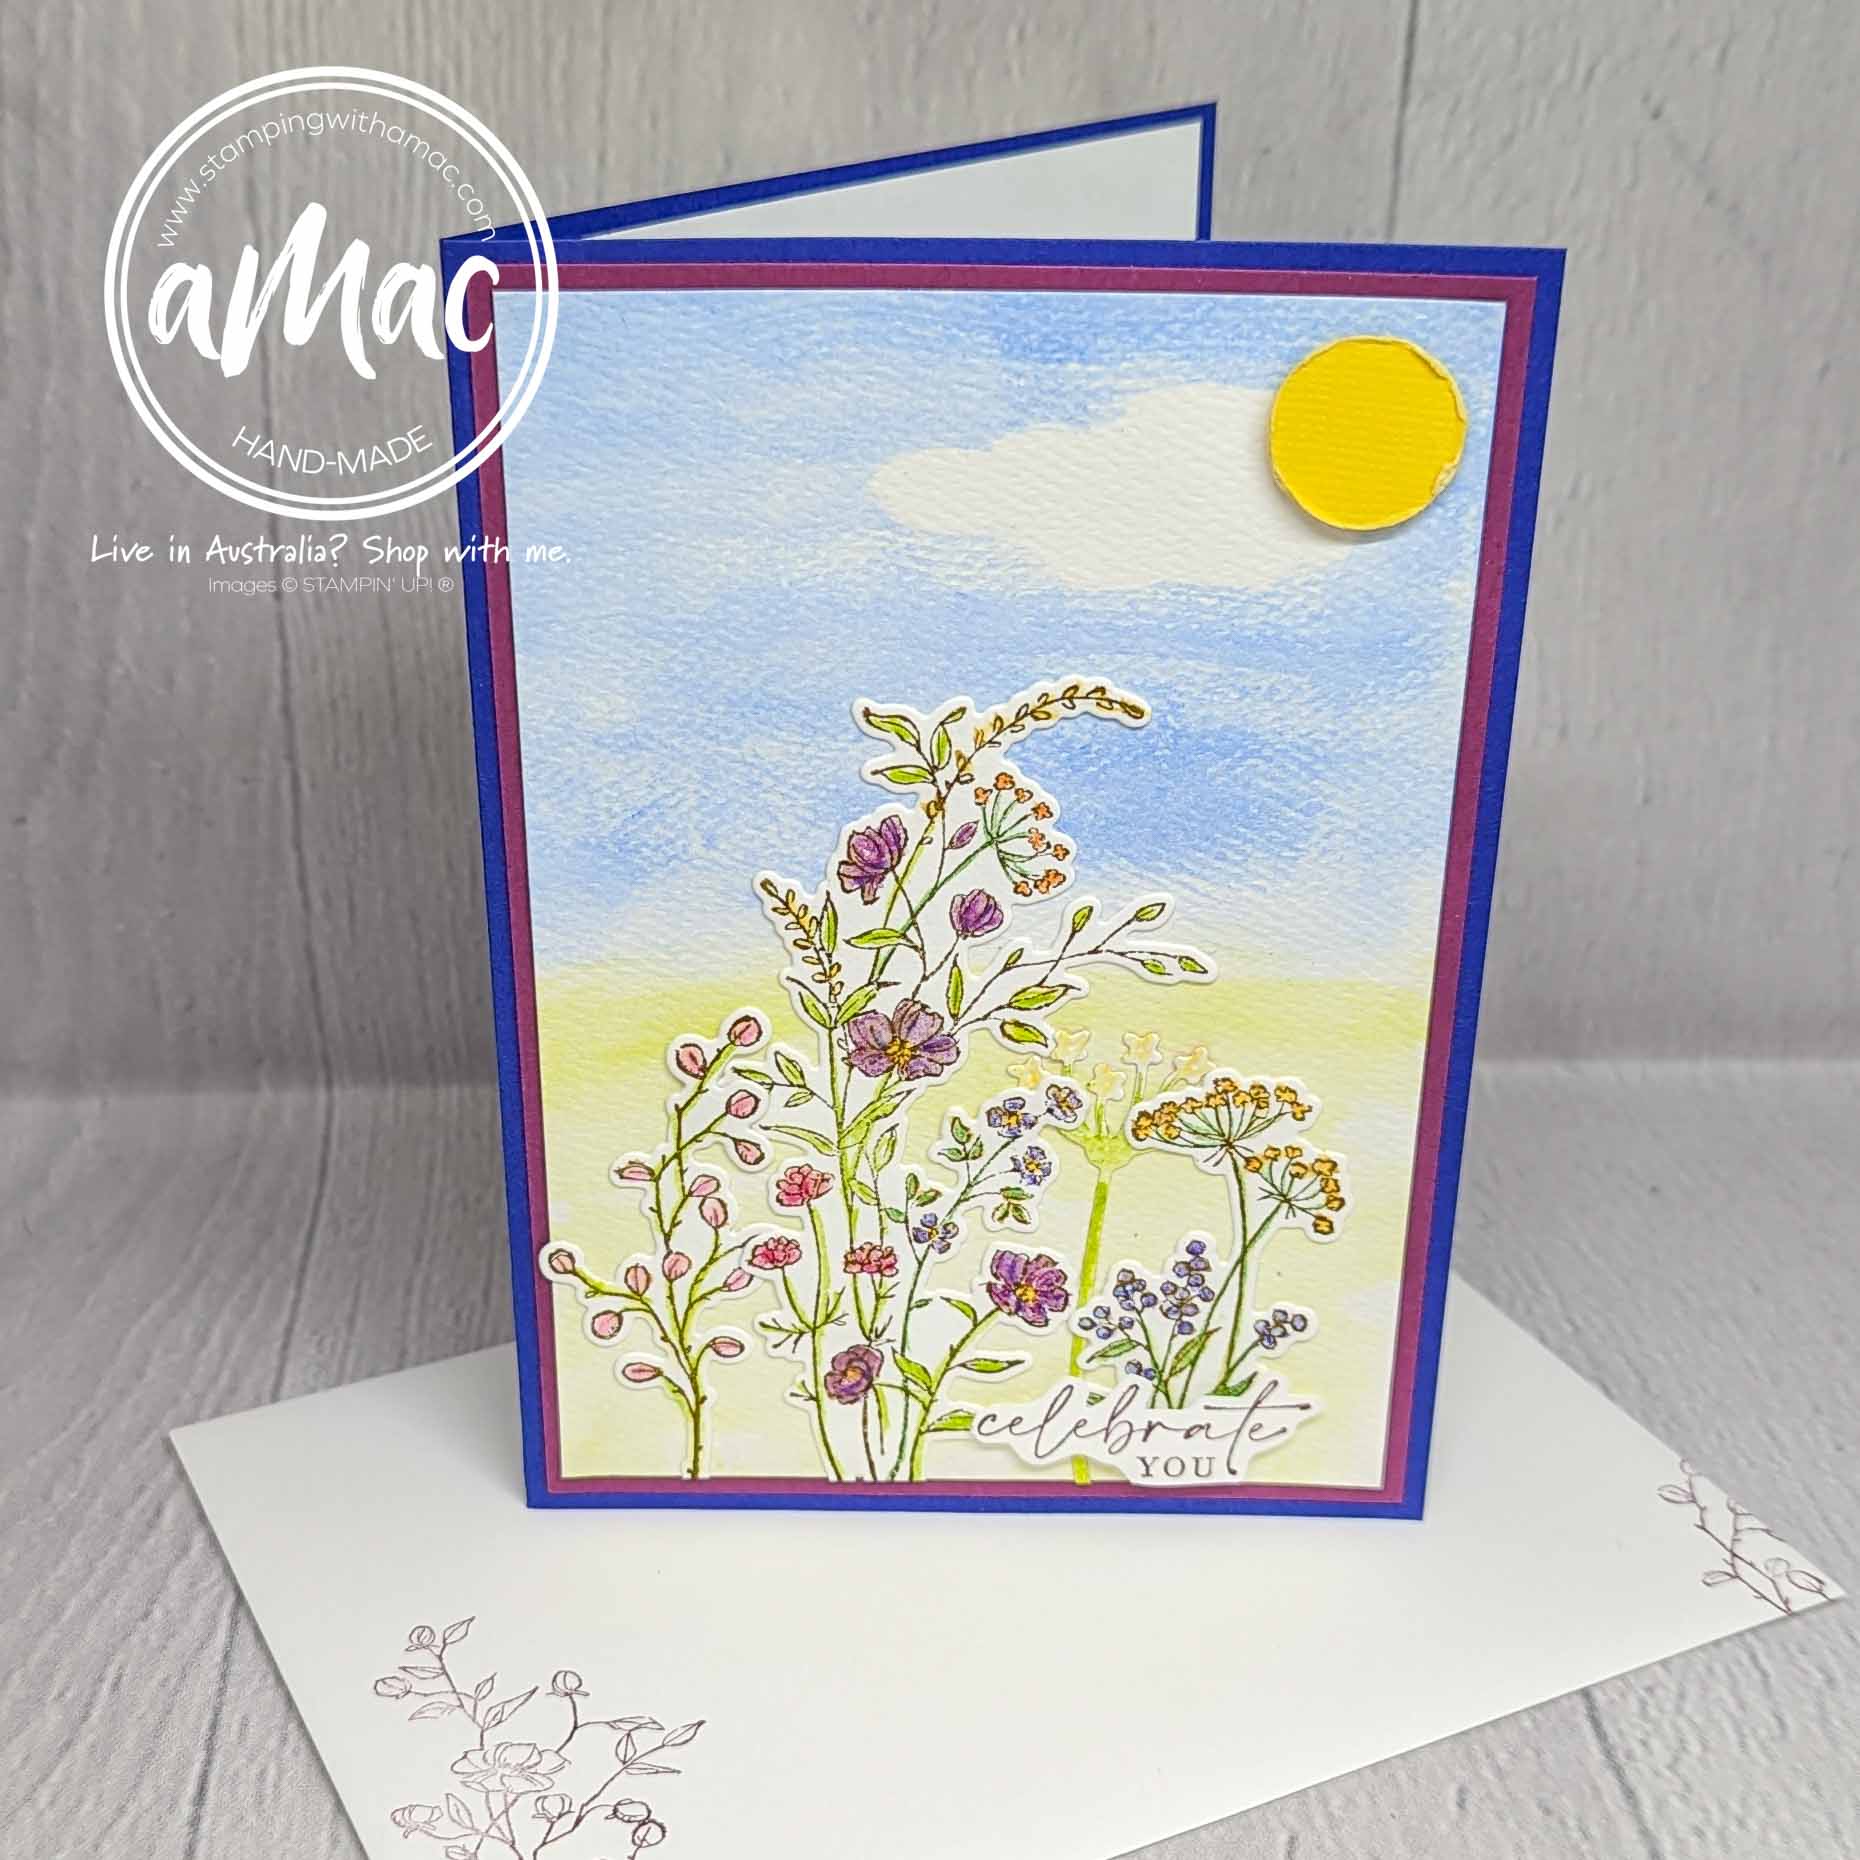
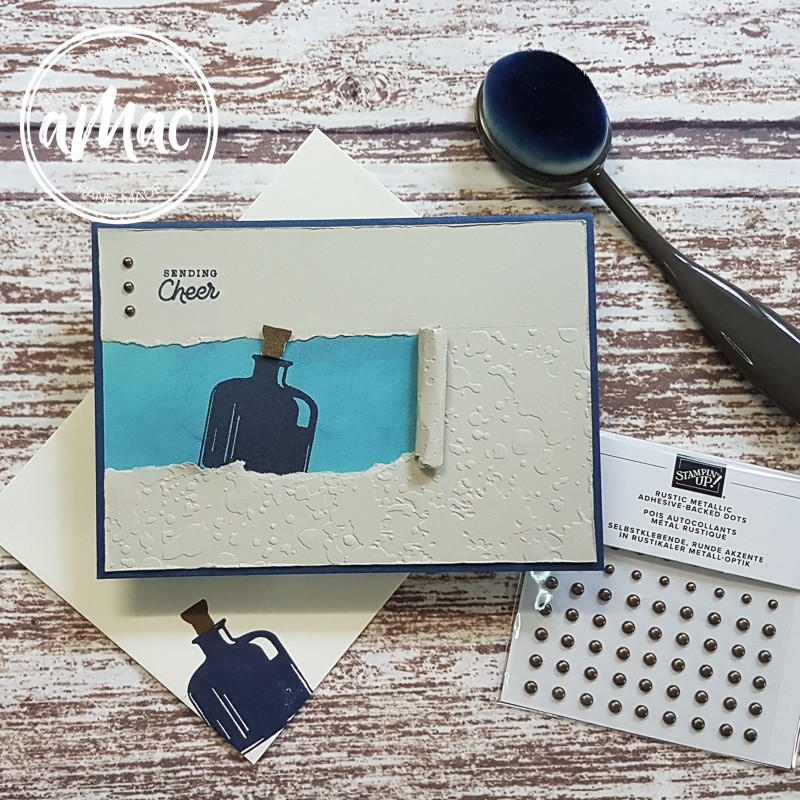
Tearing/Ripping technique
Product used to create this card


")

