-
Card Class October 2021
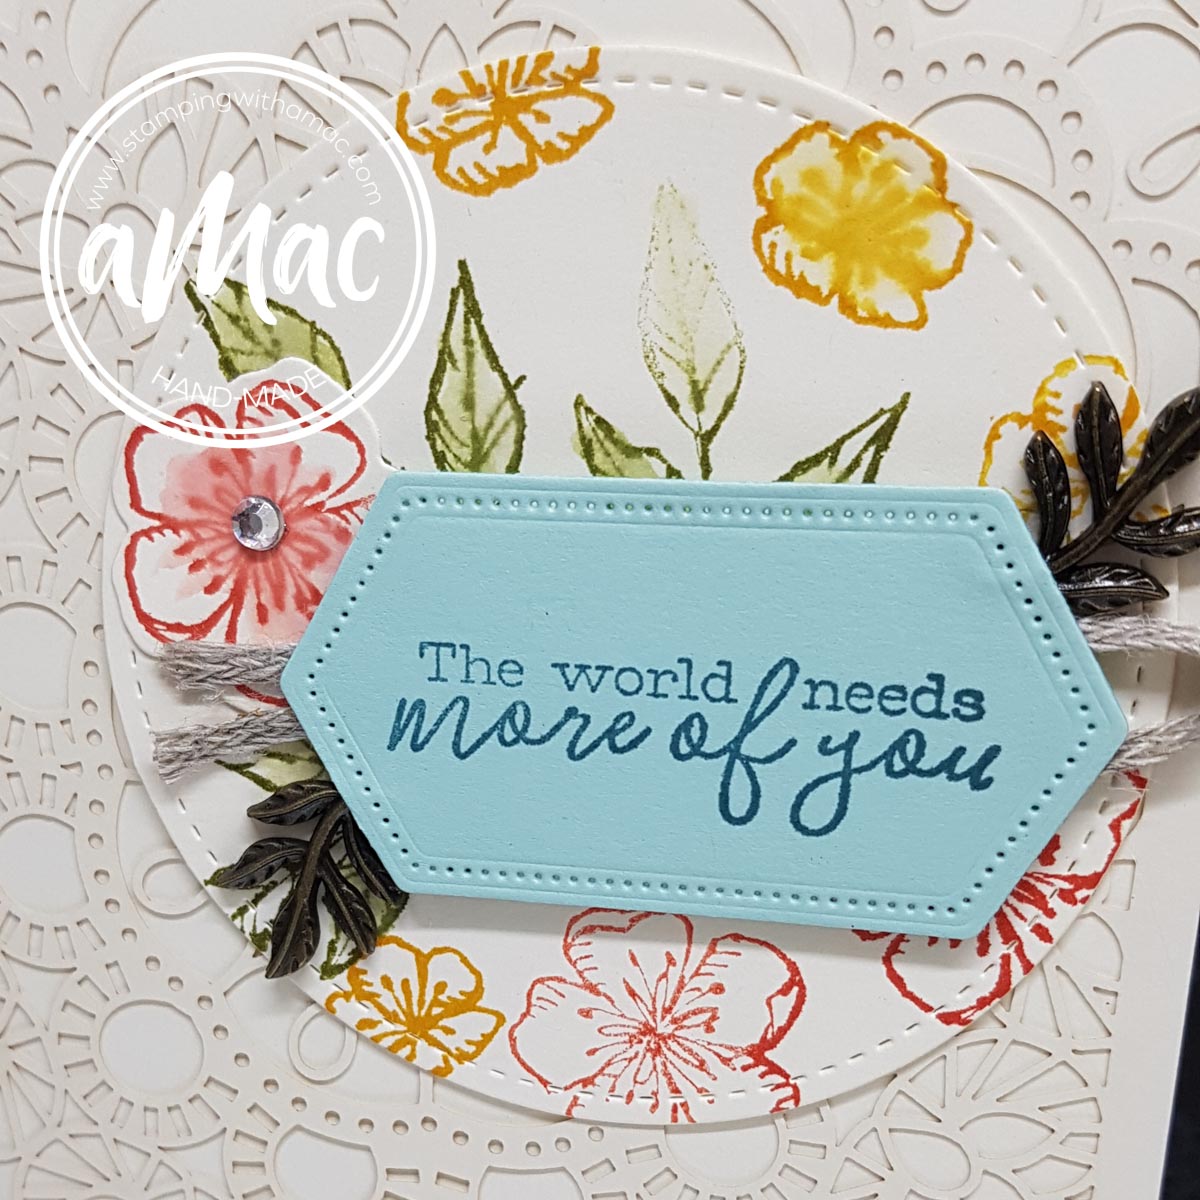
October 13, 2021 /We made 4 beautiful cards for our October class using the Stampin’ Up! Quiet Meadow Bundle and Garden Wishes stamp set and dies.
The cards were for ‘all occasions’:
- Wedding/Engagement
- Sympathy
- Get Well, and
- Thinking of you.
I particularly love the dies in these sets as they are very versatile.
Wedding/Engagement Card
This card can be used as a wedding, engagement card, possibly even valentine…
I used basic white card stock for the base and basic gray for the contrasting layer which was die cut using the Ornate Layers Dies.
We stamped the background with the textured dots then layered the die cuts popping them up on dimensionals. We finished the card off by adding the ribbon and cord to the greeting and using rhinestones as extra embellishments.
Thinking of You
This card is perfect for any occasion!
The base is basic white, the 2nd layer is misty moonlight as are the die cuts. The background texture is subtle on the 3rd layer, we used the ‘Time Worn Type’ 3D embossing folder.
The strip of DSP adds a bit of extra colour and the gold cord adds a bit of bling as it’s threaded through the label.
Get Well Soon - Fancy Fold
This was a fun card to make and it’s bound to brighten anyone’s day…
The base is basic white and the colours are Old Olive and Crushed Curry.
The front is cut out using the ‘Stitched so Sweetly’ dies. The card was decorated using the Garden Wishes stamp and Dandy Wishes dies. The bee with the buzzy trail on the inside is a cute surprise!
The label is from the Meadows dies and I used the greeting out of the Timeless Tulips stamp set.
Sympathy
This card can be used for any occasion by changing the greeting. I really love the white on white with a touch of contrasting basic gray for the greeting and label.
Sadly I used this card to give to a neighbour who’s Dad passed away last week.
We used the gorgeous Dandelions 3D embossing folder as the background and layered a few die cuts over the top. When using liquid glue, I always say ‘less is more’ that avoids getting glue everywhere.
The label was made using the Tasteful Labels and Stitched Rectangle dies, they match perfectly.
I hope you’ve enjoyed these cards if you would like to join us for classes, please check out my class schedule here.
[maxbutton id="3"]Happy Stamping
Angela
-
Card Class May 2021 – Butterfly Brilliance
June 11, 2021 /I’m excited to share that I designed all of the cards for this class that we had last month. We used the Butterfly Brillance bundle and the Very Versailles stamp set.
Vintage Card
I used Pool Party and Crumb Cake on this card. I love the two colours together.
Combining the Crumb Cake colour, sponging and distressing makes it easy to create a vintage look. I used the Very Versailles stamp for the subtle background as well as a butterfly.
The die cut butterflies were also sponged to age them and the card was finished off with a few pearls on the greeting and some linen thread.
Elegant Card
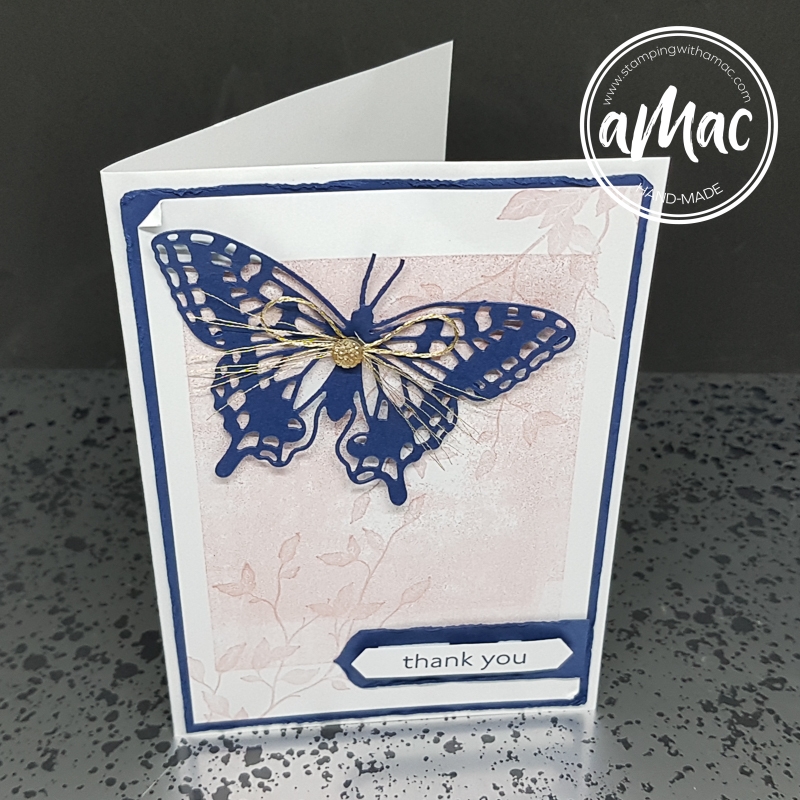
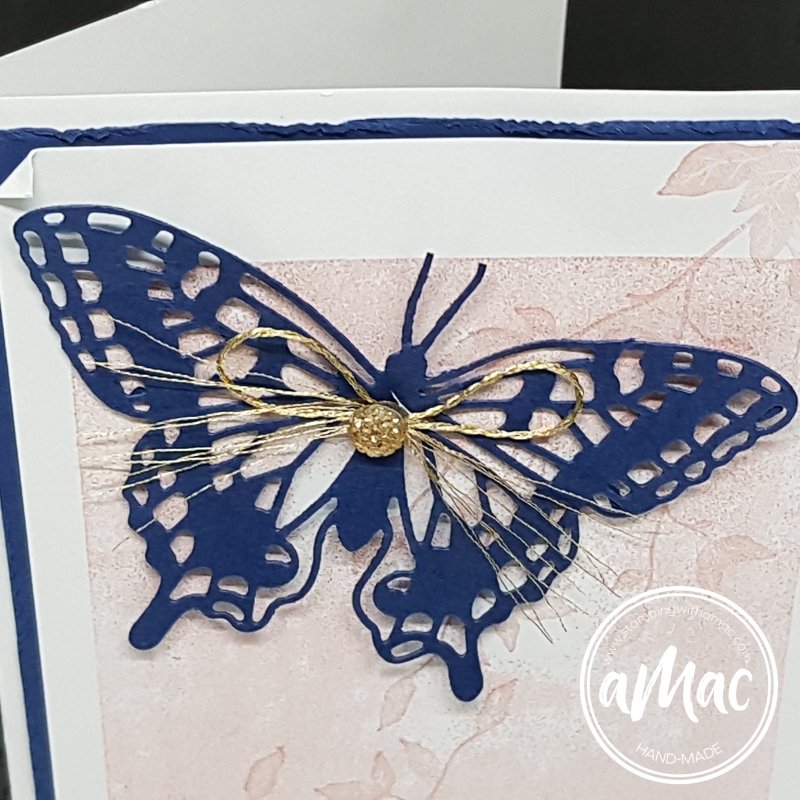
I love the combination of Blushing Bride with Night Of Navy! Don’t you think it goes so well together?
I used a few layers to give a bit of depth to this simple card. The card base is Basic White, the second layer is Night of Navy and the background white layer was stamped in Blushing Bride.
I used an ‘E’ size Stampin’ Up! Acrylic block for the subtle rectangle background then stamped the beautiful foliage from the Very Versailles stamp set.
The butterfly was die cut using the Brilliant Wings Dies and embellished with gold thread and gold faceted gems.
The greeting was stamped using the Art Gallery stamp and it fit perfectly into the Treasured Tags Pick a punch.
Fancy Fold Card
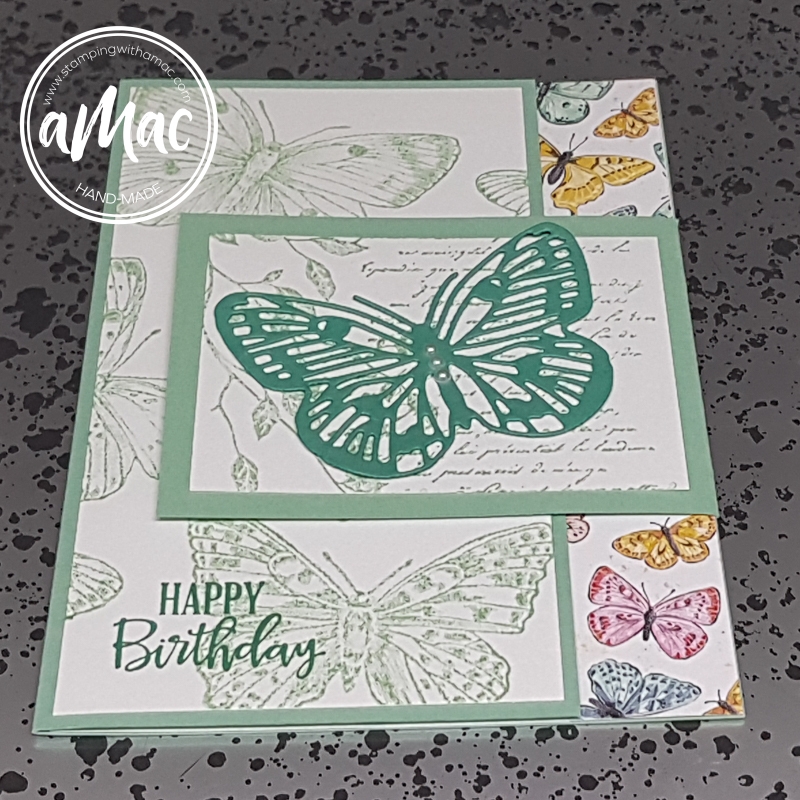
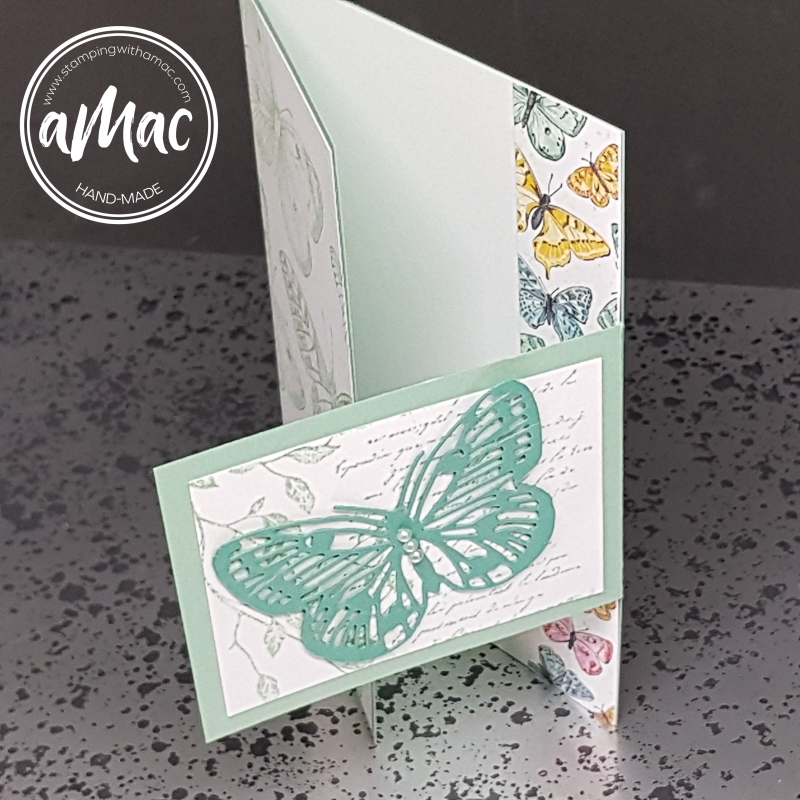
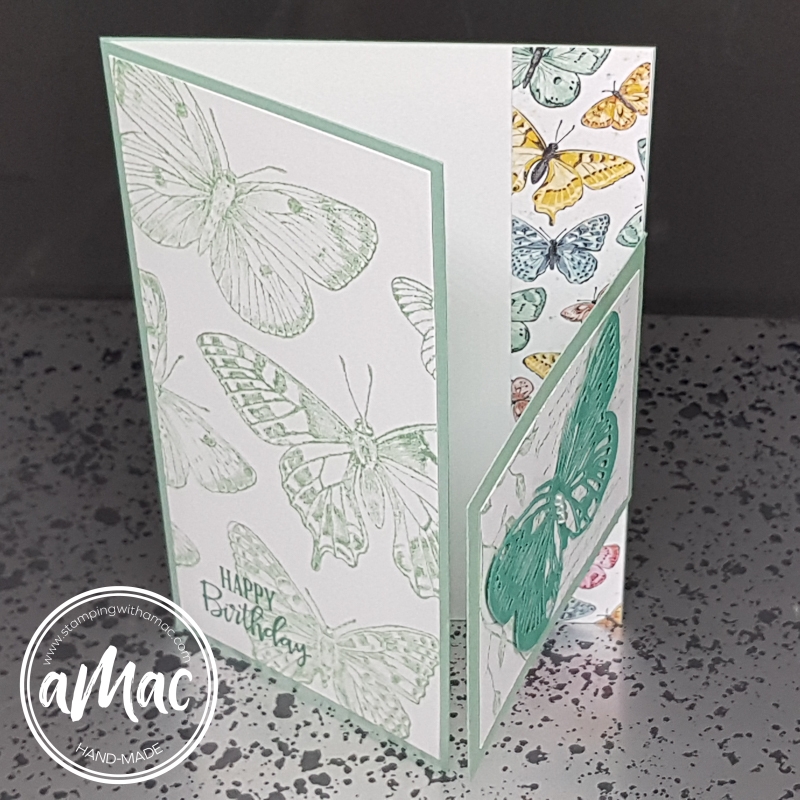
This is a super simple but amazingly effective fancy fold card.
I used Mint Macaron as the base and stamped the Butterfly Brilliance stamp on the front. The inside strip was decorated with the limited-edition Butterfly Bijou DSP which sold out super quickly!
The centre flap has the Very Versailles background under the Brilliant Wings Die cut butterfly which is finished off with some Basic Pearls.
Splash of Colour Card
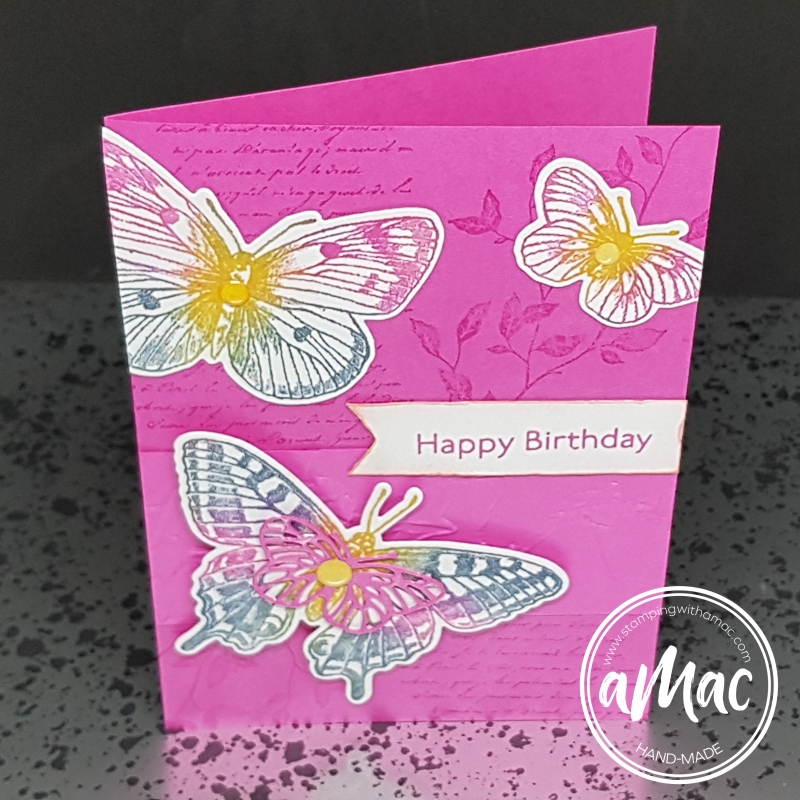
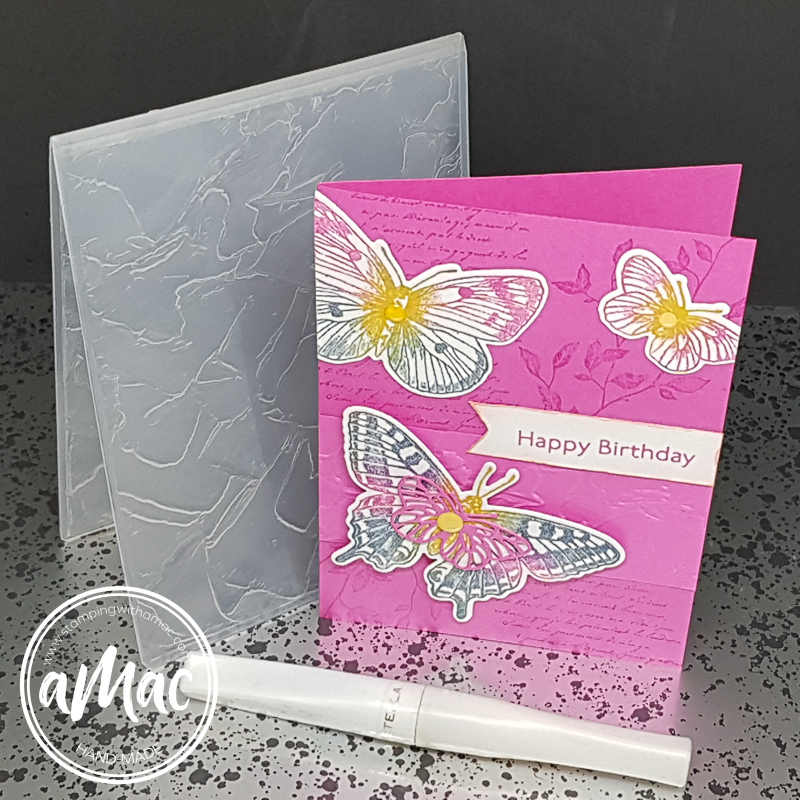
I used Magenta Madness as the bold base card and stamped in in matching ink once again using the Very Versailles stamp for the background. We added a strip embossed with the Painted Texture 3D folder.
The different colours on the butterflies were created by sponging different sections in different colours and stamping on the Basic White using the Stamparatus. We then die cut the images and used dimensionals to pop them up.
The biggest butterfly has a small die cut for extra texture and it’s finished off with Wink Of Stella for some subtle sparkle.
If you would like to join us for classes, we’ll be using the Artistically Inked Suite in July.
[maxbutton id=”3″ ]
Please contact me asap to book in for a session.
Happy Stamping,
Angela x -
Beautiful Friendship
May 20, 2020 /Here’s a simple but elegant card featuring the ‘Beautiful Friendship’ Distinctive Stamp set.
Can you see the colour variation in the stamped images?You can call or email me to help you with your order or shop at my online store.
If your order is less than $250 please use this month’s Host Code
Happy stamping,
Angela
-
All inclusive kit – Looking Up
April 8, 2020 /Here’s a quick video of everything that you will find in your ‘Looking Up’ all inclusive card kit.
It’s fabulous!
It has everything you need to make 15 cards, 3 each of 5 designs.
Kit includes:
- Set of 7 photopolymer stamps and a clear acrylic block
- 15 x card bases: 3 each of 5 designs
- 15 x printed envelopes
- 1 x ink spot and embellishments
You’ll also end up with a great stamp set to keep and a few left over bits too.
Take a tour of the kit
Please contact me if you have any questions about this fabulous kit or you would like help with your order.
Happy stamping,
Angela -
Bird Ballad Suite Class
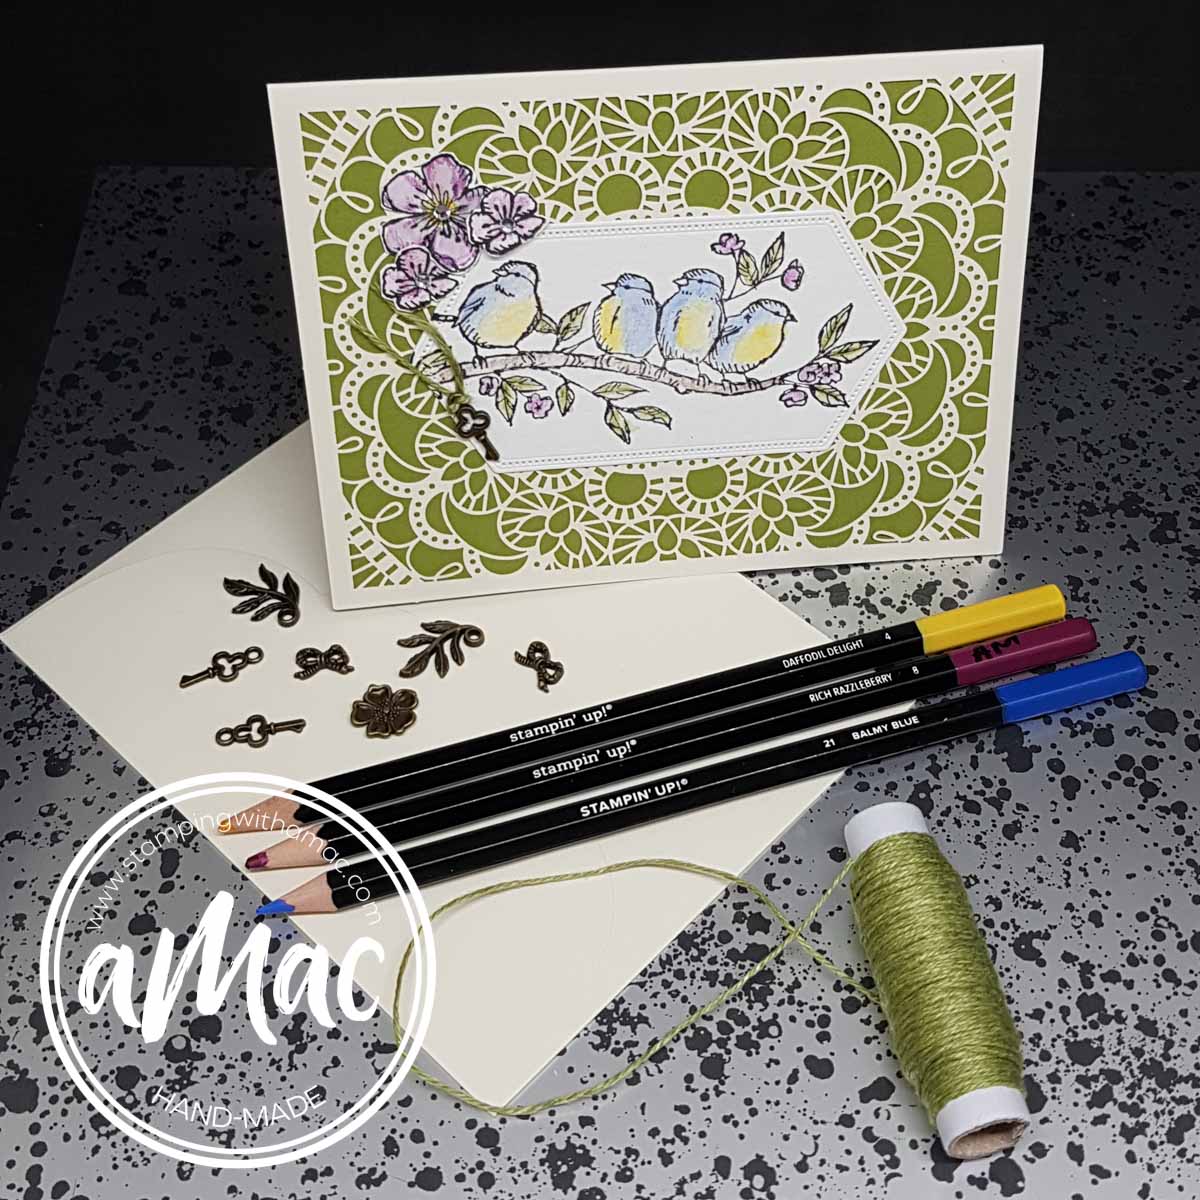
March 17, 2020 /At our last class we all received the beautiful Bird Ballad Laser Cut Cards and Tin! We made four cards and had lots to take home with what was left over.
Our first card was cased from the catalogue. There was a lot of stamping and a little watercolouring involved. It’s a pretty simple card but looks lovely with the laser cut card.
The embellishments add a nice finishing touch.
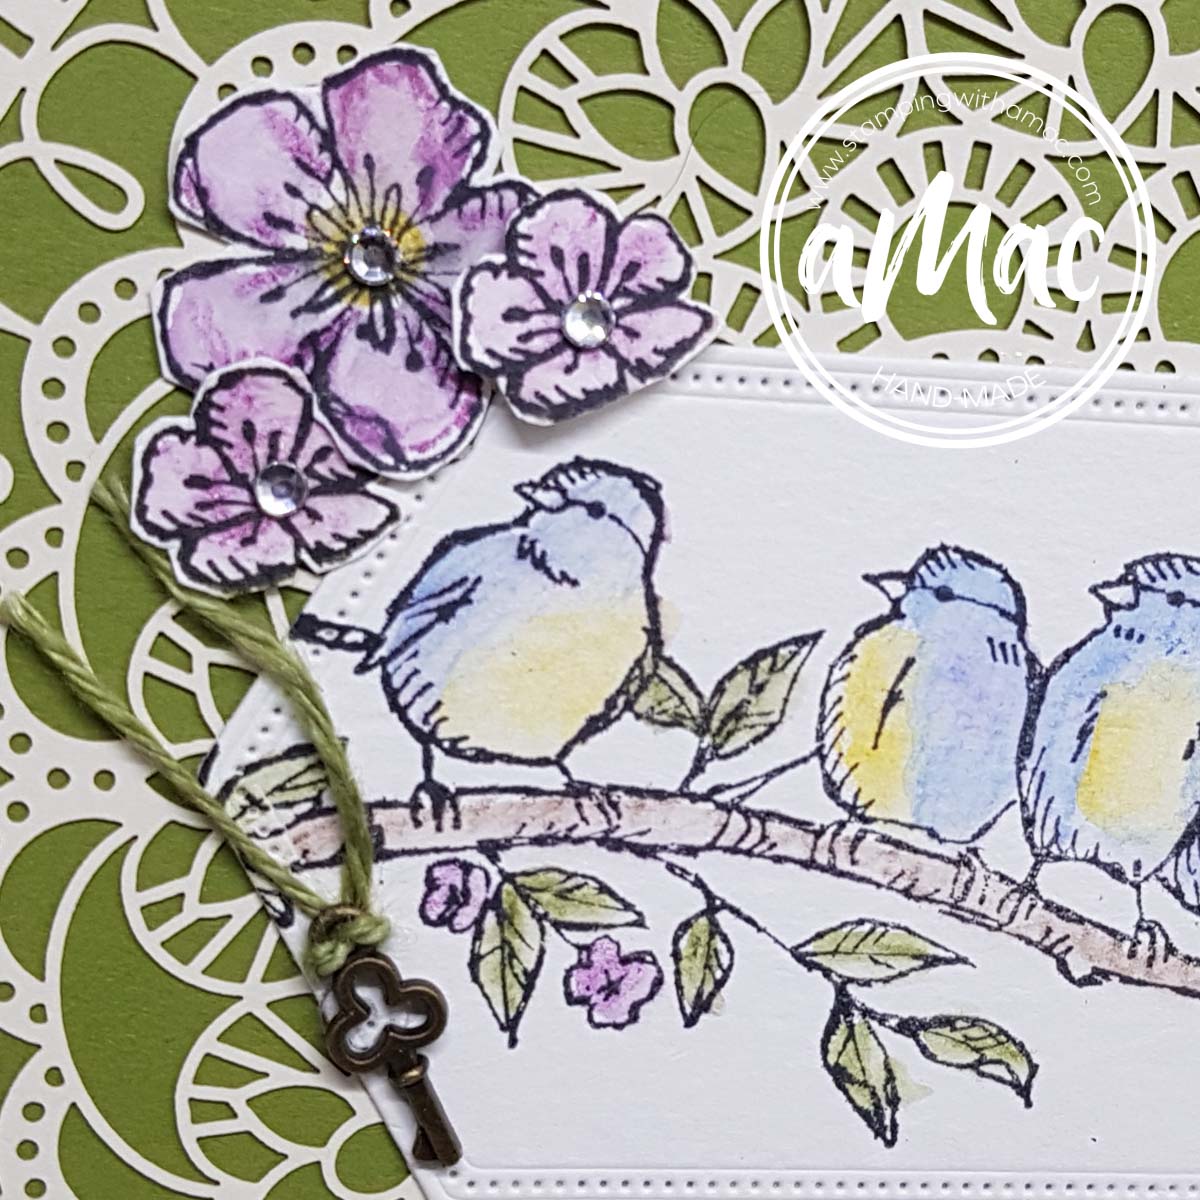
For our second card we stamped on watercolour paper and coloured the birds with watercolour pencils and activated them with the aqua painter.
We stamped, coloured and fussy cut the flowers and once again finished the card off with the beautiful Bird Ballad Trinkets.
The Old Olive card stock provides a nice contrast behind the laser cut card.
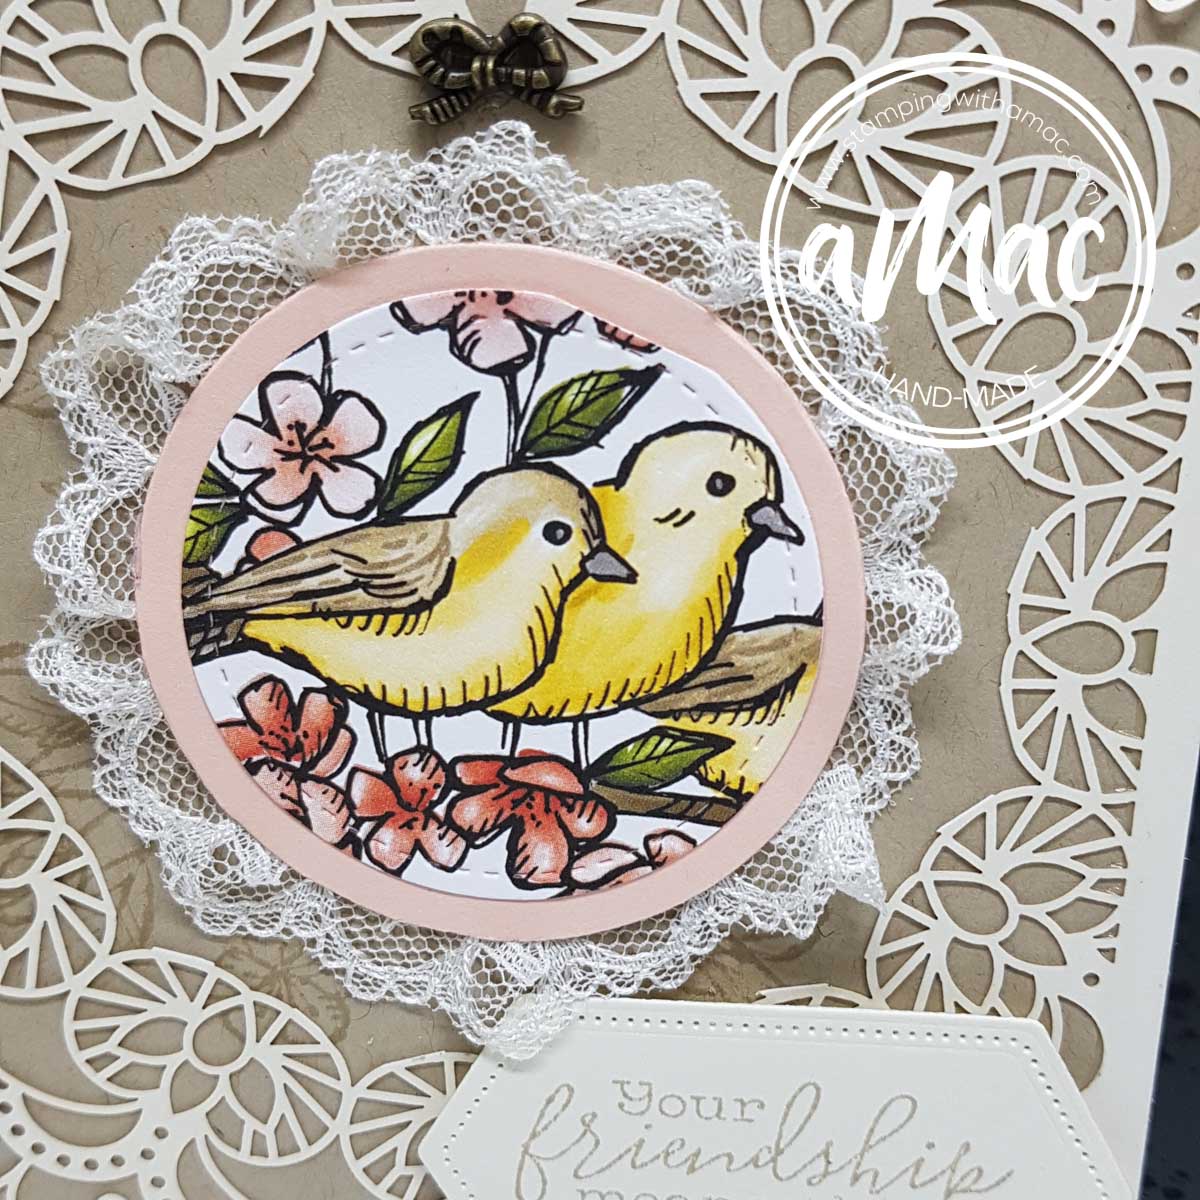
On our third card we had the option to cut out the centre of the laser cut card to use on another project.
We used Crumb Cake as the background colour.
The birds were cut out from the Bird Ballad Designer Series Paper using the Stitched Shapes Dies and I used the scalloped Lace Trim to create a border around the focal part.
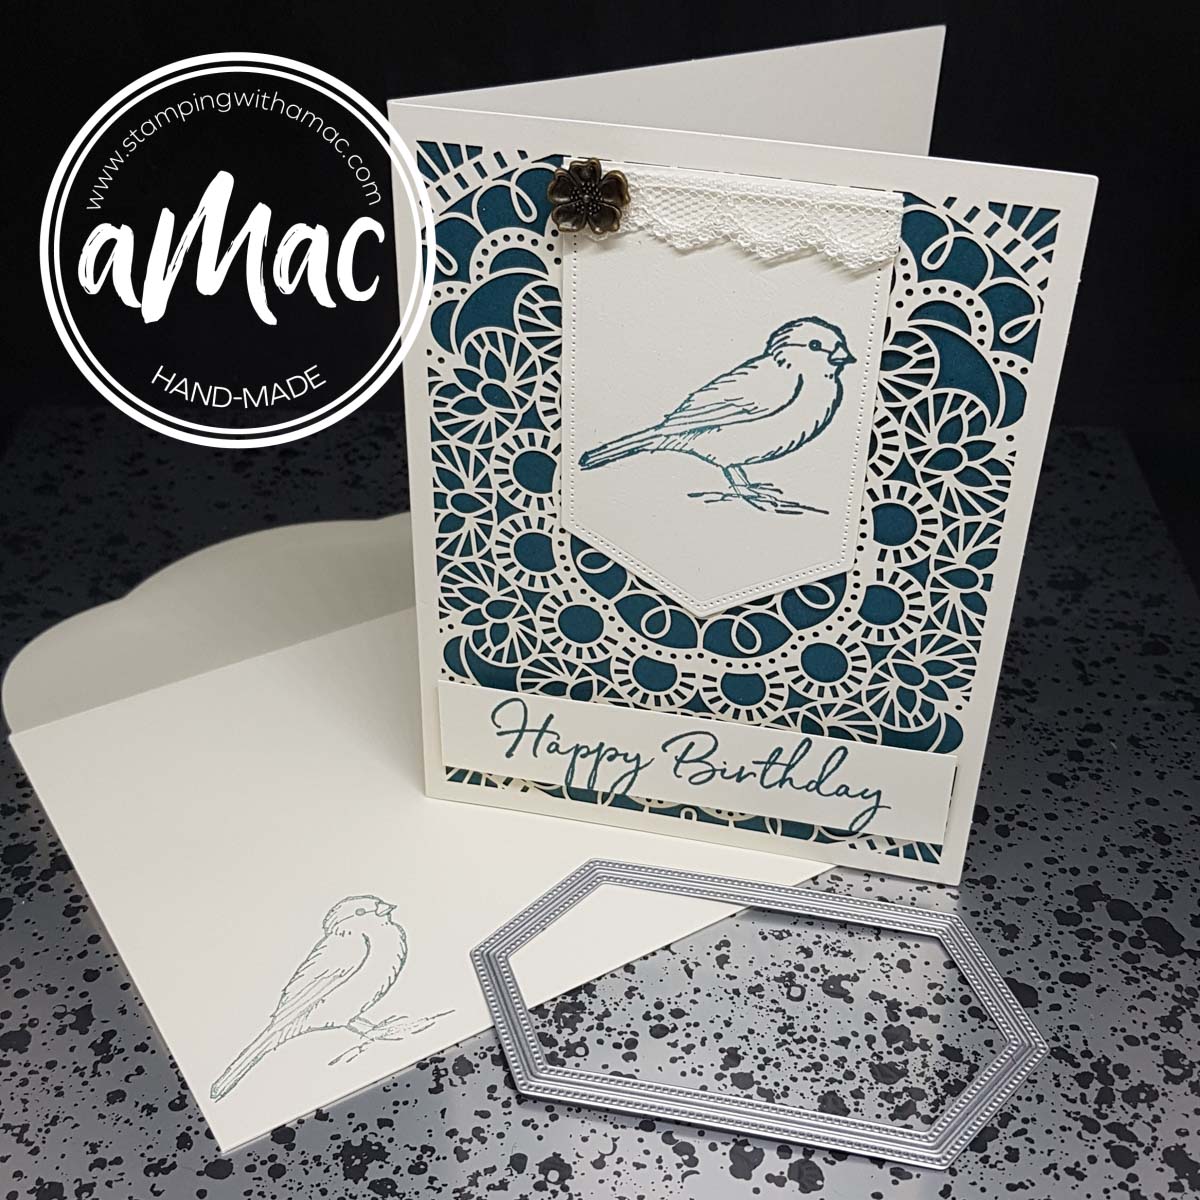
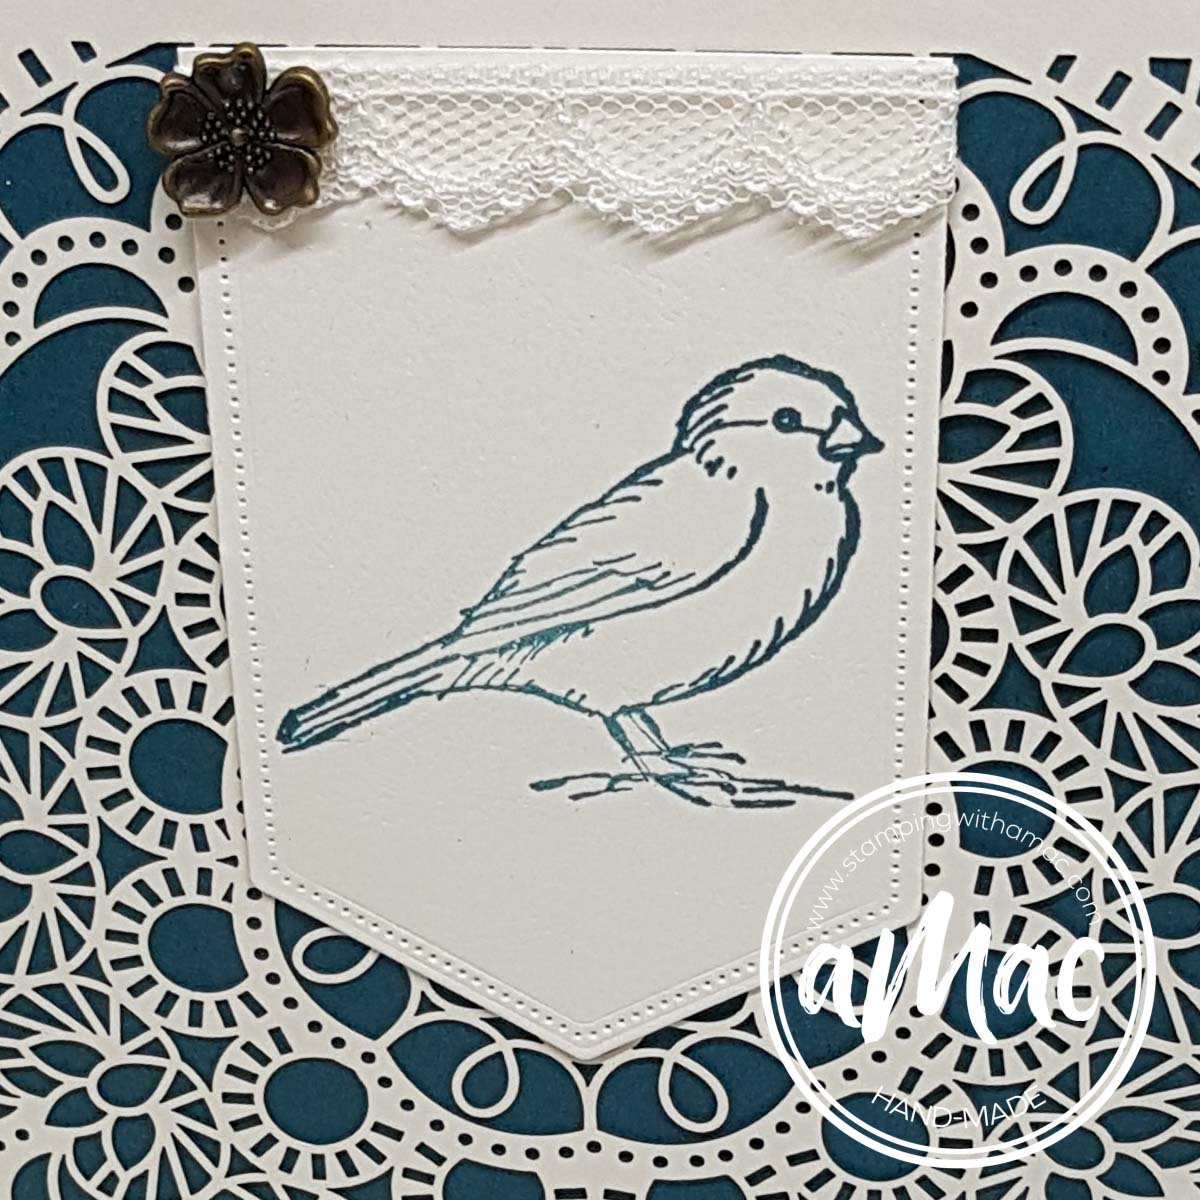
I kept the last card very simple using Pretty Peacock and Very Vanilla.
I wanted to feature the laser card as much as possible and I love the contrast the Pretty Peacock provides.
I cut the top off the die cut to create a banner and to disguise the ‘missing stitching’ and added the Scalloped Lace Trim with another gorgeous flower trinket from the suite.
Please check out my schedule for upcoming classes and contact me if you’d like to join us.
[maxbutton id="3"]Don’t forget to make the most of Sale-A-Bration! There’s only a few weeks to go…
Happy stamping,
Angela
