Sale-A-Bration,  Techniques

Masking Technique

Welcome to our Totally Techniques Blog Hop for February 2023. I’m Angela McFarlane an Independent Stampin’Up! Demonstator from Gold Coast, Australia.

Each month our team chooses a different technique to feature and this month we will be showcasing various Masking Techniques.

At the bottom of my blog please ‘hop along’ to see all the different ideas our talented team have to share with you.

The Masking technique can be applied in lots of different ways.

I created this card using the brand-new Seaside Bay Bundle which is currently available in the new January – April Mini Catalogue.

I mostly used the ripping technique using Stampin’Up! Masking paper but I also die cut a few clouds to use them as a reverse mask.

The whole background of the focal layer of the card is created by masking.

Step 1

I measured a piece of masking paper so that it was bigger than my card layer.

Given the card is landscape, I tore the piece of masking paper in the same orientation to create a sand/ sea and sky effect.

Step 2

I attached the bottom part of the masking paper to card layer as well as some clouds that were die cut out of the masking paper.

I then used balmy blue ink and the blending brush to get the desired saturation of colour.

Step 3

After removing the masks, I decided that it needed some wave detail on the blue.

I reattached the bottom/sand and a cloud mask then attached an additional mask which I tore by hand in a wave shape.

Then I added some Tahitan Tide ink for contrast and repositioned it a few times to get the wave look I was happy with.

Step 4

I removed the bottom masks and carefully attached the top/sky mask to cover what I had just blended.

I was able to line up the tear accurately covering all the blue, as the mask was from the original piece of masking paper.

I used Sahara Sand ink to blend the bottom layer of the card.

Step 5

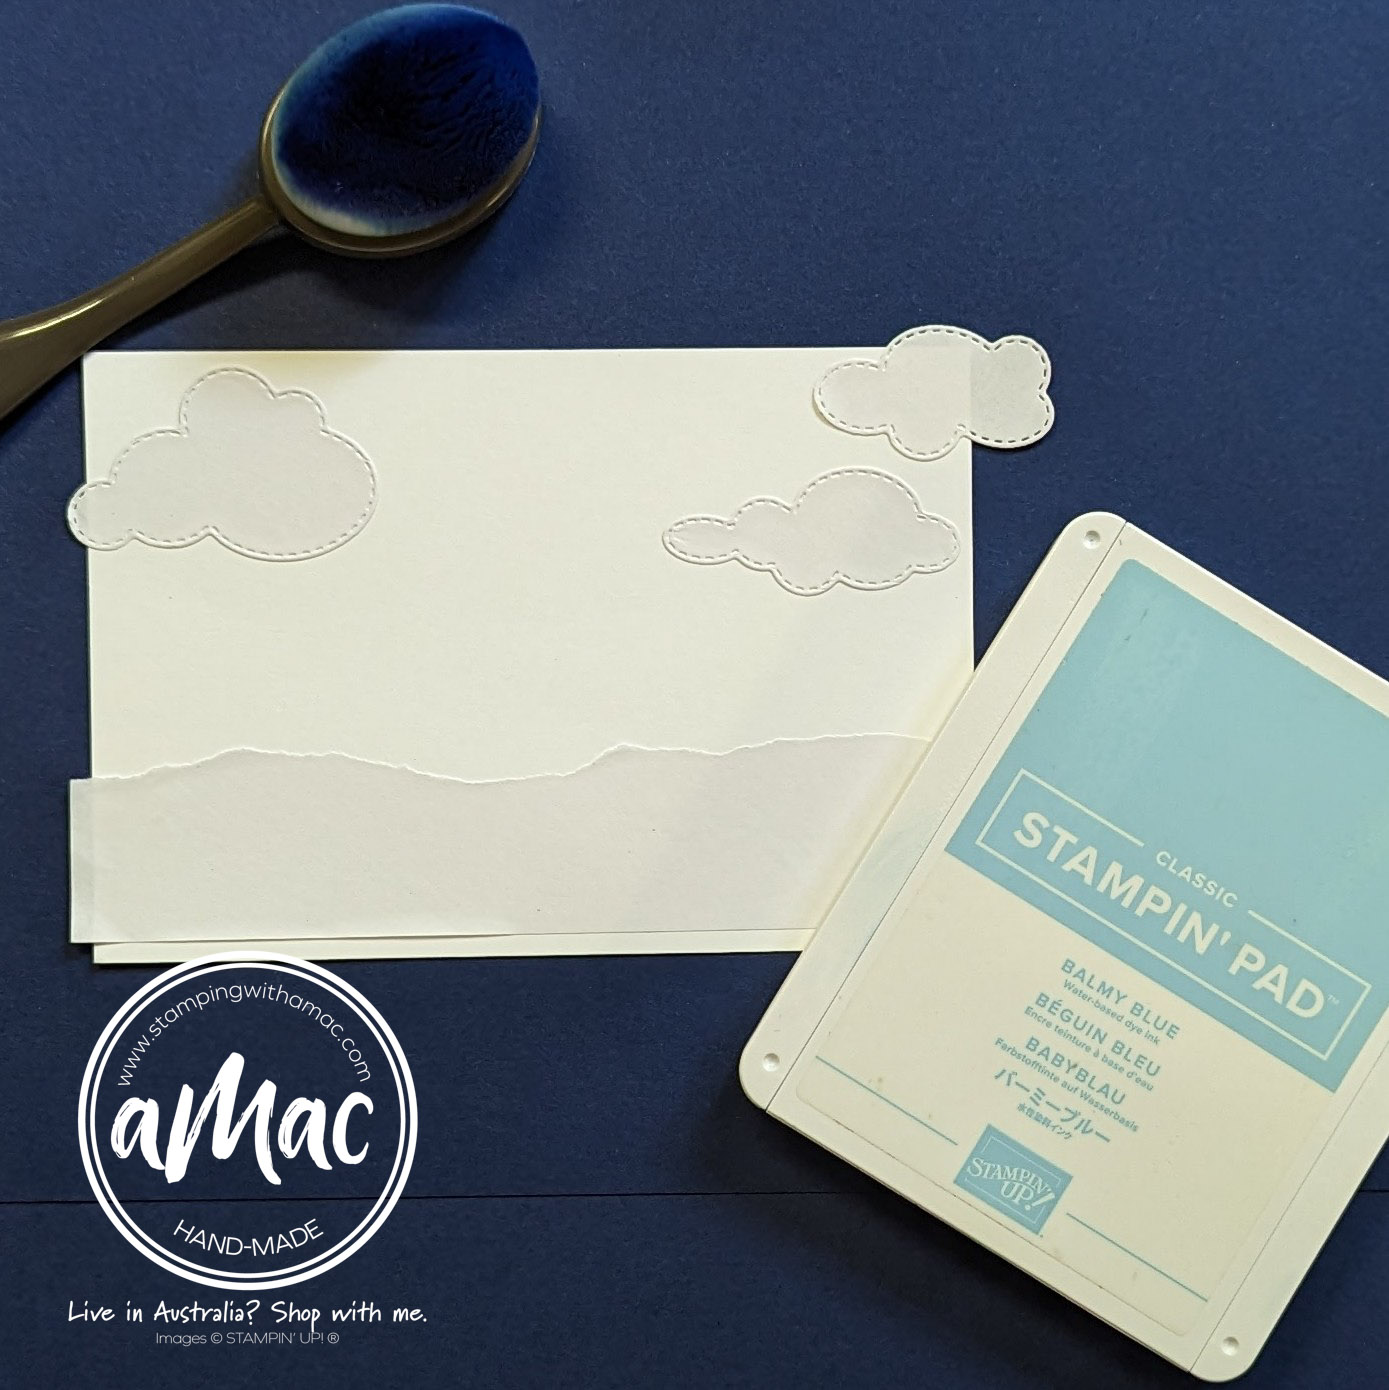
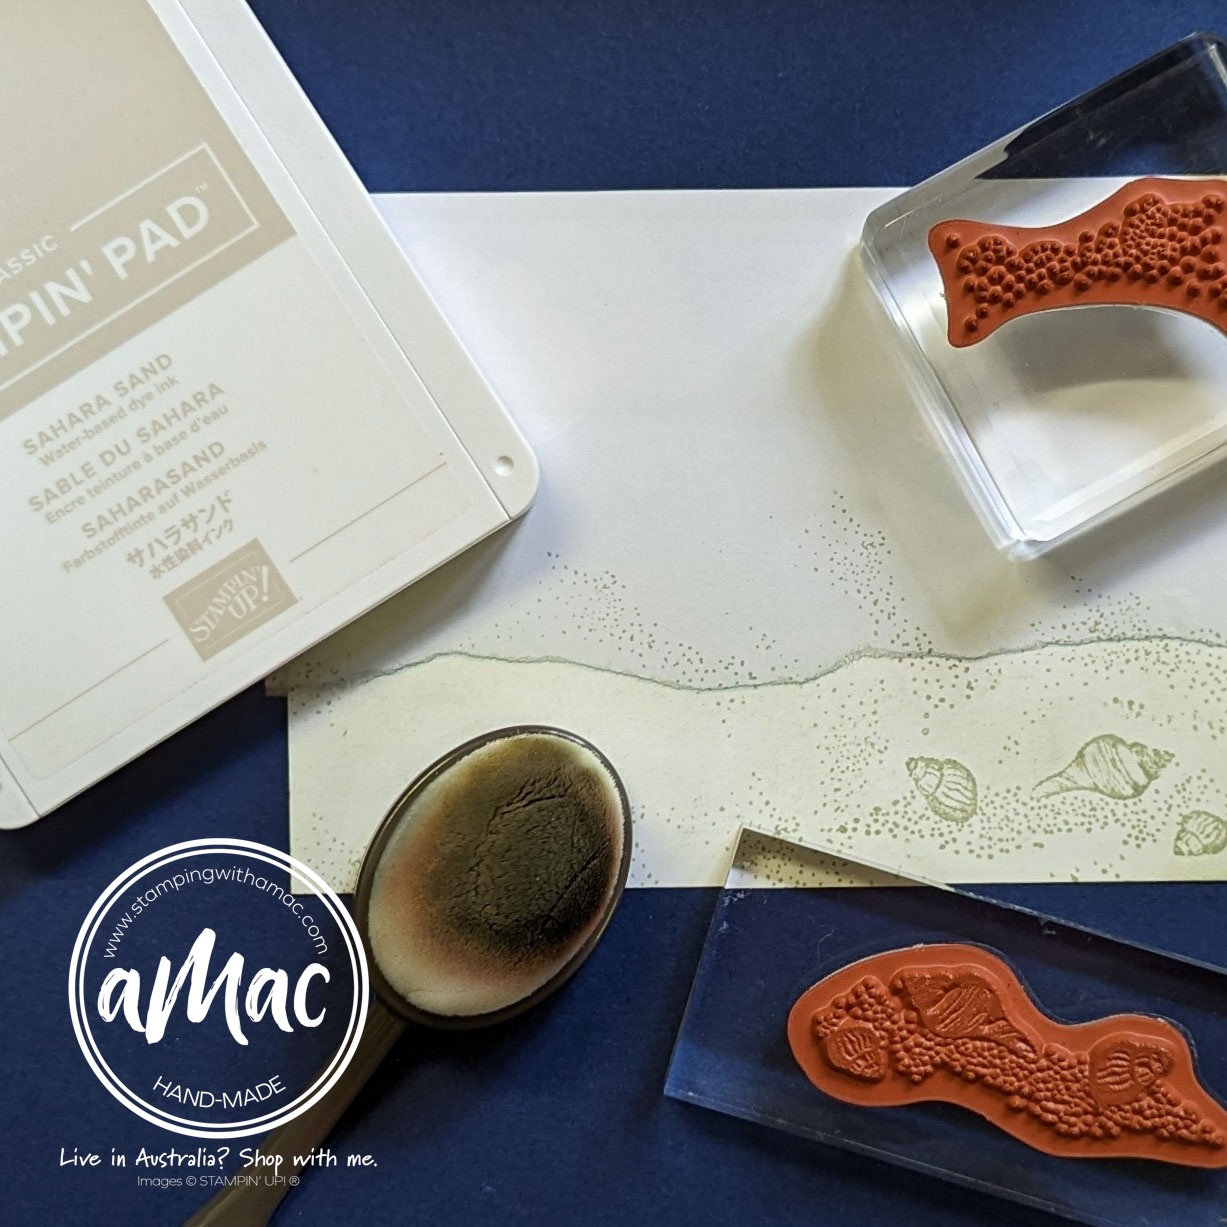
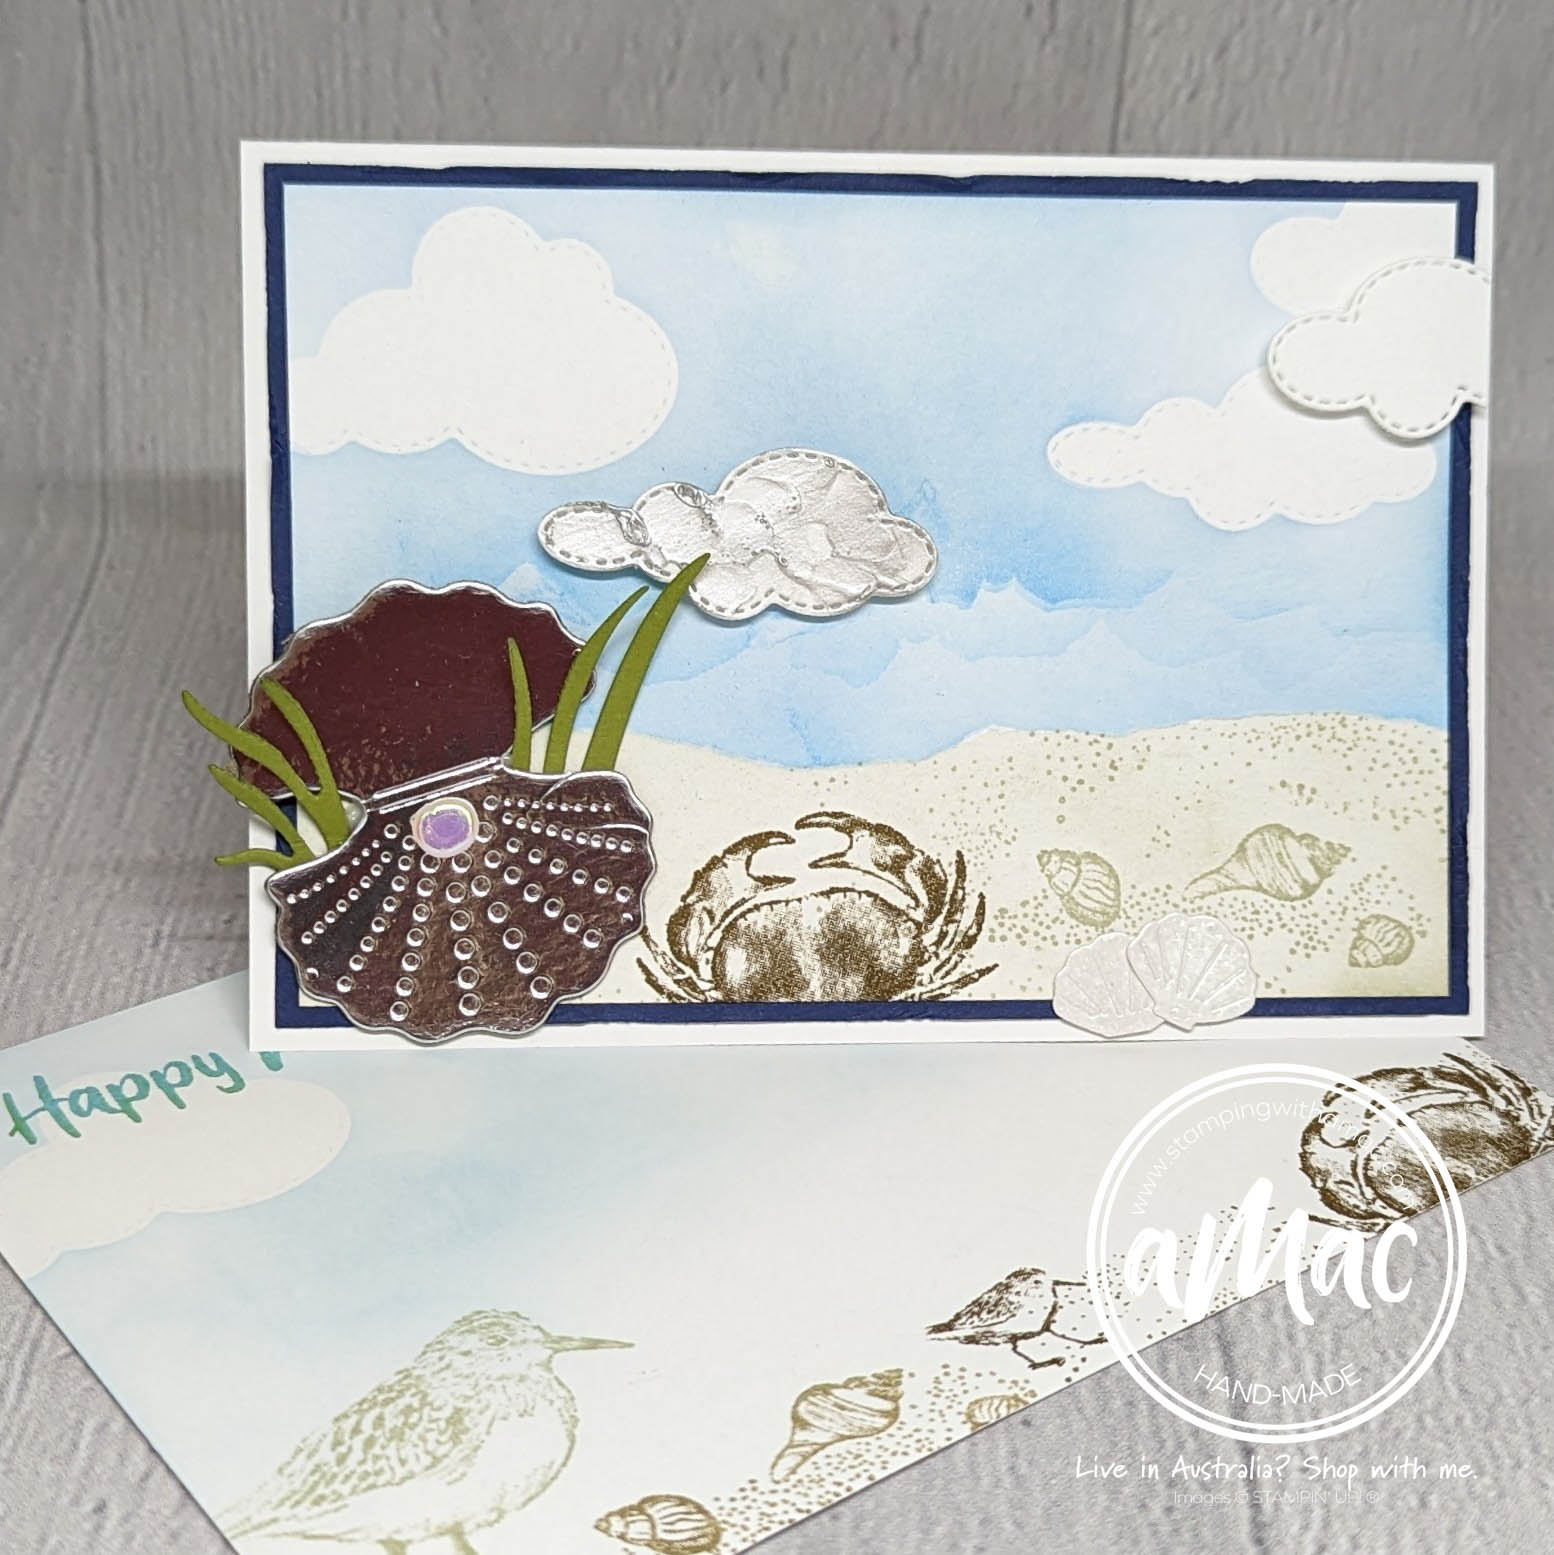
After blending with Sahara Sand, I stamped the sand and shells keeping the mask in place to avoid stamping on the blue layer.

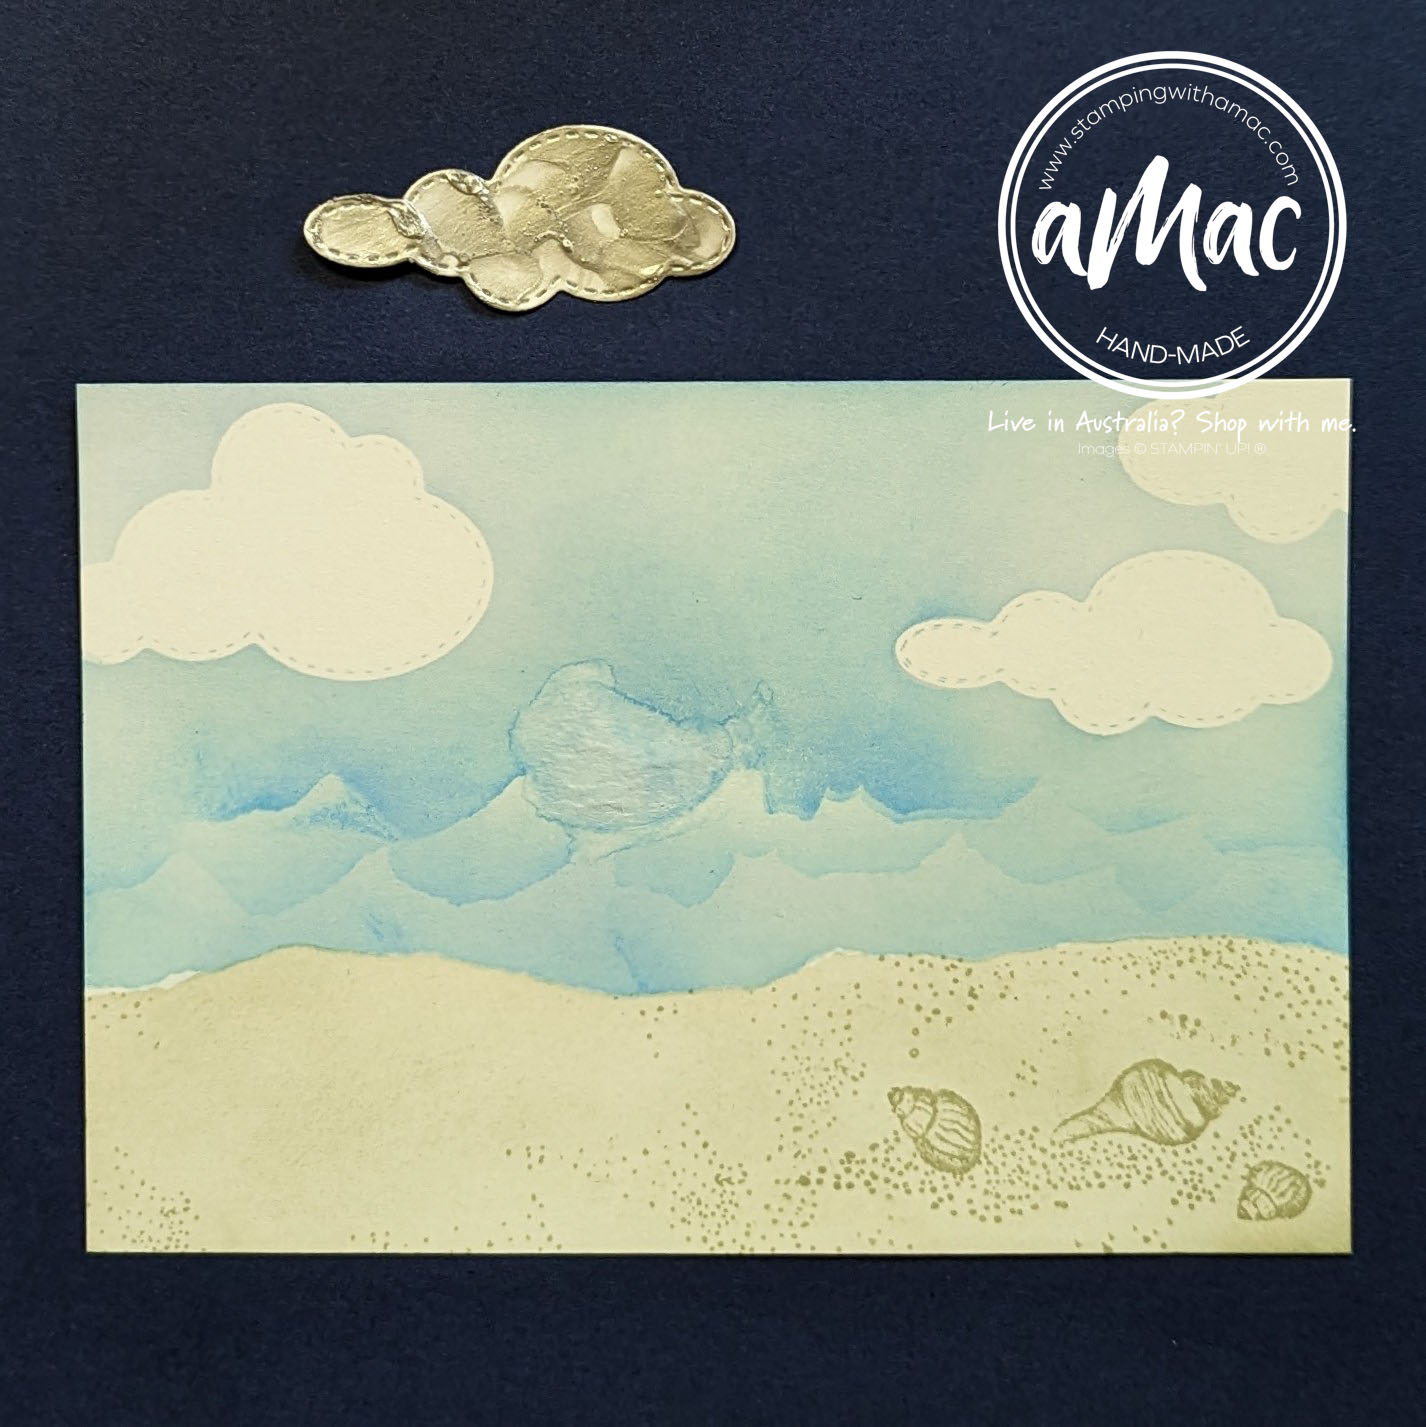
As you can see on the 2nd image, even experienced crafters make mistakes! The Tahitian Tide ink was too dark so I tried to lighten it by adding water using an aqua painter… unfortunately that didn’t work. I really liked the rest of the card, so I decided to save it rather than start again.

This is to show you there is usually a fix to any crafting mishap 😊

Step 6

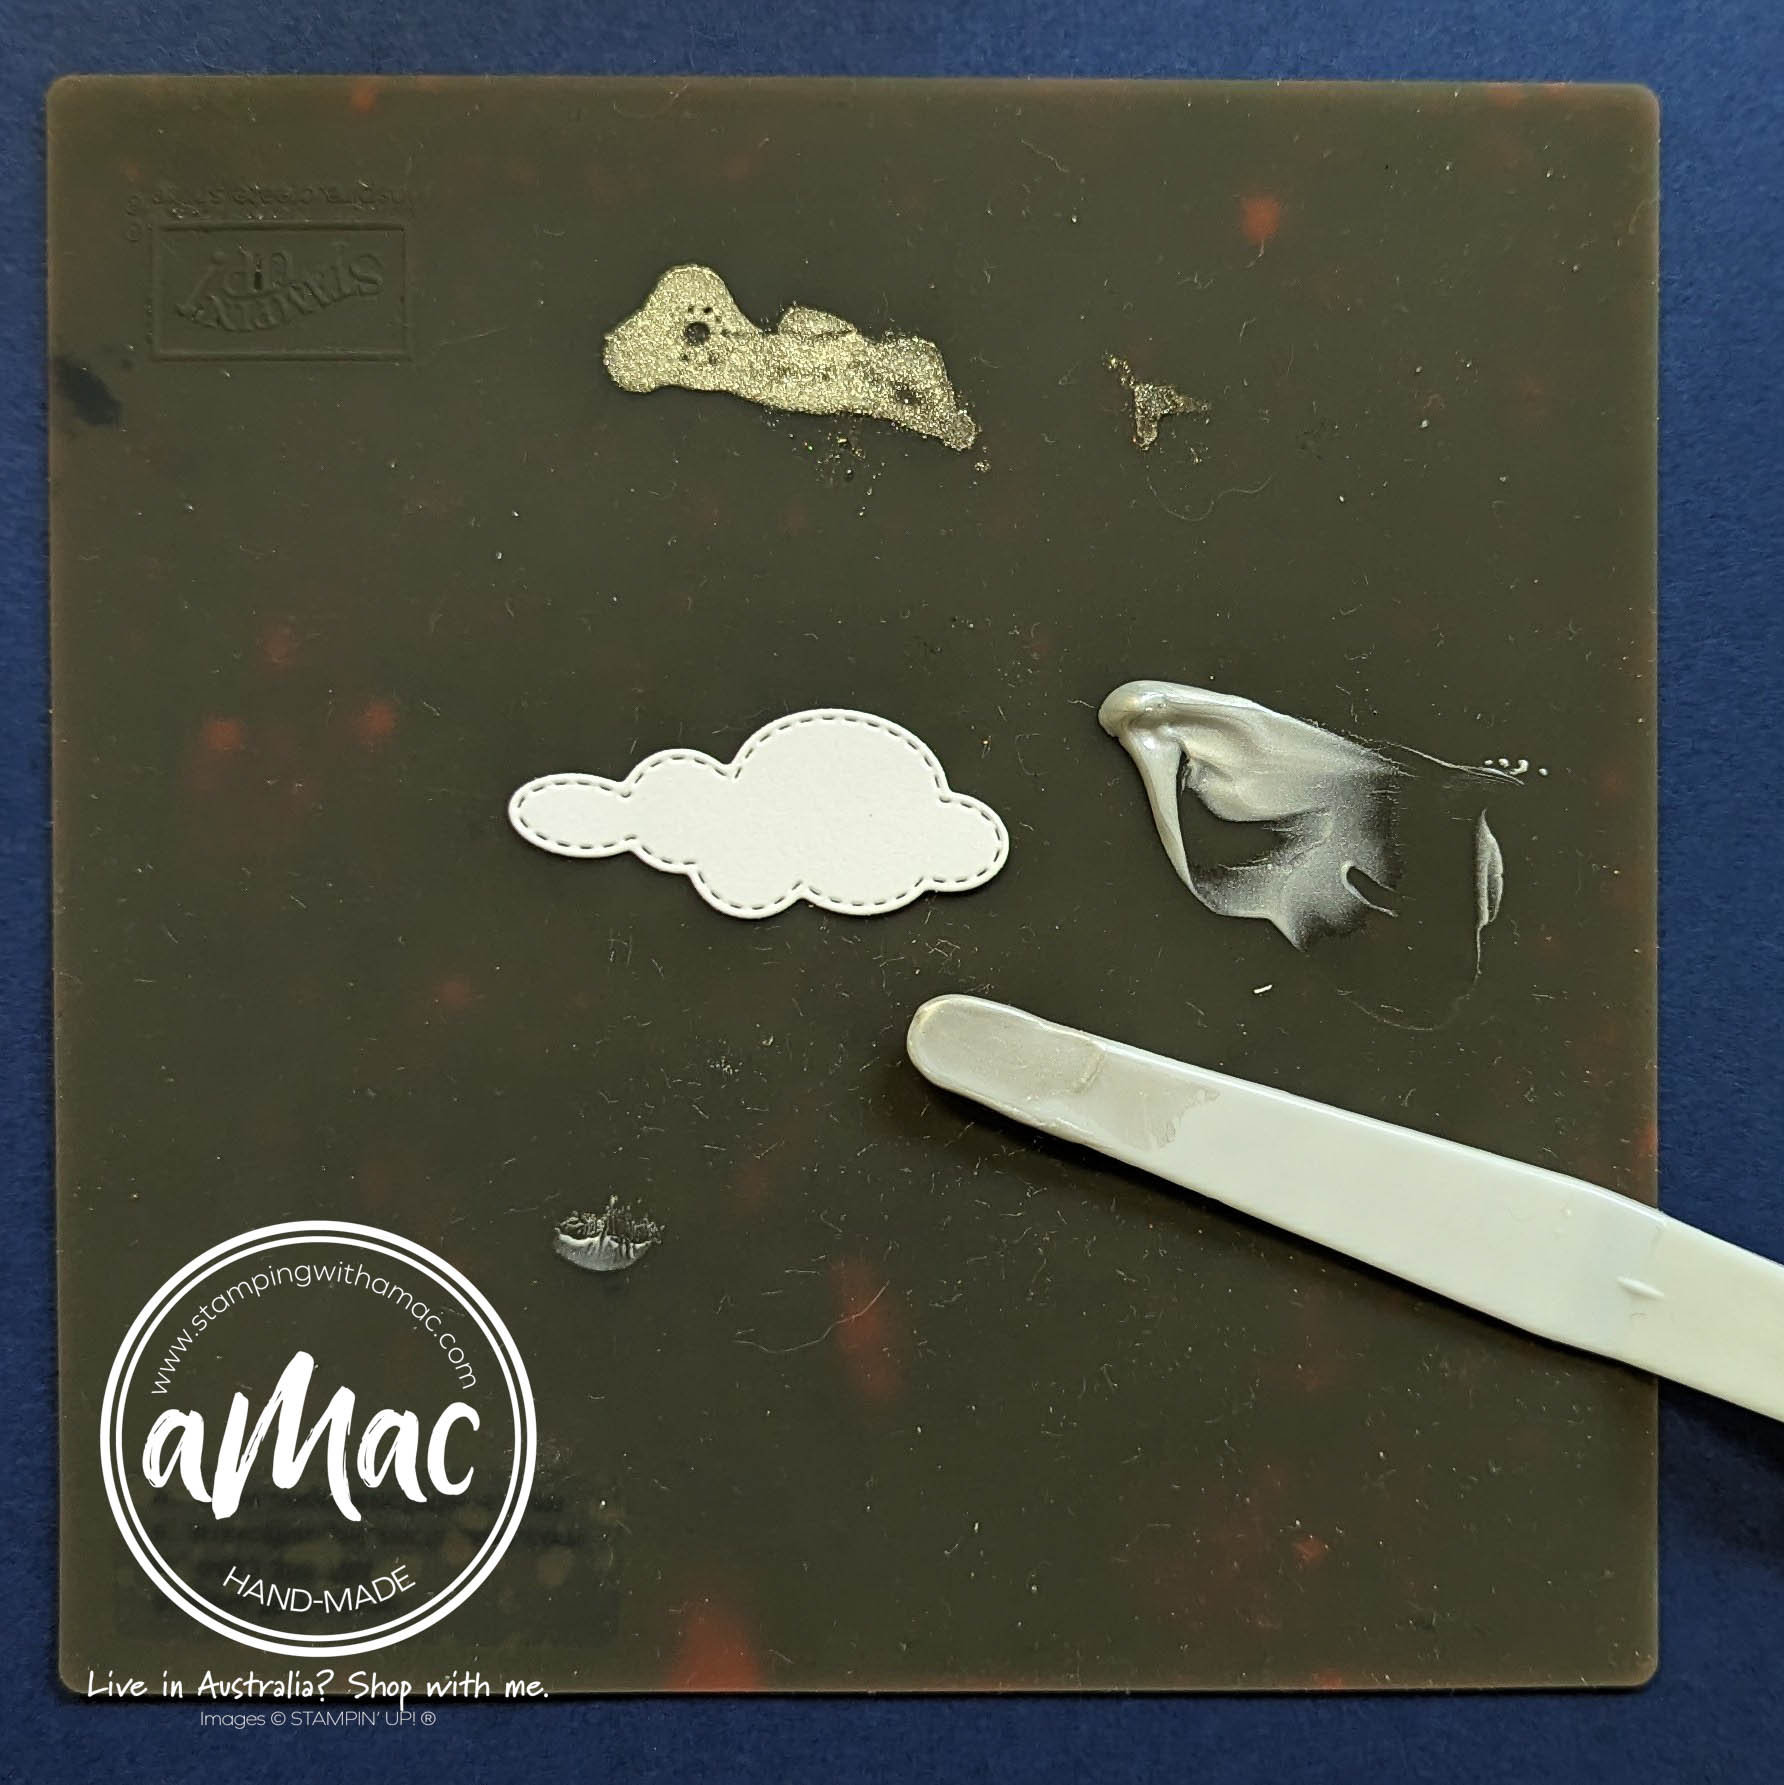
I die cut another cloud using the ‘Give it a Whirl’ dies and decided to add some colour and texture to the cloud. ‘Every cloud has a silver lining,’ right?

I used some silver embossing paste making it textured on purpose, this need some time to dry properly as it was pretty thick. I did try to use the heat gun to speed it up, but wouldn’t recommend that as it started to bubble a bit too much.

Step 7

When the silver cloud was dry, I attached it with dimensionals.

I then stamped the crab using Soft Suede ink, and cut out a few other bits and pieces from the Seaside Bay Bundle to complete the card.

I used the masks from the sand to decorate the insert for the card and stamped a few images along the bottom.

Step 8

I found the top part of the silver clam shell too big for the card, given the added silver cloud covering up my mistake… so, I trimmed it down, repositioning it in the original die.

The clouds were out of balance with the additional silver one, so I added another partial die cut cloud to the top side of the card.

Step 9

Of course you can’t send a naked envelope, so it dressed it up a little using the cloud masks previously used on the card.

No greeting was used intentionally, as the card had plenty of detail and it’s always handy to have a blank card ready for any occasion.

I hope you’ve enjoyed my project and hopefully learnt something new. Feel free to contact me with any questions.

Please click on the next link and have a look at what the rest of our talented team has created for this month’s hop and enjoy!

You are invited to the Inlinkz link party!

Click here to enter
Sale-A-Bration Joining Offers!

If you love Stampin’ Up! Products and have a big wish list… there are three amazing joining offers available during Sale-A-Bration.

ACT NOW! There’s only a few days left to take advantage of the offer!

Join before 28 February 2023 to get a lot of extras for FREE.

Join my Dazzling Divas Team during Sale-A-Bration and in addition to the already excellent value of the Starter Kit, you can choose from THREE incredible options:

Option 1

The exclusive Boho Blue Mini Machine (worth $110) PLUS your choice of $315 of Stampin’ Up! products for only $210

Option 2

The original white Mini Machine ($110 ) PLUS your choice of $315 of Stampin’ Up! products for only $210

Option 3

Your choice of $315 of Stampin’ Up! products for $169

Thanks so much for visiting my blog, see you again soon.

Happy Stamping,

Angela

Subscribe for News and Specials

Subscribe to get notified of fabulous Stampin’ Up! promotions