Each month our team chooses a different technique to feature and this month we will be showcasing the Paper Piecing Technique. This is quite a simple but fun technique to add a pop of colour to your projects.
Basically, you stamp your image on DSP, fussy cut it out then glue it onto another stamped image. Check out the process below.
At the end of my blog please ‘hop along’ to see all the different projects made by our talented team!
I chose the ‘In The Moment’ stamp set for my card because it has large images suitable for this technique and I’ve just had a lovely break away in Tassie visiting family and friends.
The sentiment in this set made me realise that’s just what I needed – a nice break and some time to relax.
Step 1
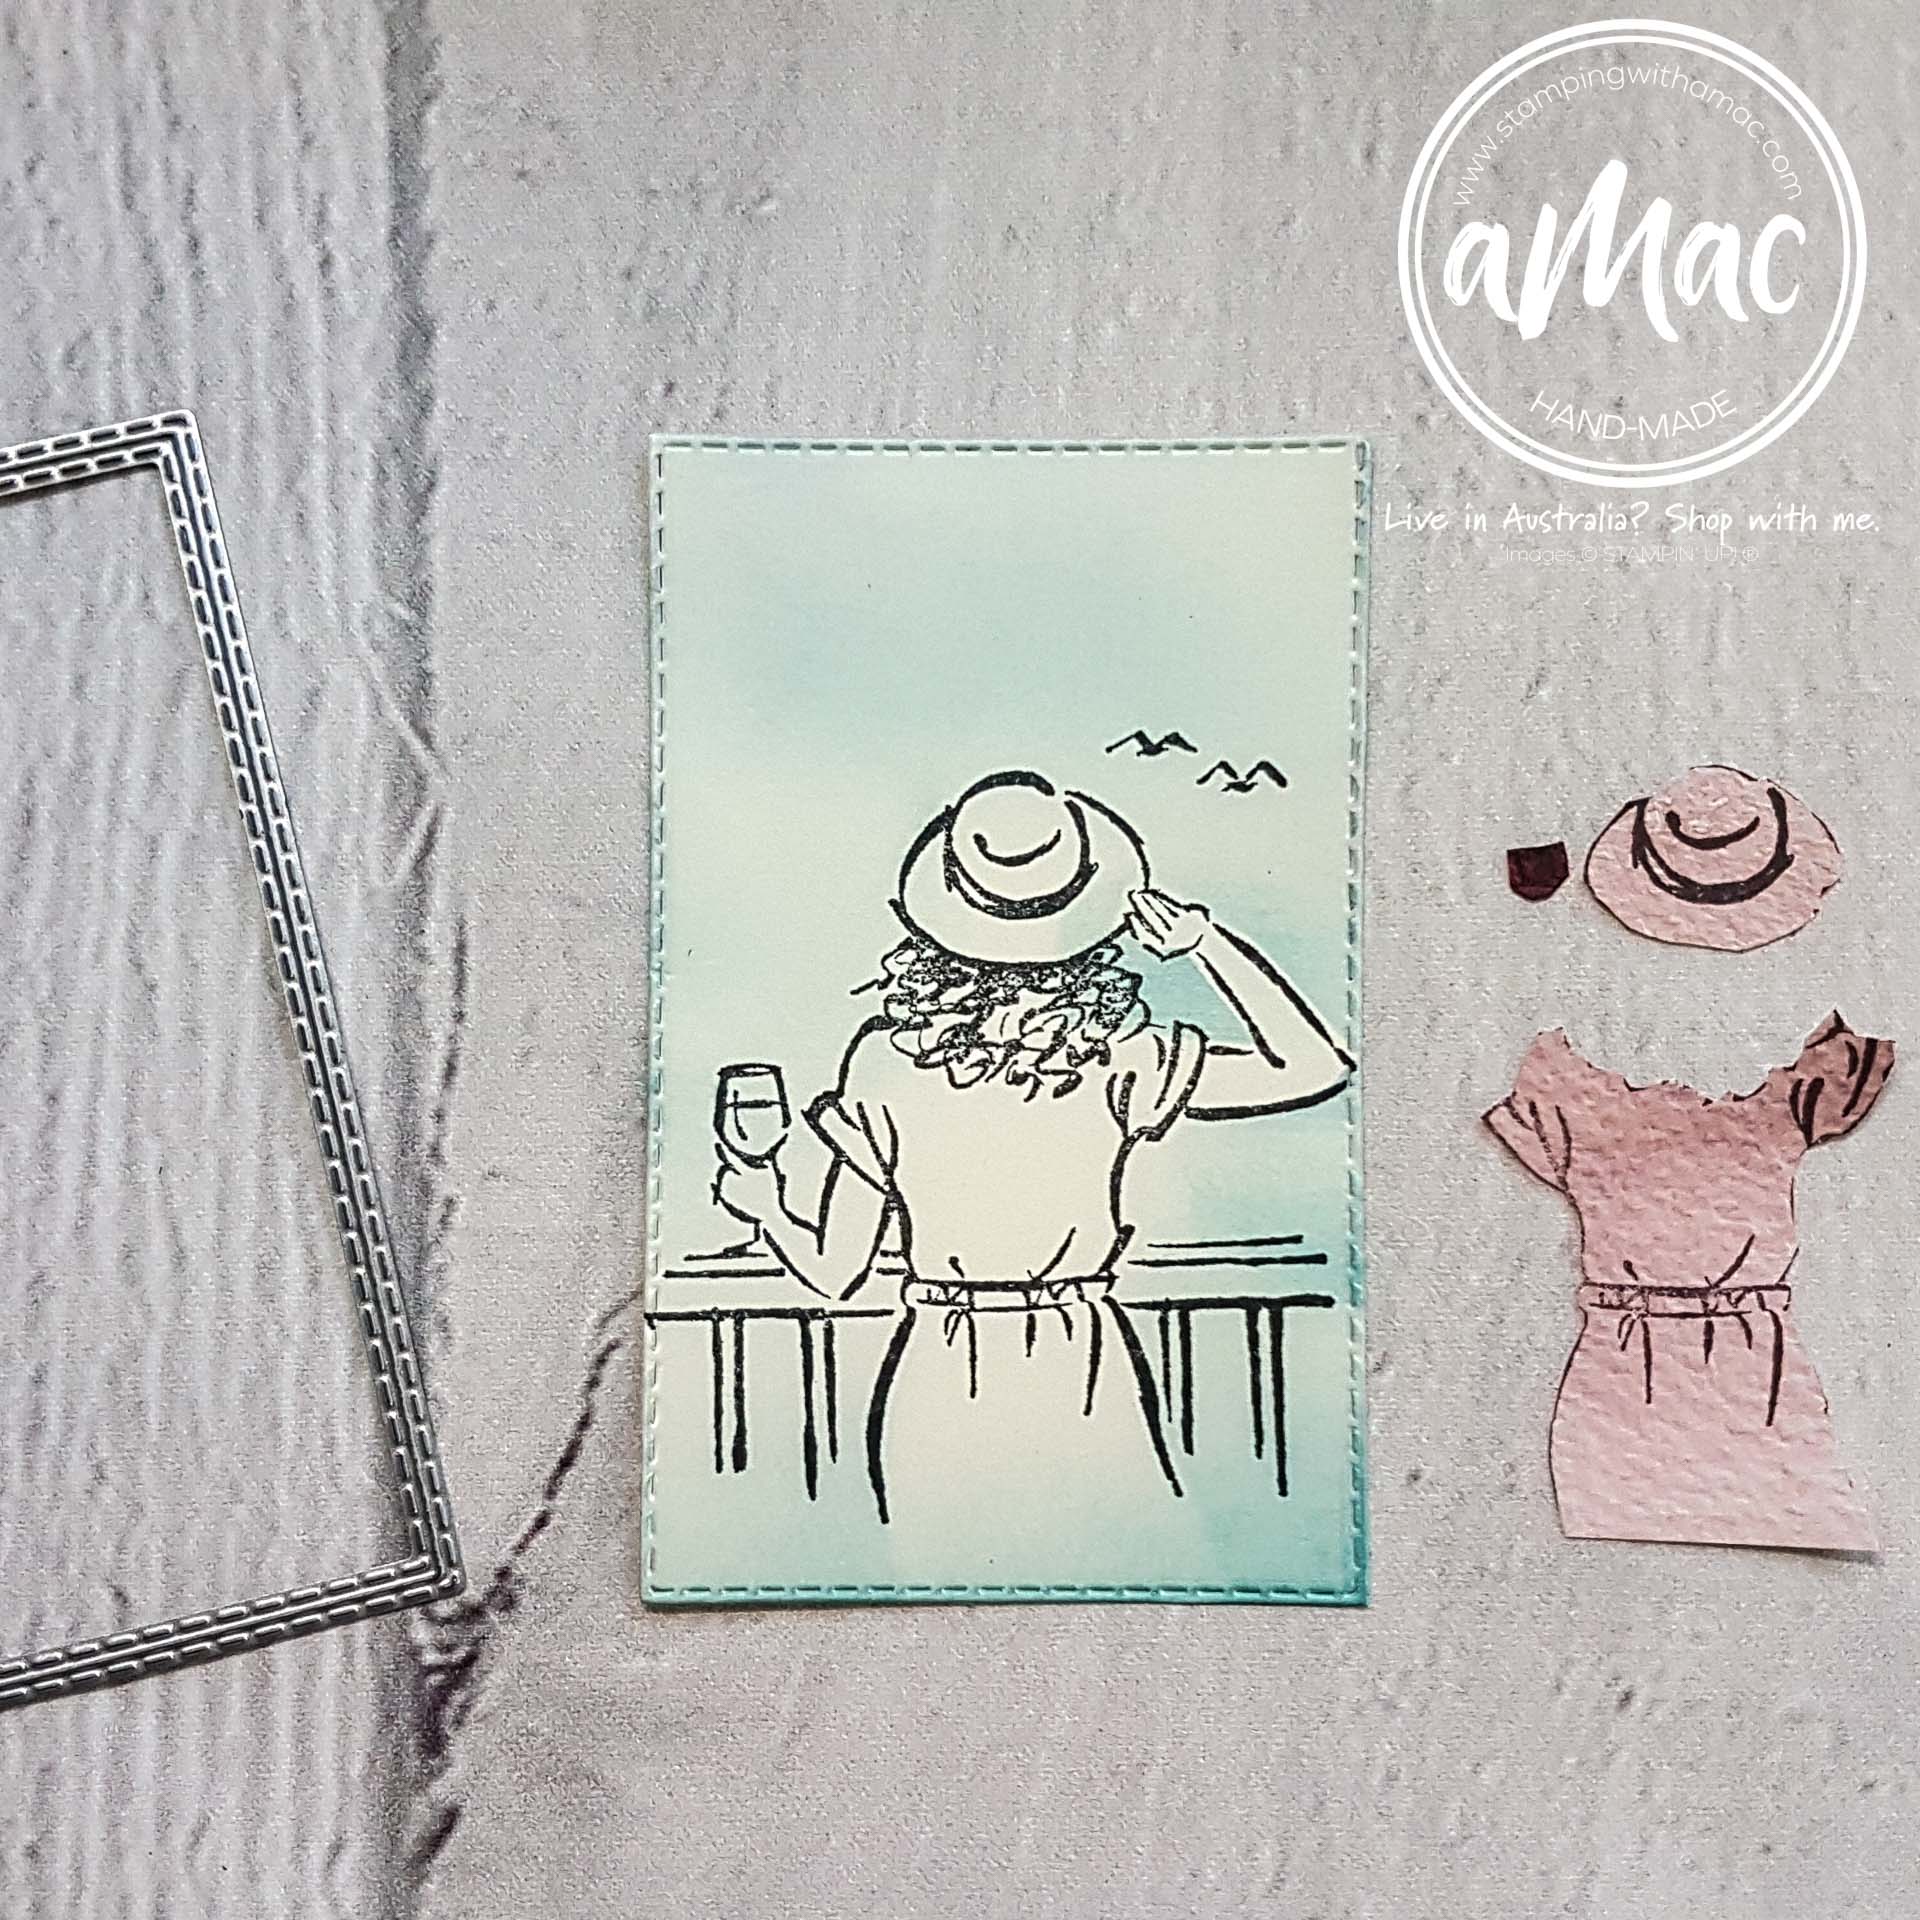
I chose a piece of Awash In Beauty DSP to stamp the image for my paper piecing.
I will be using the DSP for the hat, dress and wine in the glass. Notice the colour of the wine?
I fussy cut – yes using scissors – the dress, hat and wine out of the stamped image on my DSP.
Try to cut inside the stamped lines as you will later glue the ‘paper pieced’ part onto another re-stamped image on your final piece – it’s sort of needs to fit like a jig saw puzzle.
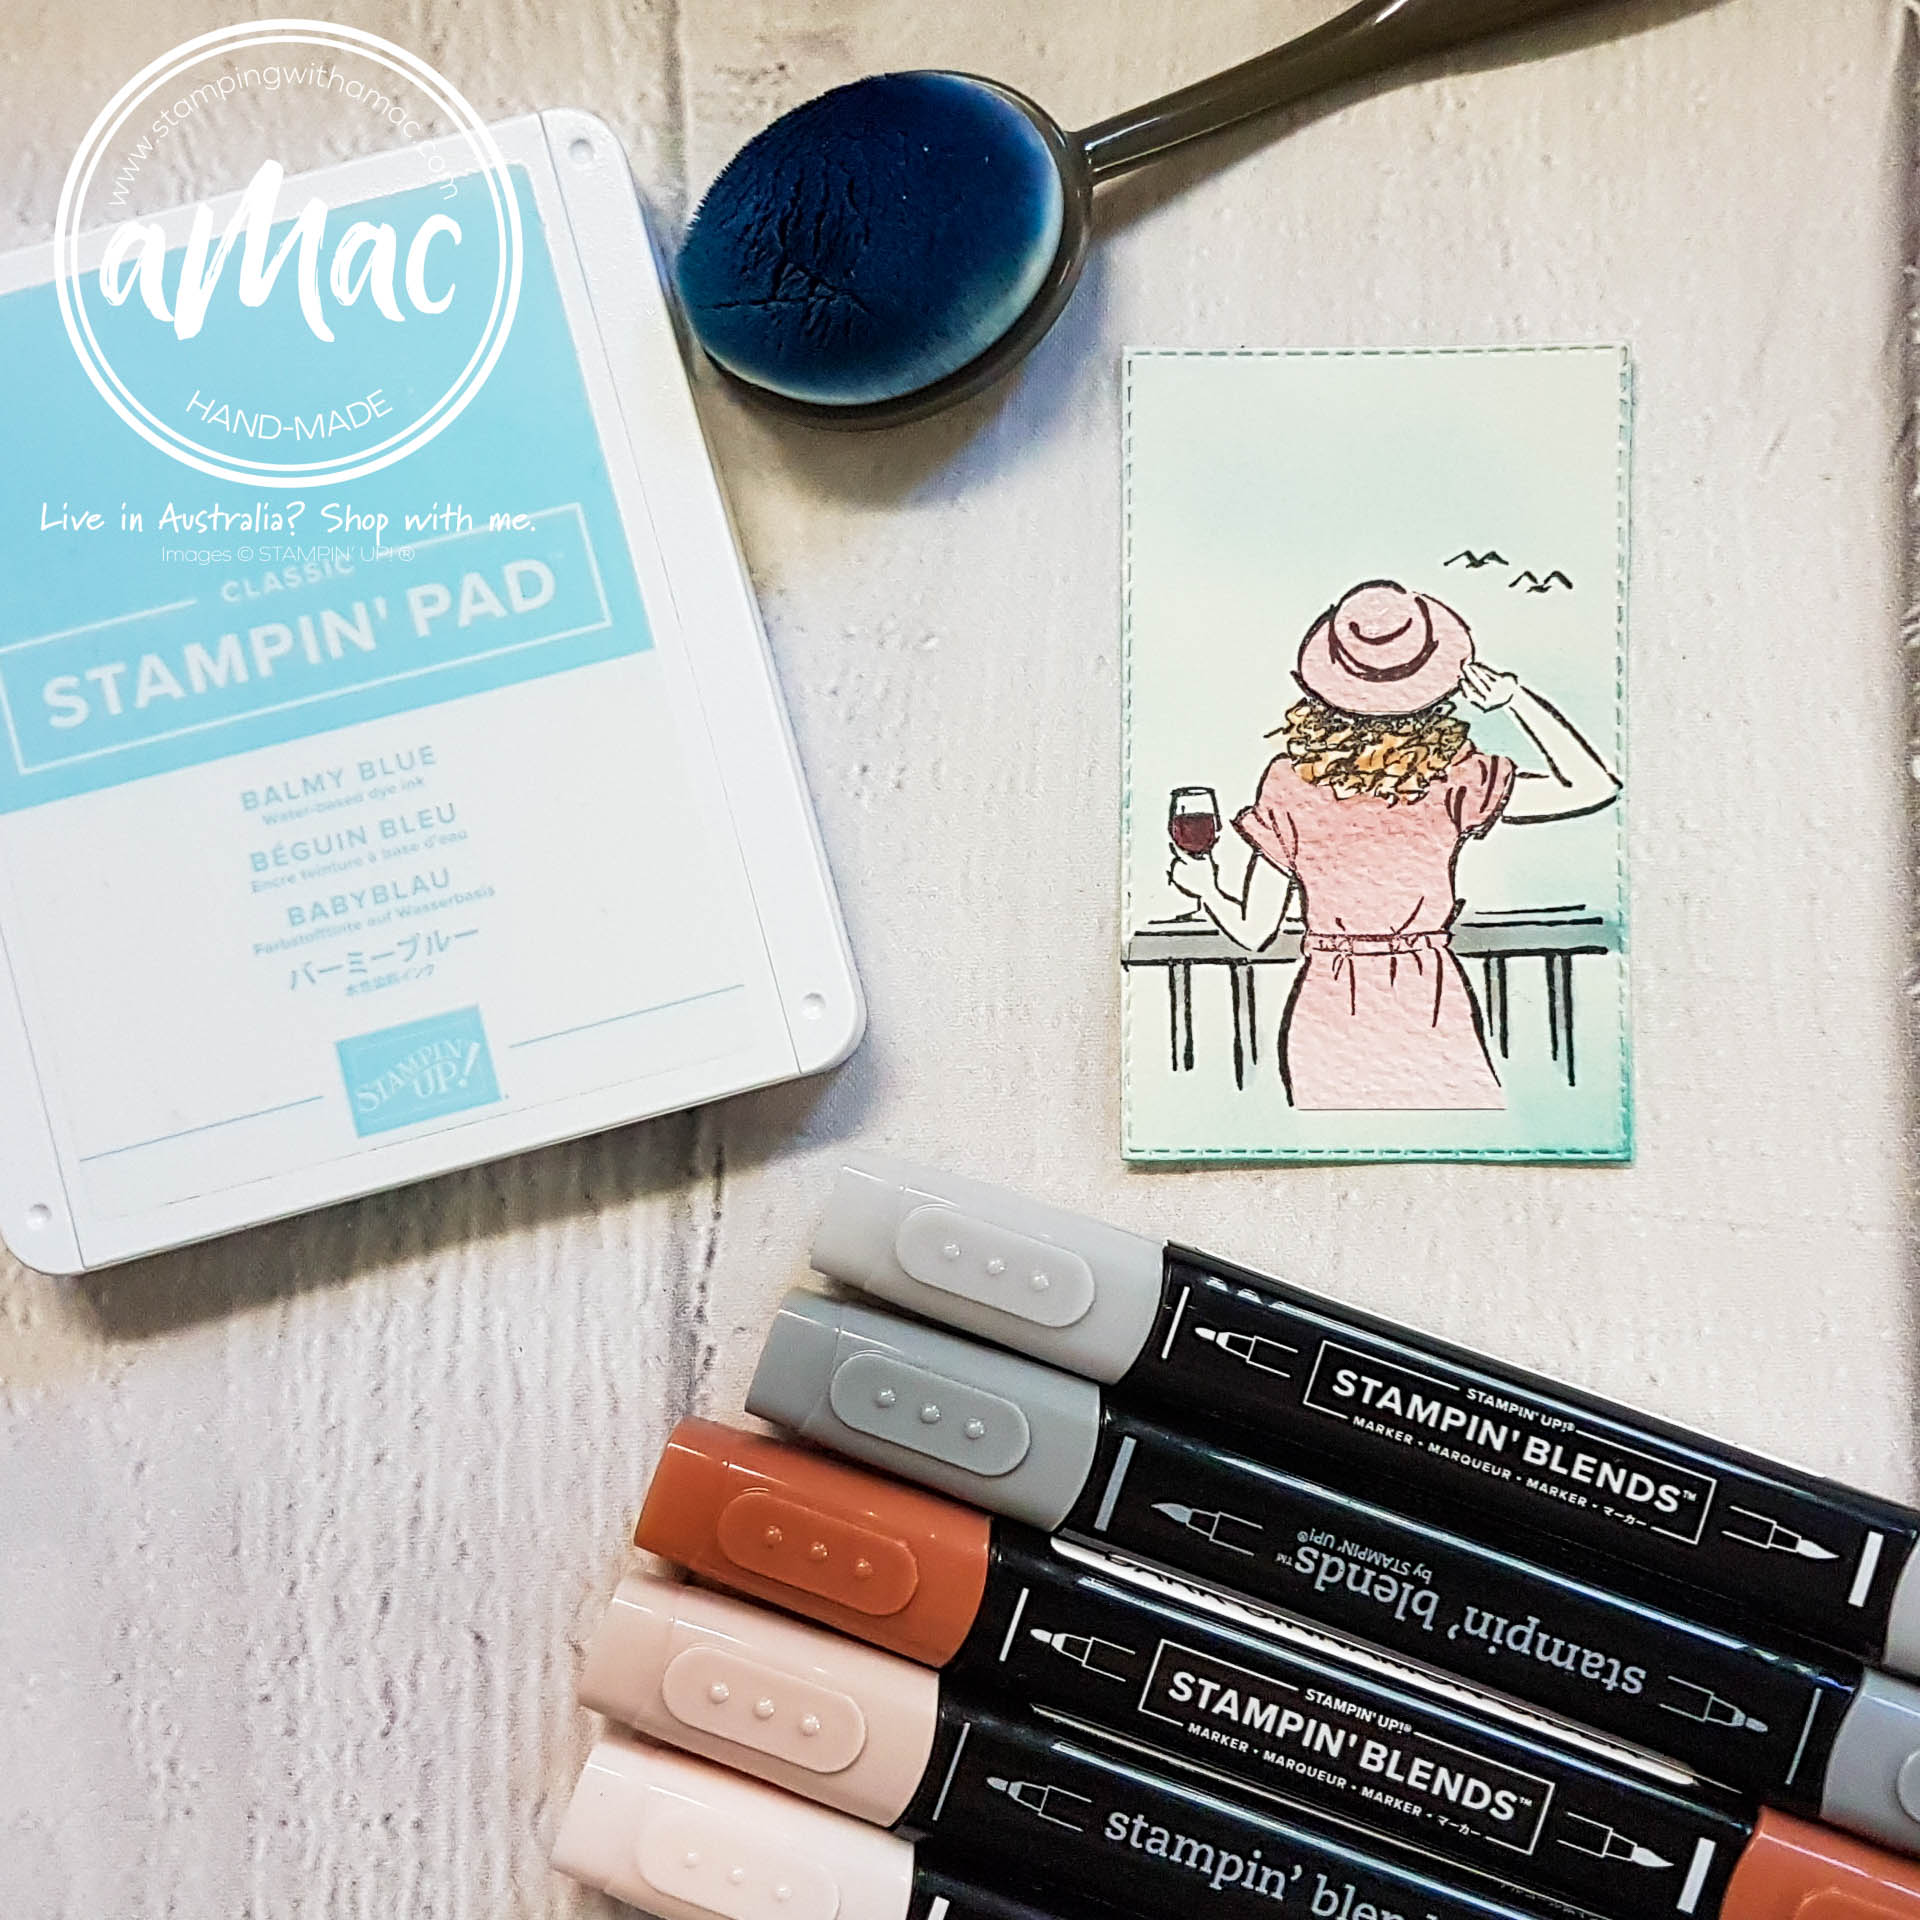
I used very vanilla card stock, cut out with a stitched rectangle die and stamped my final image using Memento Black ink.
Then I used my blending brush and Blamy Blue ink to add some background colour to my feature piece. I then glued (using Tombo) the ‘paper pieced’ parts onto the stamped image.
The Take Your Pick Tool was very handy for the small hat and wine to help position it in place correctly.
PS – Remember to take advantage of the Buy One get One 50% Off kits.
Offer ends 30 June.
[maxbutton id="12" url="https://www.stampinup.com.au/categories/shop-products/other-products/kits-collection?dbwsdemoid=4007186" text="Take me to the kits" ]
Subscribe for News and Specials
Subscribe to get notified of fabulous Stampin’ Up! promotions


")


 Designer Series Paper")


 Frayed Ribbon")


