Techniques

Masking Technique

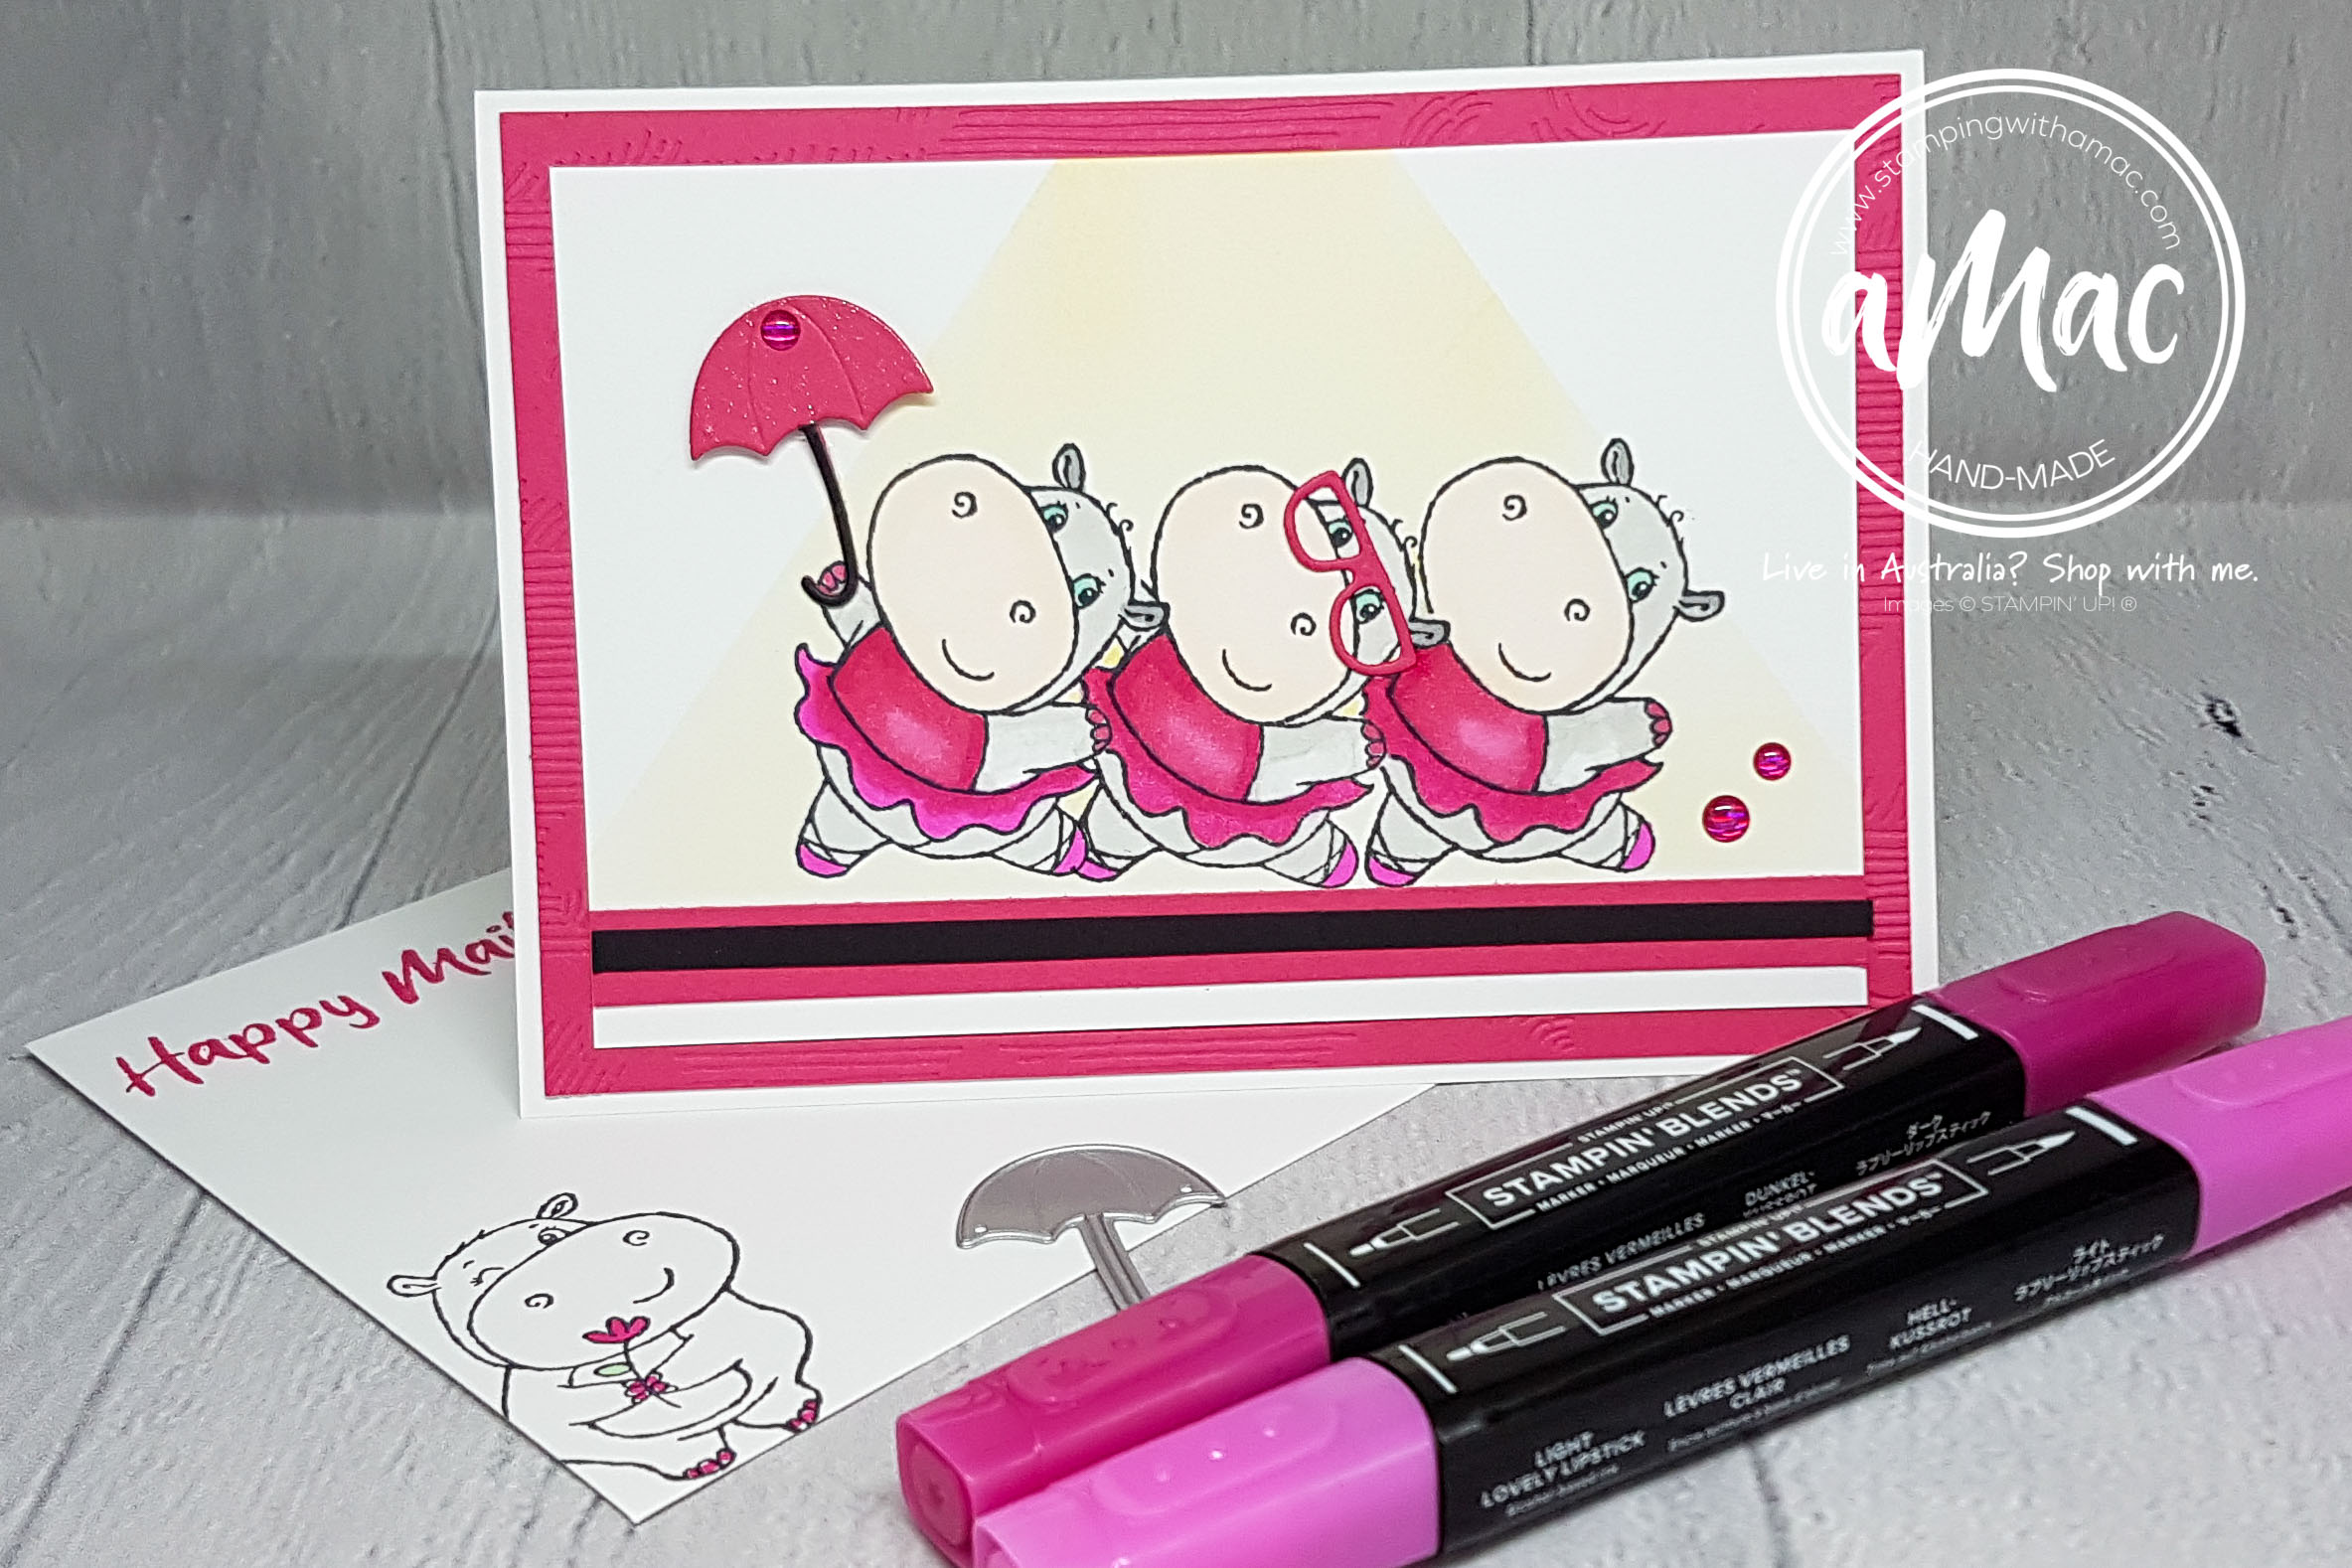
Welcome to our Totally Techniques Blog Hop! I’m Angela McFarlane from Gold Coast, Australia.

Each month our team chooses a different technique to feature and this month we will be showcasing the Masking Technique.

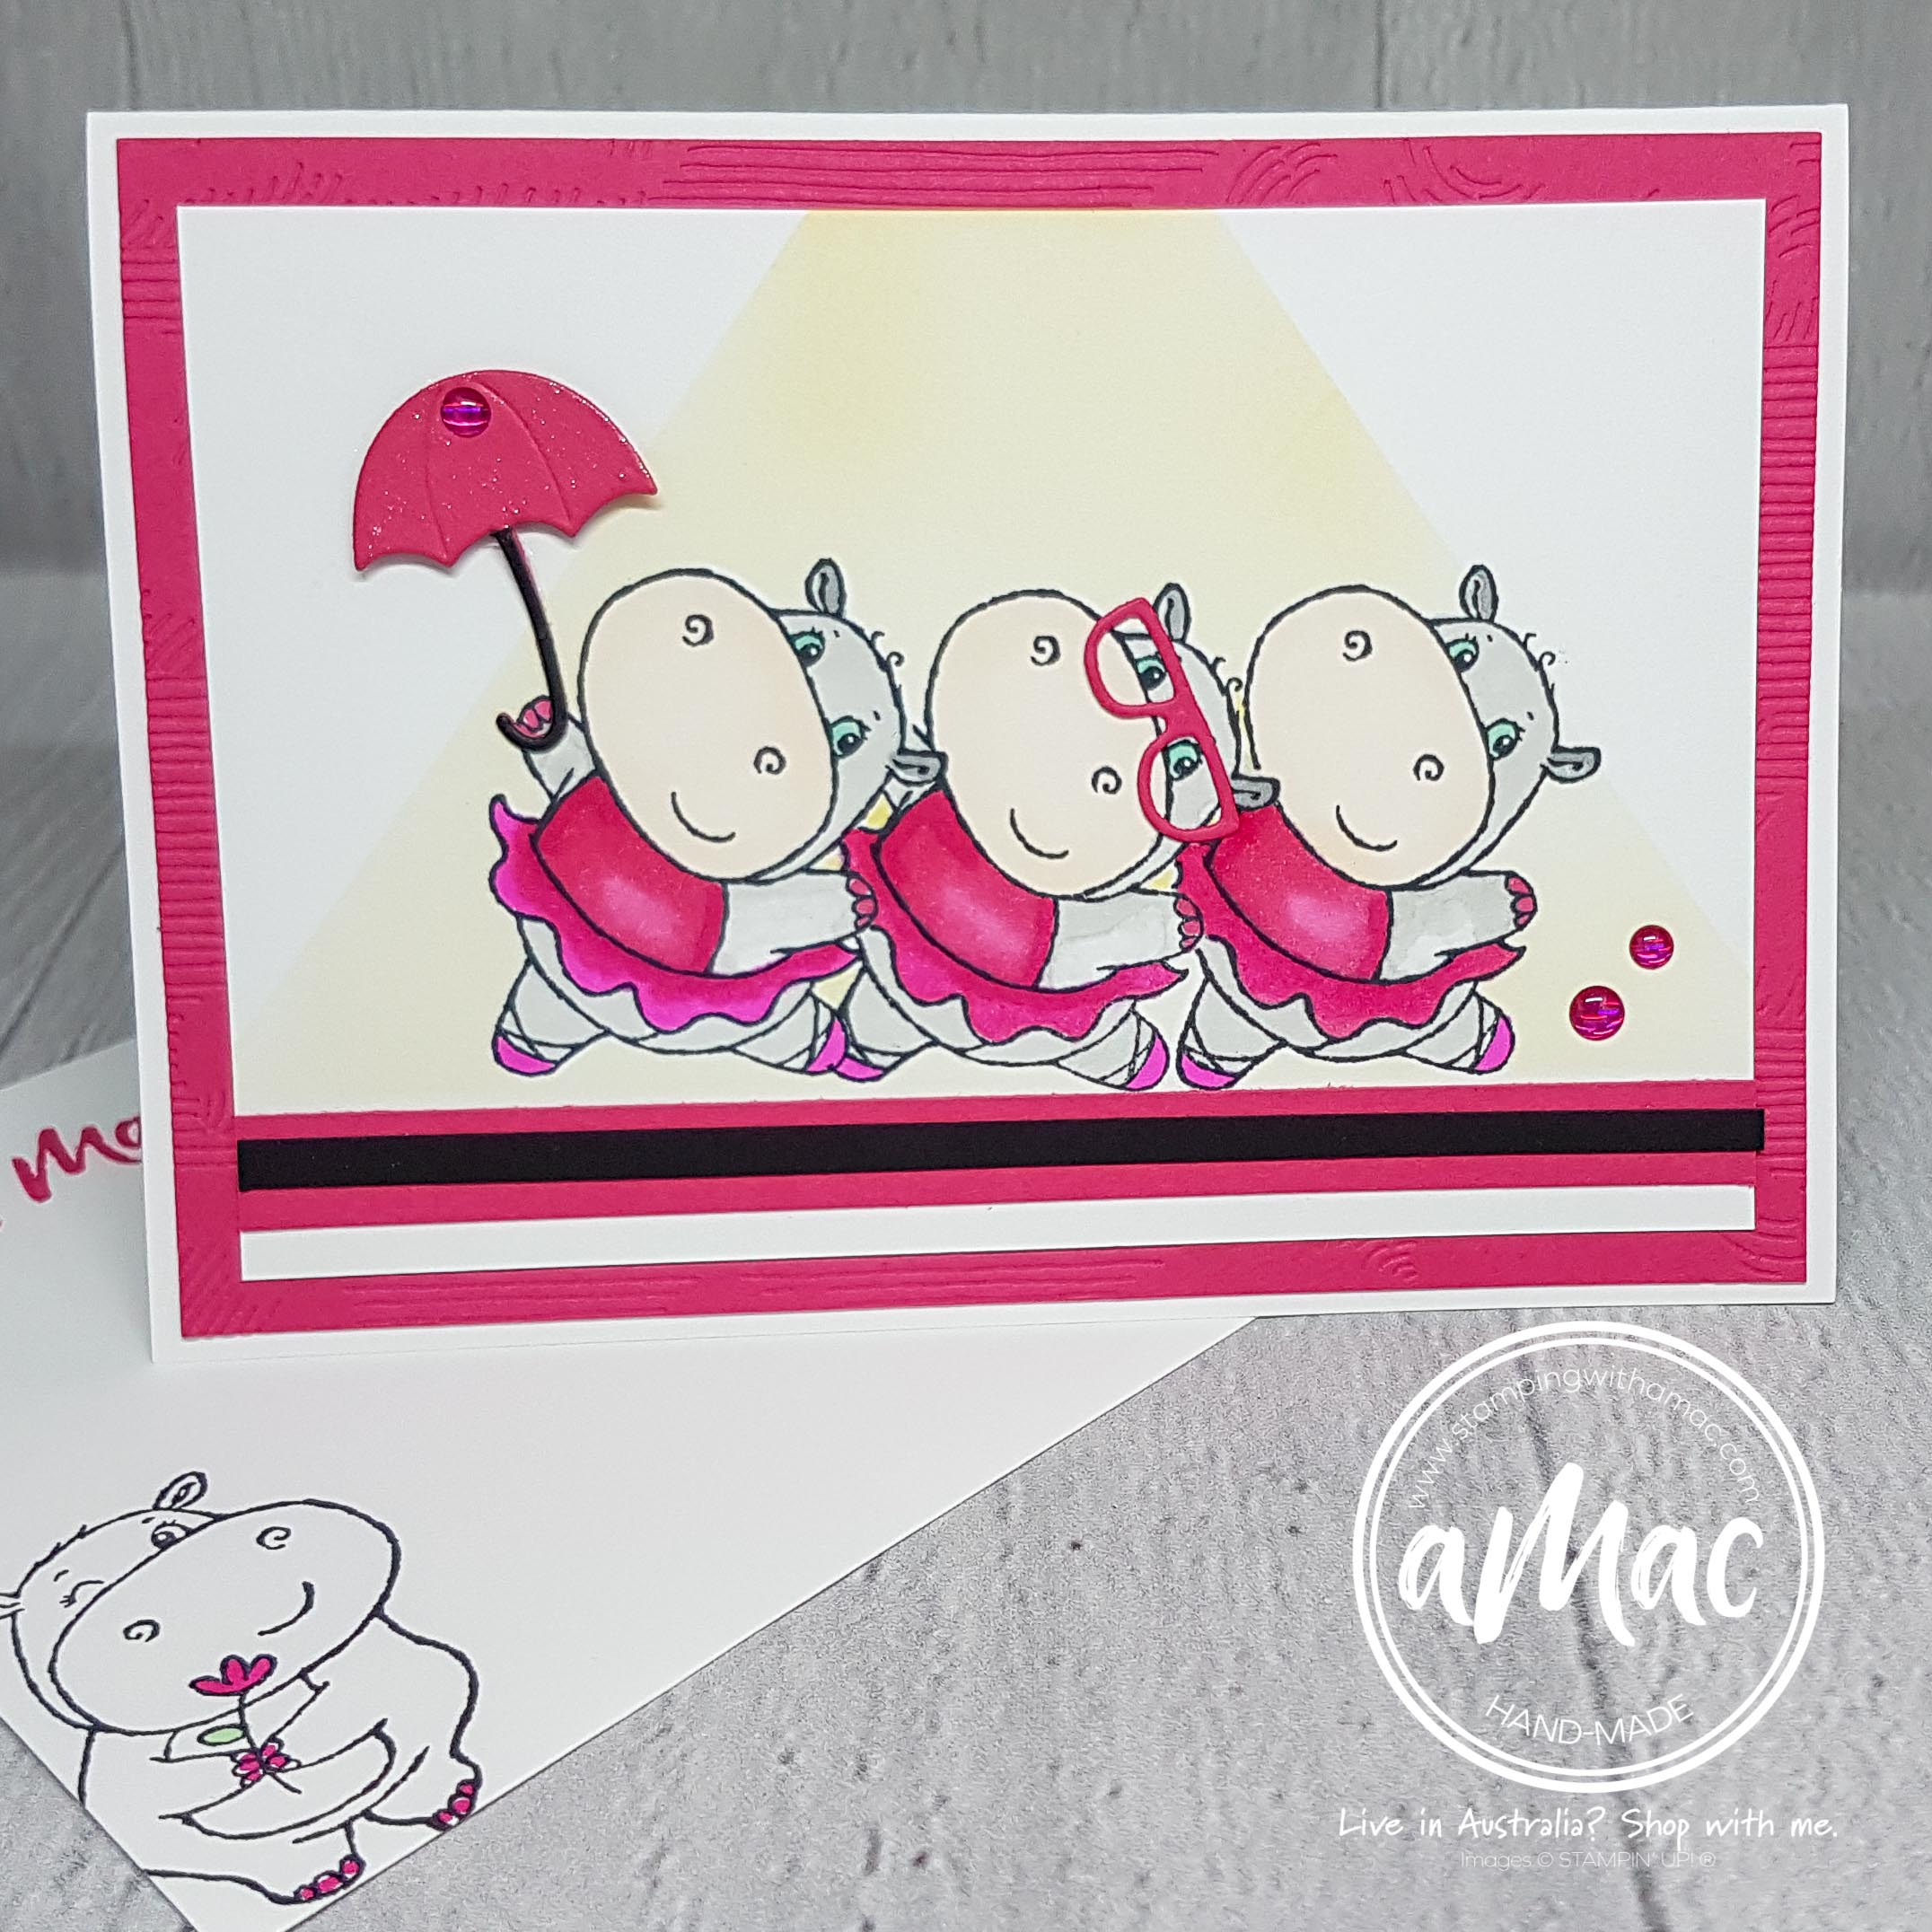
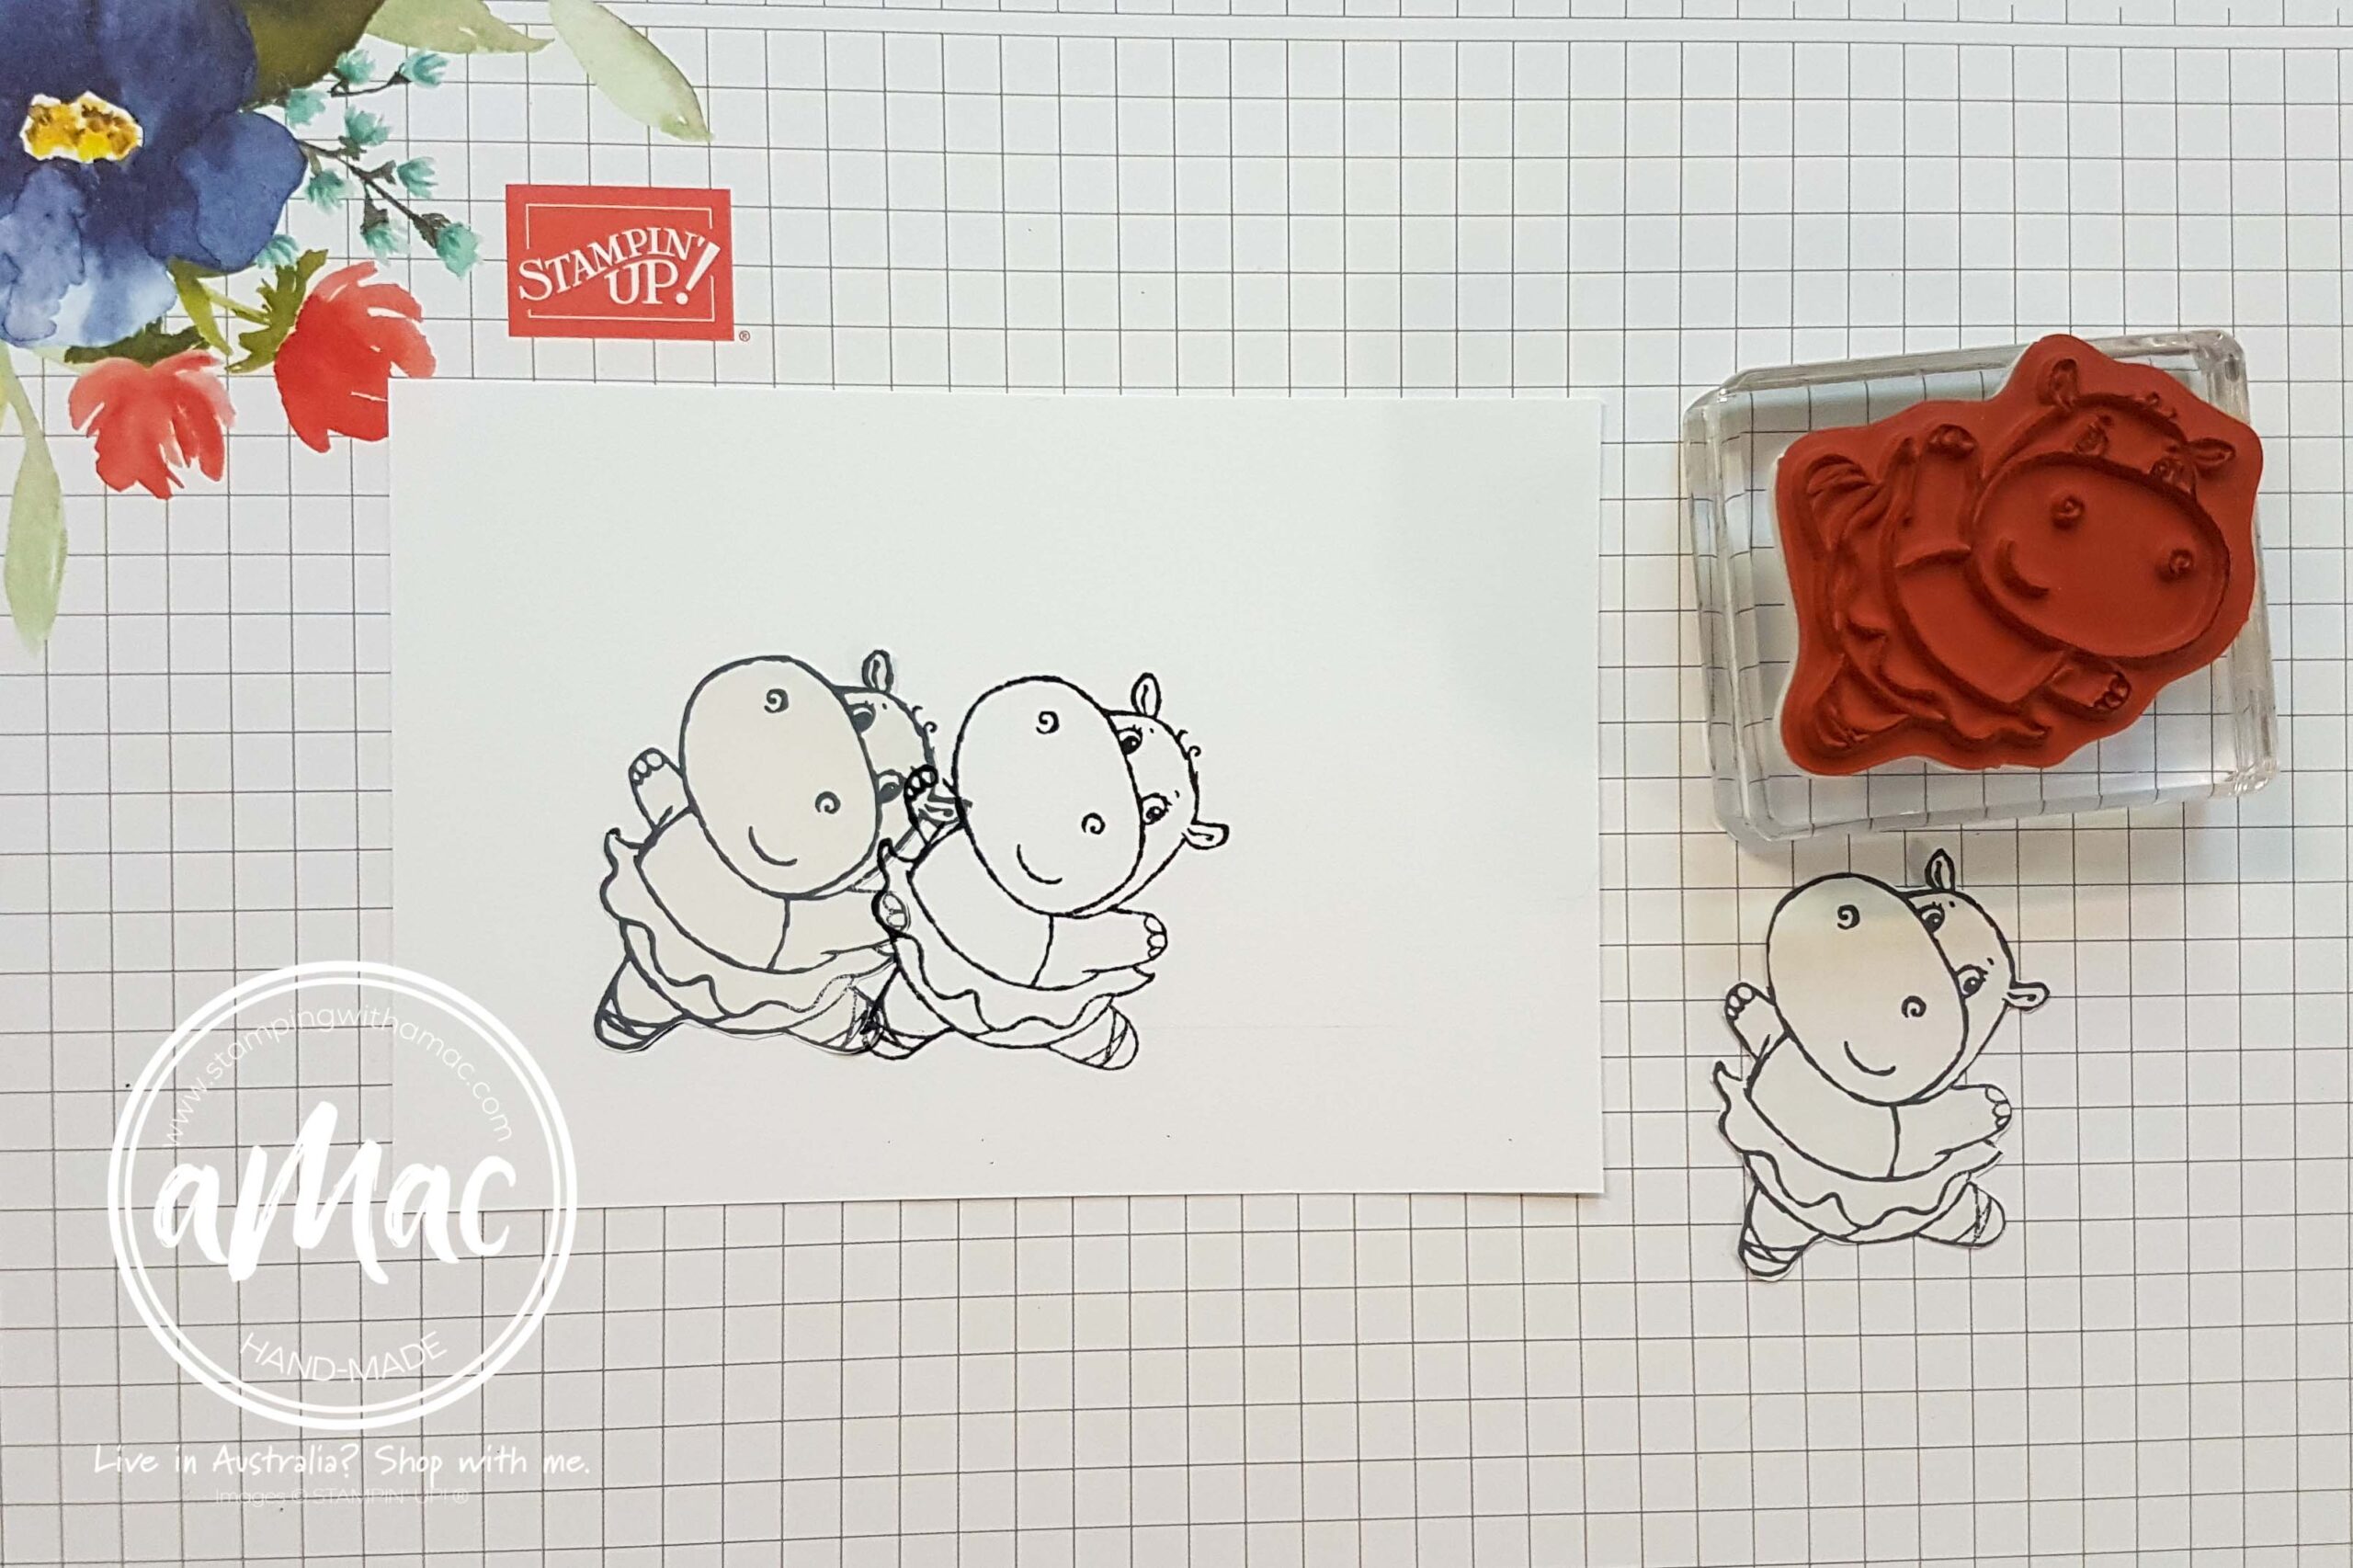
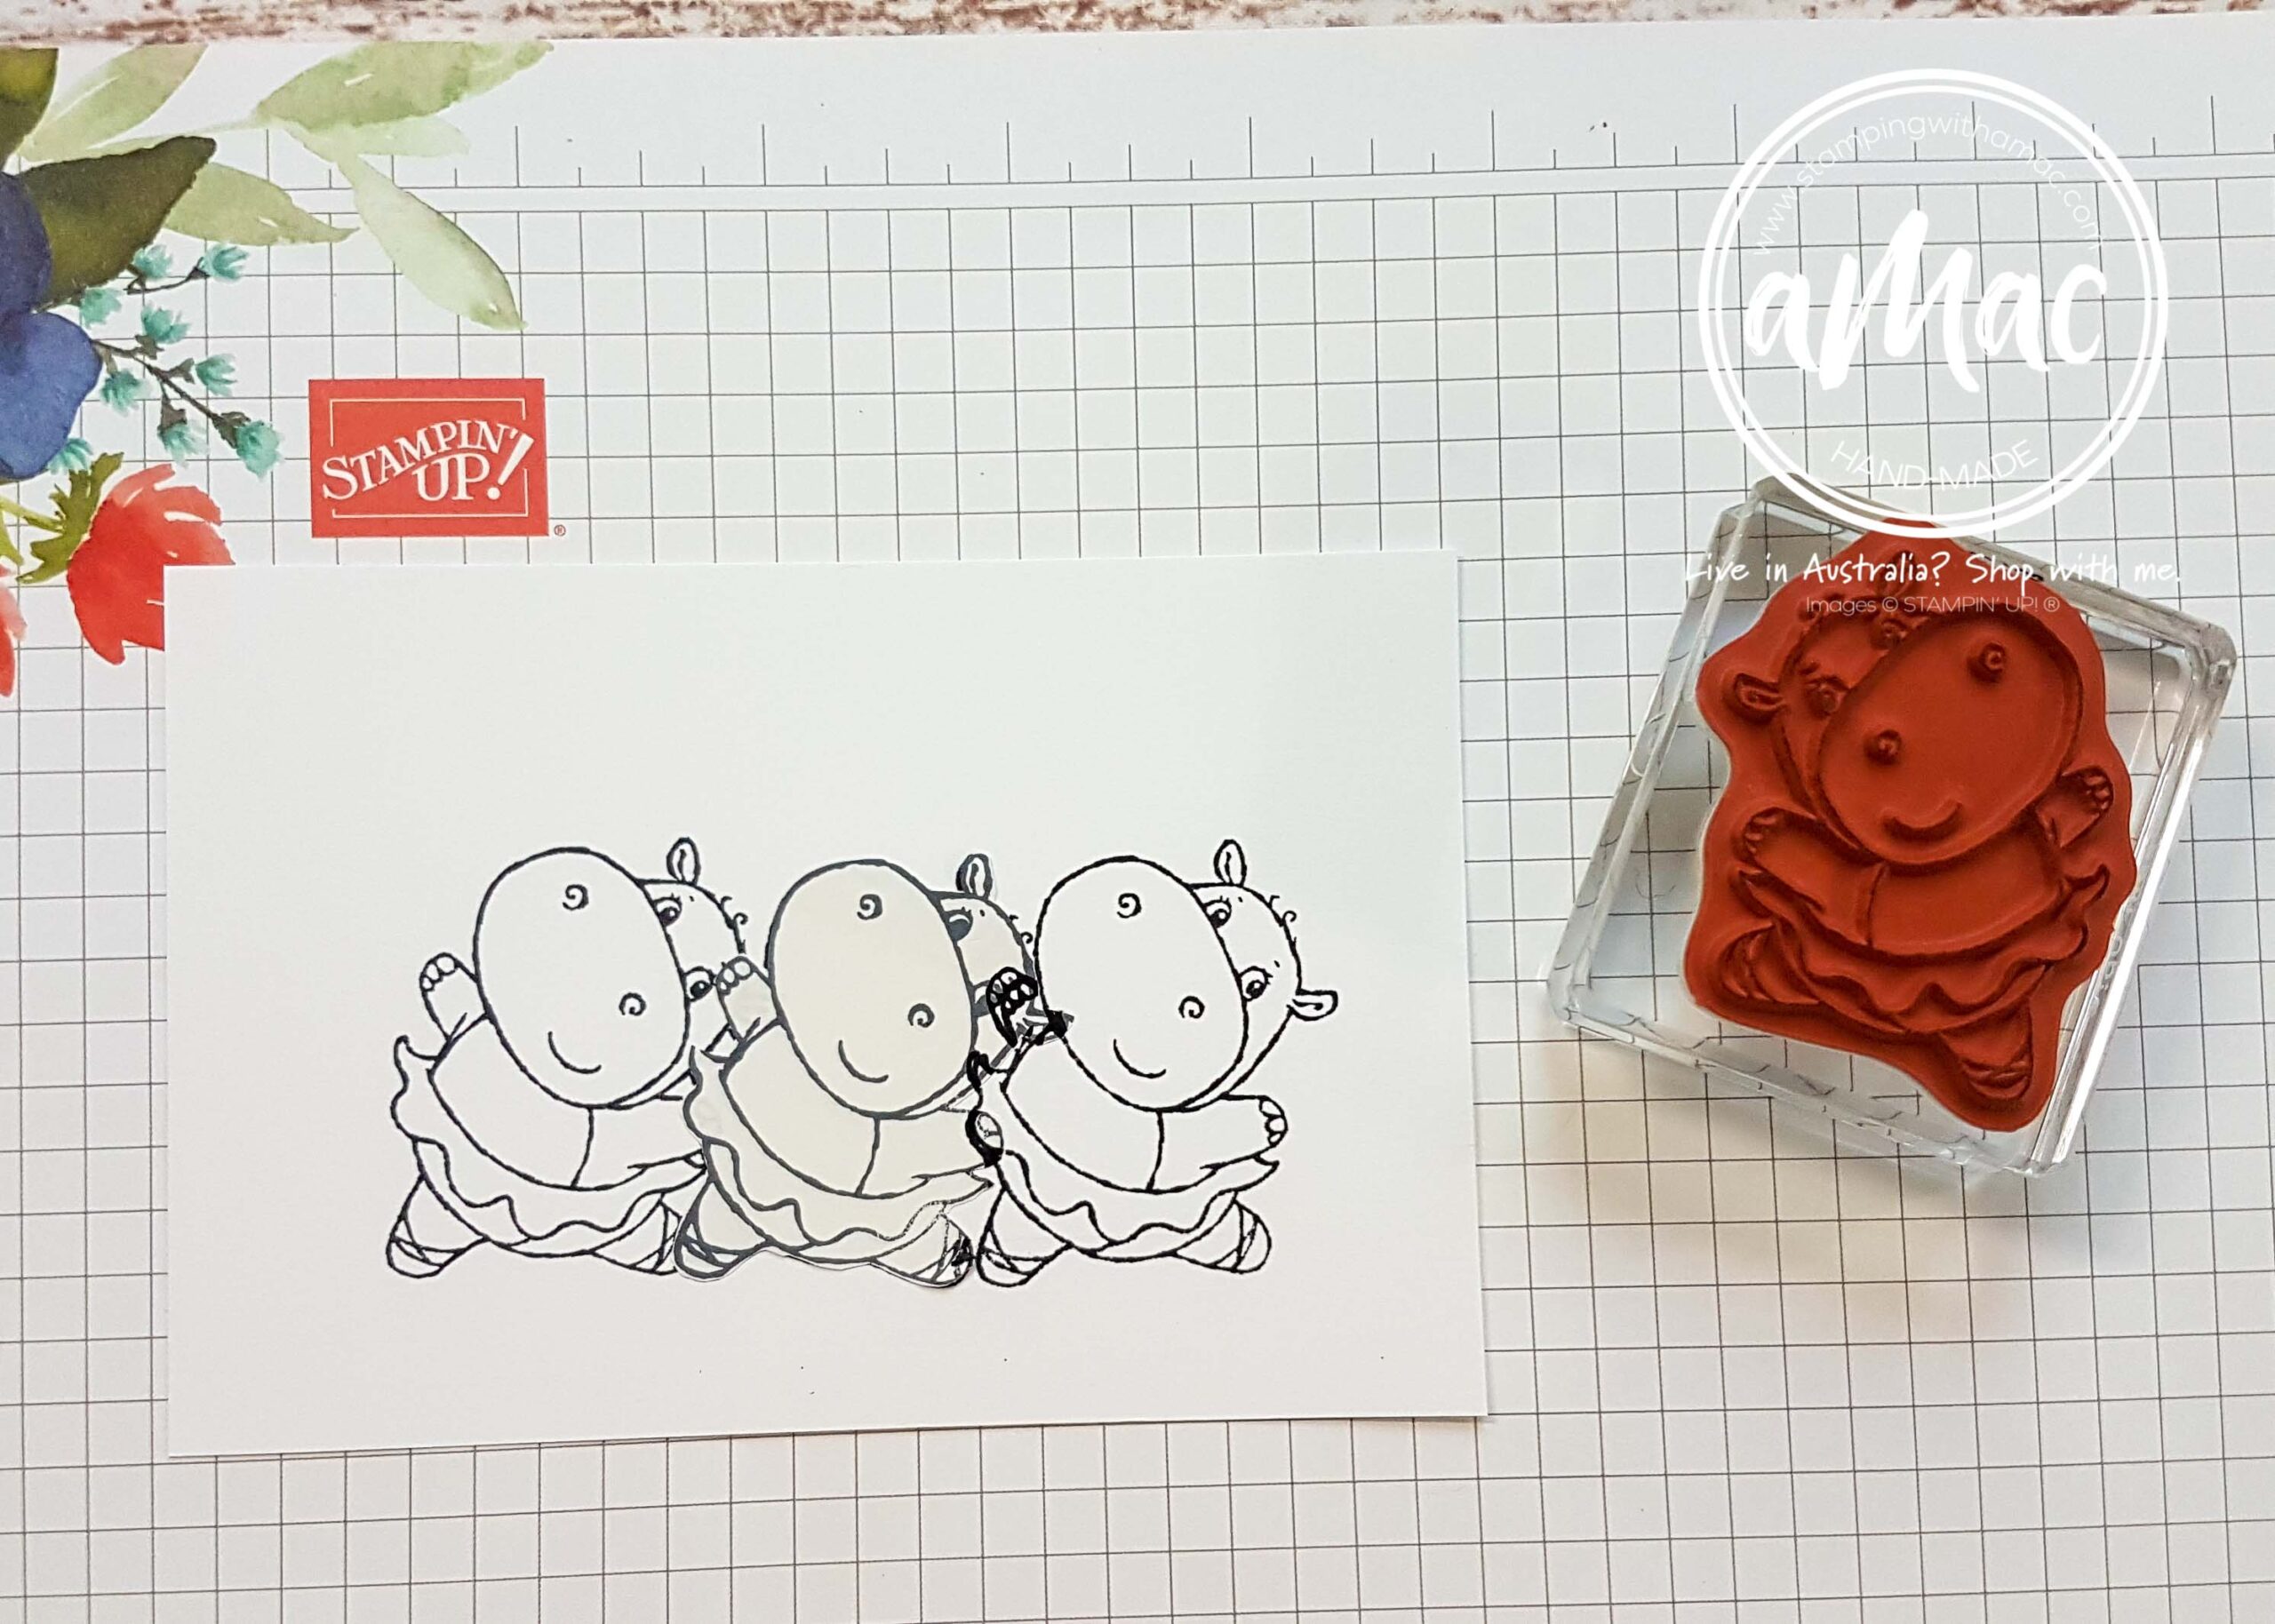
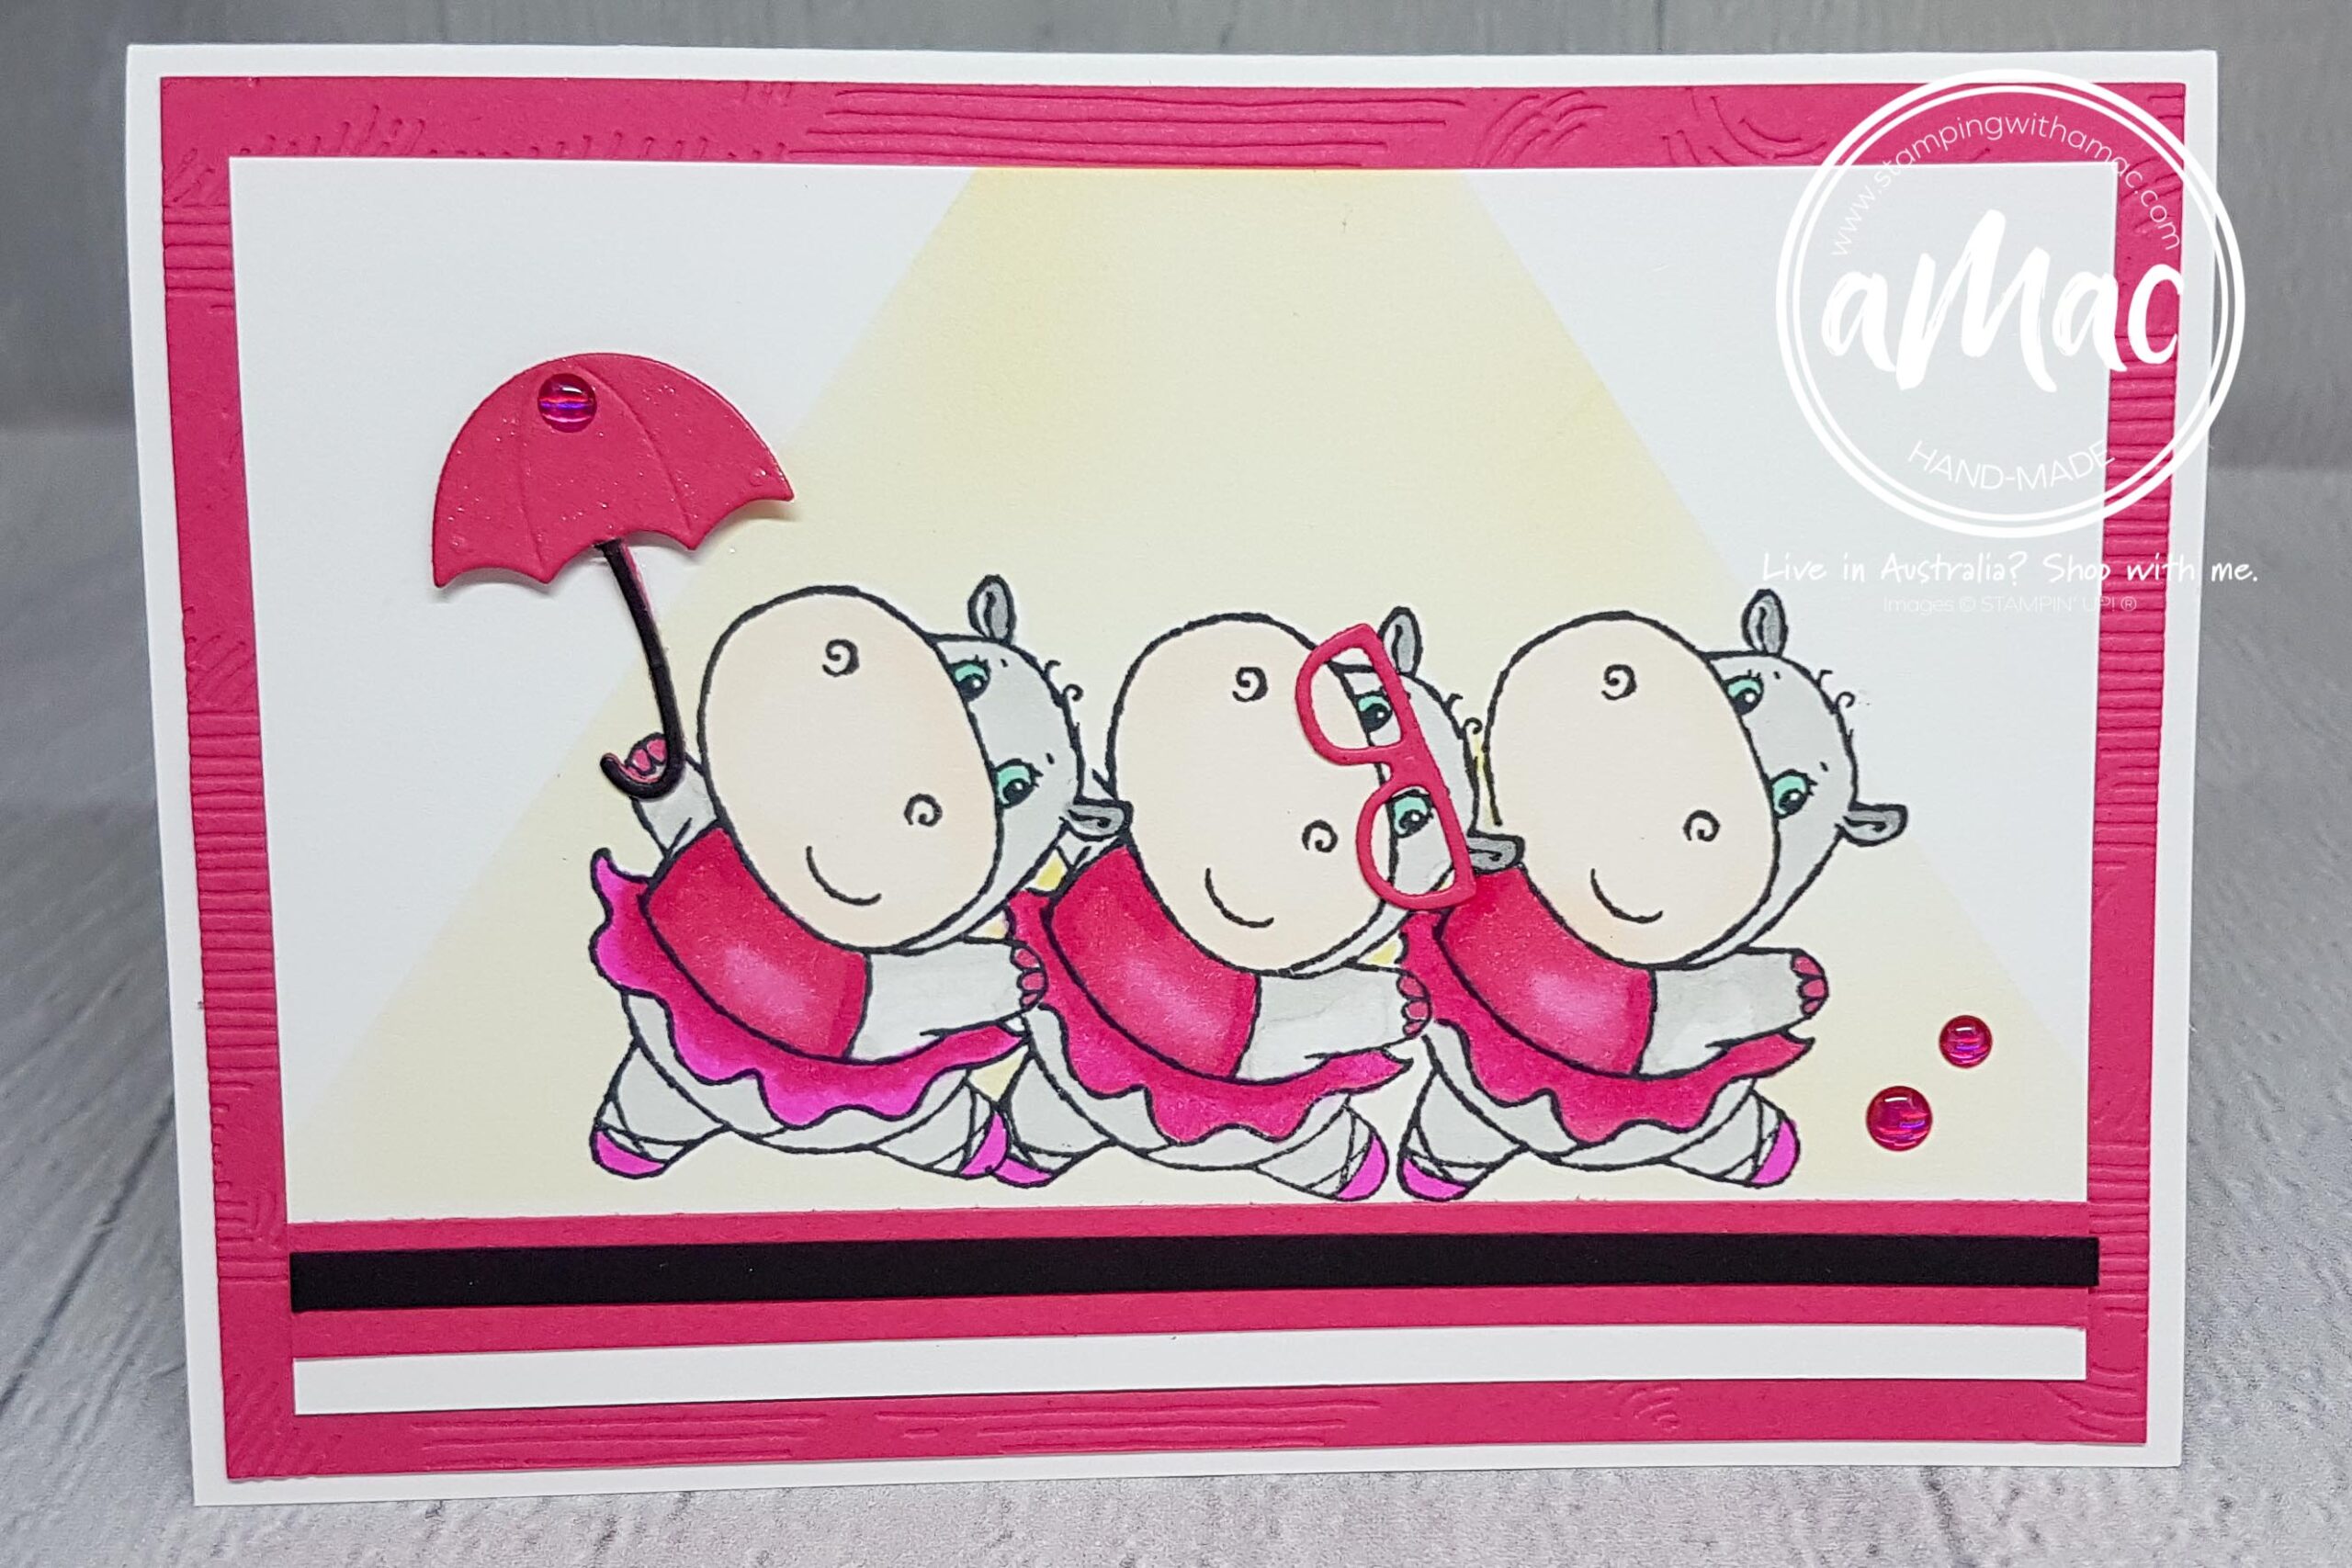
There are a few ways to mask your objects and I’ll share two ways on my project today.
I’ll be masking from the fore ground and working back as well as masking to create some colour blocking.

At the end of my blog please ‘hop along’ to see all the different projects made by our talented team!

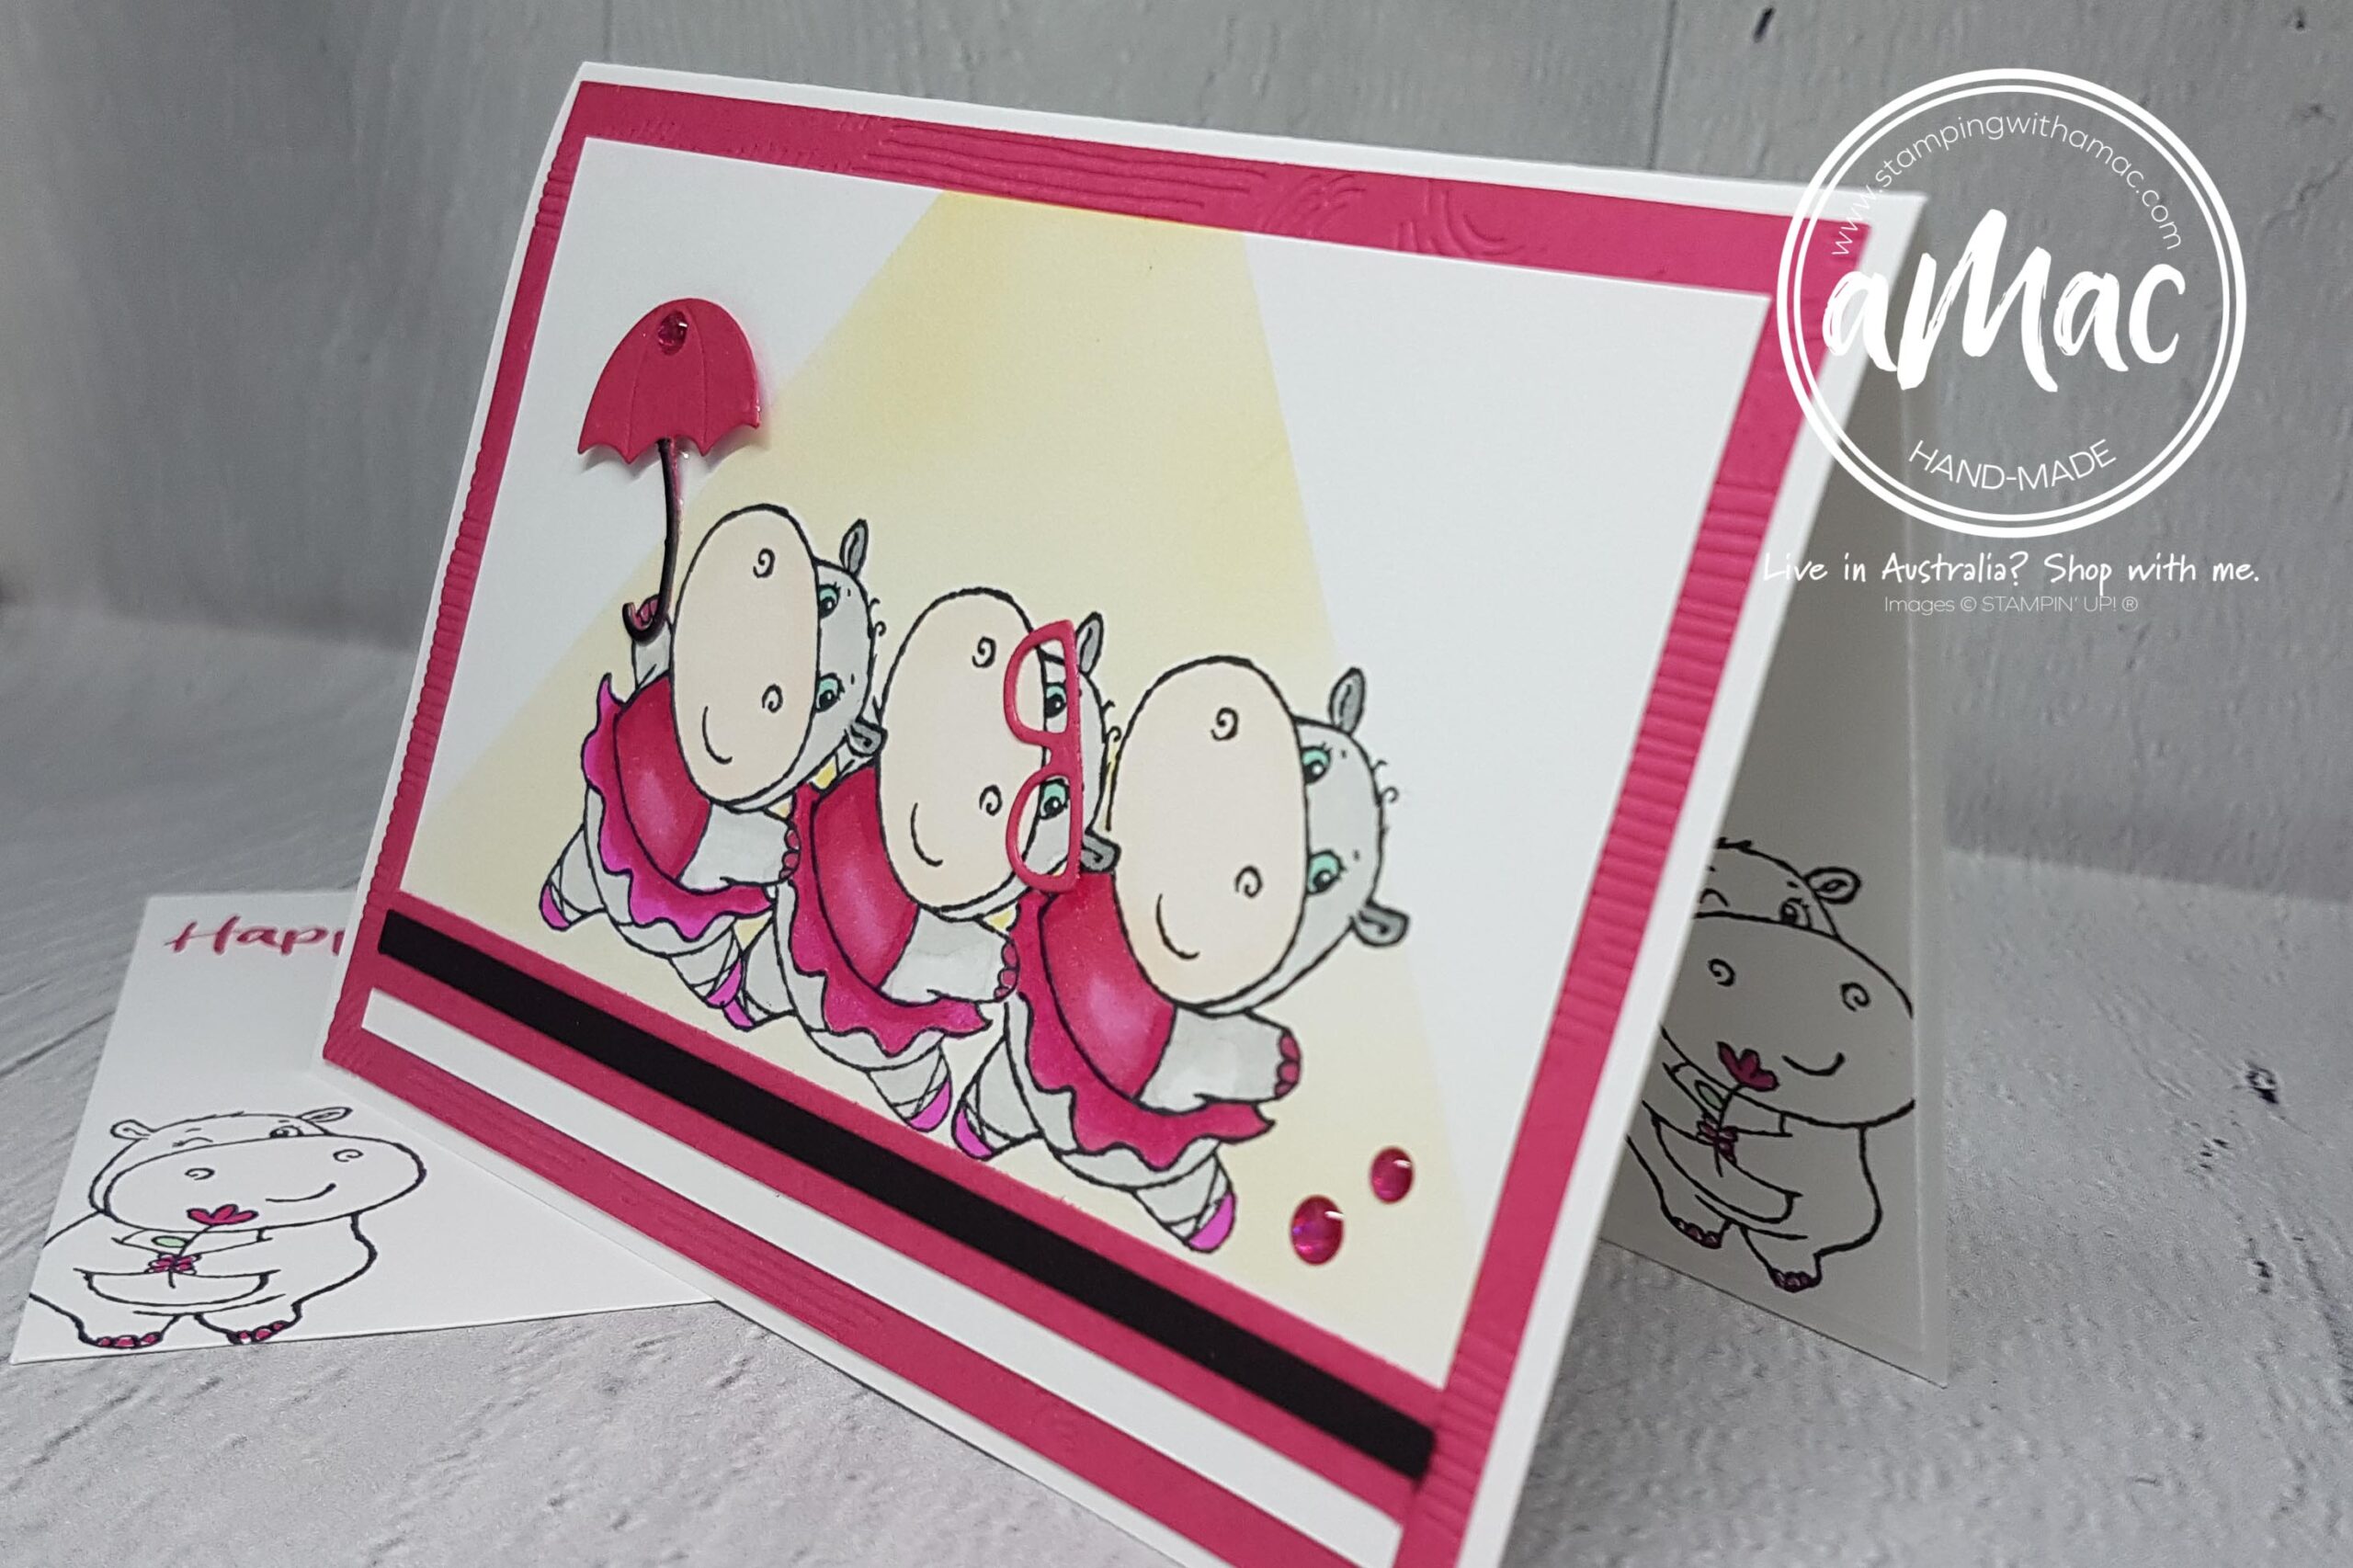
I chose the fun Sale-A-Bration FREE stamp set ‘Hippest Hippos’ as I thought it would be a fun stamp set to play with.
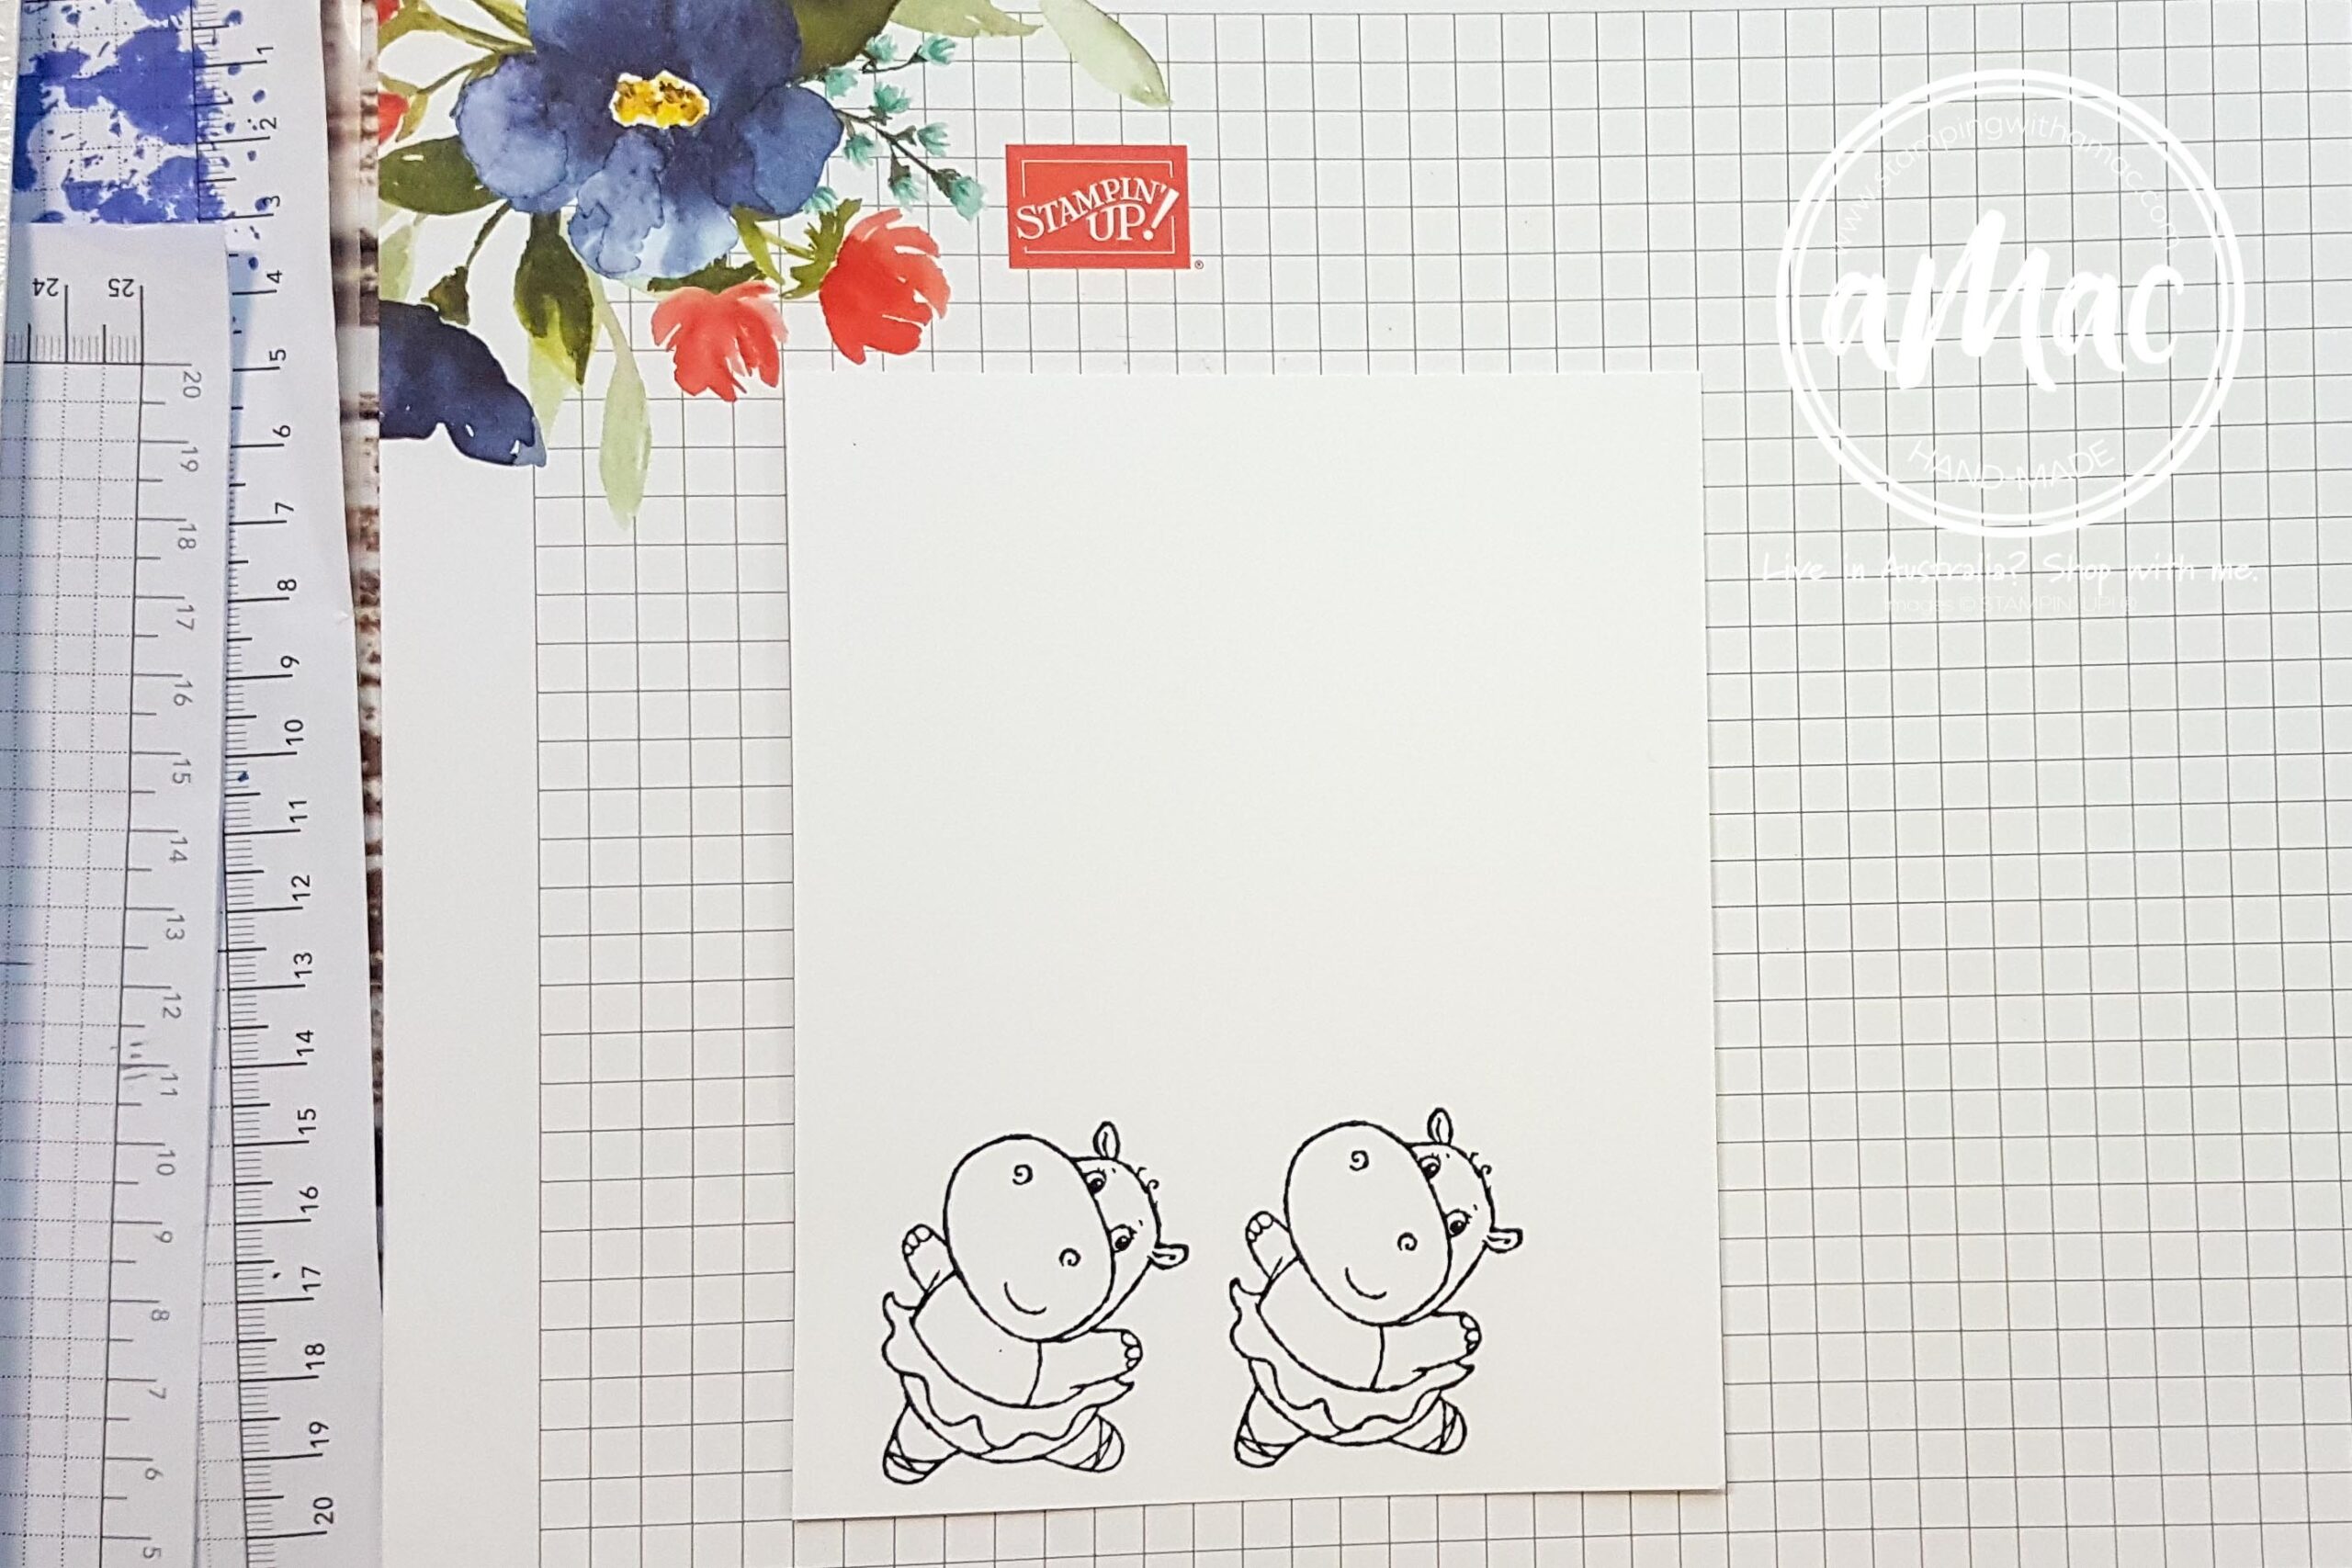
Step 1

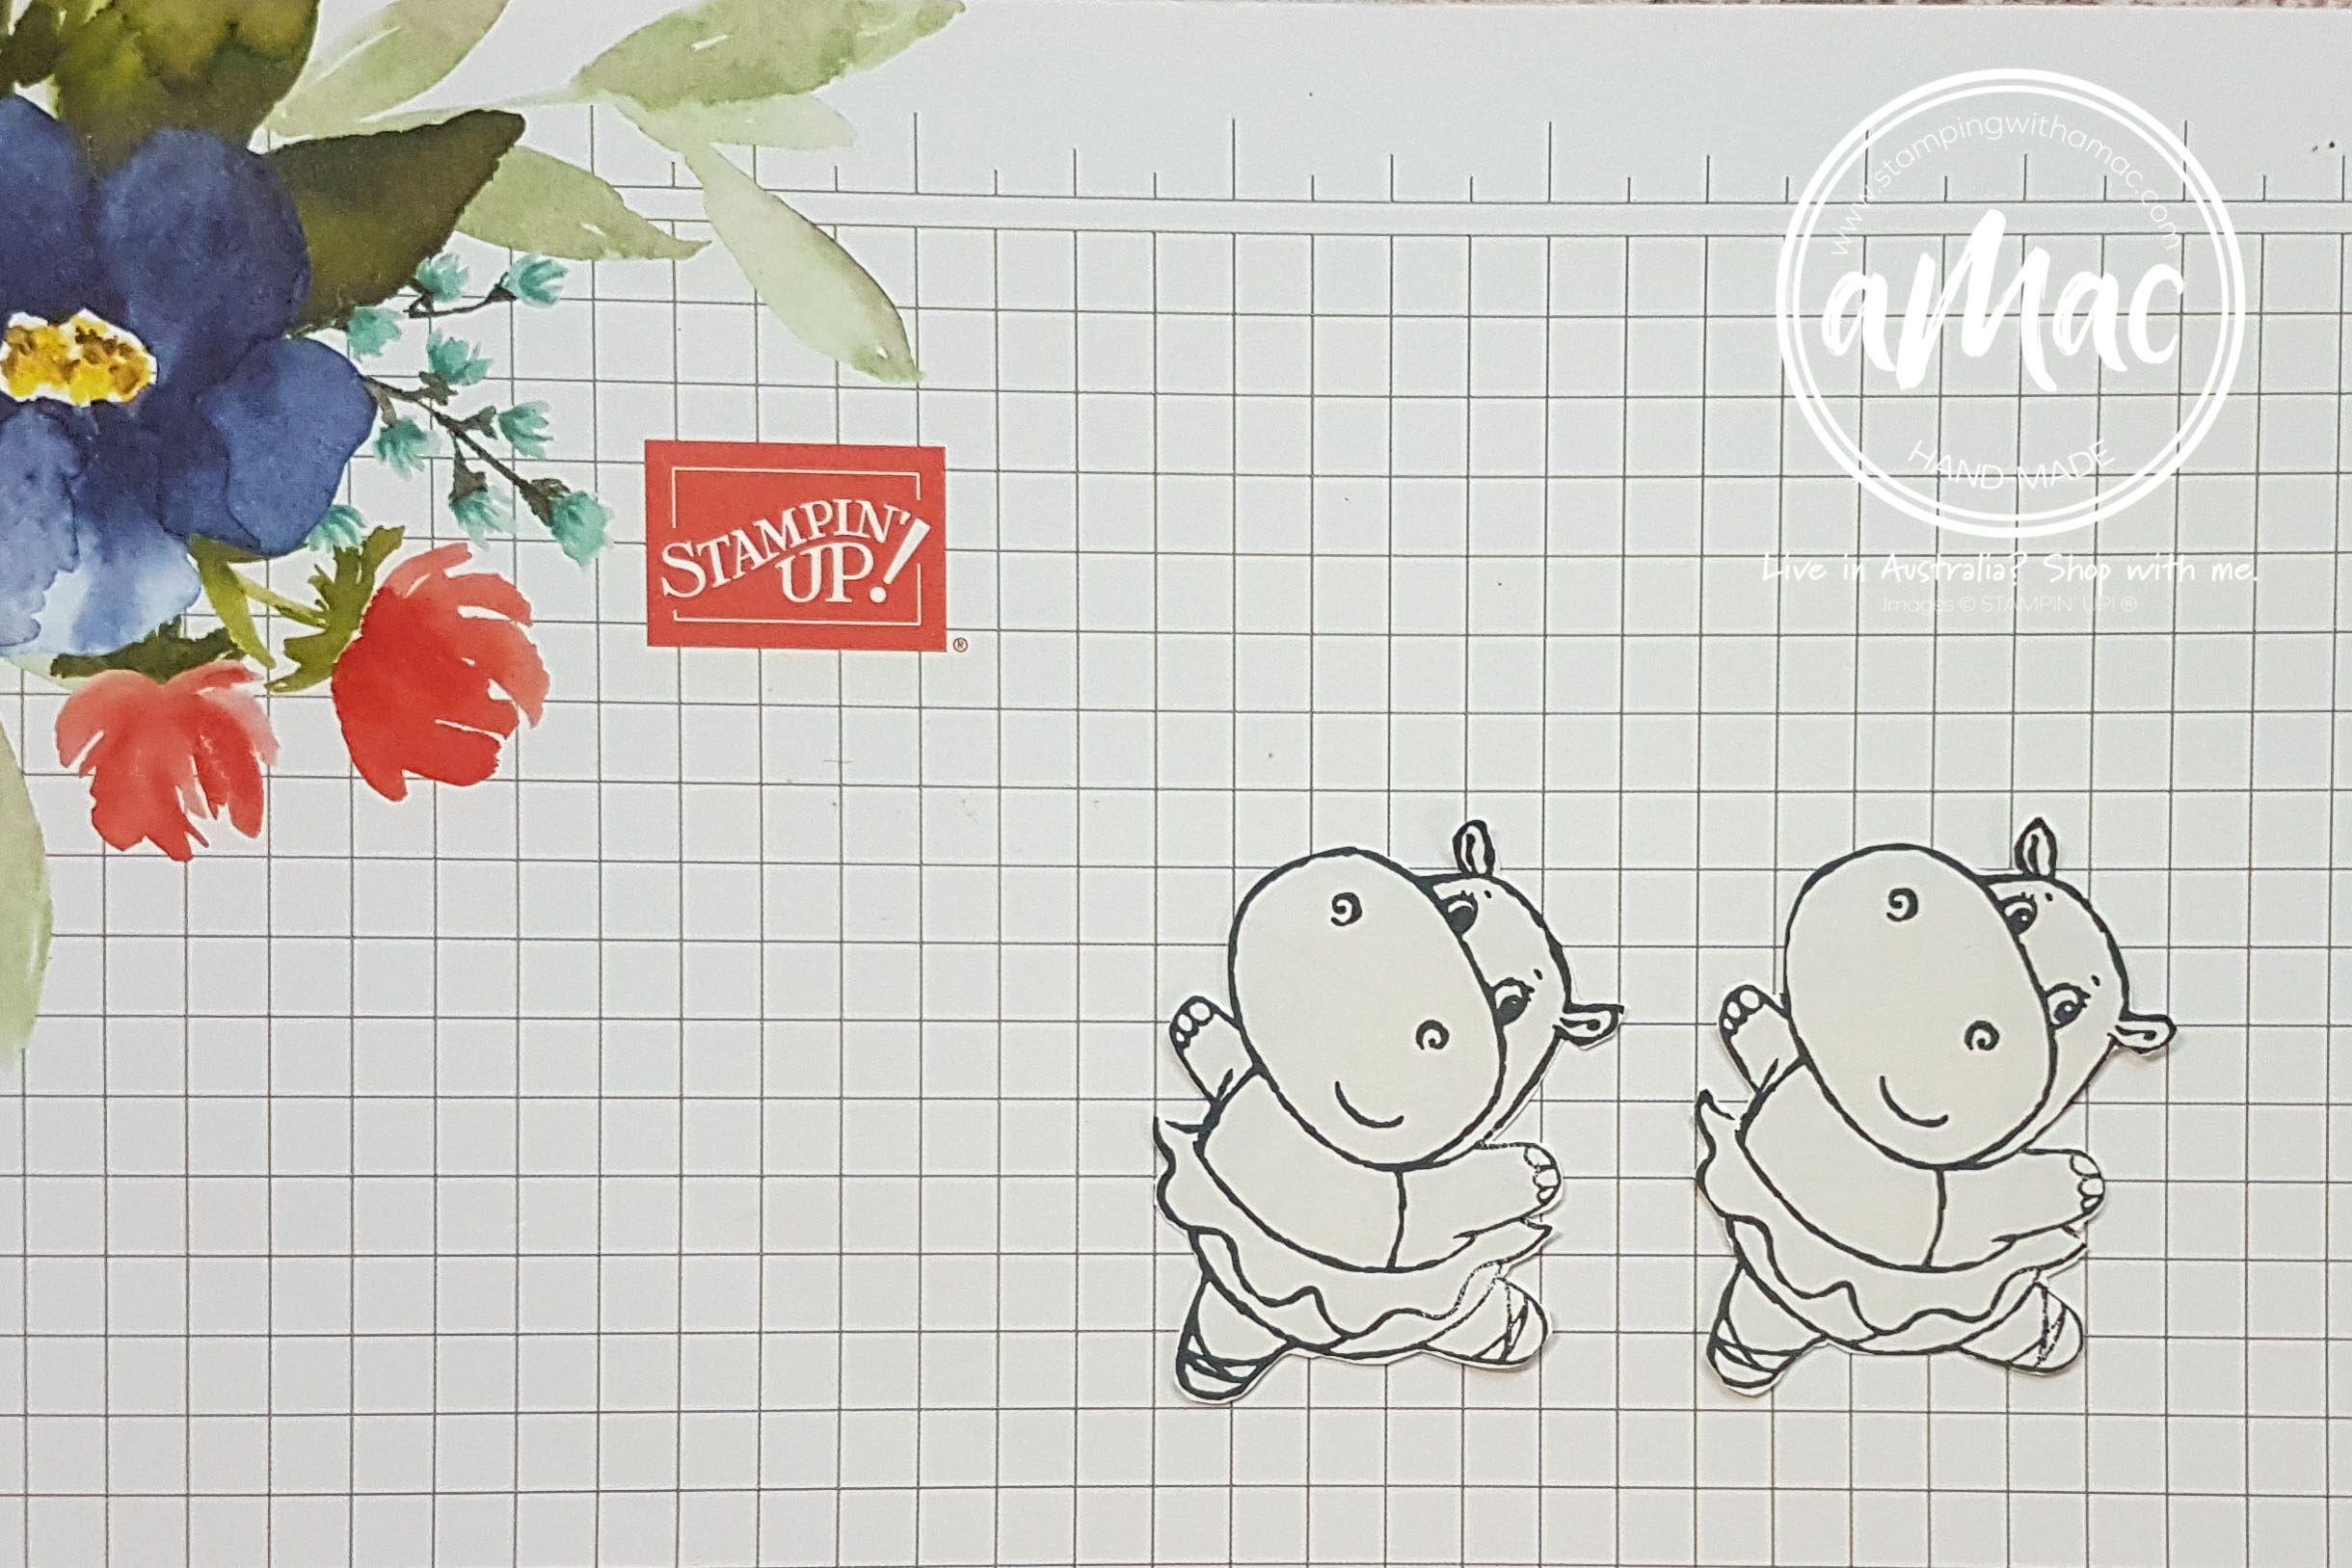
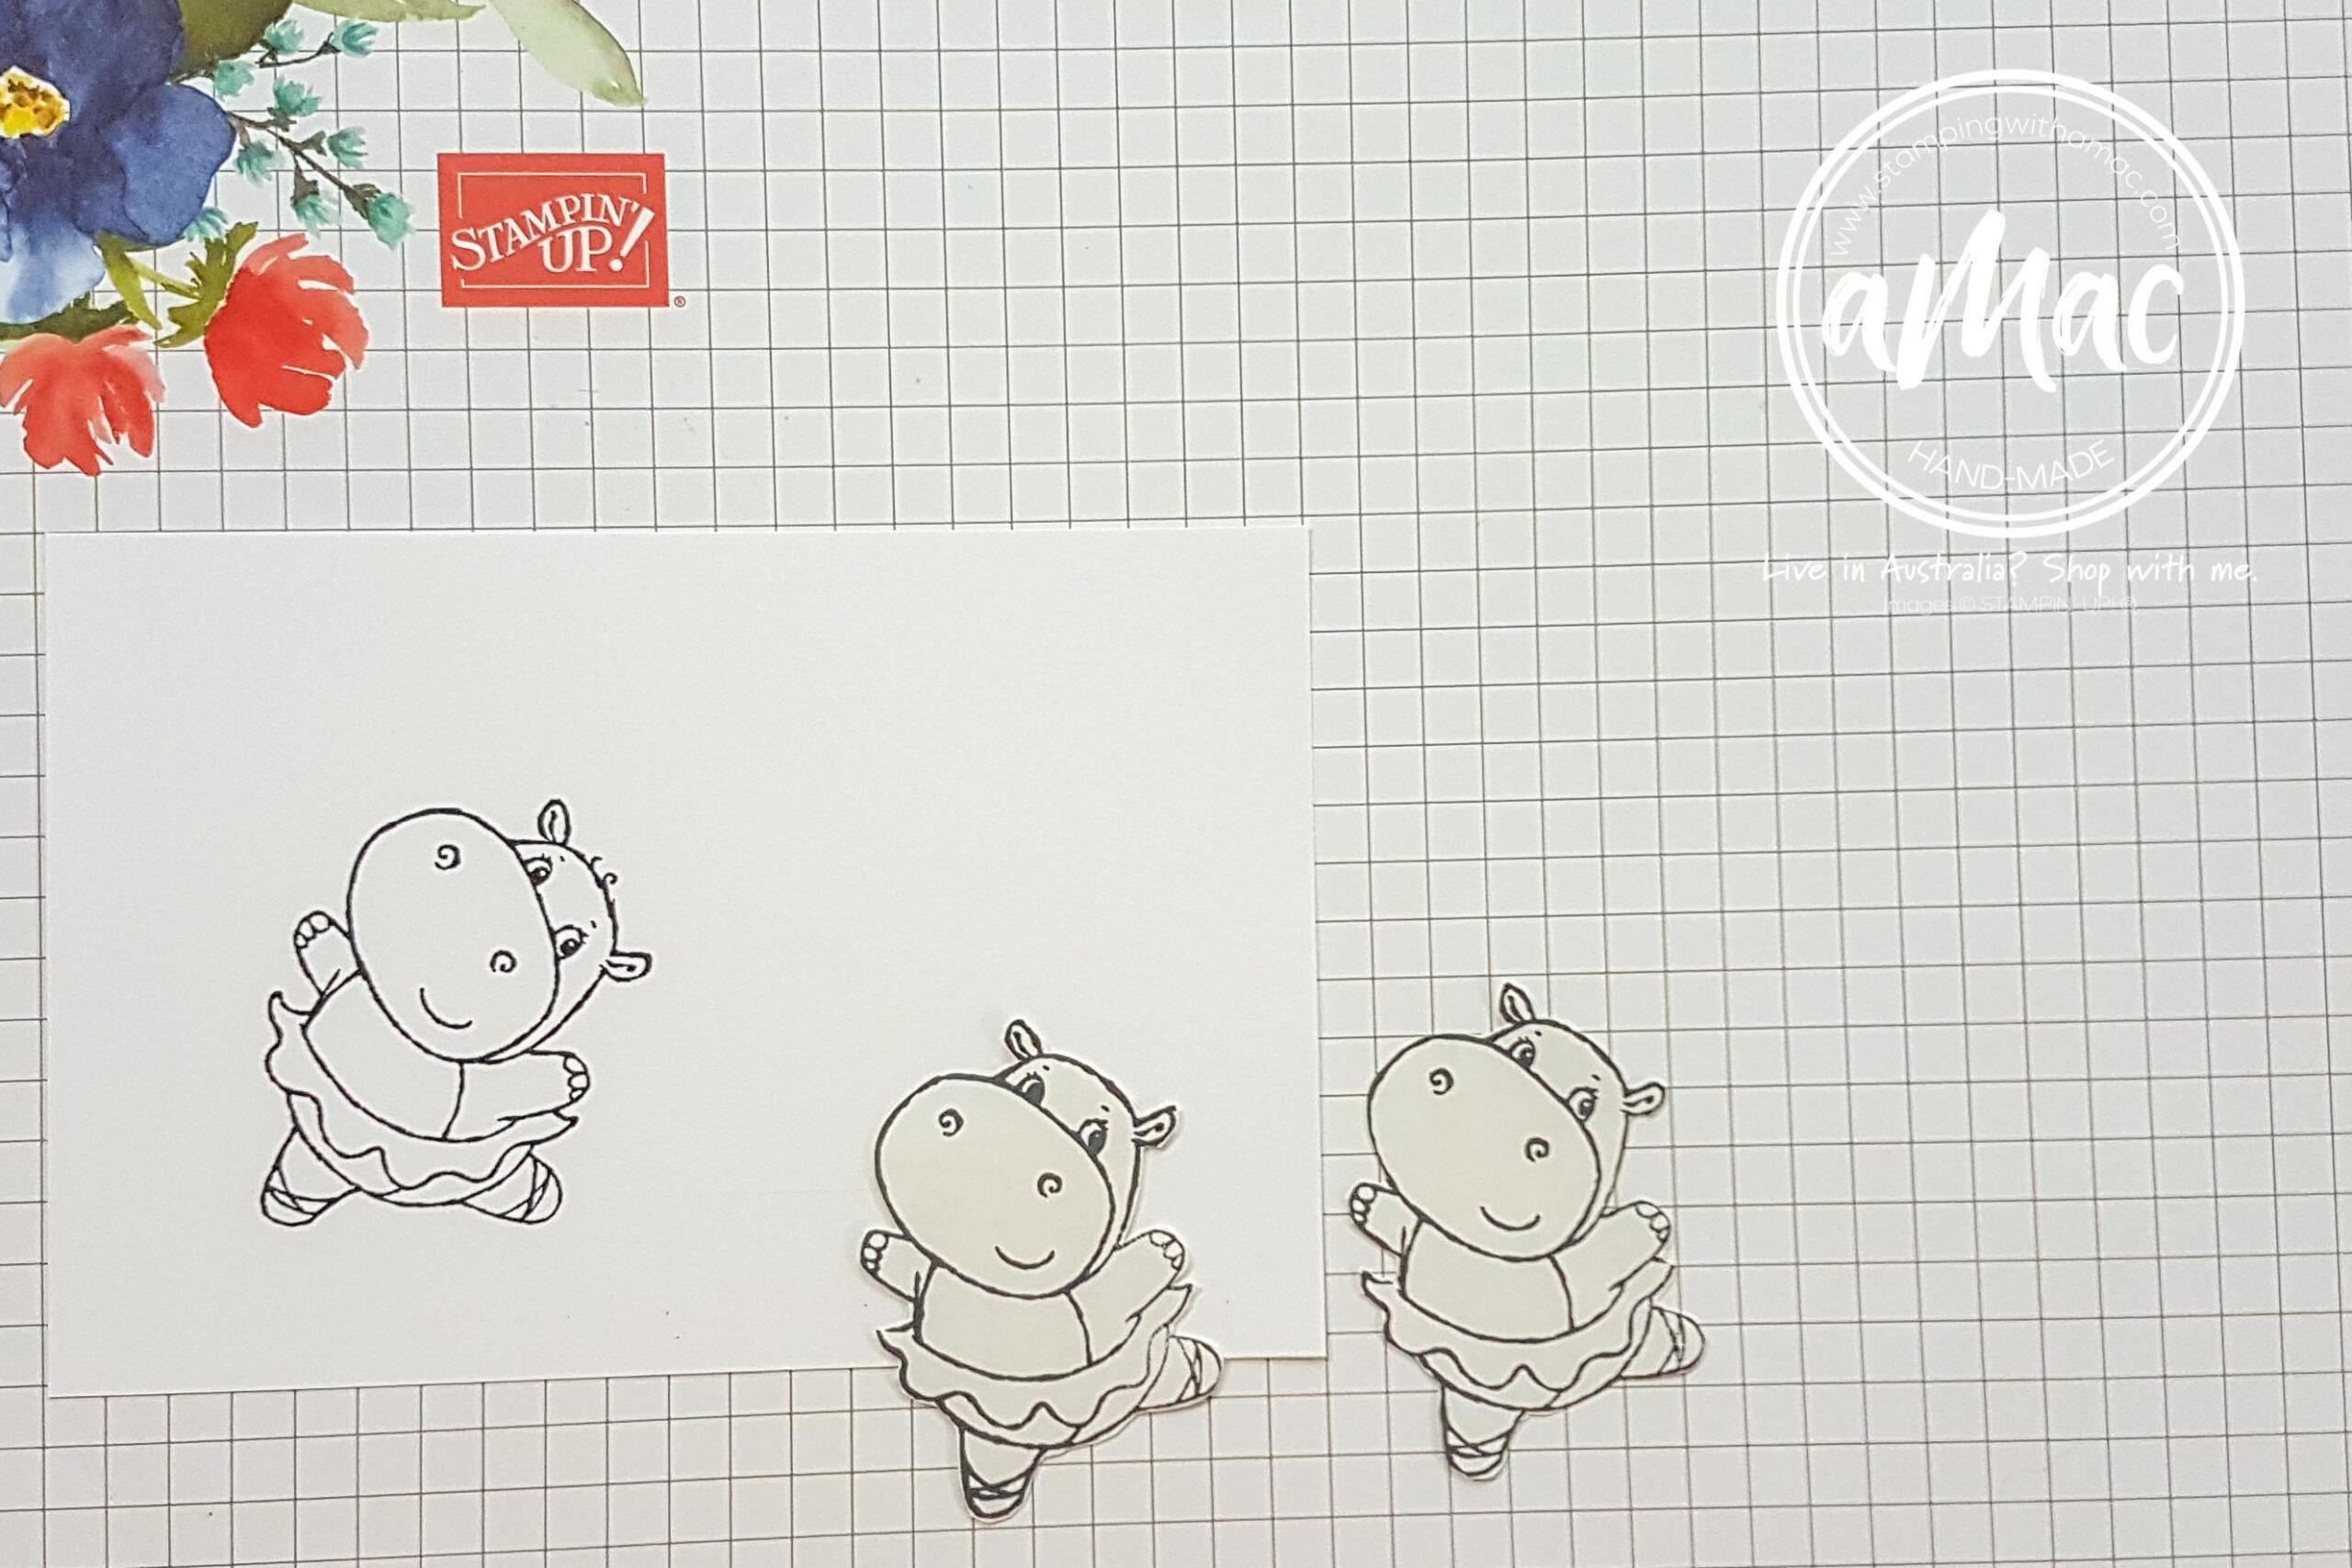
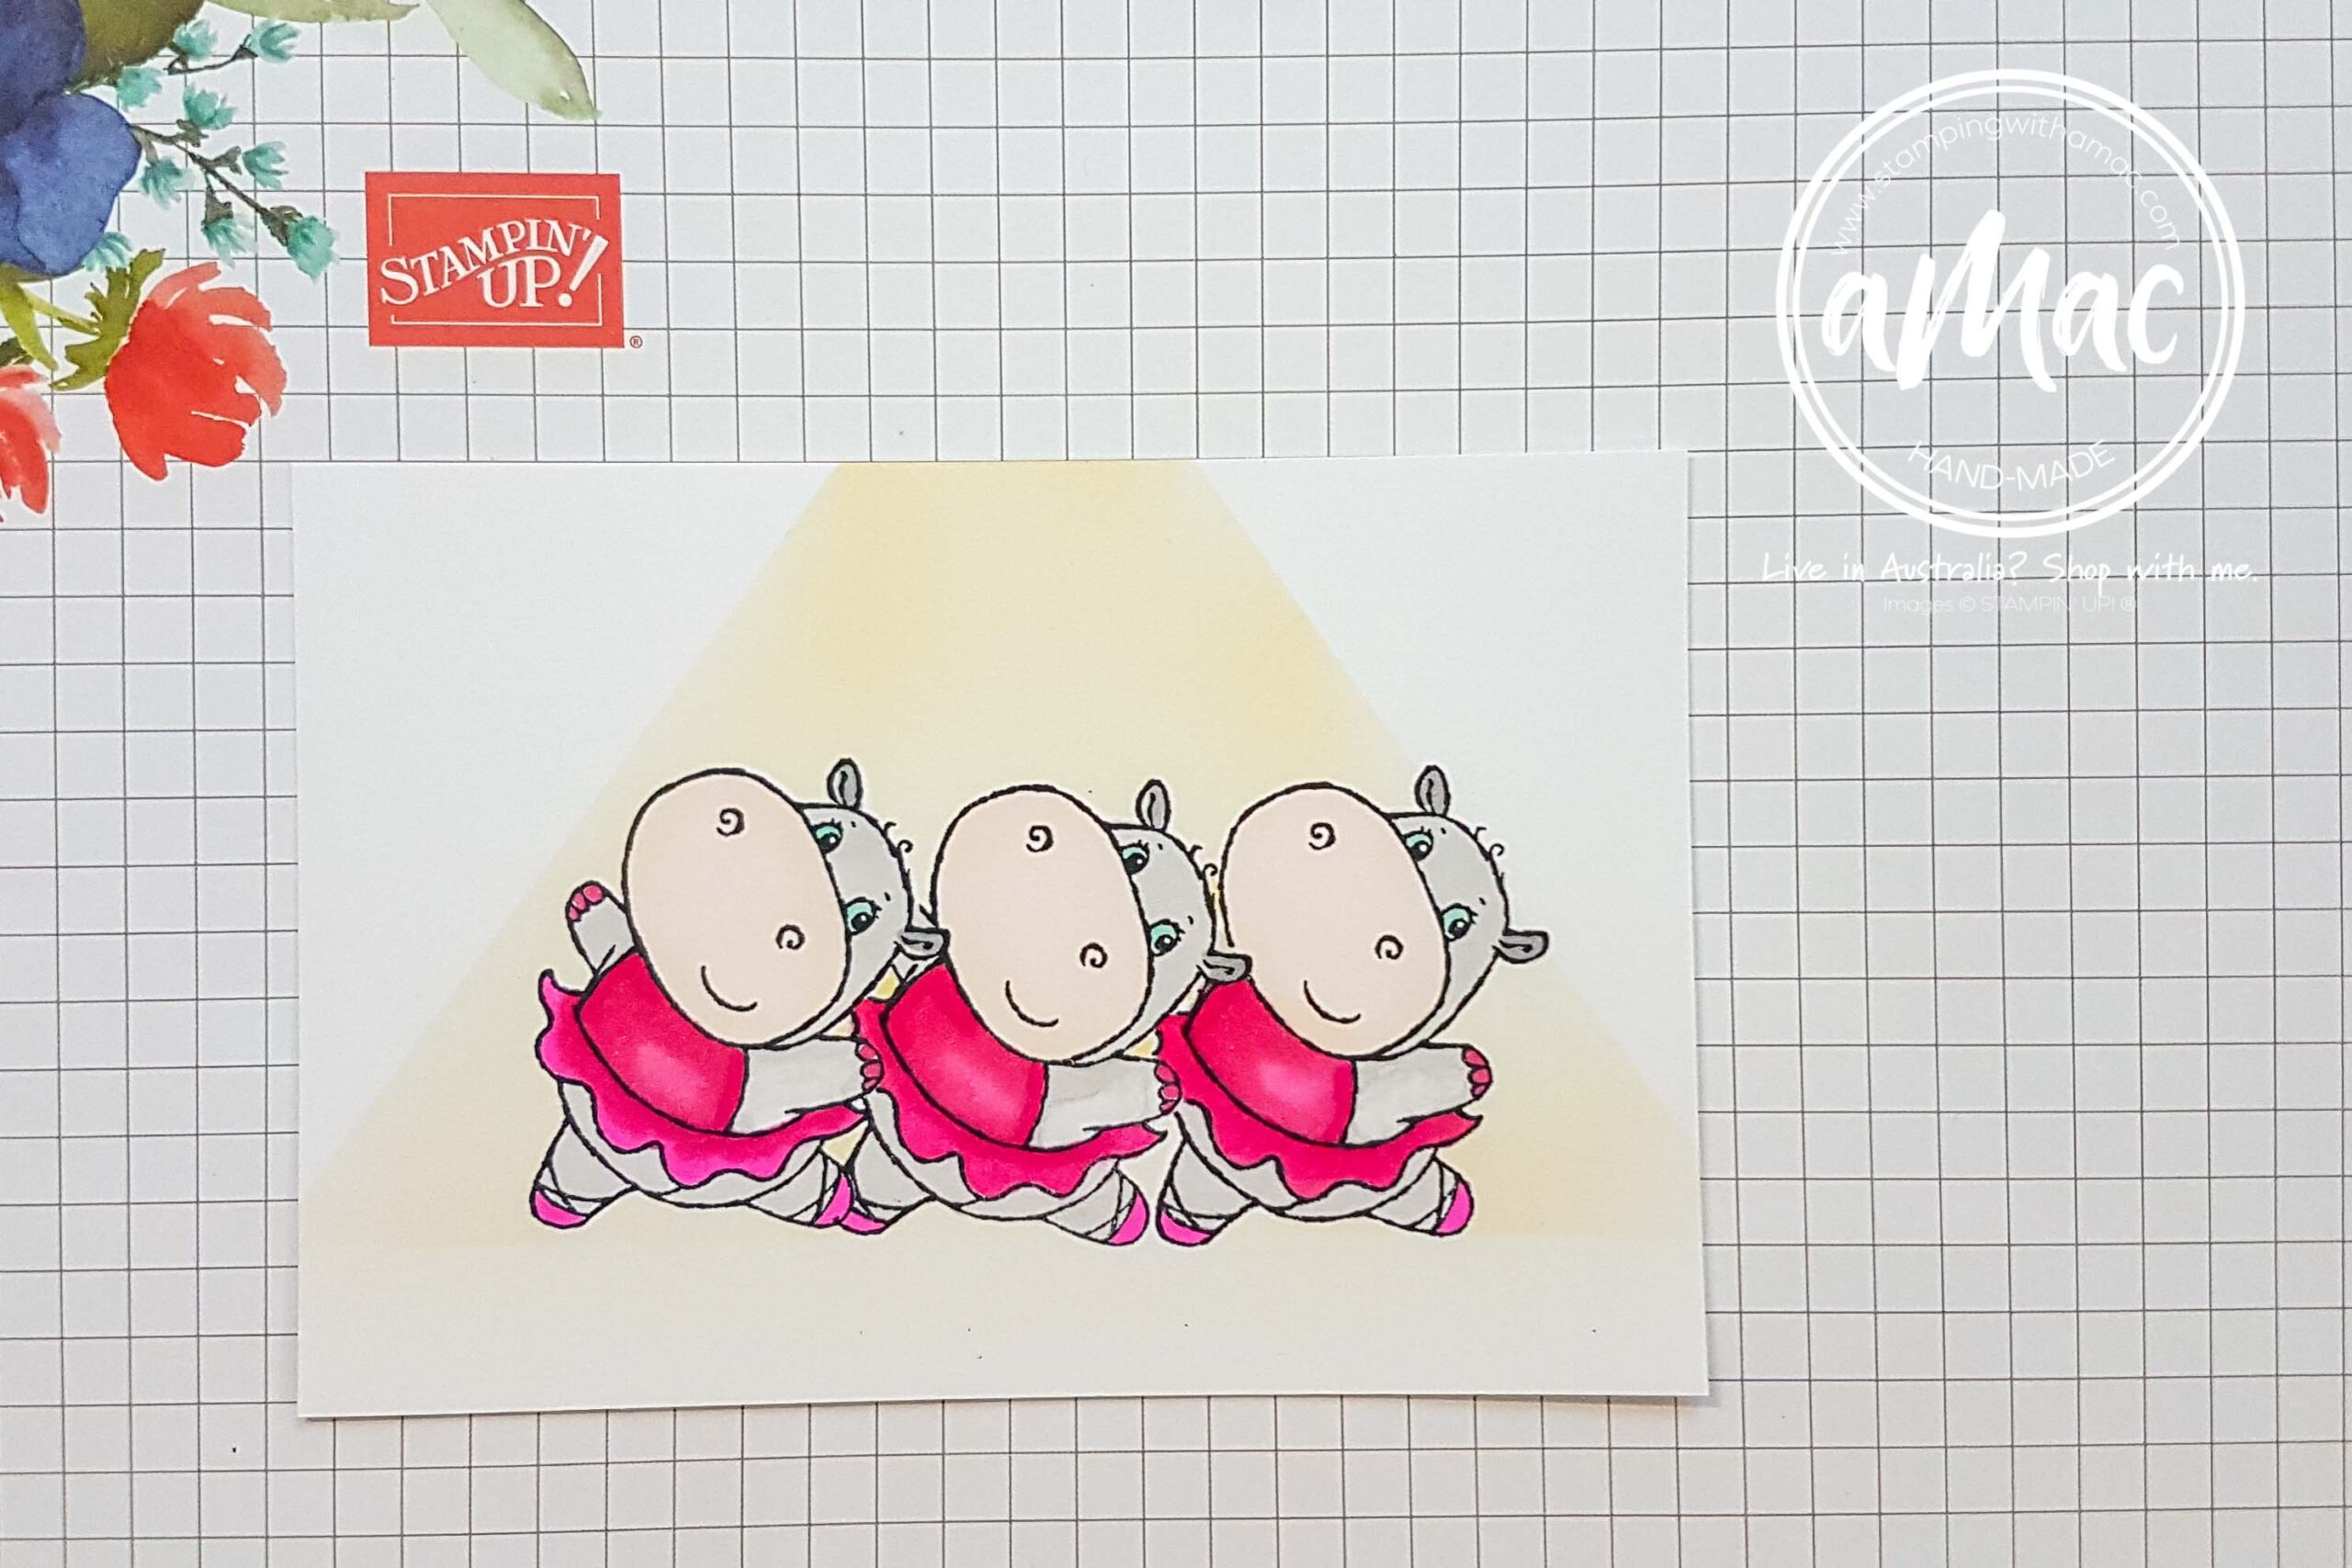
First, I stamped a few hippos on my Stampin’ Up! Masking Paper, then fussy cut them.

I ended up doing 3 as I needed them all, as you’ll see later.

Step 2

I then re-stamped the hippo image on my card front in the position where I wanted to start.

Step 3

I placed my first mask to entirely cover my first stamped hippo, then re-stamped the second hippo slightly overlapping the first one.

Step 4

I repeated the process and covered the second hippo and stamped the third one, once again overlapping the second hippo.

Step 5

Then I masked the third hippo and cut a full sheet of masking paper in half, peeled off the backing and stuck it over the top of the ‘masked’ hippos.

This is to mask out the section where I didn’t want colour to go. This will create a colour block as the highlight – spotlight.

I’m trying to create the effect that the hippos are dancing on a stage.

Step 6

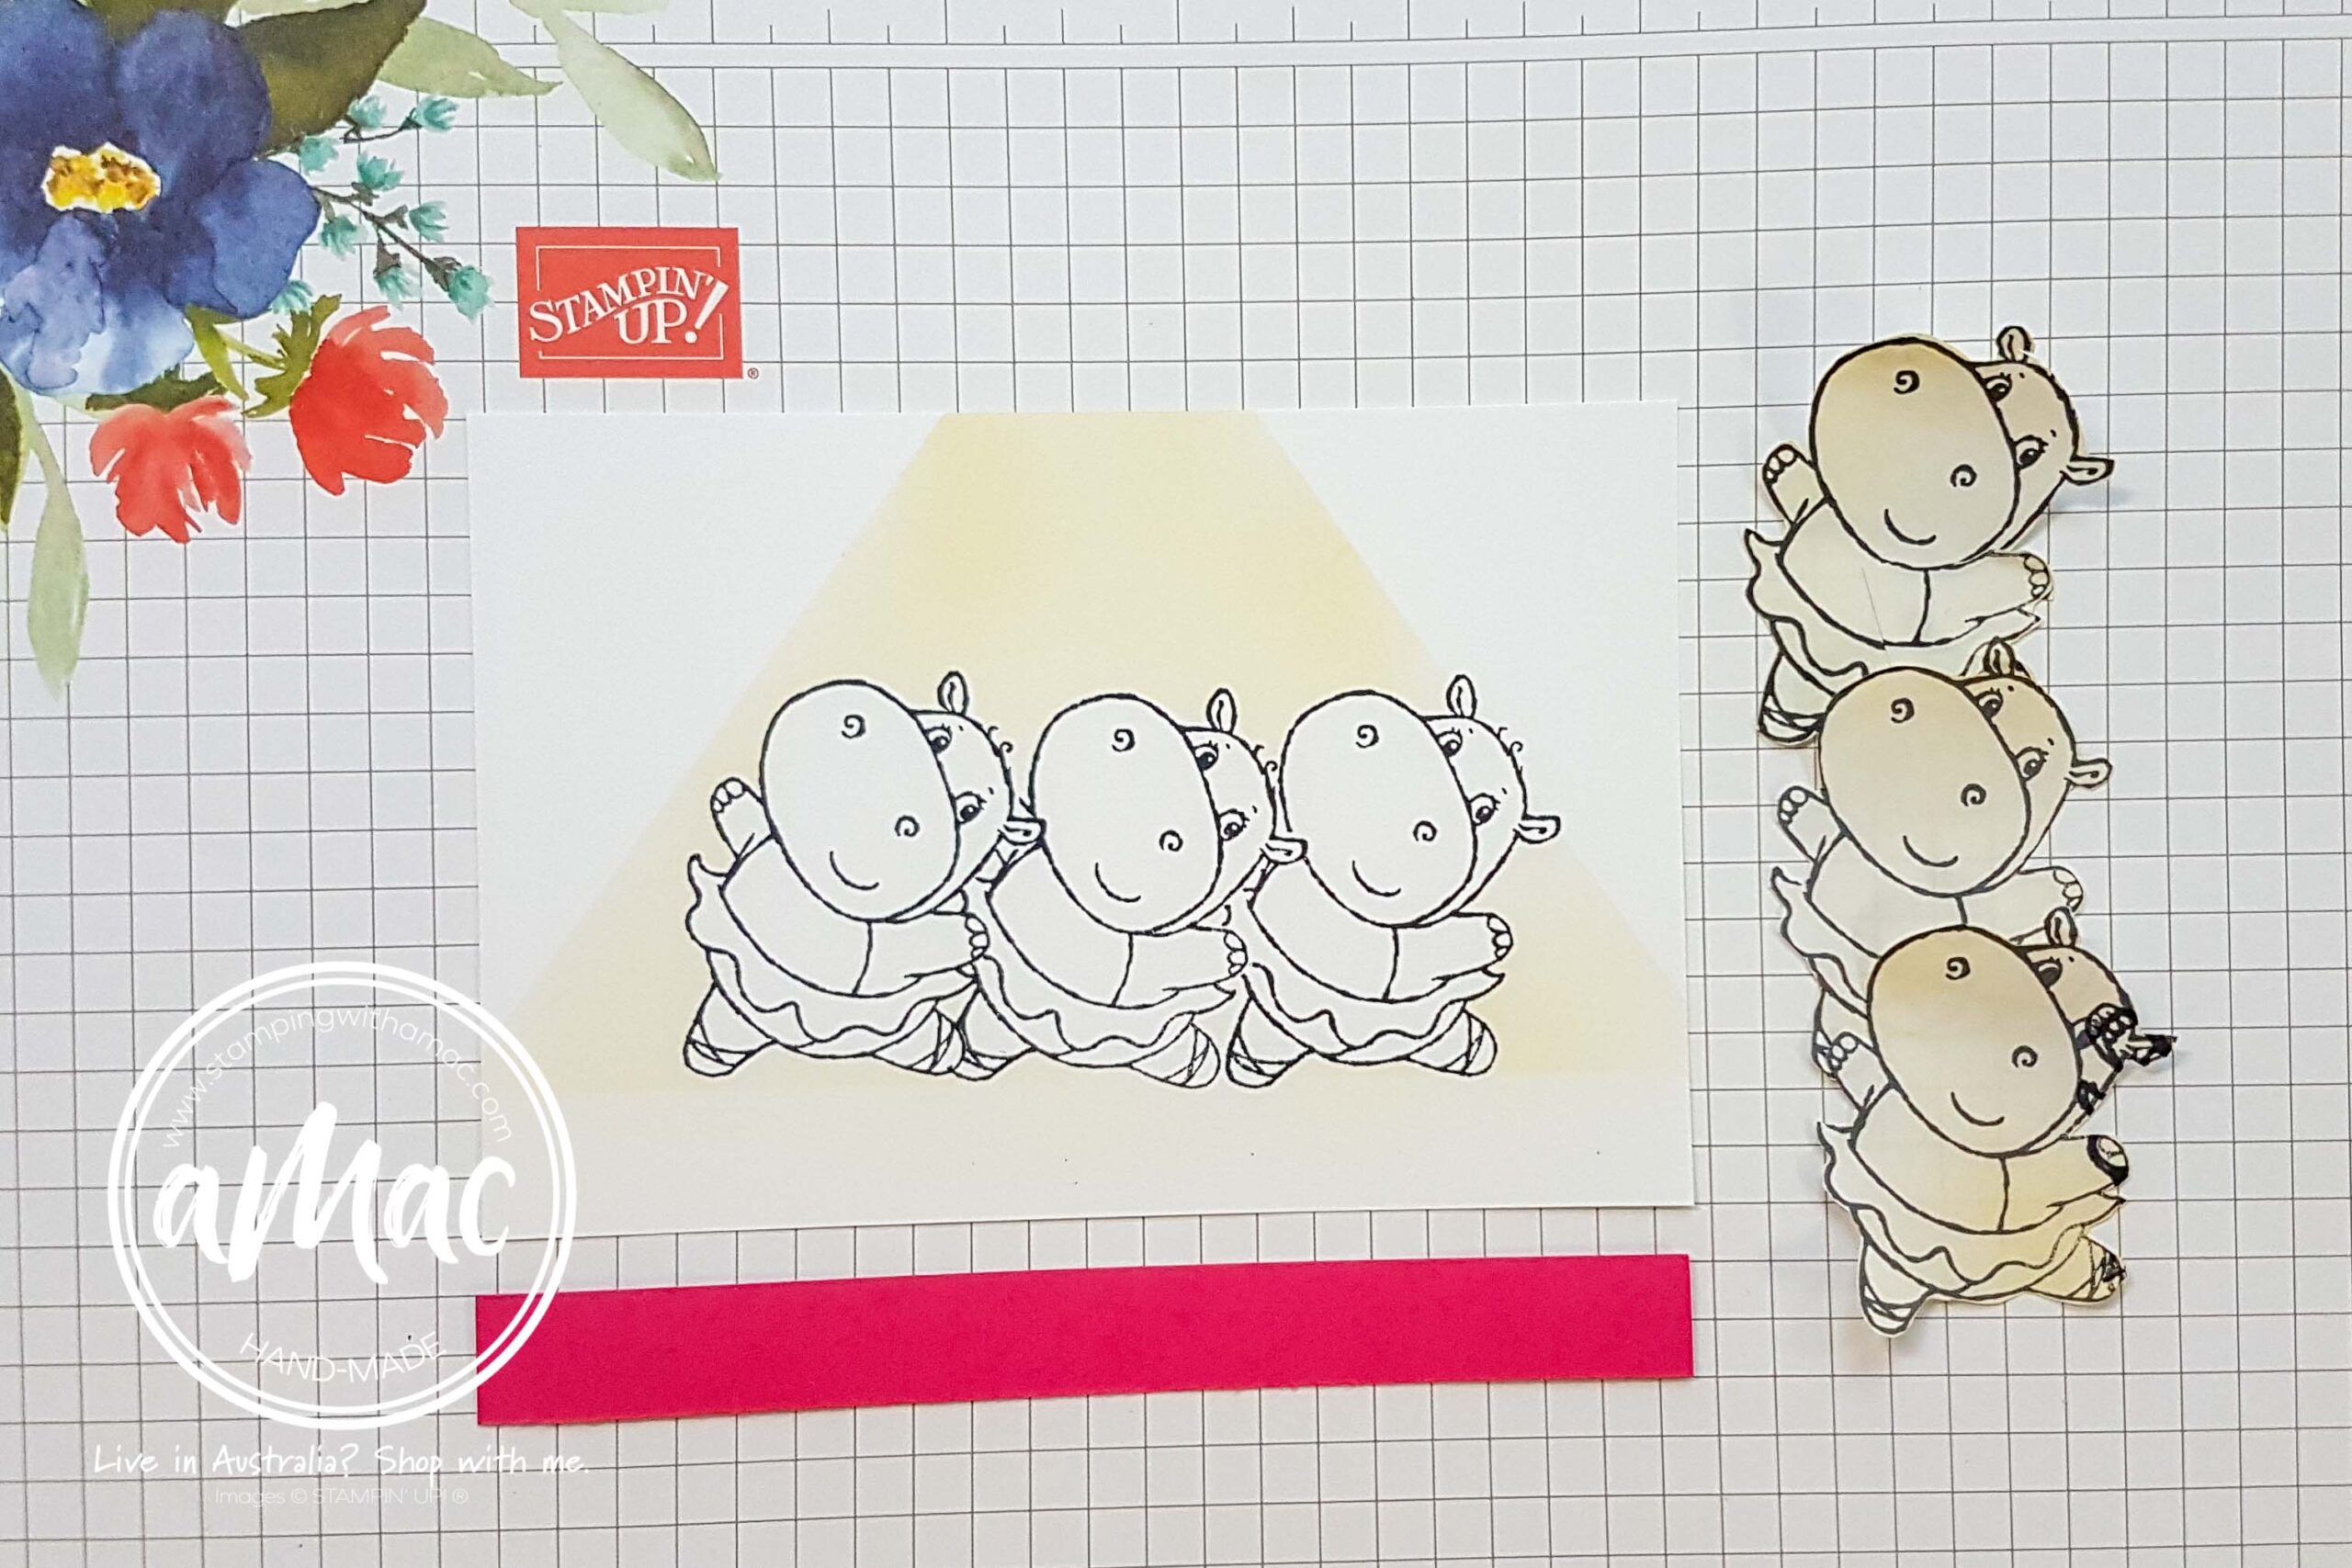
Then I used my blending brush with So Saffron ink and blended the entire area, this was to create a spotlight. The hippos are protected from the colour as they are also masked.

Step 7

The magic is revealed once all the masks are removed.

I can re-use the masking paper that I used on the sides, simply by sticking the backing back on – it won’t go to waste as it’s still tacky enough to re-use.

Step 8

I then coloured the hippos in Melon Mambo, Smokey Slate, Gray Granite, Pool Party and Petal Pink

Step 9

I added a Melon Mambo strip inside the card, stamped a different hippo and added a splash of colour to the flower and nails.

I also decorated the envelope as this will be perfect Happy Mail to send out soon.

Step 10

To finish off the card, I added an embossed layer using the ‘Into The Clouds’ Embossing Folder.

I die cut the cute umbrella and glasses using the matching FREE dies.

I also used a splash of wink of stella on the umbrella and Melon Mambo Glossy Dots Assortment embellishments for a little bit of bling.

I hope you’ve enjoyed my masking techniques

Please click on the next link and have a look at what the rest of our talented team has created for this month’s hop and enjoy!

Thanks so much for visiting my blog, see you again soon.

Happy Stamping,

Angela

You are invited to the Inlinkz link party!

Click here to enter

PS Sale-A Bration runs until 31 August, make the most of your FREEBIES that are available while stocks last. Contact me for help with your order.

Subscribe for News and Specials

Subscribe to get notified of fabulous Stampin’ Up! promotions